はじめに
PhotosPickerの使い方を調べてみました。サンプルコードがいくつか公開されているのと、WWDC2022,WWDC2023のセッションも参考にまとめます。
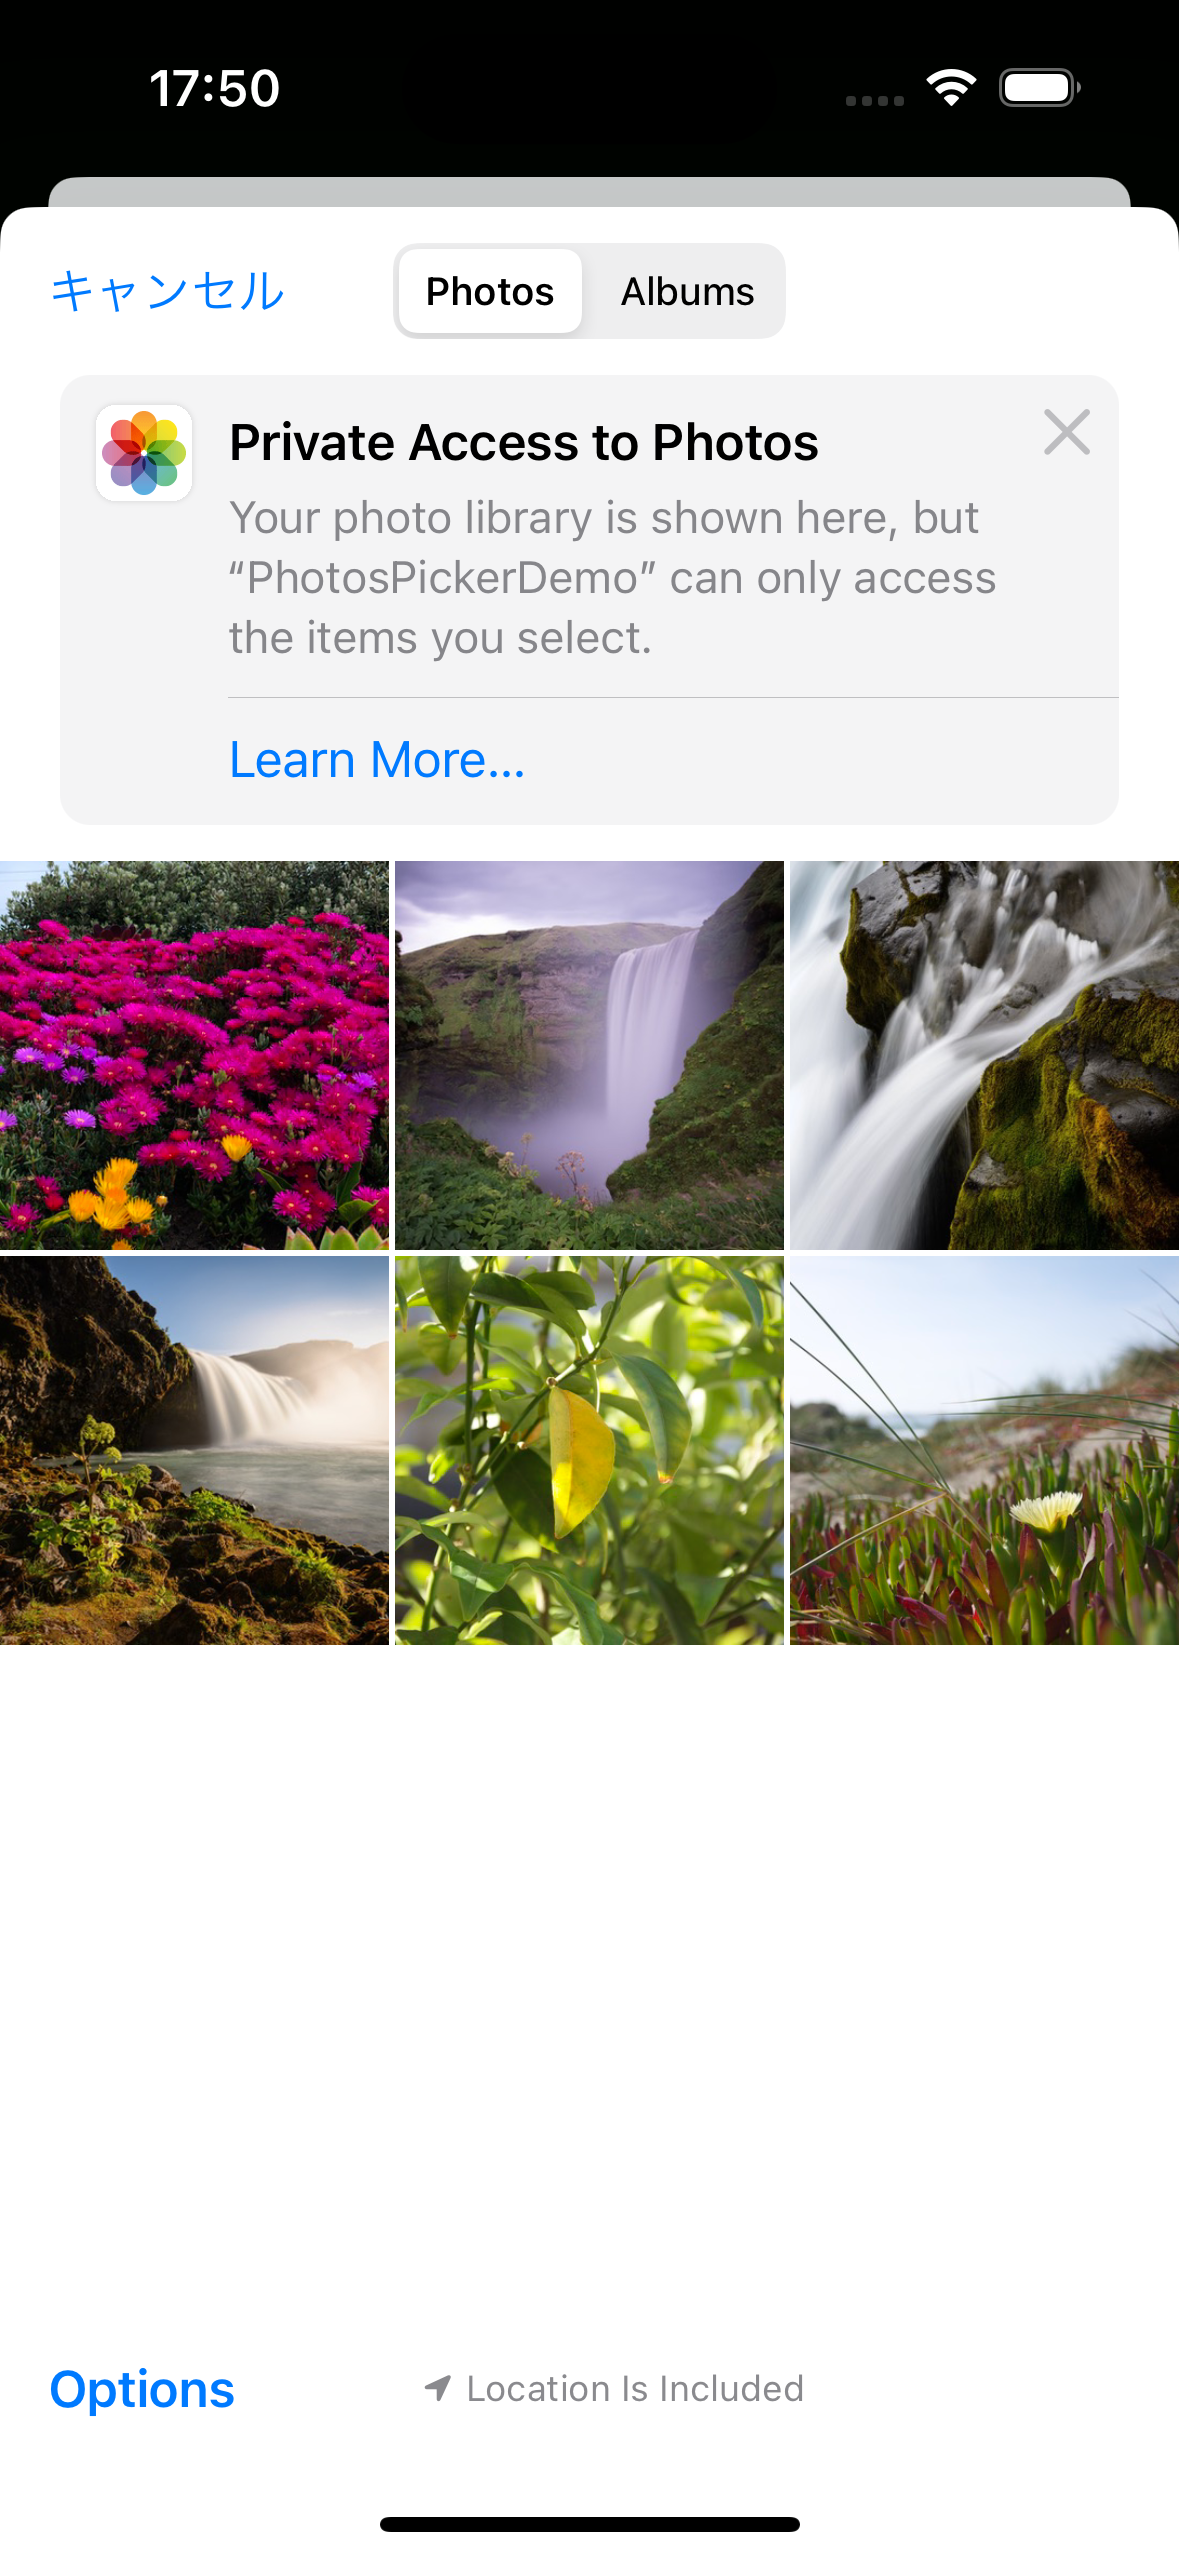
iOS16 ~ PhotosPicker登場でライブラリの表示が簡単になった
-
フィルタリングの強化:スクリーンショット、スクリーン録画、スローモーションビデオなどの新しいアセットタイプフィルタを追加。複合フィルタに「all」と「not」オペレーターを追加
-
半画面表示ピッカーの改善:選択したアセットの選択解除や並べ替えが可能に
-
Transferableプロトコル:アセットデータのロードに新しいTransferableプロトコルを使用
iOS17 ~ インラインで表示できるようになった
- 埋め込み可能なピッカー:
.photosPickerStyle(.inline)により、アプリ内に直接ピッカーを埋め込むことが可能になり、よりシームレスなユーザー体験を提供 - カスタマイズ性の向上:
.photosPickerAccessoryVisibilityと.photosPickerDisabledCapabilitiesにより、UI要素の表示/非表示や特定機能の無効化など、細かなカスタマイズが可能に - リアルタイム選択更新:
selectionBehaviorを.continuousに設定することで、ユーザーの選択をリアルタイムで反映できるようになり、よりインタラクティブな操作が可能に
こちらのサンプルコードを見て、インラインで写真の選択ができるUIの実装方法を調べてみました。
ちなみに、iOS15サポートでのライブラリ表示はこちらでまとめています。
環境
Xcode 15.4
iOS17 ~
内容
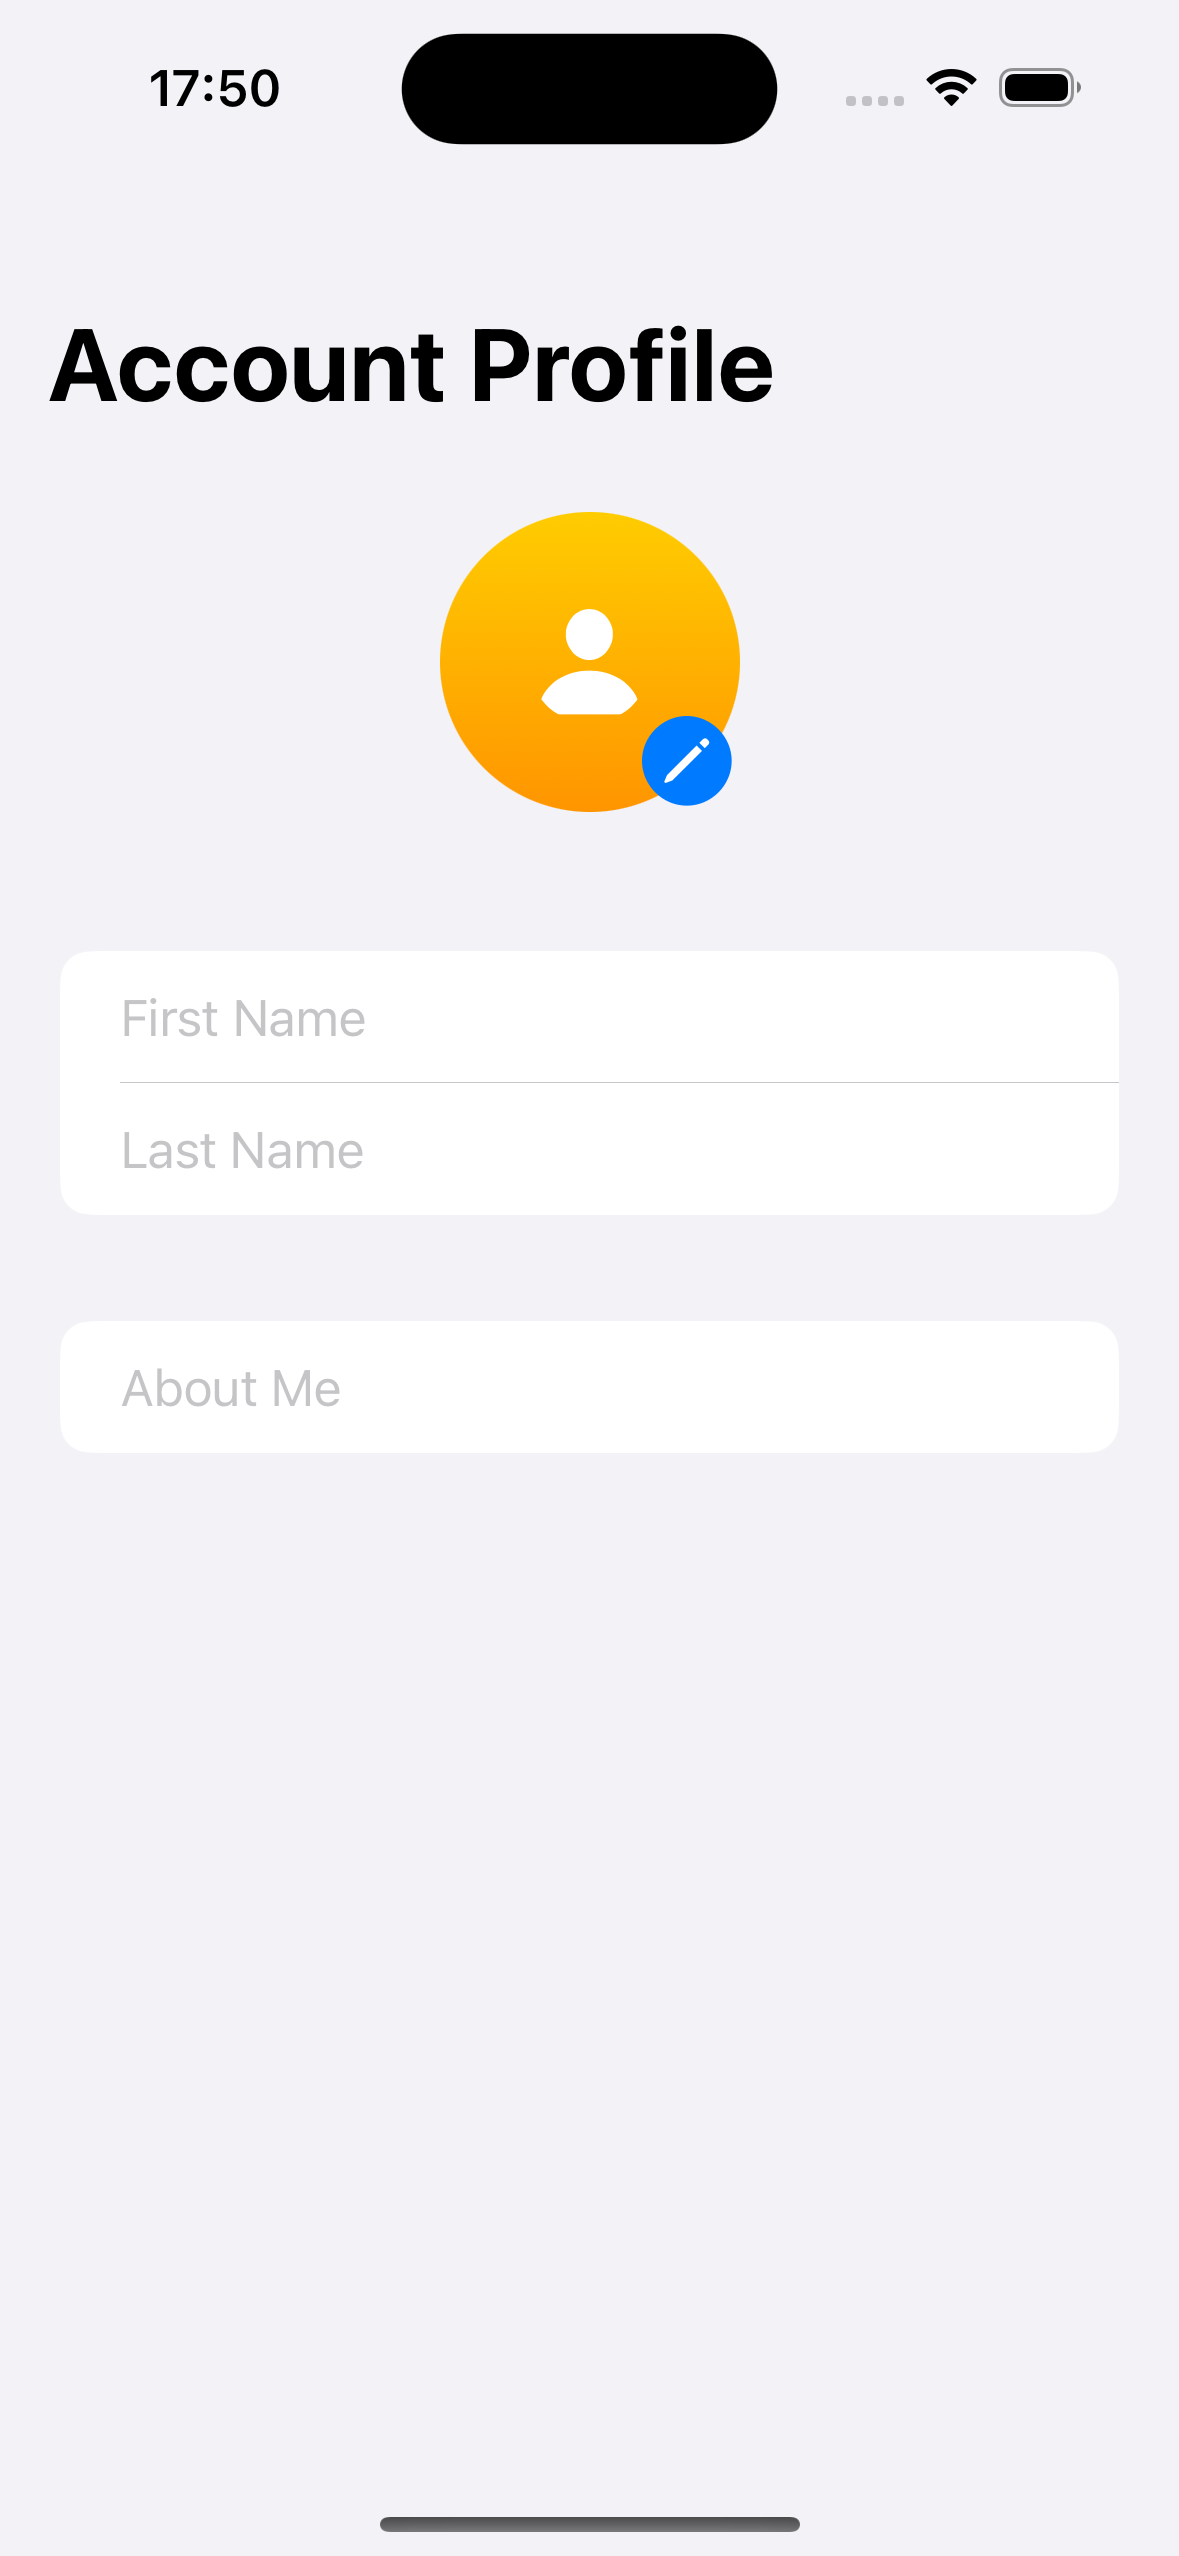
プロフィール写真を選択するUI(iOS16~)

struct EditableCircularProfileImage: View {
	@ObservedObject var viewModel: ProfileModel

	var body: some View {
		CircularProfileImage(imageState: viewModel.imageState)
			.overlay(alignment: .bottomTrailing) {
				PhotosPicker(selection: $viewModel.imageSelection,
							 matching: .images,
							 photoLibrary: .shared()) {
					Image(systemName: "pencil.circle.fill")
						.symbolRenderingMode(.multicolor)
						.font(.system(size: 30))
						.foregroundColor(.accentColor)
				}
				.buttonStyle(.borderless)
			}
	}
}
@MainActor
class ProfileModel: ObservableObject {
    enum ImageState {
        case empty
		case loading(Progress)
		case success(Image)
		case failure(Error)
    }

    enum TransferError: Error {
        case importFailed
    }

    struct ProfileImage: Transferable {
        let image: Image

        static var transferRepresentation: some TransferRepresentation {
            DataRepresentation(importedContentType: .image) { data in
                guard let uiImage = UIImage(data: data) else {
                    throw TransferError.importFailed
                }
                let image = Image(uiImage: uiImage)
                return ProfileImage(image: image)
            }
        }
    }

    @Published private(set) var imageState: ImageState = .empty

    @Published var imageSelection: PhotosPickerItem? = nil {
        didSet {
            if let imageSelection {
                let progress = loadTransferable(from: imageSelection)
                imageState = .loading(progress)
            } else {
                imageState = .empty
            }
        }
    }

    private func loadTransferable(from imageSelection: PhotosPickerItem) -> Progress {
        return imageSelection.loadTransferable(type: ProfileImage.self) { result in
            DispatchQueue.main.async {
                guard imageSelection == self.imageSelection else {
                    print("Failed to get the selected item.")
                    return
                }
                switch result {
                case .success(let profileImage?):
                    self.imageState = .success(profileImage.image)
                case .success(nil):
                    self.imageState = .empty
                case .failure(let error):
                    self.imageState = .failure(error)
                }
            }
        }
    }
}
ライブラリから写真を取得する部分のみサンプルコードから抜粋しました。
View側では写真右下のペンシルアイコンをタップするとライブラリが表示される実装がされています。
ライブラリから取得した写真はPhotosPickerItemとして扱います。
PhotosPickerItemは選択された写真や動画を表す軽量のプレースホルダーオブジェクトで、実際のデータやメタデータは含まれておらず、必要に応じて後からロードできる
Transferableプロトコルに準拠していて、選択されたアセットのデータを非同期にロードできる
データのロードはloadTransferable(type:)を使用して、実際のデータ(画像や動画)をロードする。
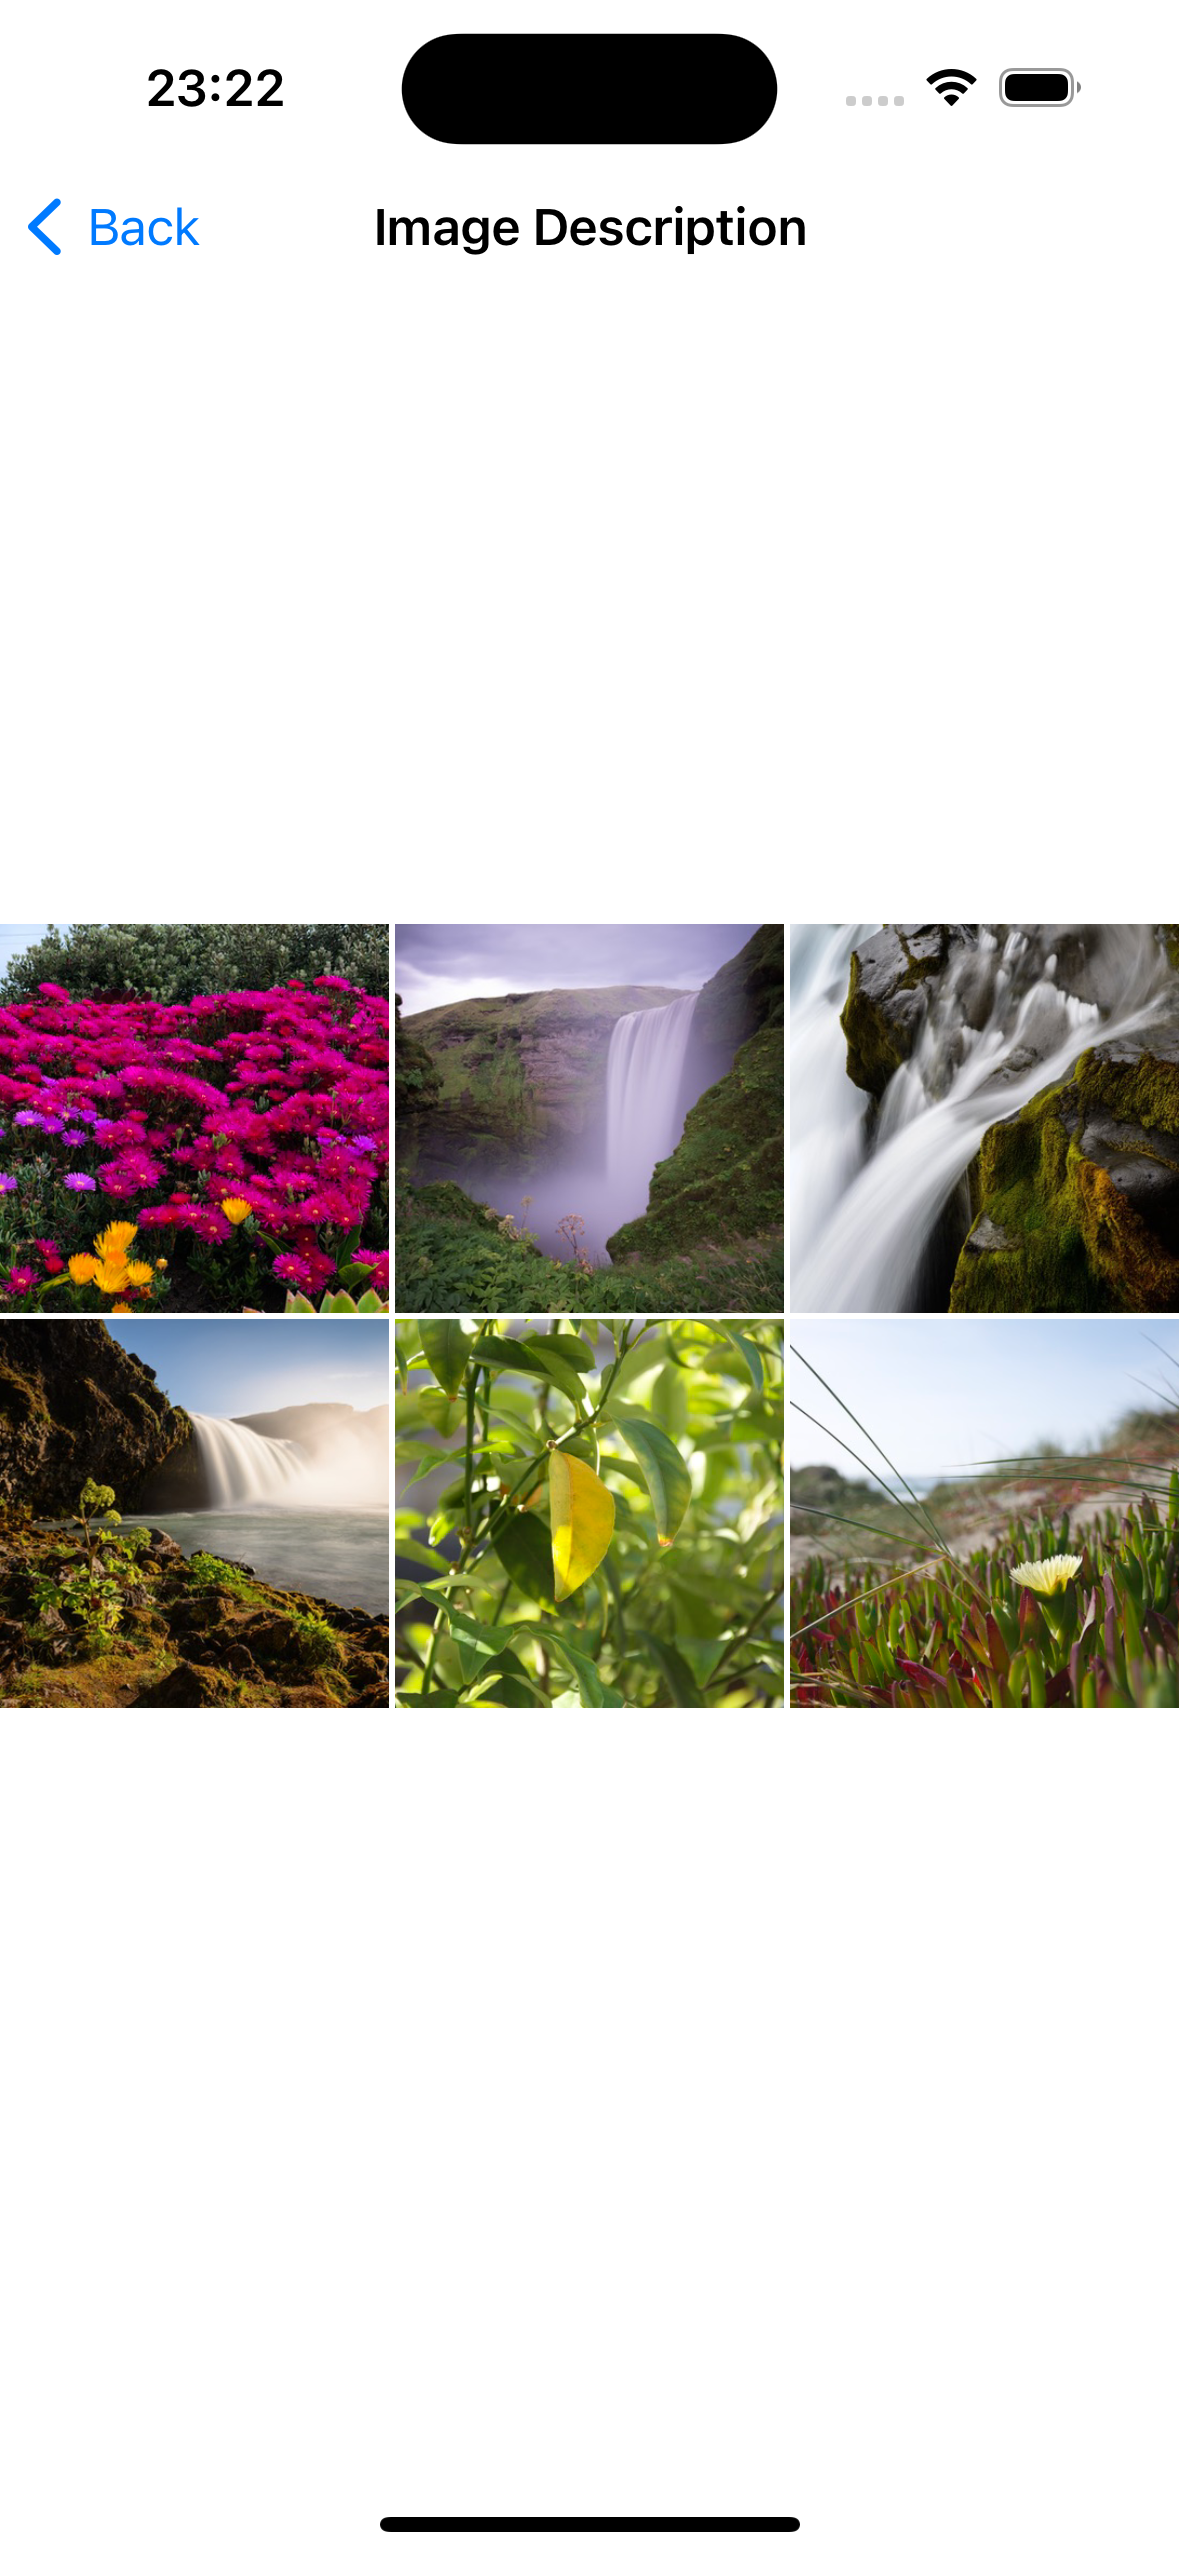
インラインでライブラリから写真を選ぶUI(iOS17~)

import SwiftUI
import PhotosUI

struct InlinePhotosPickerView: View {
    @StateObject private var viewModel = InlinePhotosPickerViewModel()

    var body: some View {
        VStack {
            ImageView(viewModel: viewModel)

            PhotosPicker(
                selection: $viewModel.imageSelection,
                matching: .images,
                preferredItemEncoding: .current,
                photoLibrary: .shared()
            ) {
                Text("Select Photos")
            }
            .photosPickerStyle(.inline)
            .photosPickerDisabledCapabilities(.selectionActions)
            .photosPickerAccessoryVisibility(.hidden, edges: .all)
            .ignoresSafeArea()
            .frame(height: 300)
        }
        .ignoresSafeArea(.keyboard)
    }
}

struct ImageView: View {
    @ObservedObject var viewModel: InlinePhotosPickerViewModel

    var body: some View {
        if case .success(let image) = viewModel.imageState {
            image
                .resizable()
                .scaledToFit()
                .frame(maxWidth: .infinity, maxHeight: 200)
        }
    }
}
ViewModel側はプロフィール写真を選択するUIの実装と同じなので省略します。また、こちらはサンプルコードから大きく変えております。
表示のカスタマイズは以下の通りで自由に変更できます
PhotosPickerItem.EncodingDisambiguationPolicy
-
.automatic: システムが適切なエンコーディングを選択 -
.compatible: 互換性のあるフォーマットに変換 -
.current: 元のフォーマットを保持
.photosPickerStyle(_:)
-
.inline: アプリのUIに埋め込まれた形で表示 -
.presentation: デフォルト。フルスクリーンモーダルとして表示 -
.compact: 単一行の横スクロール可能なピッカーとして表示
.photosPickerDisabledCapabilities(_:)
-
.selectionActions: 選択アクションを無効化 -
.search: 検索機能を無効化 -
.collectionNavigation: コレクション間のナビゲーションを無効化 -
.stagingArea: 選択した項目を一時的に保持する領域を無効化
.photosPickerAccessoryVisibility(_:edges:)
ナビゲーションバーを表示したままツールバーを非表示にするなど、細かな調整が可能
おわりに
インラインで写真が選べるのはUXが向上して良さそうに感じました。サンプルコードでは画像の複数選択する実装がされていたので、別で複数選択の実装を見ていきたいと思います〜
参考