はじめに
SwiftUIのGestureについてドキュメントを読みました。
内容
Gesture
ジェスチャーモディファイアを使用して、アプリケーションにインタラクティブ性を追加する
Viewにジェスチャーモディファイアを追加
struct ShapeTapView: View {
    var body: some View {
        let tap = TapGesture()
            .onEnded { _ in
                print("View tapped!")
            }

        return Circle()
            .fill(Color.blue)
            .frame(width: 100, height: 100, alignment: .center)
            .gesture(tap)
    }
}
onTapGesture(count:coordinateSpace:perform:)を使うパターンも
    let newGesture = TapGesture().onEnded {
        print("Tap on VStack.")
    }

    var body: some View {
        VStack(spacing:25) {
            Image(systemName: "heart.fill")
                .resizable()
                .frame(width: 75, height: 75)
                .padding()
                .foregroundColor(.red)
                .onTapGesture {
                    print("Tap on image.")
                }
            Rectangle()
                .fill(Color.blue)
        }
        .gesture(newGesture)
        .frame(width: 200, height: 200)
        .border(Color.purple)
    }
ジェスチャーコールバックに対応
受け取る方法は3つ
UIの状態を更新
Gestureが変更されたときにViewを更新するには、ViewにGestureStateプロパティを追加し、updating(_:body:)でそれを更新する
Gestureを終了またはキャンセルしたとき、状態プロパティは自動的にその状態を初期値にリセットする
struct CounterView: View {
@GestureState var isDetectingLongPress = false
var body: some View {
let press = LongPressGesture(minimumDuration: 1)
.updating($isDetectingLongPress) { currentState, gestureState, transaction in
gestureState = currentState
}
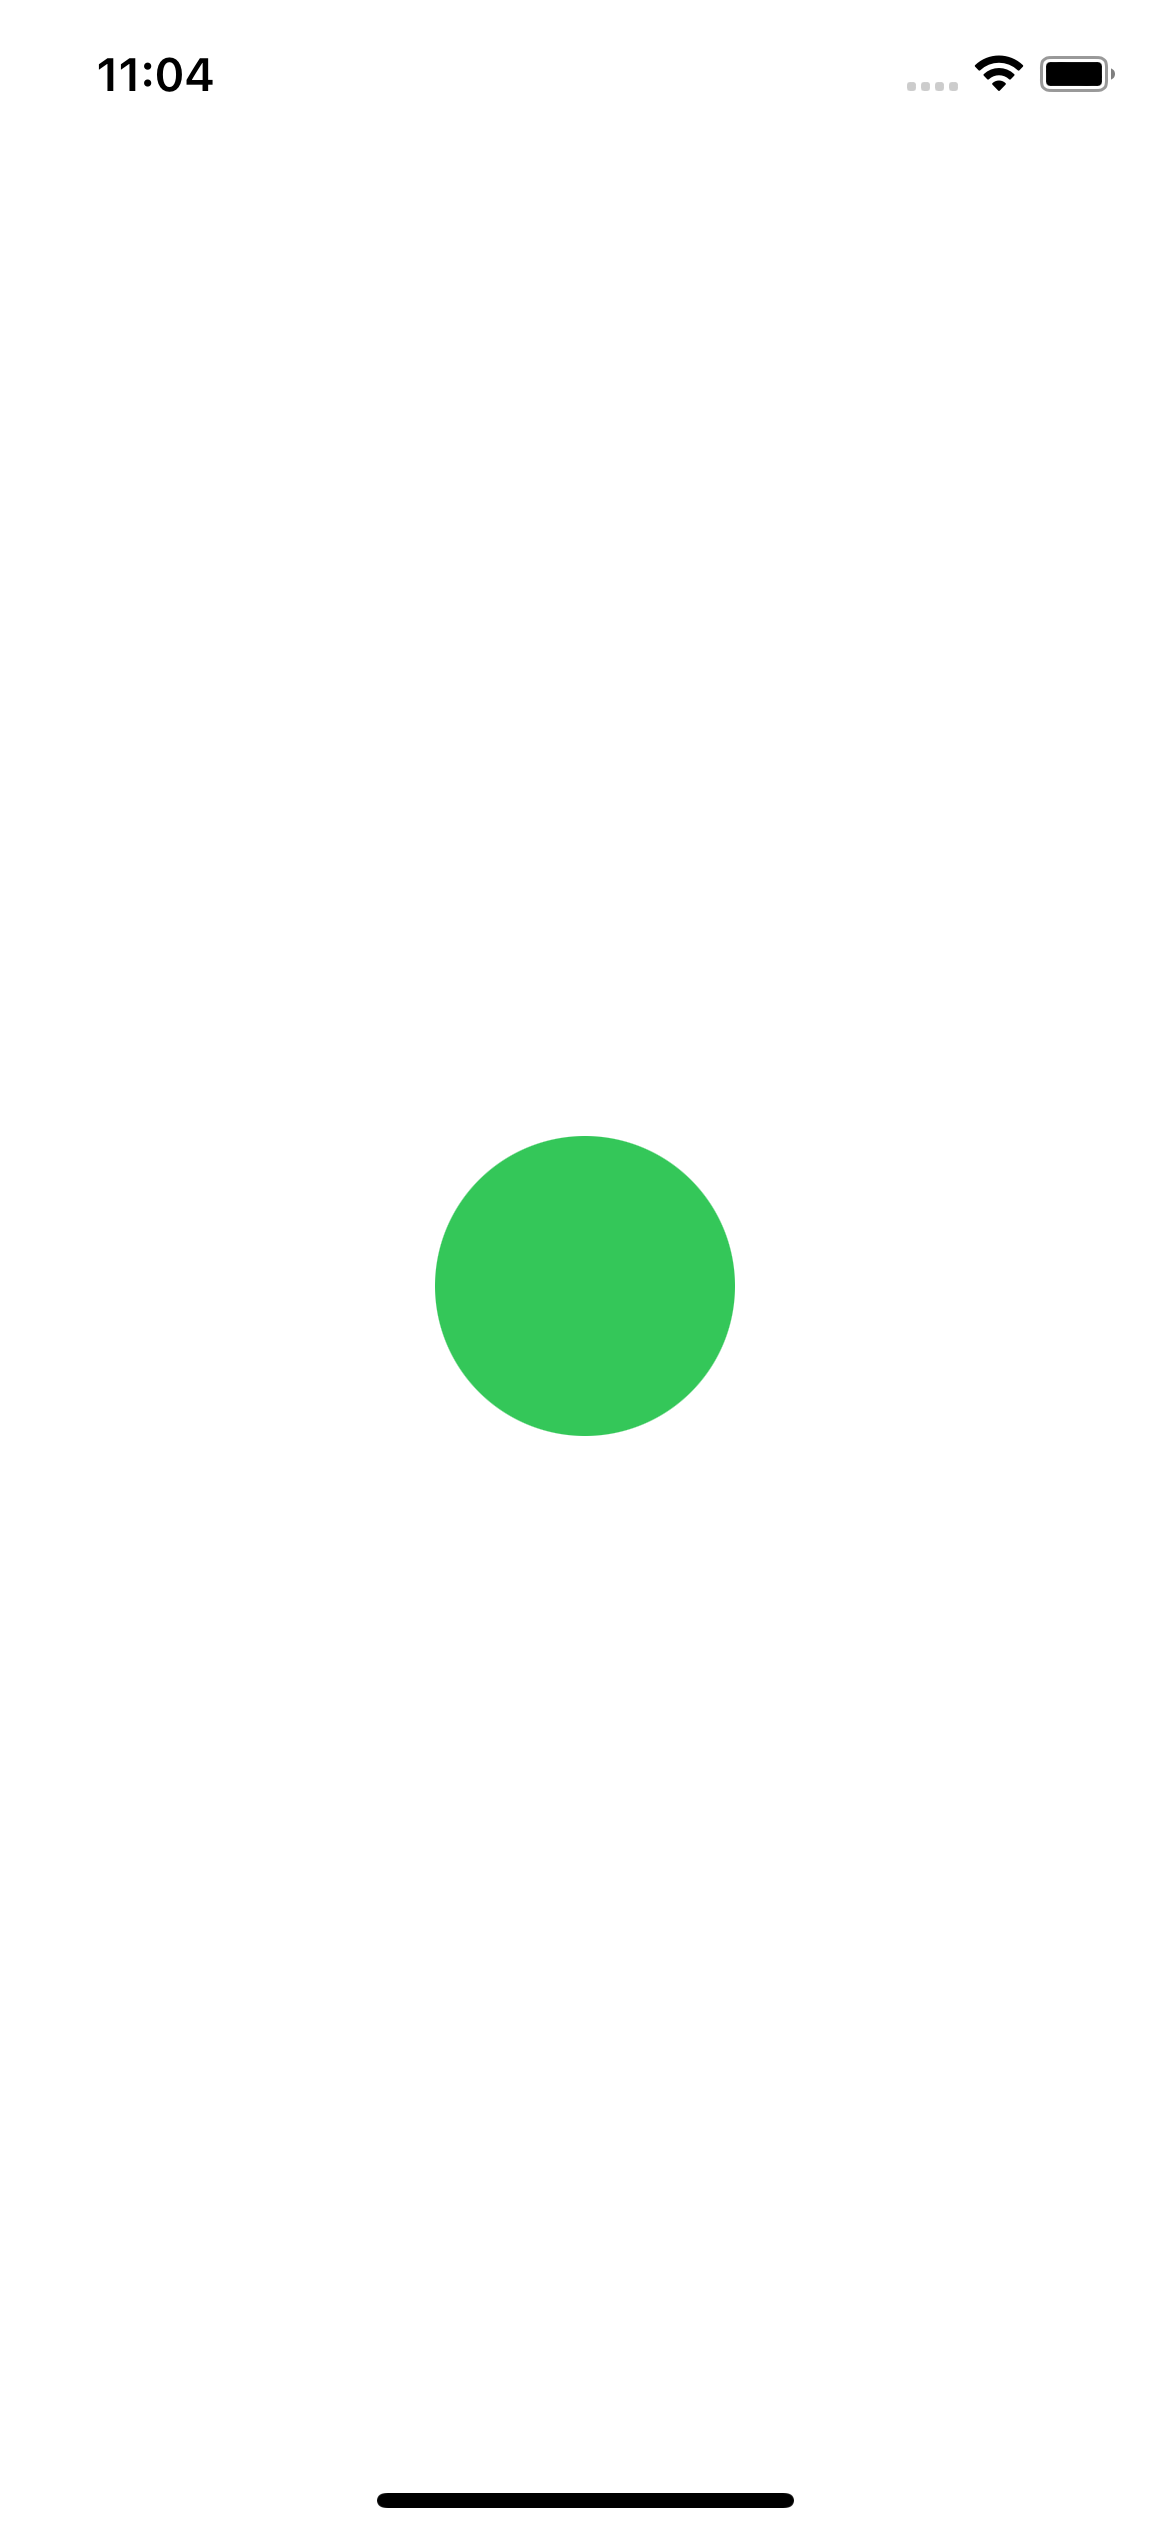
return Circle()
.fill(isDetectingLongPress ? Color.yellow : Color.green)
.frame(width: 100, height: 100, alignment: .center)
.gesture(press)
}
}
👇 押すと一瞬黄色くなり、すぐに緑に戻る
カウントアップなどの実装は、onChanged(_:)を使う
struct CounterView: View {
@GestureState var isDetectingLongPress = false
@State var totalNumberOfTaps = 0
var body: some View {
let press = LongPressGesture(minimumDuration: 1)
.updating($isDetectingLongPress) { currentState, gestureState, transaction in
gestureState = currentState
}.onChanged { _ in
self.totalNumberOfTaps += 1
}
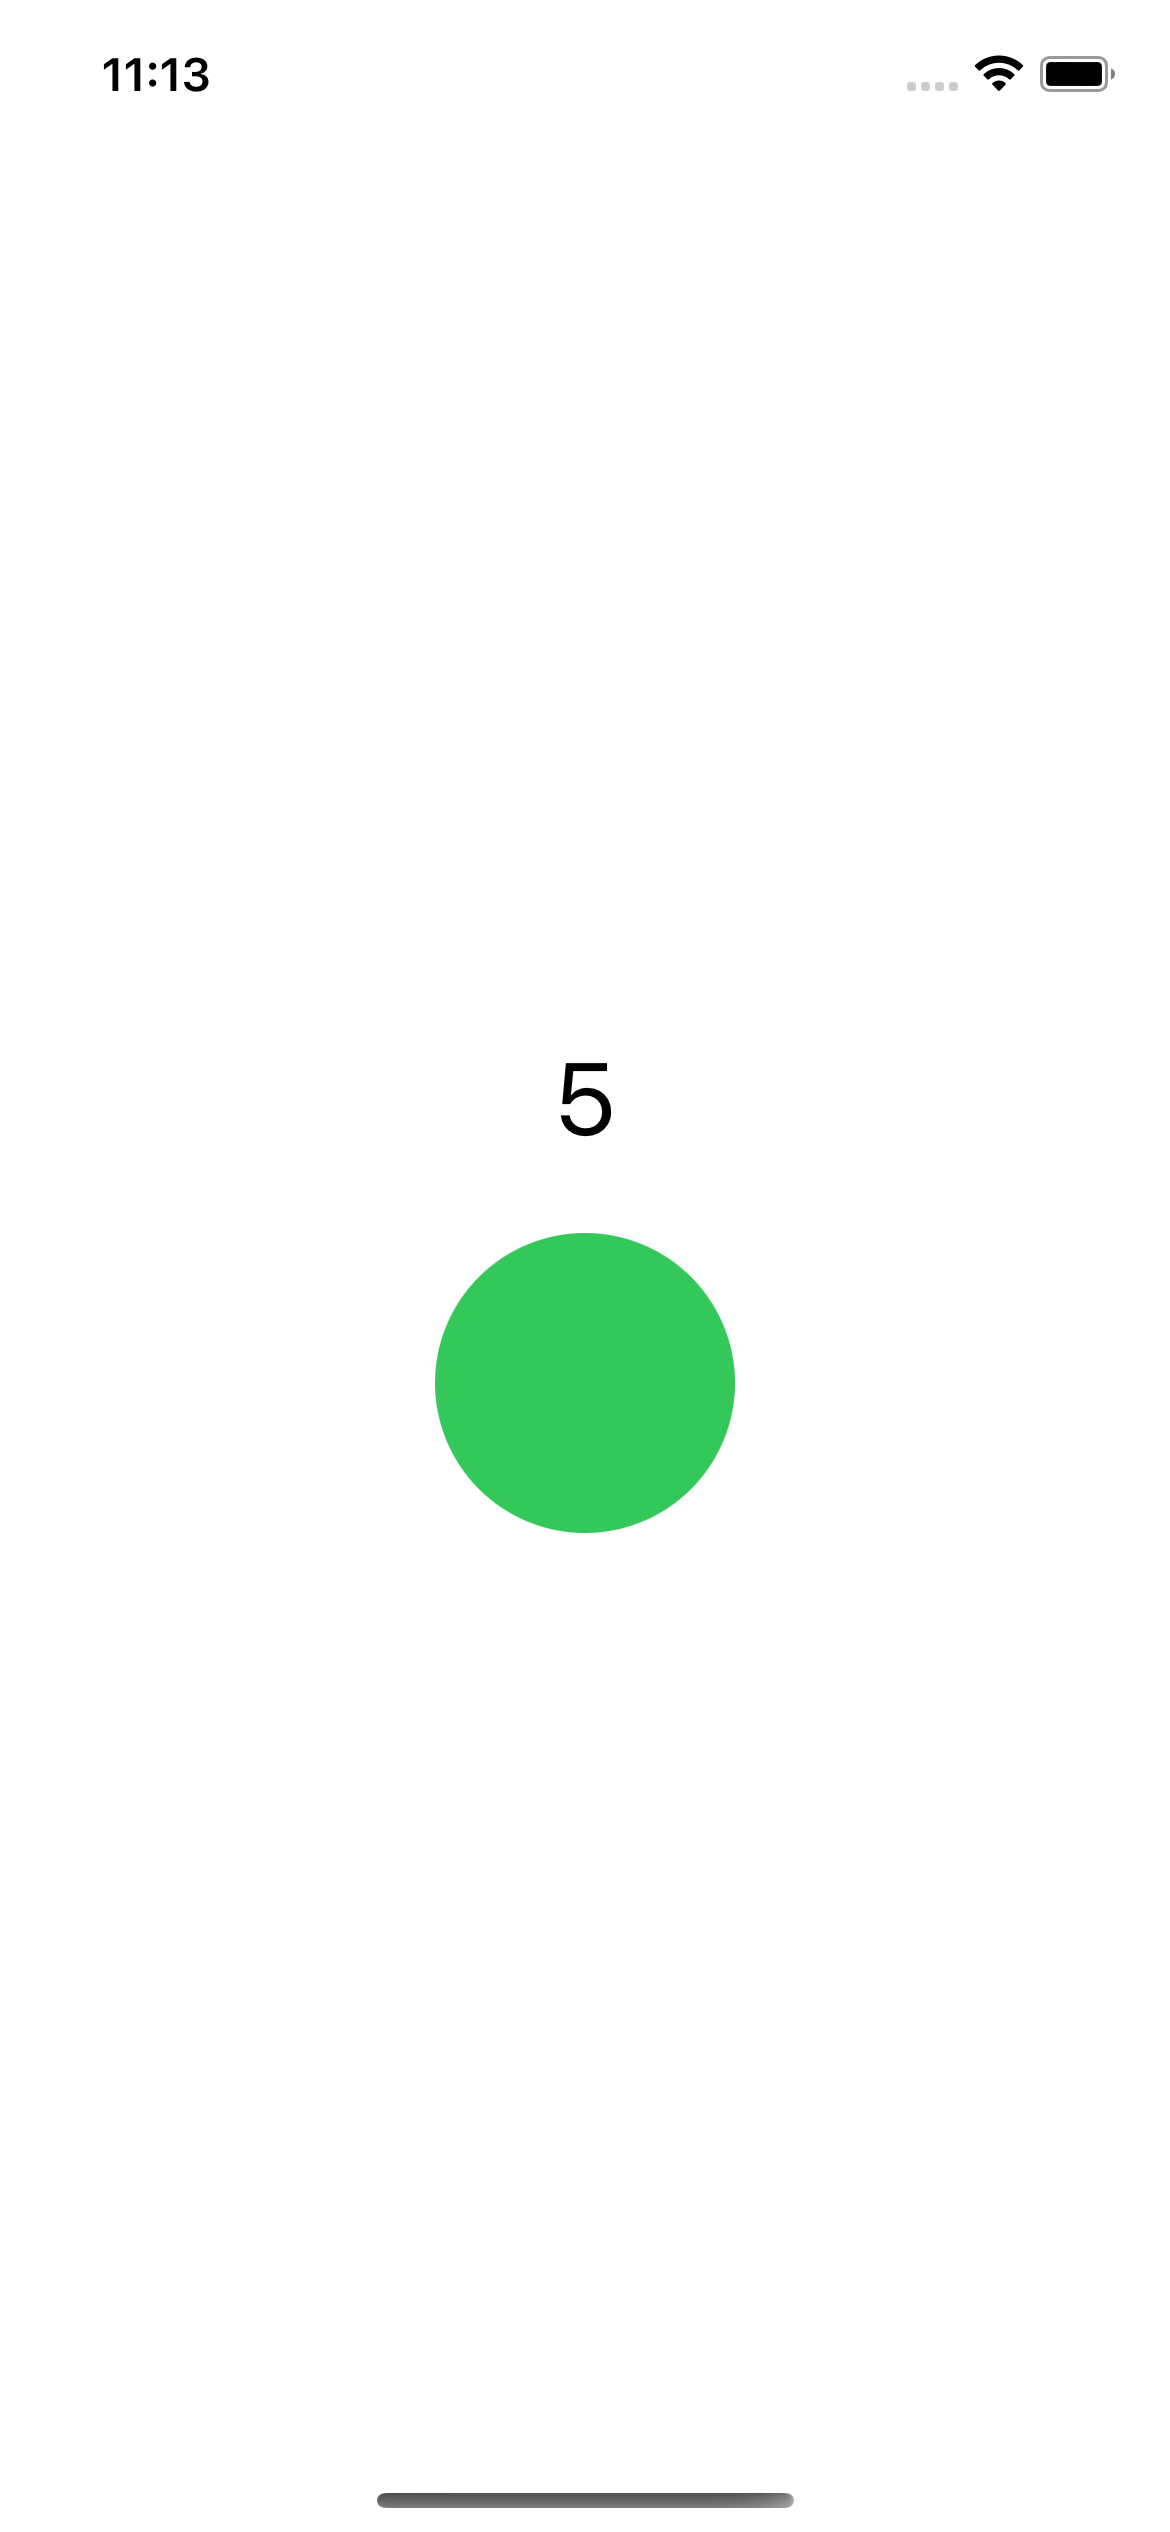
return VStack {
Text("\(totalNumberOfTaps)")
.font(.largeTitle)
Circle()
.fill(isDetectingLongPress ? Color.yellow : Color.green)
.frame(width: 100, height: 100, alignment: .center)
.gesture(press)
}
}
}
👇 押すと一瞬黄色くなり、すぐに緑に戻る + カウントが押すたびに上がっていく

Gestureの最終値を取得するには、onEnded(_:)を使用する
Gestureが成功したときだけonEndedを呼び出すため、最小持続時間秒が経過する前にViewに触れるのを止めるか、最大距離ポイントより多く指を動かすと、onEndedは呼び出されない
struct CounterView: View {
@GestureState var isDetectingLongPress = false
@State var totalNumberOfTaps = 0
@State var doneCounting = false
var body: some View {
let press = LongPressGesture(minimumDuration: 1)
.updating($isDetectingLongPress) { currentState, gestureState, transaction in
gestureState = currentState
}.onChanged { _ in
self.totalNumberOfTaps += 1
}
.onEnded { _ in
self.doneCounting = true
}
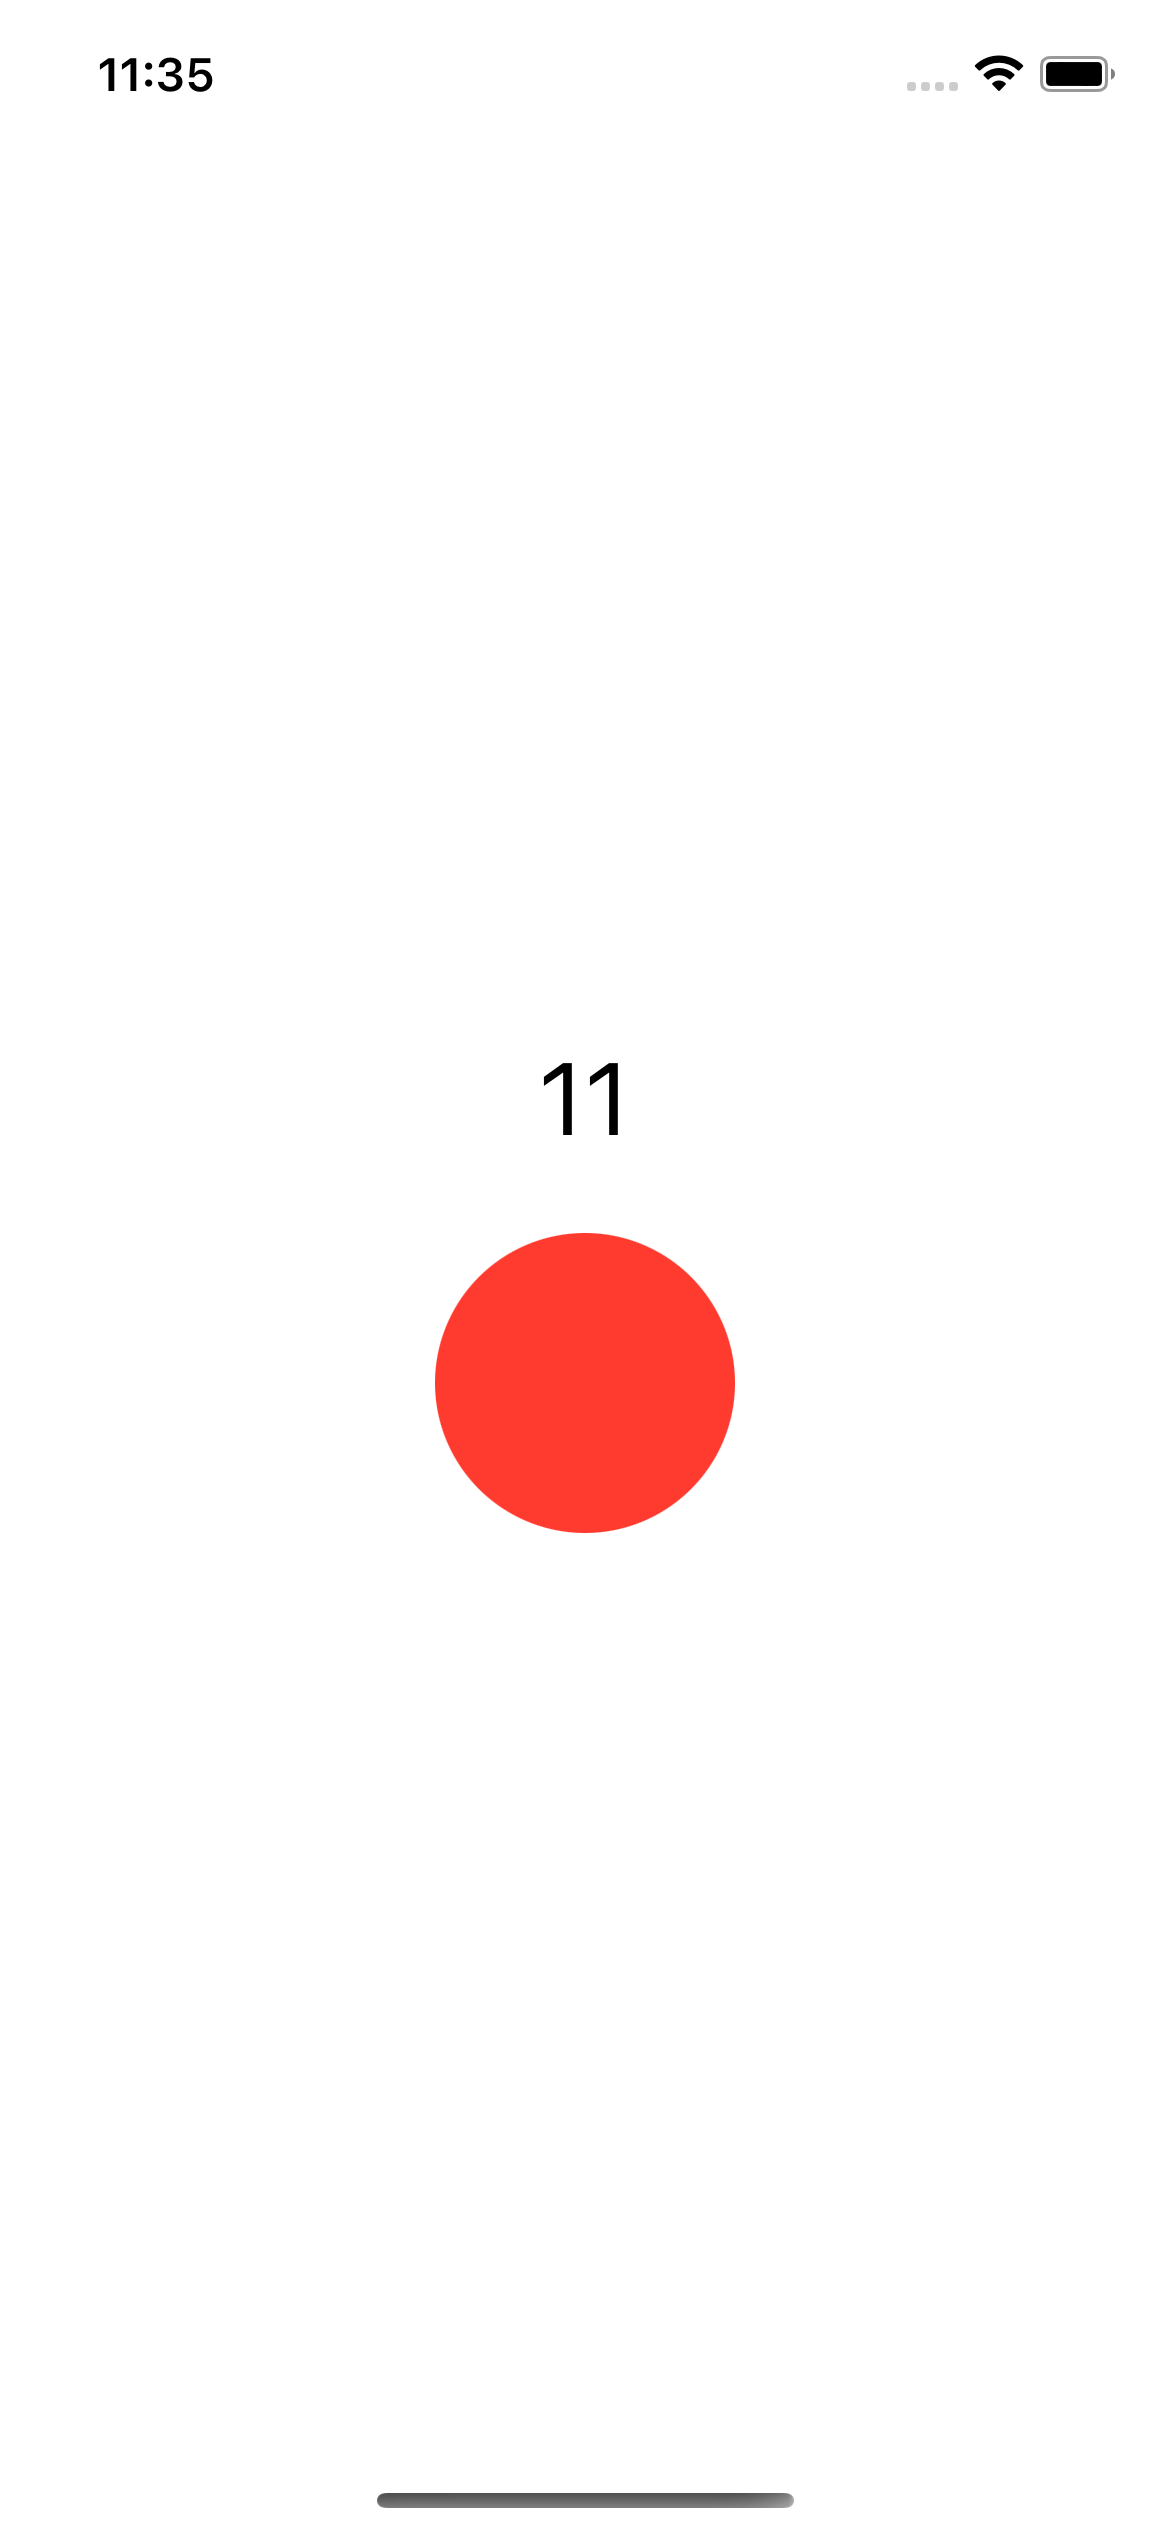
return VStack {
Text("\(totalNumberOfTaps)")
.font(.largeTitle)
Circle()
.fill(doneCounting ? Color.red : isDetectingLongPress ? Color.yellow : Color.green)
.frame(width: 100, height: 100, alignment: .center)
.gesture(doneCounting ? nil : press)
}
}
}
👇 押すと一瞬黄色くなり、すぐに緑に戻る + カウントが押すたびに上がっていく + 長押しすると赤に変わり押せなくなる

コンビネーション
ジェスチャーを組み合わせて、複雑なインタラクションを作る
Gestureを認識する順番を定義するためにジェスチャーコンポジションを使用する
タイプは3種類ある
-
Simultaneous(同時)
-
Sequenced(連続)
-
Exclusive(排他)
連続で認識させるGestureの状態をモデル化する
複雑な状態の追跡を容易にするために、Viewを構成するのに必要なすべての状態をキャプチャするenumを作る
- インタラクションなし(inactive)
- 長押し中(pressing)
- ドラッグ中(drag)
    enum DragState {
        case inactive
        case pressing
        case dragging(translation: CGSize)

        var translation: CGSize {
            switch self {
            case .inactive, .pressing:
                return .zero
            case .dragging(let translation):
                return translation
            }
        }

        var isActive: Bool {
            switch self {
            case .inactive:
                return false
            case .pressing, .dragging:
                return true
            }
        }

        var isDragging: Bool {
            switch self {
            case .inactive, .pressing:
                return false
            case .dragging:
                return true
            }
        }
    }

    @GestureState var dragState = DragState.inactive
    @State var viewState = CGSize.zero
Gestureの作成
2 つのジェスチャをシーケンス化すると、コールバックは両方のジェスチャの状態を取得する
var body: some View {
let minimumLongPressDuration = 0.5
let longPressDrag = LongPressGesture(minimumDuration: minimumLongPressDuration)
.sequenced(before: DragGesture())
.updating($dragState) { value, state, transaction in
switch value {
// Long press begins.
case .first(true):
state = .pressing
// Long press confirmed, dragging may begin.
case .second(true, let drag):
state = .dragging(translation: drag?.translation ?? .zero)
// Dragging ended or the long press cancelled.
default:
state = .inactive
}
}
.onEnded { value in
guard case .second(true, let drag?) = value else { return }
self.viewState.width += drag.translation.width
self.viewState.height += drag.translation.height
}
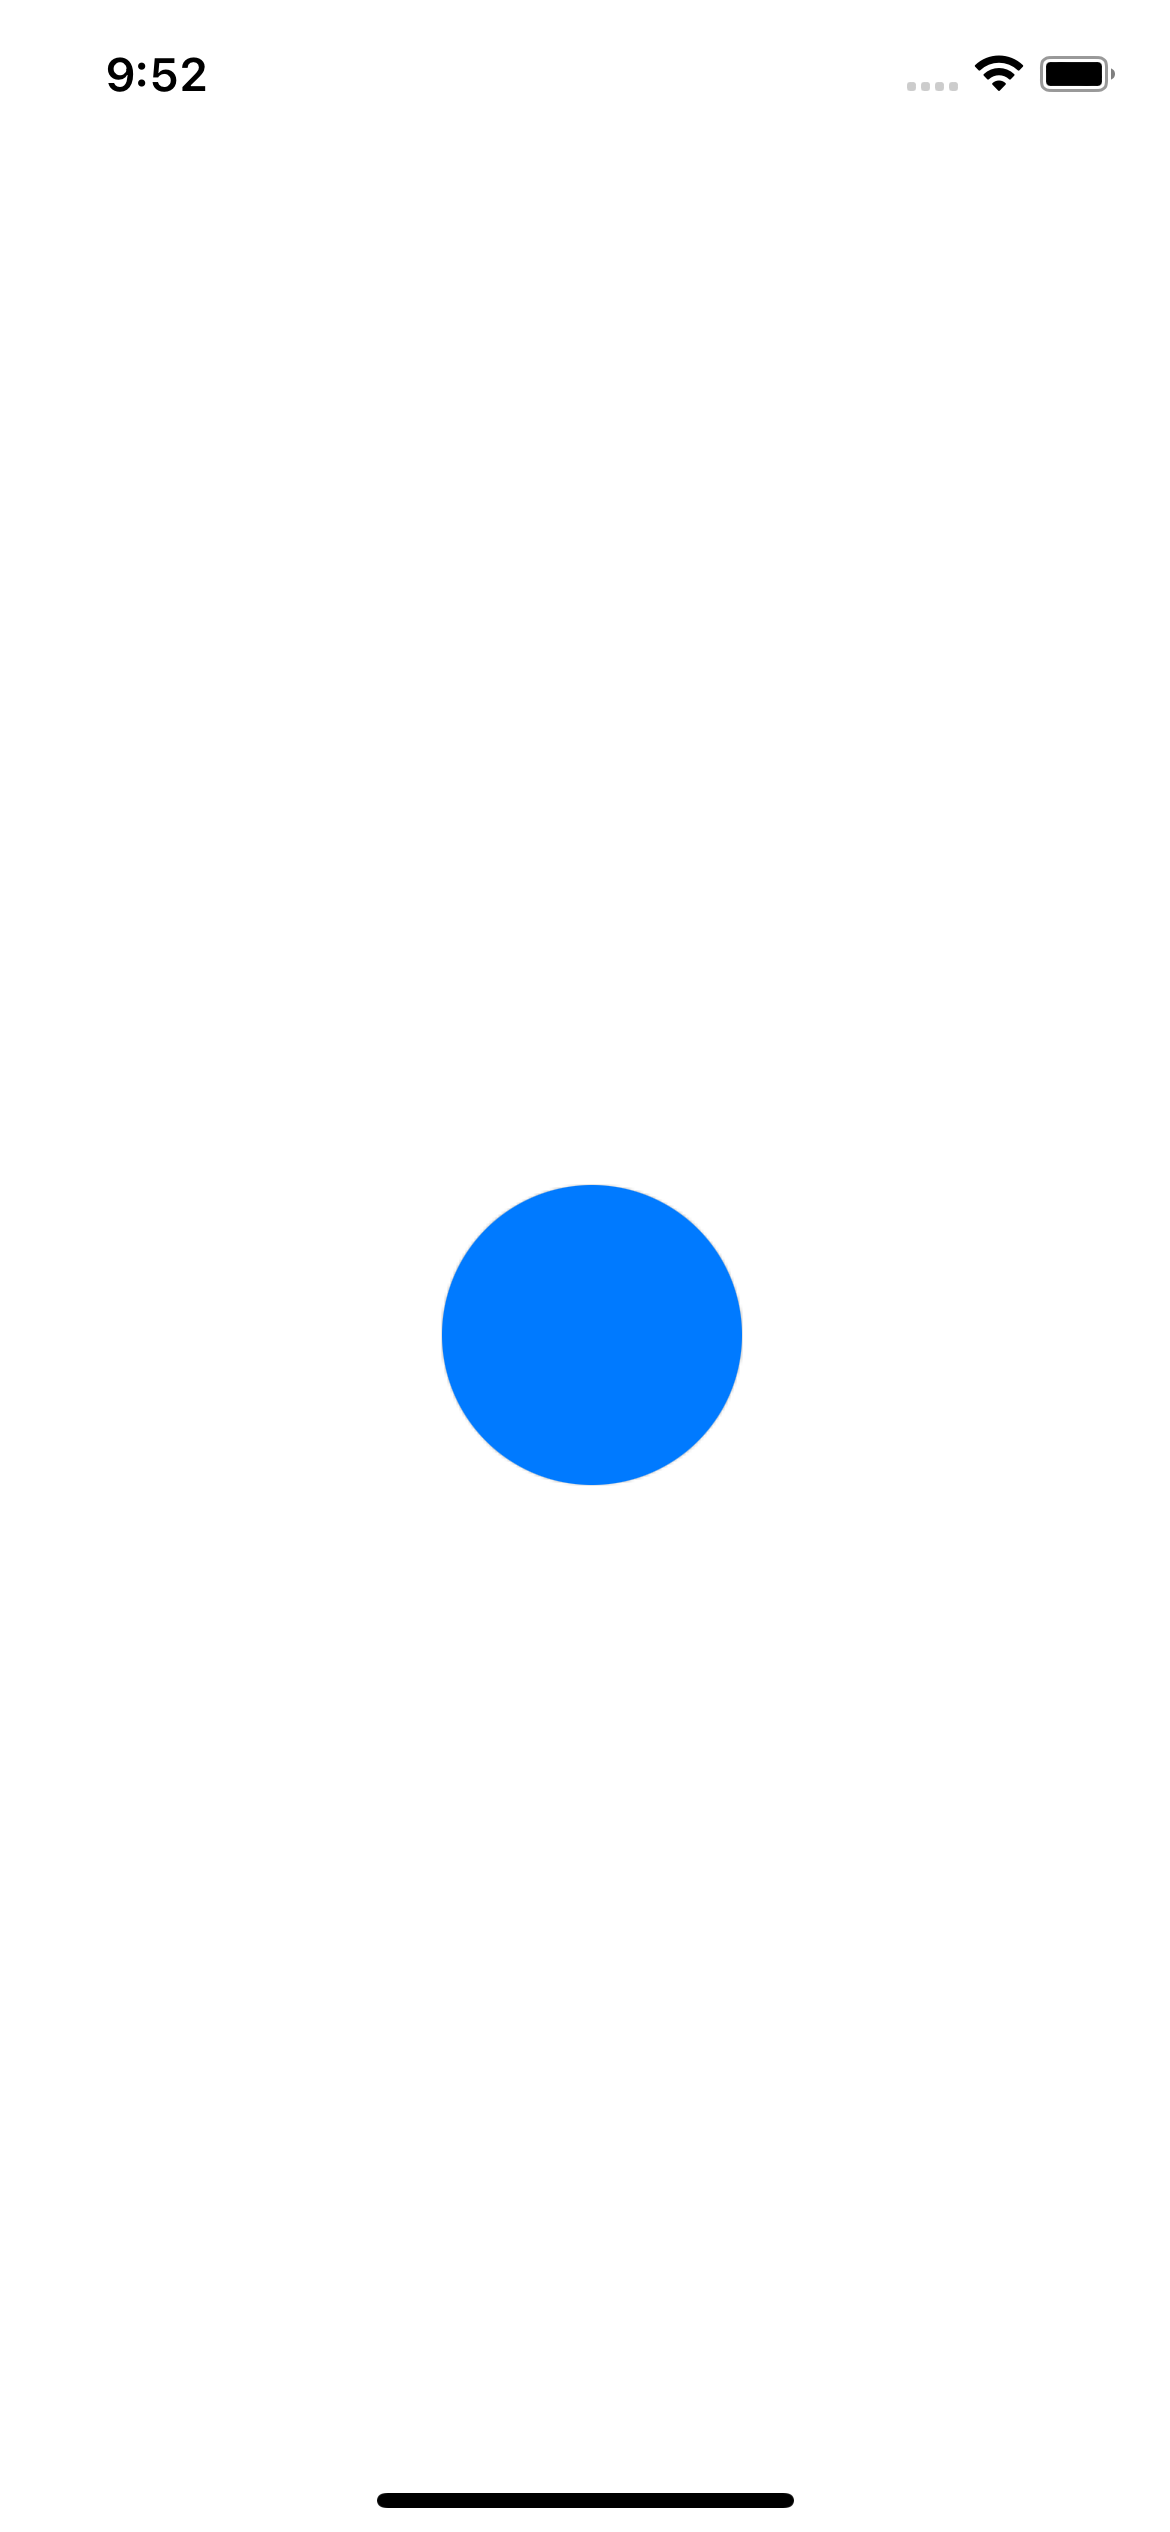
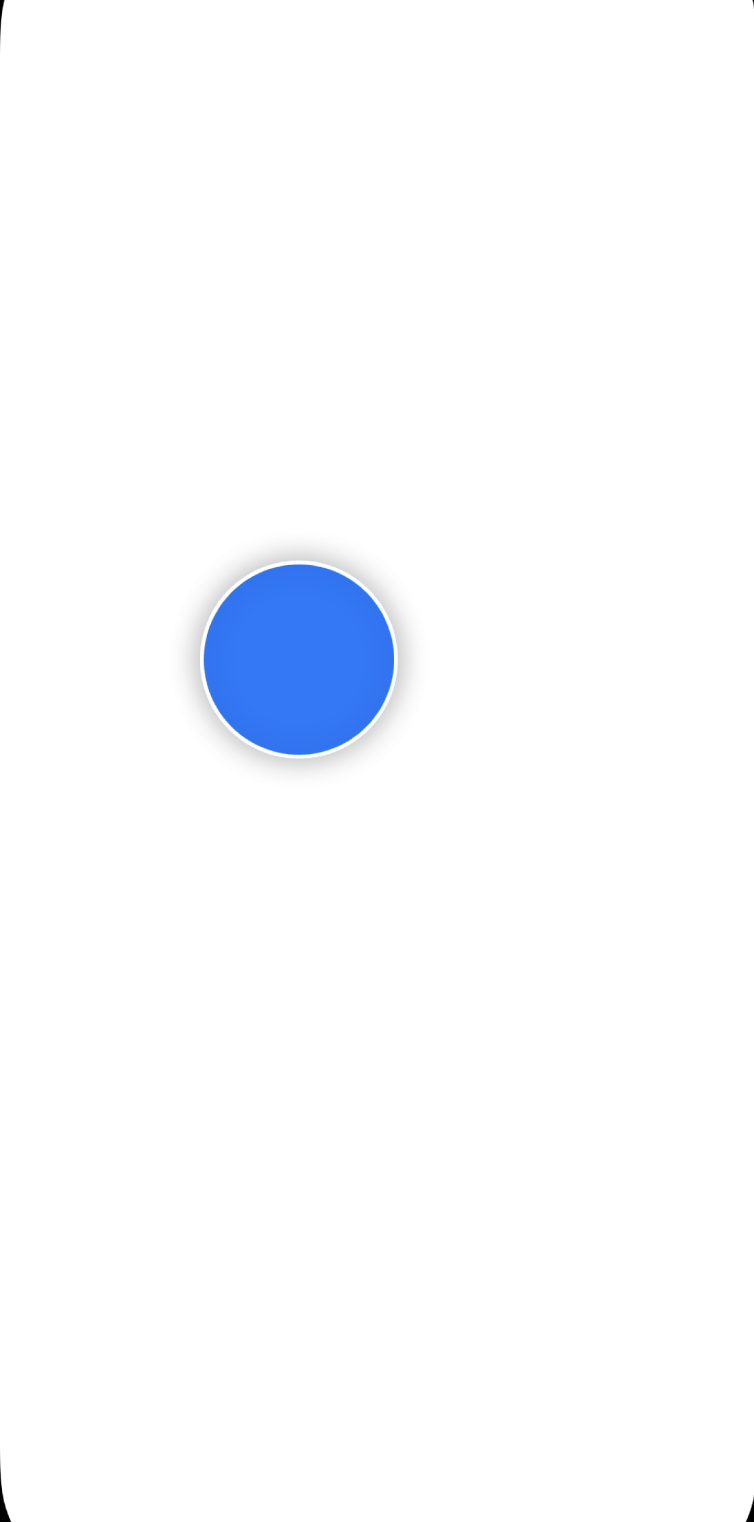
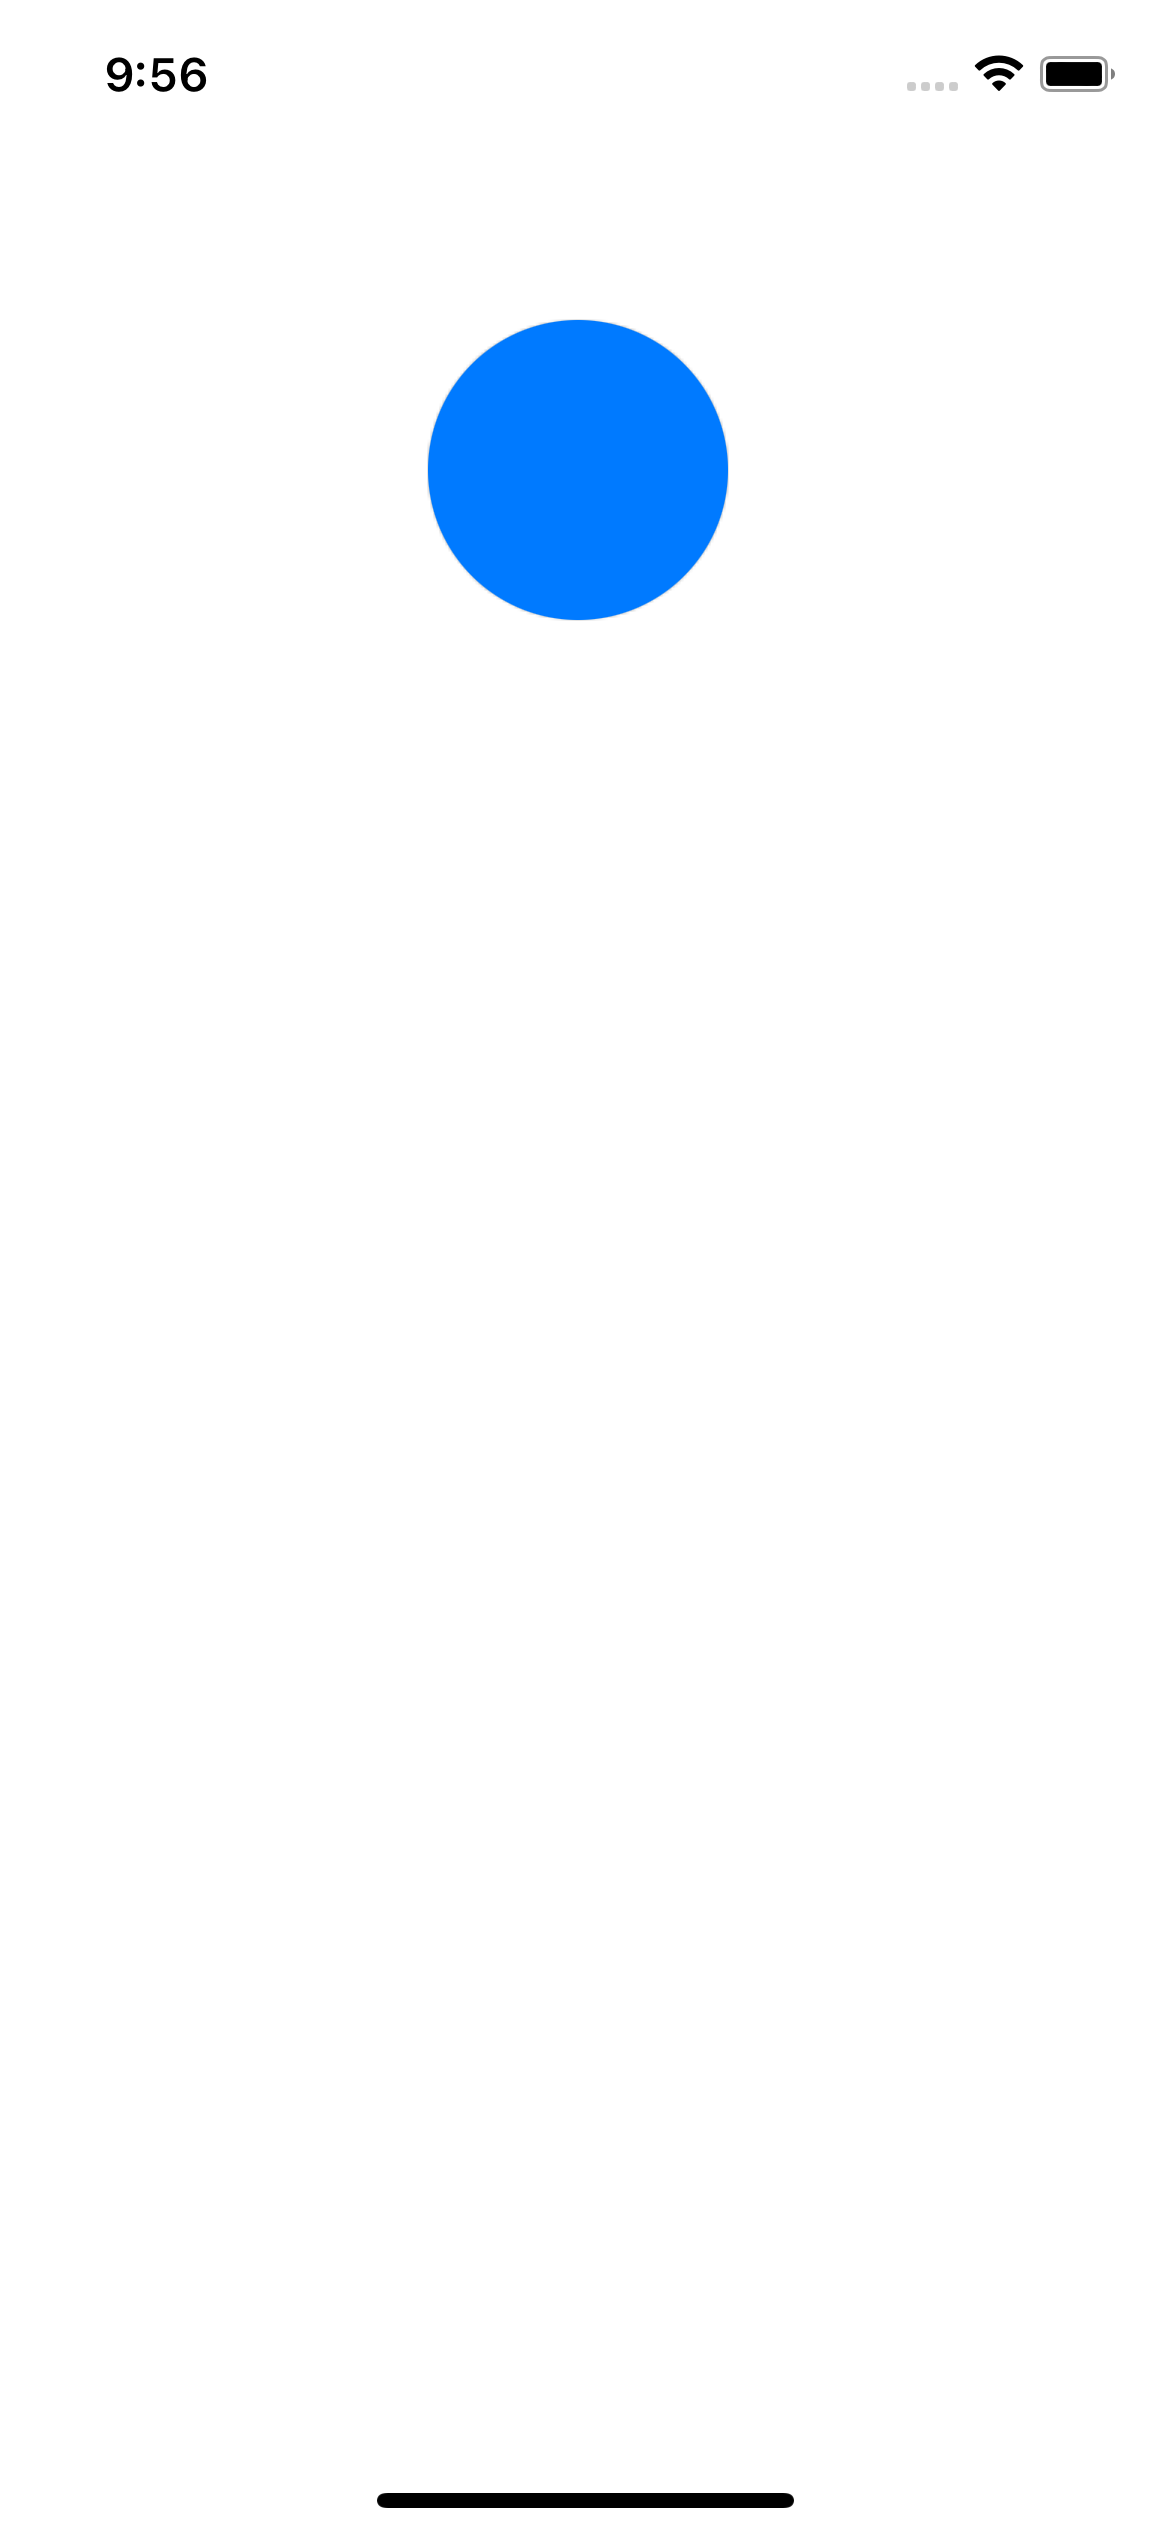
return Circle()
.fill(Color.blue)
.overlay(dragState.isDragging ? Circle().stroke(Color.white, lineWidth: 2) : nil)
.frame(width: 100, height: 100, alignment: .center)
.offset(
x: viewState.width + dragState.translation.width,
y: viewState.height + dragState.translation.height
)
.shadow(radius: dragState.isActive ? 8 : 0)
.animation(.linear(duration: minimumLongPressDuration), value: dragState.isDragging)
.gesture(longPressDrag)
}
}
Viewを押し始めると、ドラッグの状態が押すに変わり、シェイプの下に影がアニメーション表示され、
長押しを終了し、ドラッグの状態が変わると、Viewを動かし始めることができることを示すボーダーがシェイプの周りに表示される
| Start | Moving | End |
|---|---|---|
 |
 |
 |
おわりに
ざっと内容は理解できましたが、まだまだ奥が深そうなので、ユースケースを考えてさらに調べていこうと思います!
参考