はじめに
LINEログインの機能を簡単に触ってみたく、ドキュメント通りにやってみました。
環境
Xcode 13.3
Swift 5.6
LineSDKSwift 5.8.1
内容
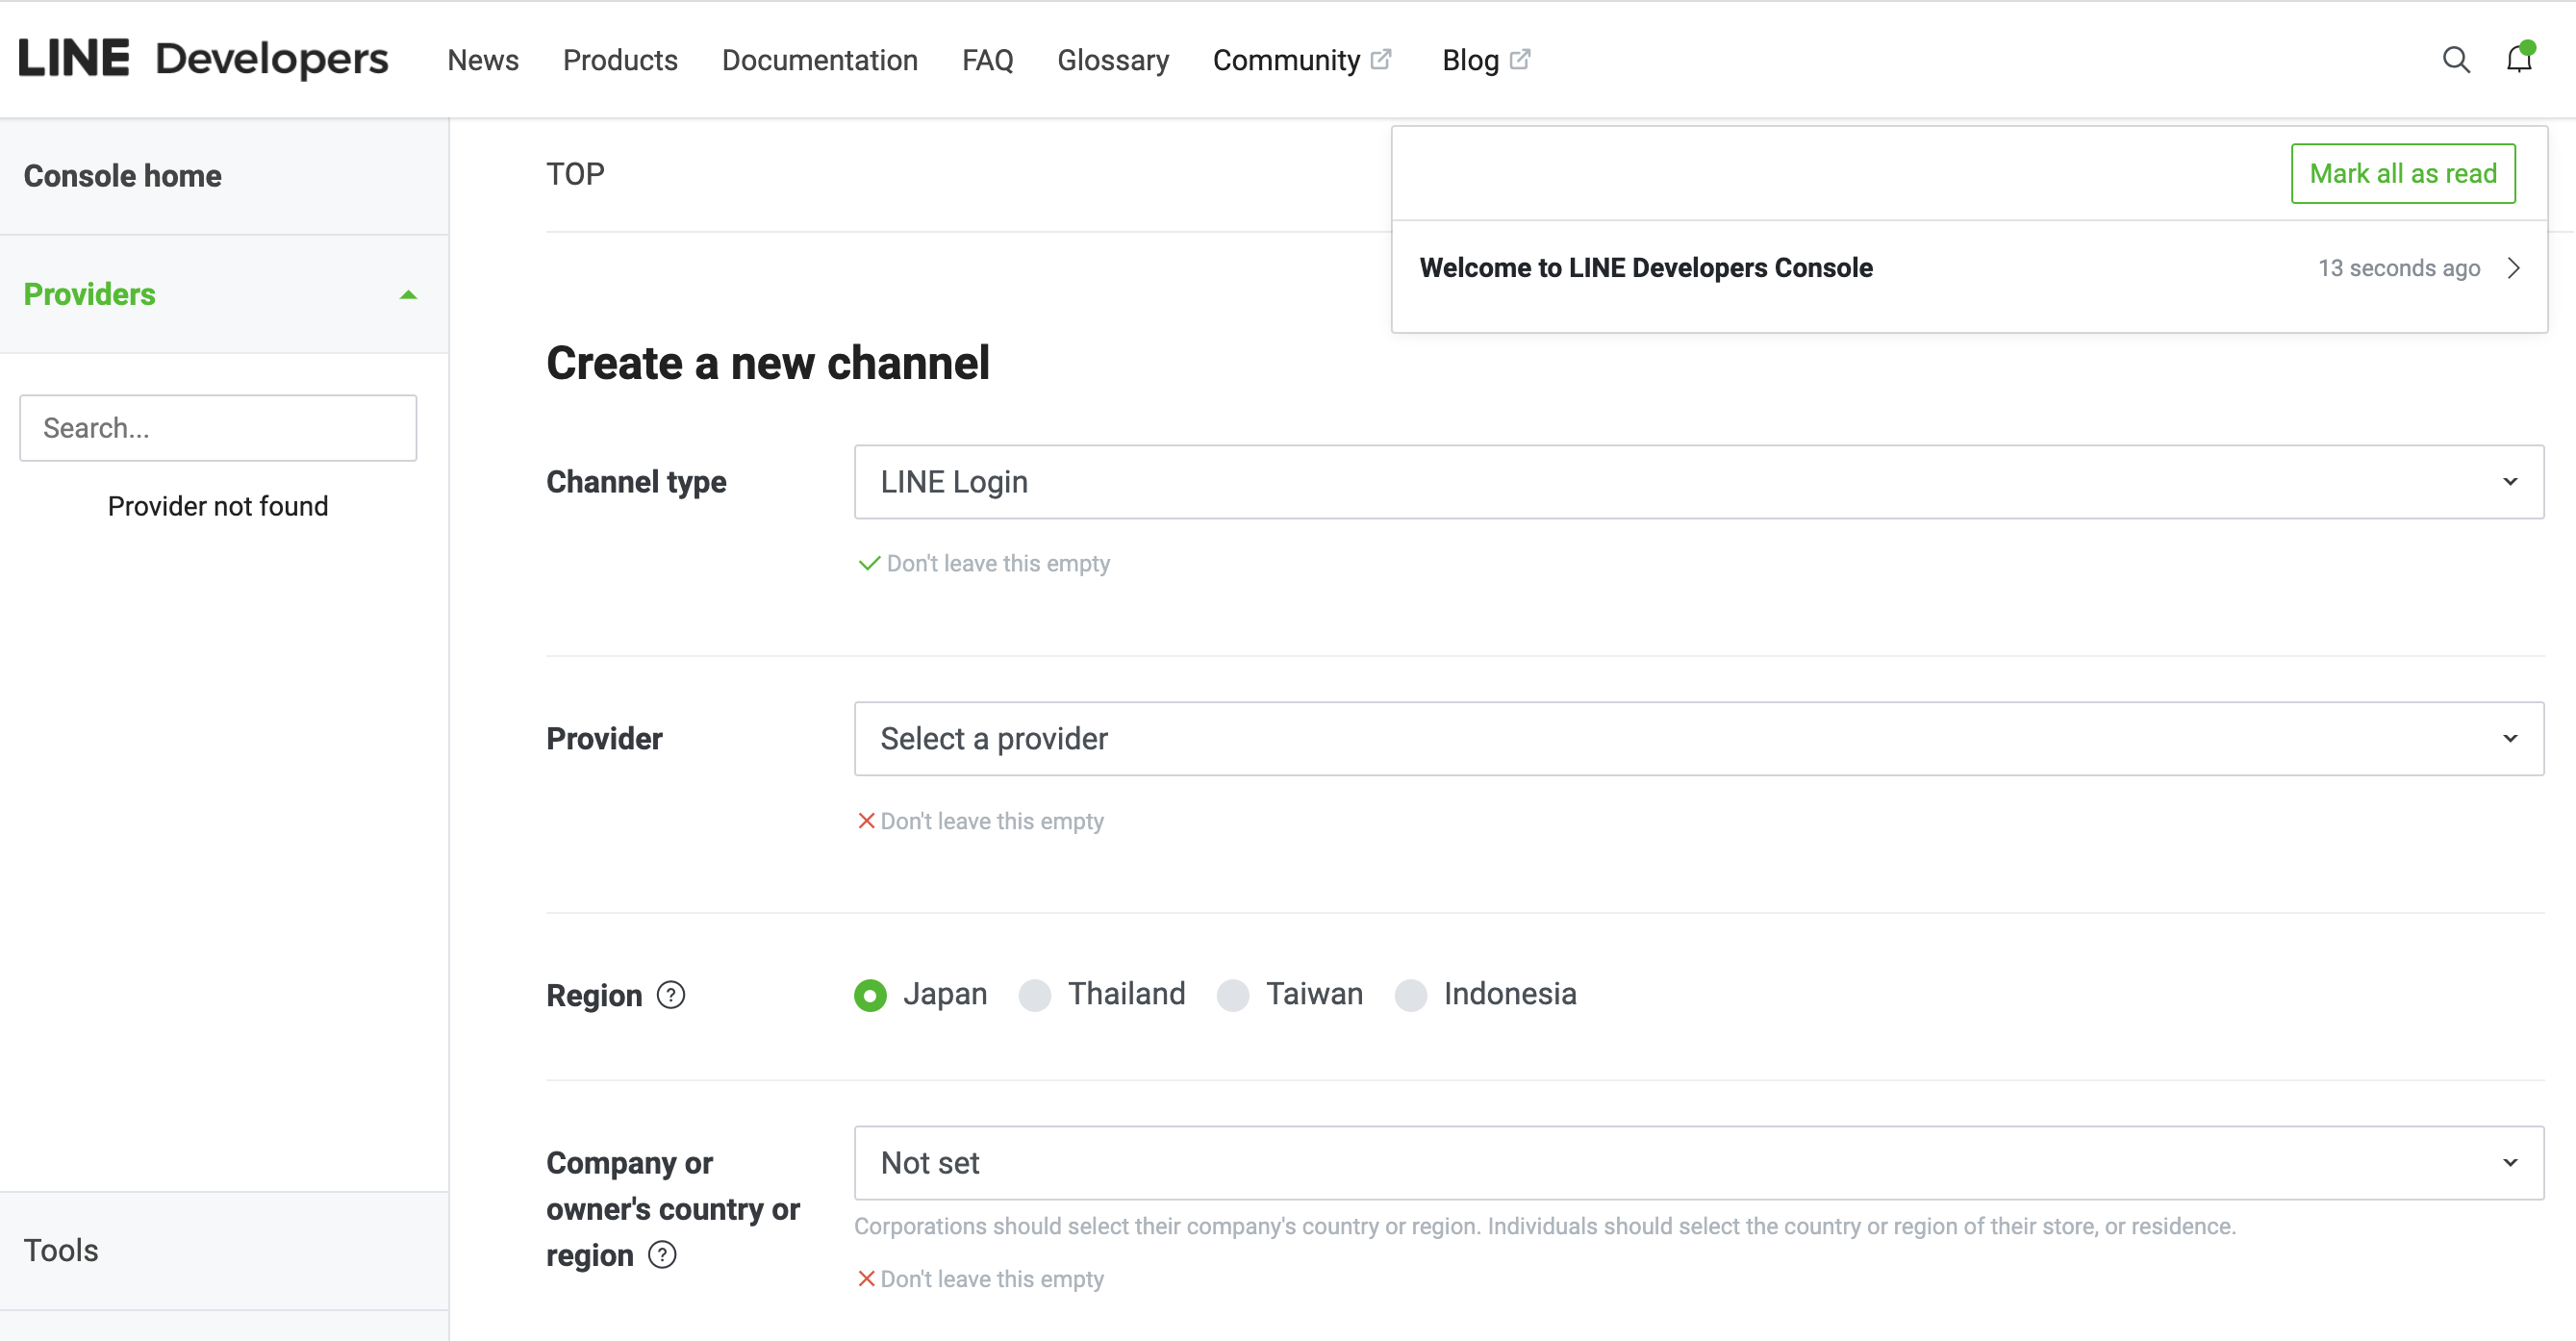
LINEディベロッパー登録
まずは登録
プロジェクト設定
LINE SDK for iOS Swiftをビルドして使用するには、以下が必要です。
- プロバイダーおよびLINEログインのチャネルを作成する。どちらもLINE Developersコンソールで作成できます。
- デプロイメントターゲットとしてiOS 10.0以降
- Xcode 10以降
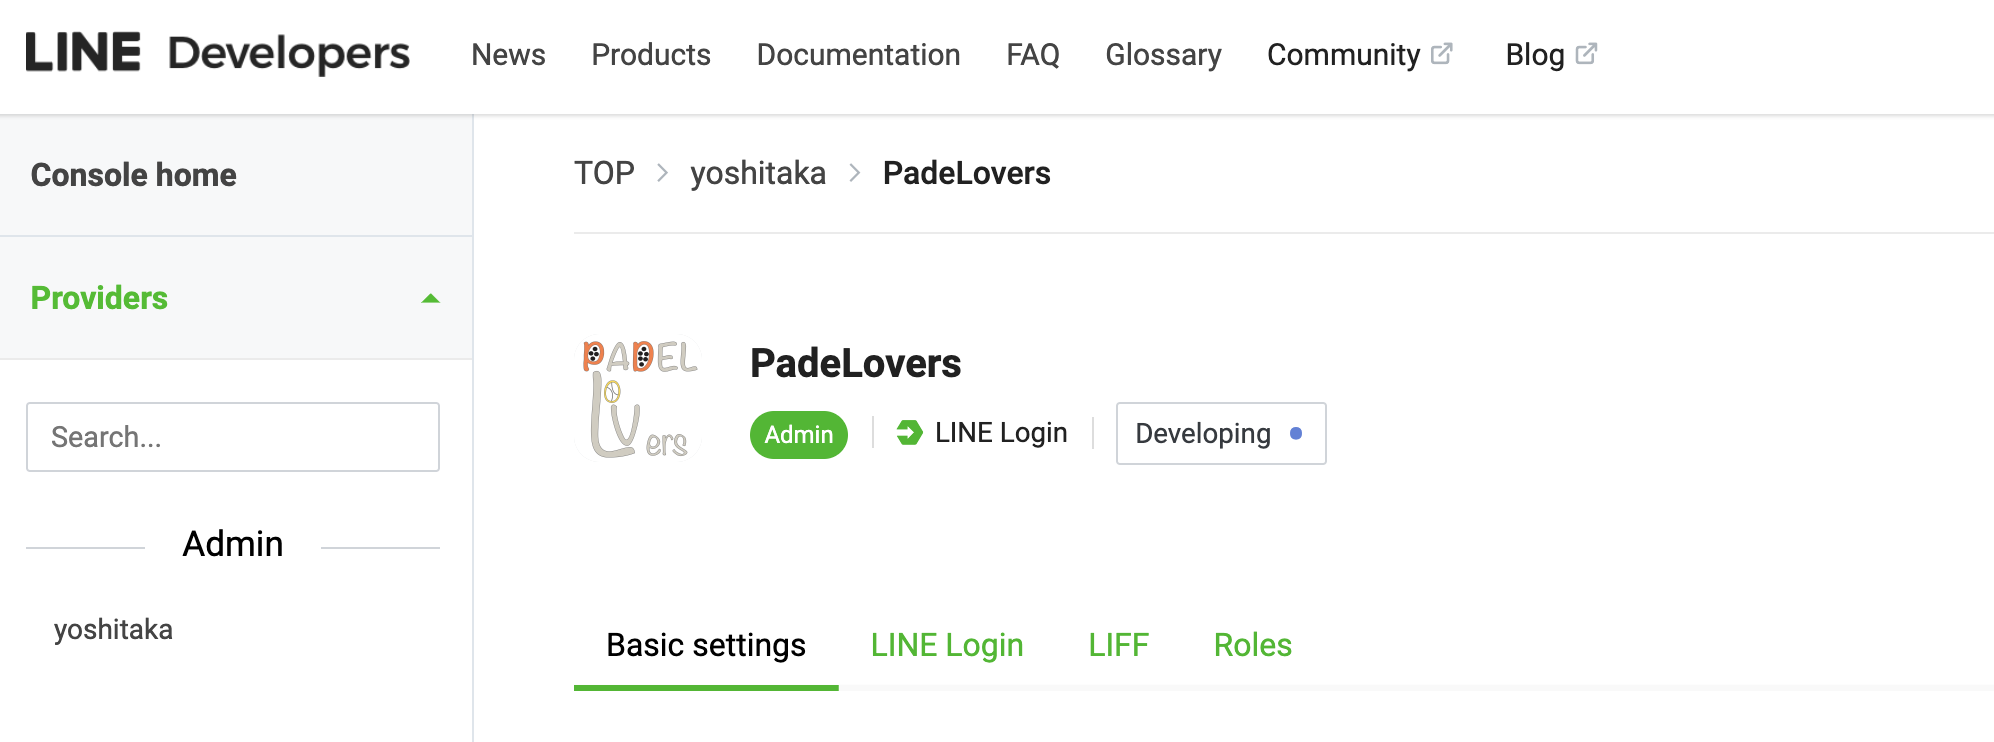
プロバイダー、LINEログインのチャネルを作成
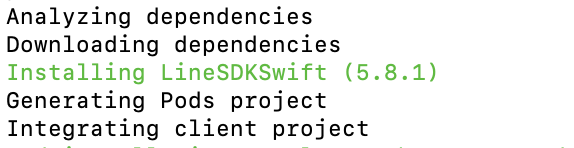
インストール
Cocoapodsを使っていきます
pod 'LineSDKSwift', '~> 5.8.1'でインストールしていきます
アプリをチャネルにリンクする
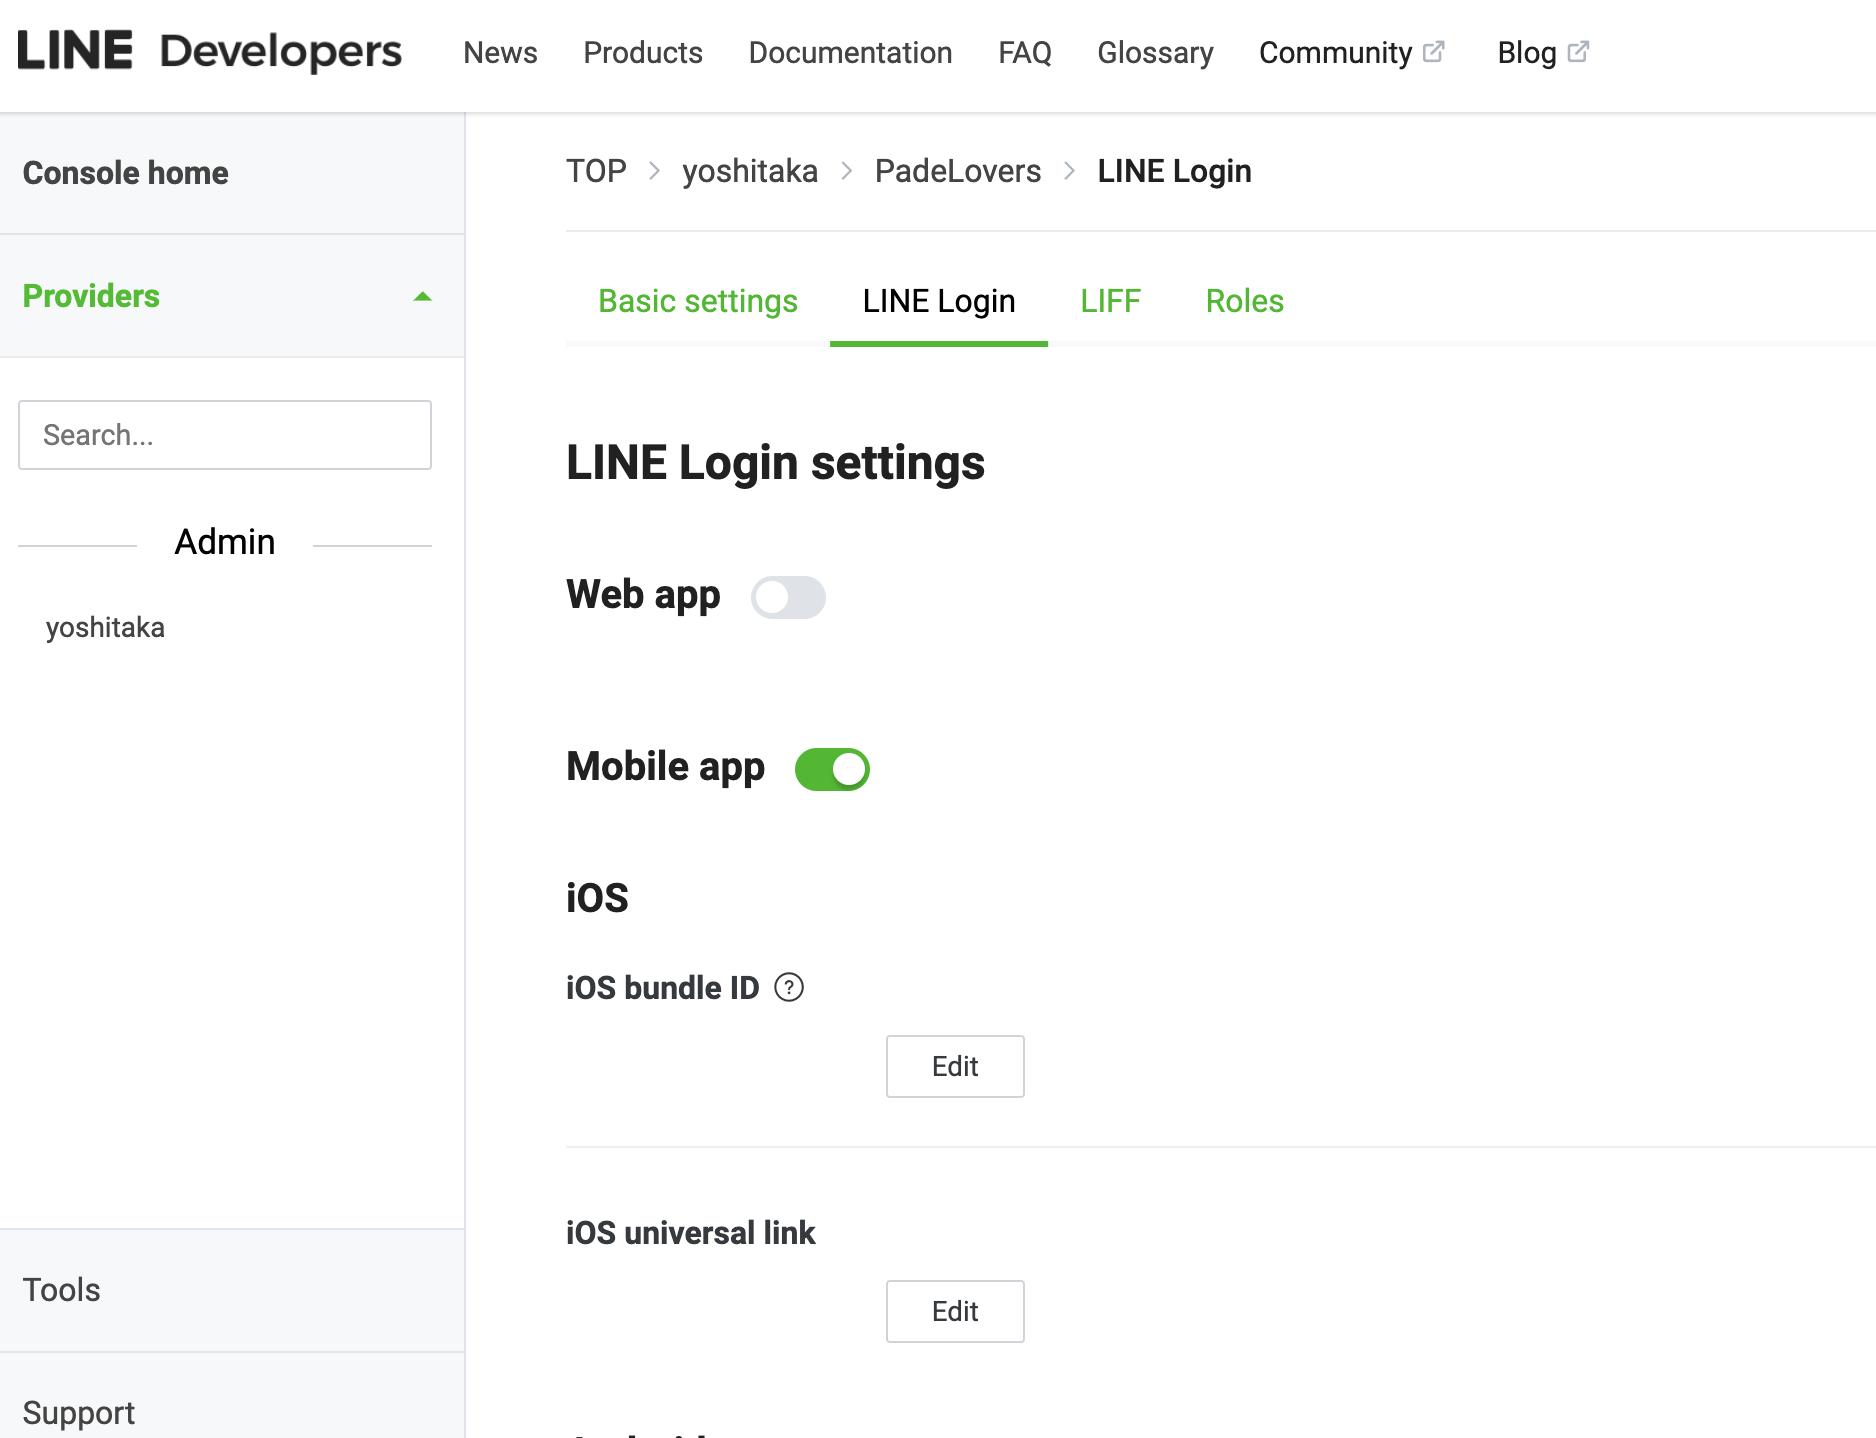
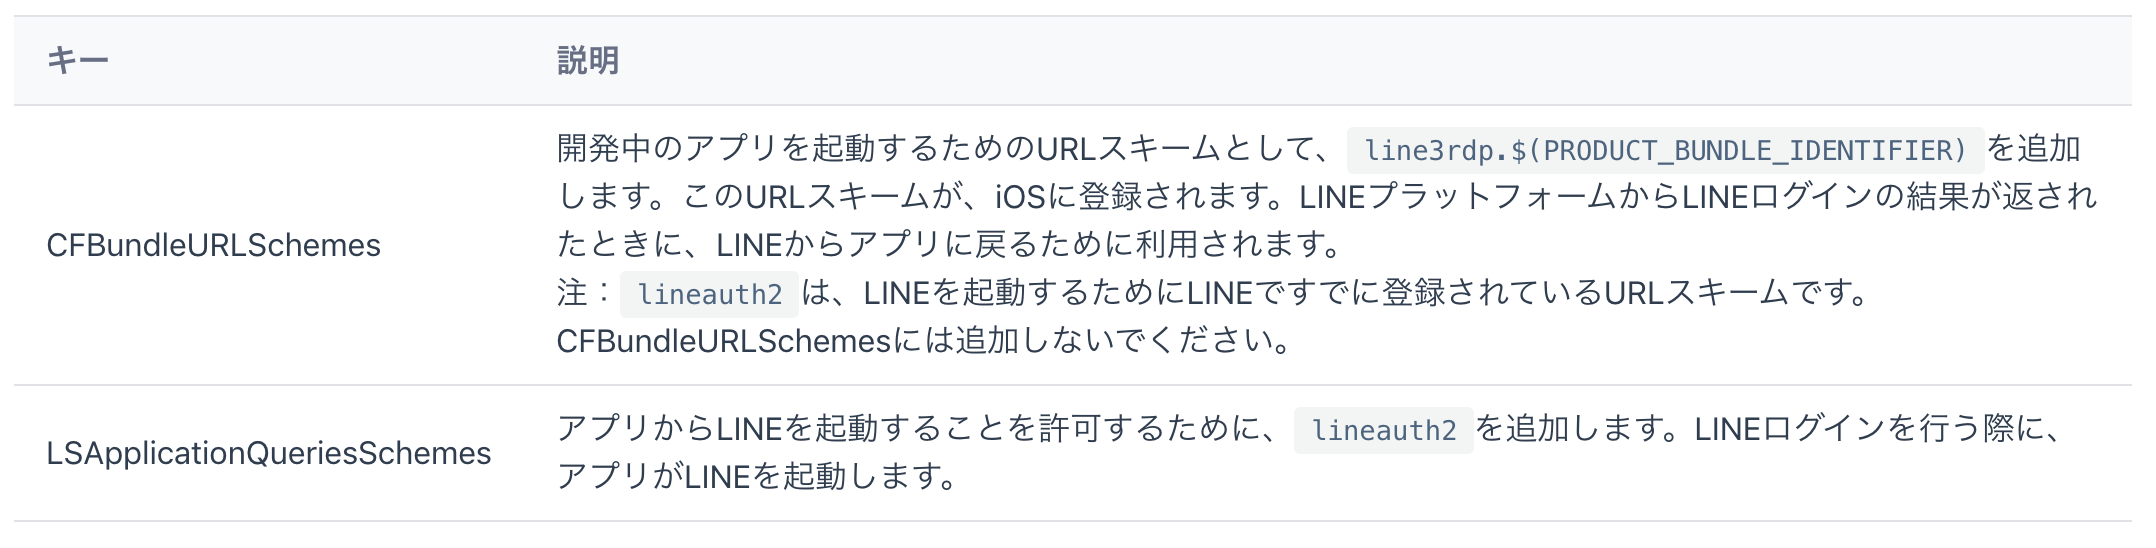
info.plistファイルを設定する
info.plistに追加
<key>CFBundleURLTypes</key>
<array>
    <dict>
        <key>CFBundleTypeRole</key>
        <string>Editor</string>
        <key>CFBundleURLSchemes</key>
        <array>
            <!-- LINEからアプリに戻る際に利用するURLスキーマを追加 -->
            <string>line3rdp.$(PRODUCT_BUNDLE_IDENTIFIER)</string>
        </array>
    </dict>
</array>
<key>LSApplicationQueriesSchemes</key>
<array>
    <!-- アプリからLINEを起動する際に利用するURLスキーマを追加 -->
    <string>lineauth2</string>
</array>
iOSアプリにLINEログインを組み込む
AppDelegateとSceneDelegateの修正
import LineSDK

@UIApplicationMain
class AppDelegate: UIResponder, UIApplicationDelegate {
    func application(_ application: UIApplication, didFinishLaunchingWithOptions launchOptions: [UIApplication.LaunchOptionsKey: Any]?) -> Bool {
        // Add this to your "didFinishLaunching" delegate method.
        LoginManager.shared.setup(channelID: "YOUR_CHANNEL_ID", universalLinkURL: nil)

        return true
    }
}
import LineSDK

class SceneDelegate: UIResponder, UIWindowSceneDelegate {
    func scene(_ scene: UIScene, openURLContexts URLContexts: Set<UIOpenURLContext>) {
        _ = LoginManager.shared.application(.shared, open: URLContexts.first?.url)
    }
}
LINE SDKに組み込まれているログインボタンを使う
サンプルのままで動かしてみる
// In your view controller
override func viewDidLoad() {
    super.viewDidLoad()

    // Create Login Button.
    let loginButton = LoginButton()
    loginButton.delegate = self

    // Configuration for permissions and presenting.
    loginButton.permissions = [.profile]
    loginButton.presentingViewController = self

    // Add button to view and layout it.
    view.addSubview(loginButton)
    loginButton.translatesAutoresizingMaskIntoConstraints = false
    loginButton.centerXAnchor.constraint(equalTo: view.centerXAnchor).isActive = true
    loginButton.centerYAnchor.constraint(equalTo: view.centerYAnchor).isActive = true
}
※ このままでは使えないけど👇
extension LoginViewController: LoginButtonDelegate {
    func loginButton(_ button: LoginButton, didSucceedLogin loginResult: LoginResult) {
        hideIndicator()
        print("Login Succeeded.")
    }

    func loginButton(_ button: LoginButton, didFailLogin error: LineSDKError) {
        hideIndicator()
        print("Error: \(error)")
    }

    func loginButtonDidStartLogin(_ button: LoginButton) {
        showIndicator()
        print("Login Started.")
    }
}
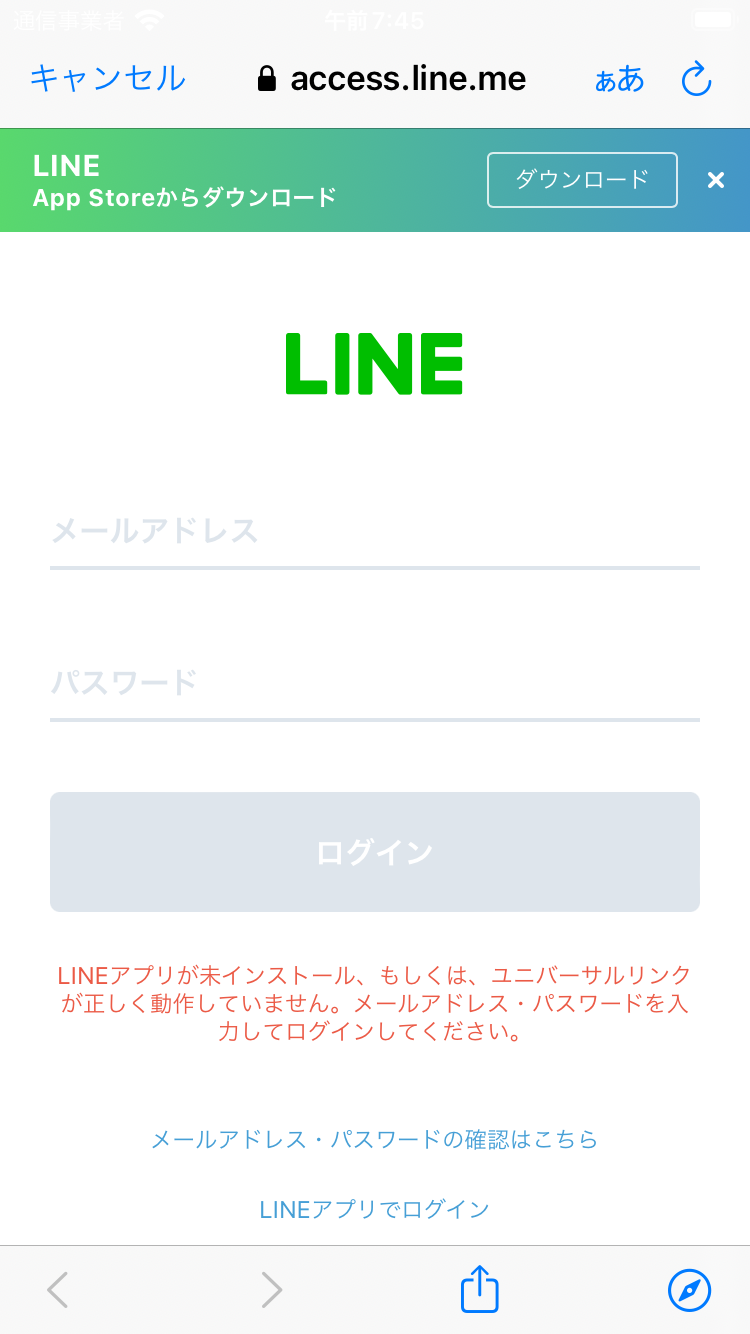
ここまでで動かしてみると、見た目はこんな感じ


ユーザープロフィールの取得
ログイン時にプロフィールの取得してみる
extension LoginViewController: LoginButtonDelegate {
    func loginButton(_ button: LoginButton, didSucceedLogin loginResult: LoginResult) {
        if let profile = loginResult.userProfile {
            print("User ID: \(profile.userID)")
            print("User Display Name: \(profile.displayName)")
            print("User Icon: \(String(describing: profile.pictureURL))")
        }
    }
}
LoginButtonDelegateを使わずに実装する場合
LoginManager.shared.login(permissions: [.profile], in: self) {
    result in
    switch result {
    case .success(let loginResult):
        if let profile = loginResult.userProfile {
            print("User ID: \(profile.userID)")
            print("User Display Name: \(profile.displayName)")
            print("User Icon: \(String(describing: profile.pictureURL))")
        }
    case .failure(let error):
        print(error)
    }
}
ちなみに、ログイン状態へのアクセスはLoginManager.shared.isAuthorizedが使える
エラーを制御
一般的なエラー制御を参考に
extension LoginViewController: LoginButtonDelegate {
    func loginButton(_ button: LoginButton, didFailLogin error: LineSDKError) {
        if error.isUserCancelled {
            // User cancelled the login process himself/herself.

        } else if error.isPermissionError {
            // Equivalent to checking .responseFailed.invalidHTTPStatusAPIError
            // with code 403. Should login again.

        } else if error.isURLSessionTimeOut {
            // Underlying request timeout in URL session. Should try again later.

        } else if error.isRefreshTokenError {
            // User is accessing a public API with expired token, LINE SDK tried to
            // refresh the access token automatically, but failed (due to refresh token)
            // also expired. Should login again.

        } else {
            // Any other errors.
            print("\(error)")
        }
        print("Error: \(error)")
    }
}
ユーザー情報をバックエンドサーバーで利用
バックエンドサーバーでは、UserProfileオブジェクトから取得できるユーザーIDなどの情報は、利用しないでください。悪意のあるクライアントは、任意のユーザーになりすますために、任意のユーザーIDや不正な情報をバックエンドサーバーに送信できます。
ユーザーIDなどの情報を送信する代わりにアクセストークンを送信し、バックエンドサーバーではアクセストークンからユーザーIDなどの情報を取得します。
👇のドキュメントで安全なユーザー登録およびログインプロセスについて丁寧に説明されています
おわりに
LINEログインの動きを確認するだけであれば、とても簡単でした。しかし実際の運用ではバックエンドへユーザー情報を送る必要があり、その場合はアクセストークンのやり取りが必須なため、簡単にはいかないのかと。
今回LINEログインを試したことで、アプリとサーバーの間で安全なログインプロセスを構築するについて理解できたので大変収穫でした。
参考