はじめに
iOS16から使えるGridについて、ドキュメントを読んでみました
2次元のレイアウトを作成するのにとても便利そうでした
内容
Gridとその行は、VStackに包まれたHStackのコレクションのような動作をするが
行と列の作成を1つの操作として処理し、セルの間隔と配置を行と無関係の列に最初に適用するのではなく、セルに適用する
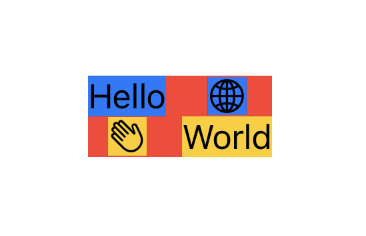
Grid {
    GridRow {
        Text("Hello")
        Image(systemName: "globe")
    }
    GridRow {
        Image(systemName: "hand.wave")
        Text("World")
    }
}

背景に色をつけるとこんな感じに
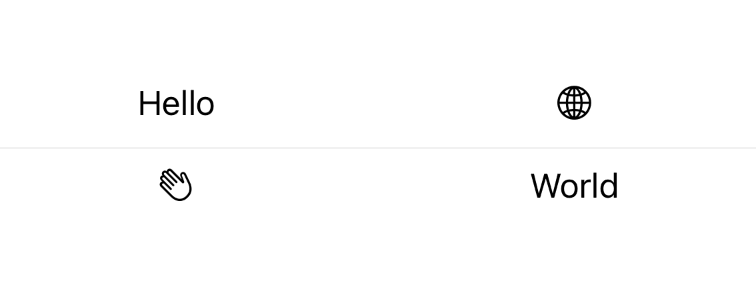
Gridの中に、GridRowではなくViewを指定した場合、GridはViewを使用してGridのすべての列にまたがる行を作成する
Grid {
    GridRow {
        Text("Hello")
        Image(systemName: "globe")
    }
    Divider()
    GridRow {
        Image(systemName: "hand.wave")
        Text("World")
    }
}
gridCellUnsizedAxes
gridCellUnsizedAxes(_:)を使うことで、Viewが行や列の他のセルが必要とする以上のスペースを取るのを防ぐことができる
Divider()
    .gridCellUnsizedAxes(.horizontal)

例えば、Textで使うと
gridCellColumns
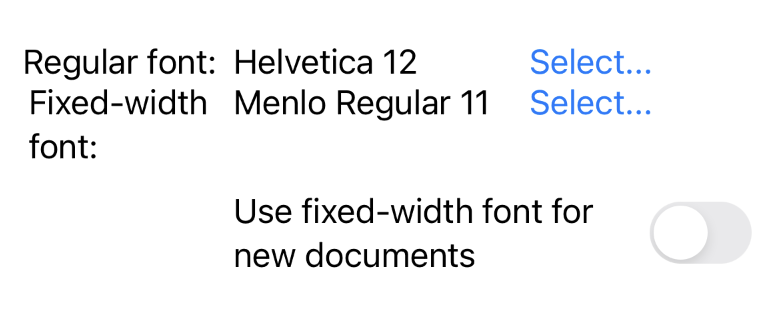
Grid全体ではなく、特定の列数にセルをまたがるようにするには、GridRowに含まれるViewでgridCellColumns(_:)を使用する
デフォルトでは、GridRowの中に入れた各Viewは、Gridのちょうど1つのカラムに対応する
Grid(alignment: .leadingFirstTextBaseline) {
    GridRow {
        Text("Regular font:")
            .gridColumnAlignment(.trailing)
        Text("Helvetica 12")
        Button("Select...") { }
    }
    GridRow {
        Text("Fixed-width font:")
        Text("Menlo Regular 11")
        Button("Select...") { }
    }
    GridRow {
        Color.clear
            .gridCellUnsizedAxes([.vertical, .horizontal])
        Toggle("Use fixed-width font for new documents", isOn: $isOn)
            .gridCellColumns(2) // Span two columns.
    }
}
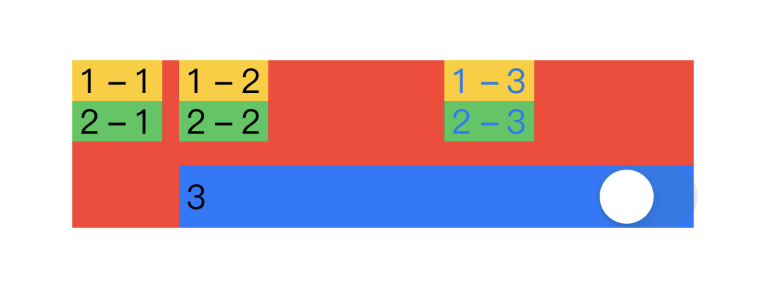
試しに.gridCellColumns()を
デフォルト、.gridCellColumns(2)、.gridCellColumns(3)で比べてみると
(ちょっと文字と色を変えましたが、さらに分かりにくい気も。。。)


カラム数
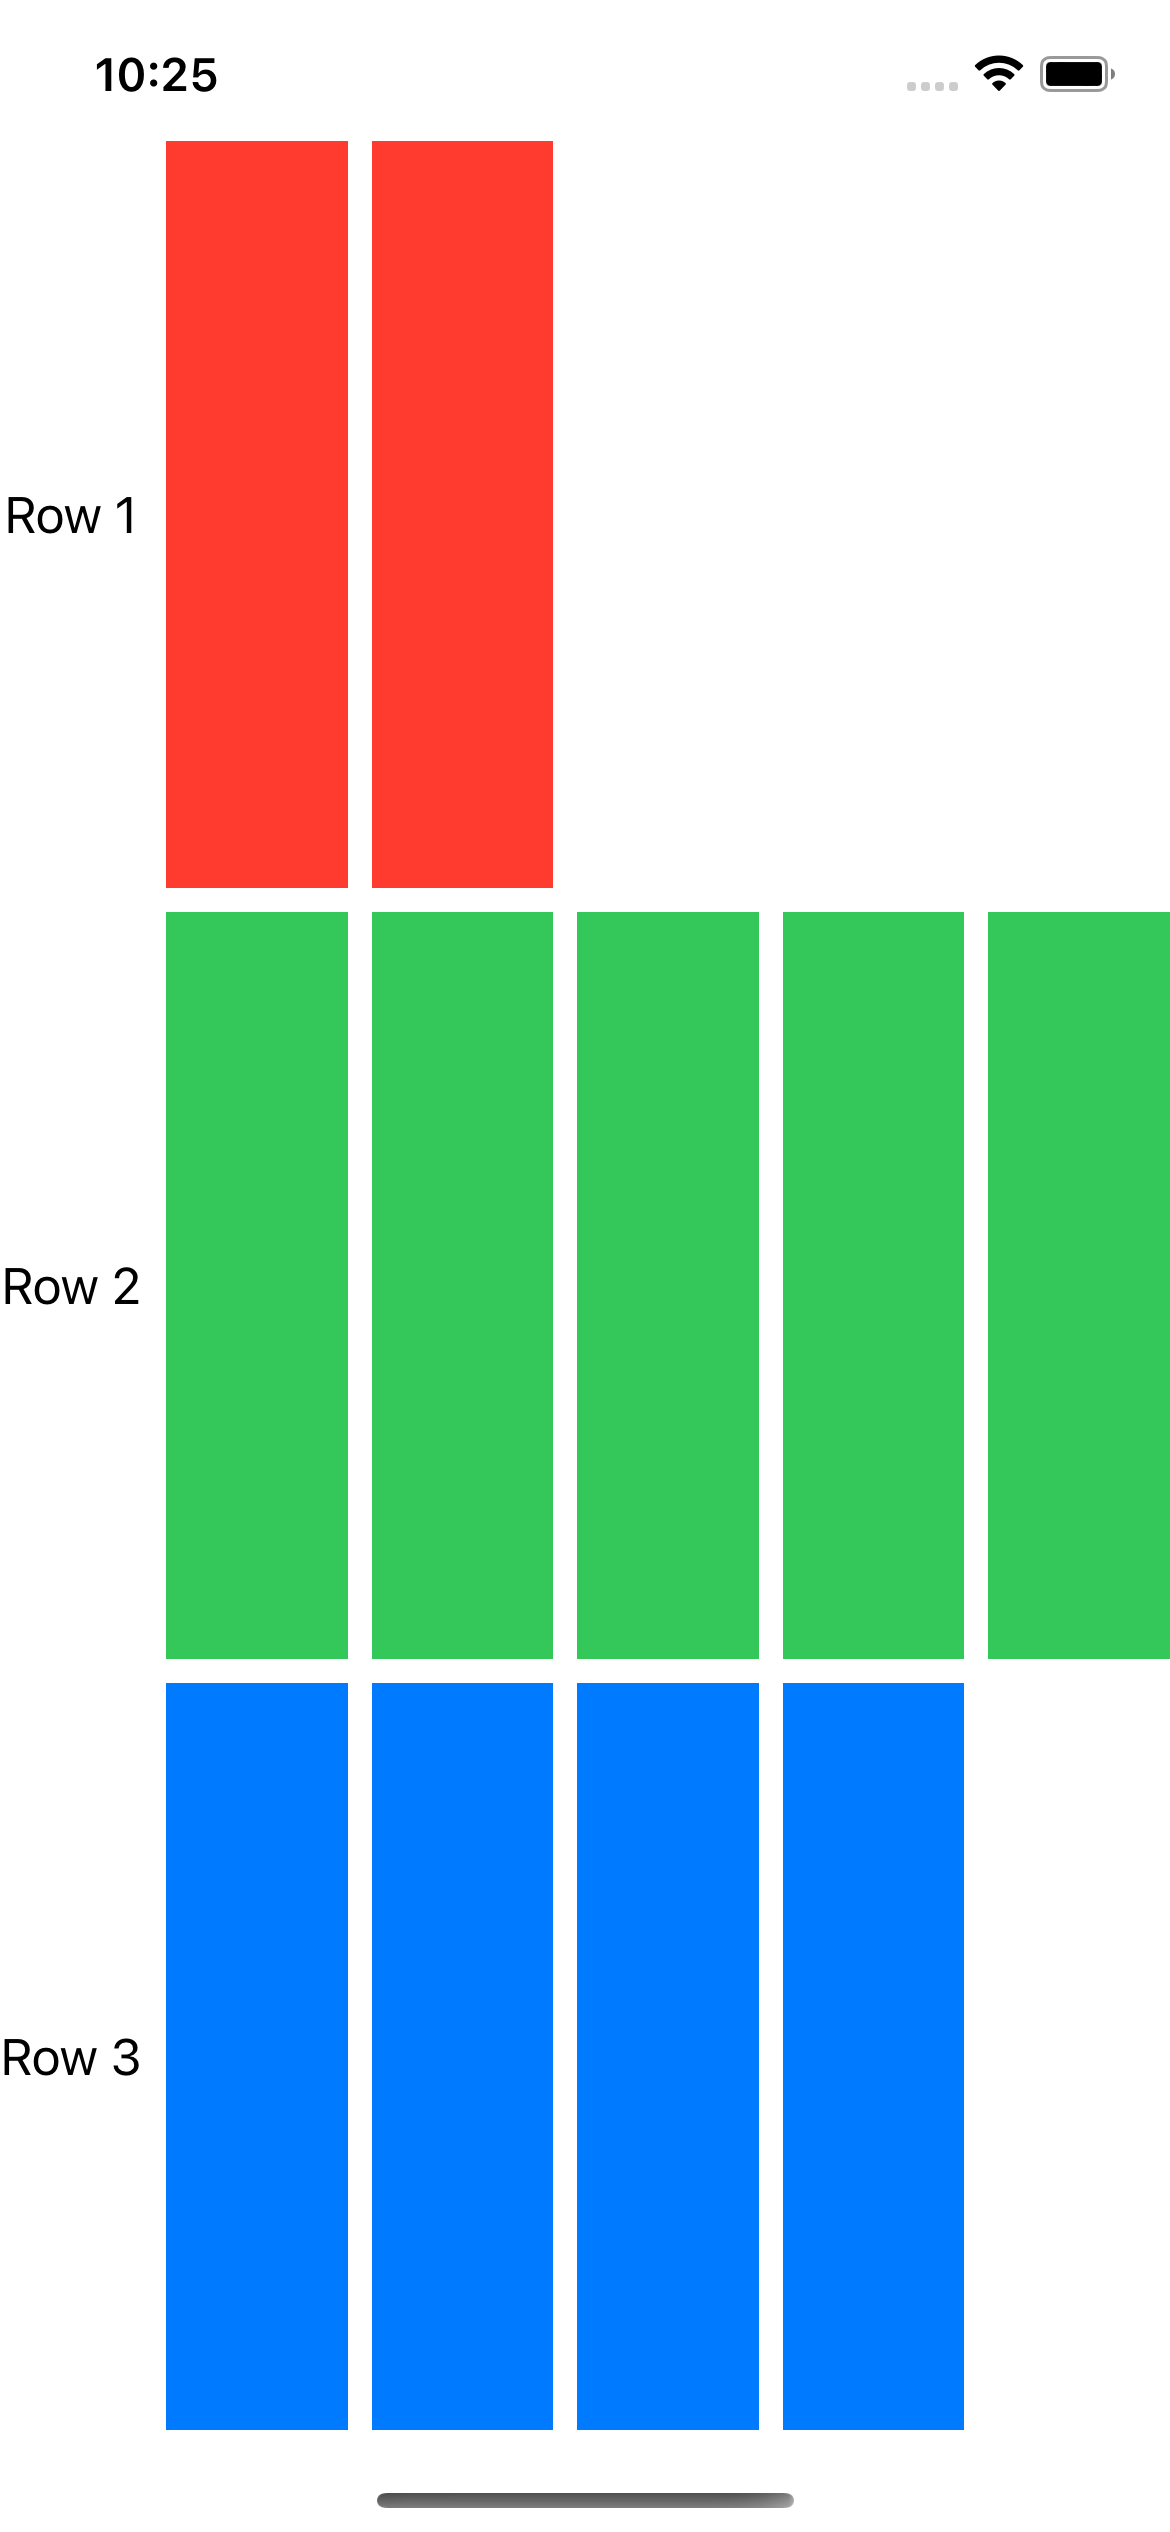
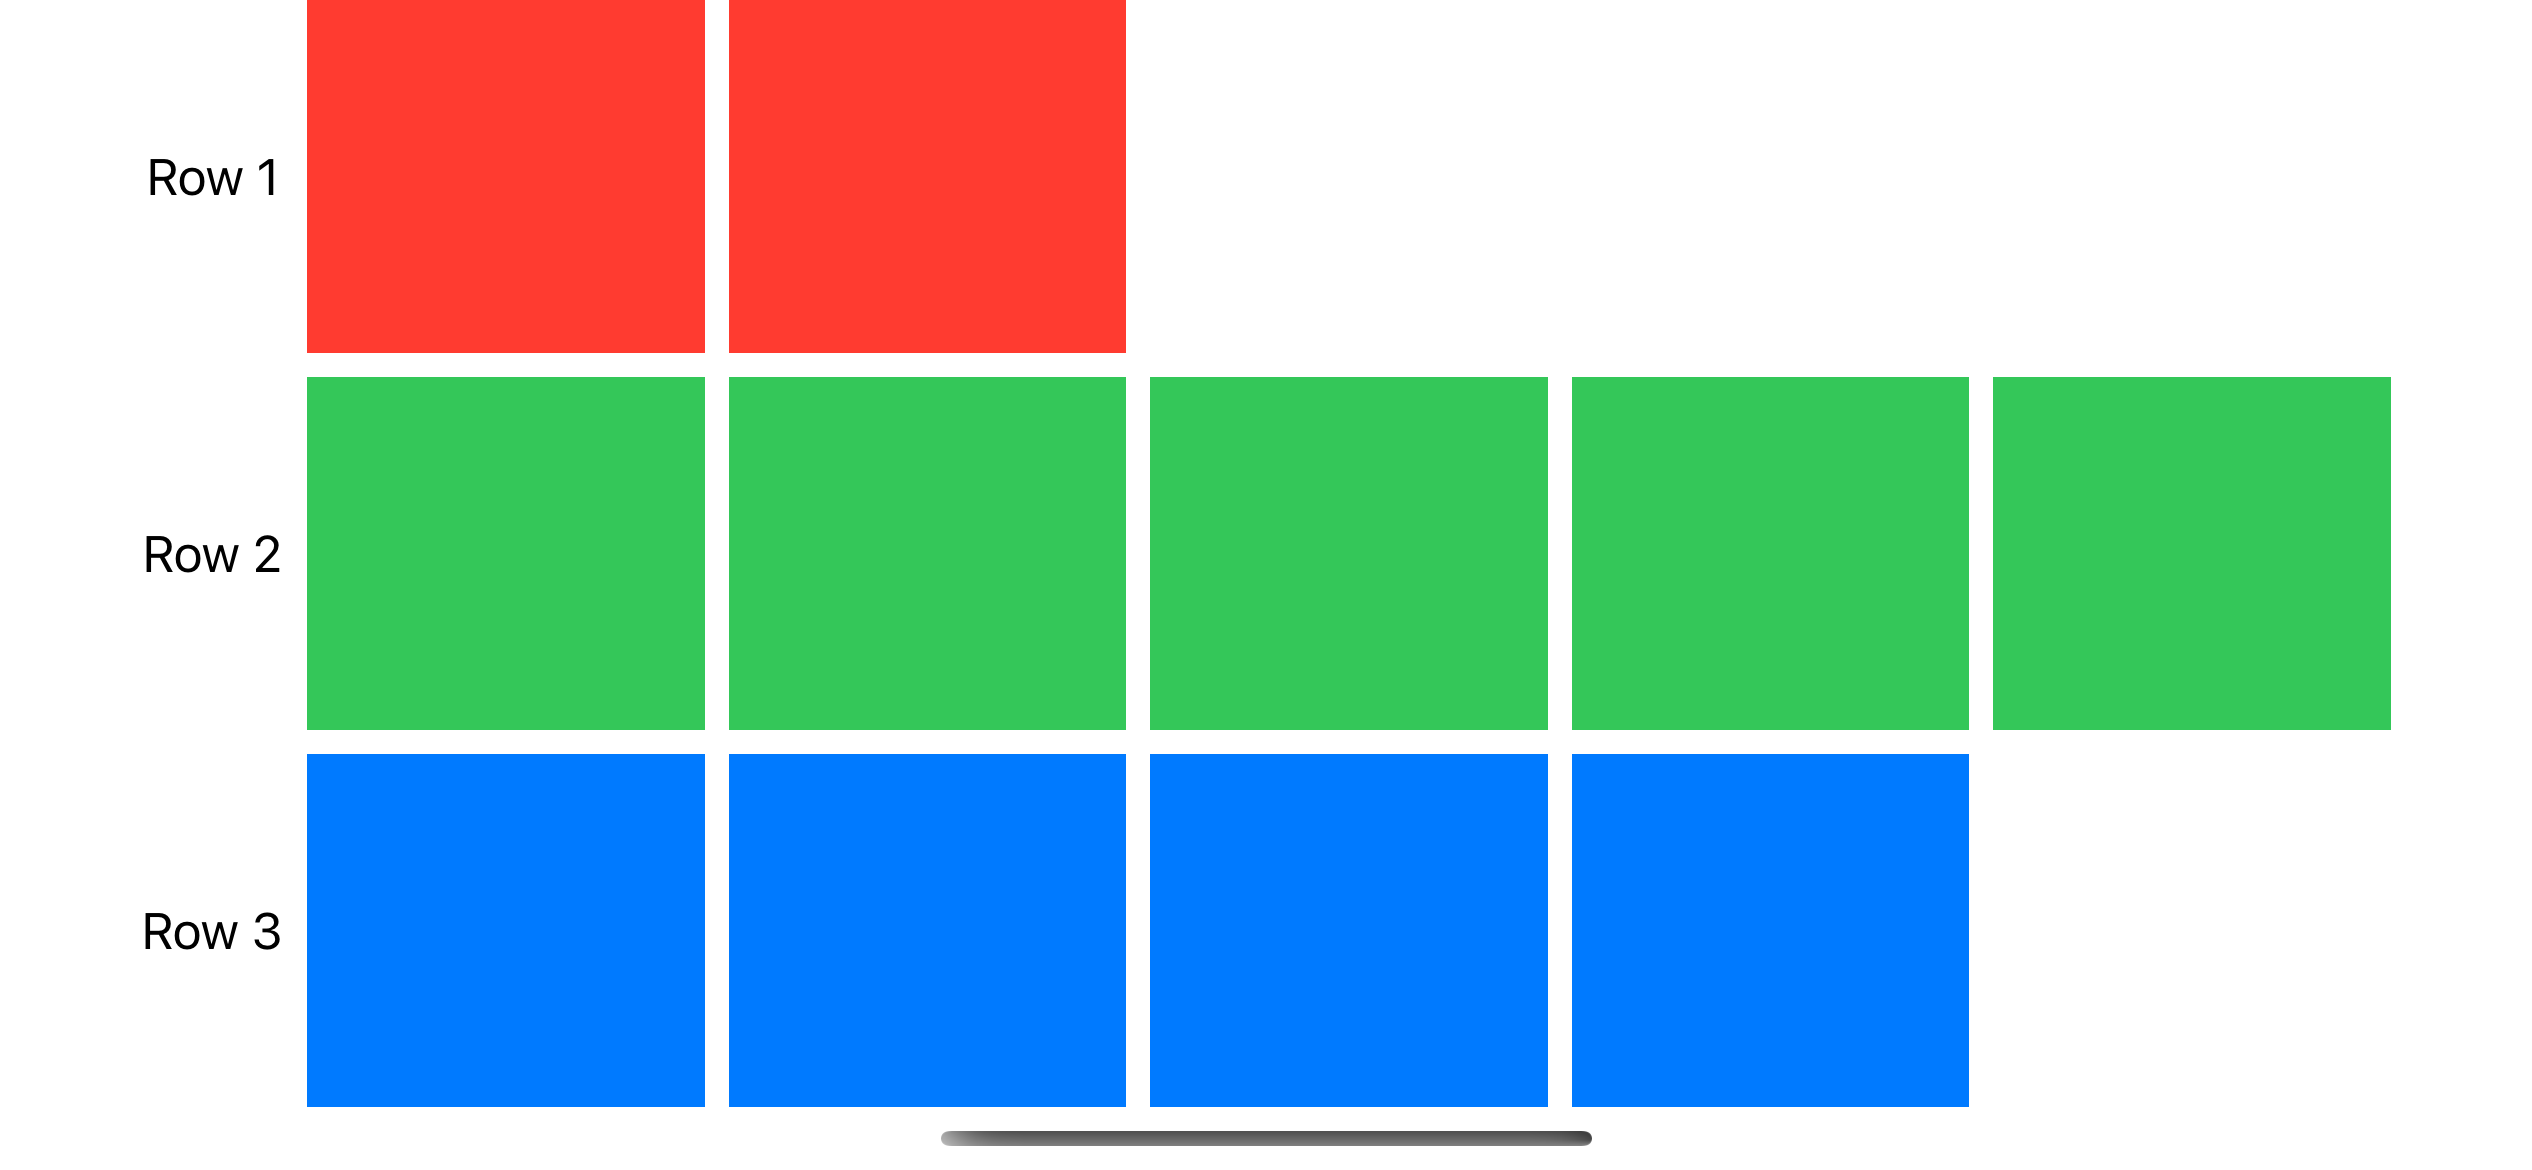
Gridの列数は、最大の列数を持つ行を処理するために増加し、異なる列数の行を作成した場合は列数が少ない行の後端に空のセルを追加する
Grid {
    GridRow {
        Text("Row 1")
        ForEach(0..<2) { _ in Color.red }
    }
    GridRow {
        Text("Row 2")
        ForEach(0..<5) { _ in Color.green }
    }
    GridRow {
        Text("Row 3")
        ForEach(0..<4) { _ in Color.blue }
    }
}
Gridは最も幅の広い行と同じ数の列を持ち、十分なViewを指定しない行には空のセルが追加されている
カラムの最も幅の広いセルに合わせて、カラム内のすべてのセルの幅を設定する
最初の列の幅は、その列が含む最も広いテキストビューの幅に依存し
他の列は、親Viewが提供する残りの水平方向のスペースを等しく共有する
セルの間隔と配置
Gridのinit(alignment:horizontalSpacing:verticalSpacing:content:)を使って水平方向と垂直方向の両方でセル間の間隔を指定したり、全体のデフォルトの配置を指定することができる
Grid(alignment: .bottom, horizontalSpacing: 1, verticalSpacing: 1) {
    // ...
}
また、GridRow内のViewにgridColumnAlignment(_:)を追加することで水平方向の配置を変更したり
GridRow {
    Text("Regular font:")
        .gridColumnAlignment(.trailing) // Align the entire first column.
    Text("Helvetica 12")
    Button("Select...") { }
}
GridRowのinit(alignment:content:) を使うことで行のセルの垂直方向の配置を変更したりすることも可能
GridRow(alignment: .top) { // Use top vertical alignment.
    Text("Top")
    Color.red.frame(width: 1, height: 50)
    Color.blue.frame(width: 50, height: 1)
}
さらに、gridCellAnchor(_:)を使うことでセル単位の配置を変更できる
GridRow {
    Color.red.frame(width: 60, height: 60)
    Color.blue.frame(width: 10, height: 10)
        .gridCellAnchor(UnitPoint(x: 0.25, y: 0.75))
}
パフォーマンス
Gridは、すべての子Viewを直ちにレンダリングするため
ScrollViewの内部で大きなGridを表示しアプリのパフォーマンスが低下する場合は
LazyVGridやLazyHGridを使った方が良い場合もある
おまけ
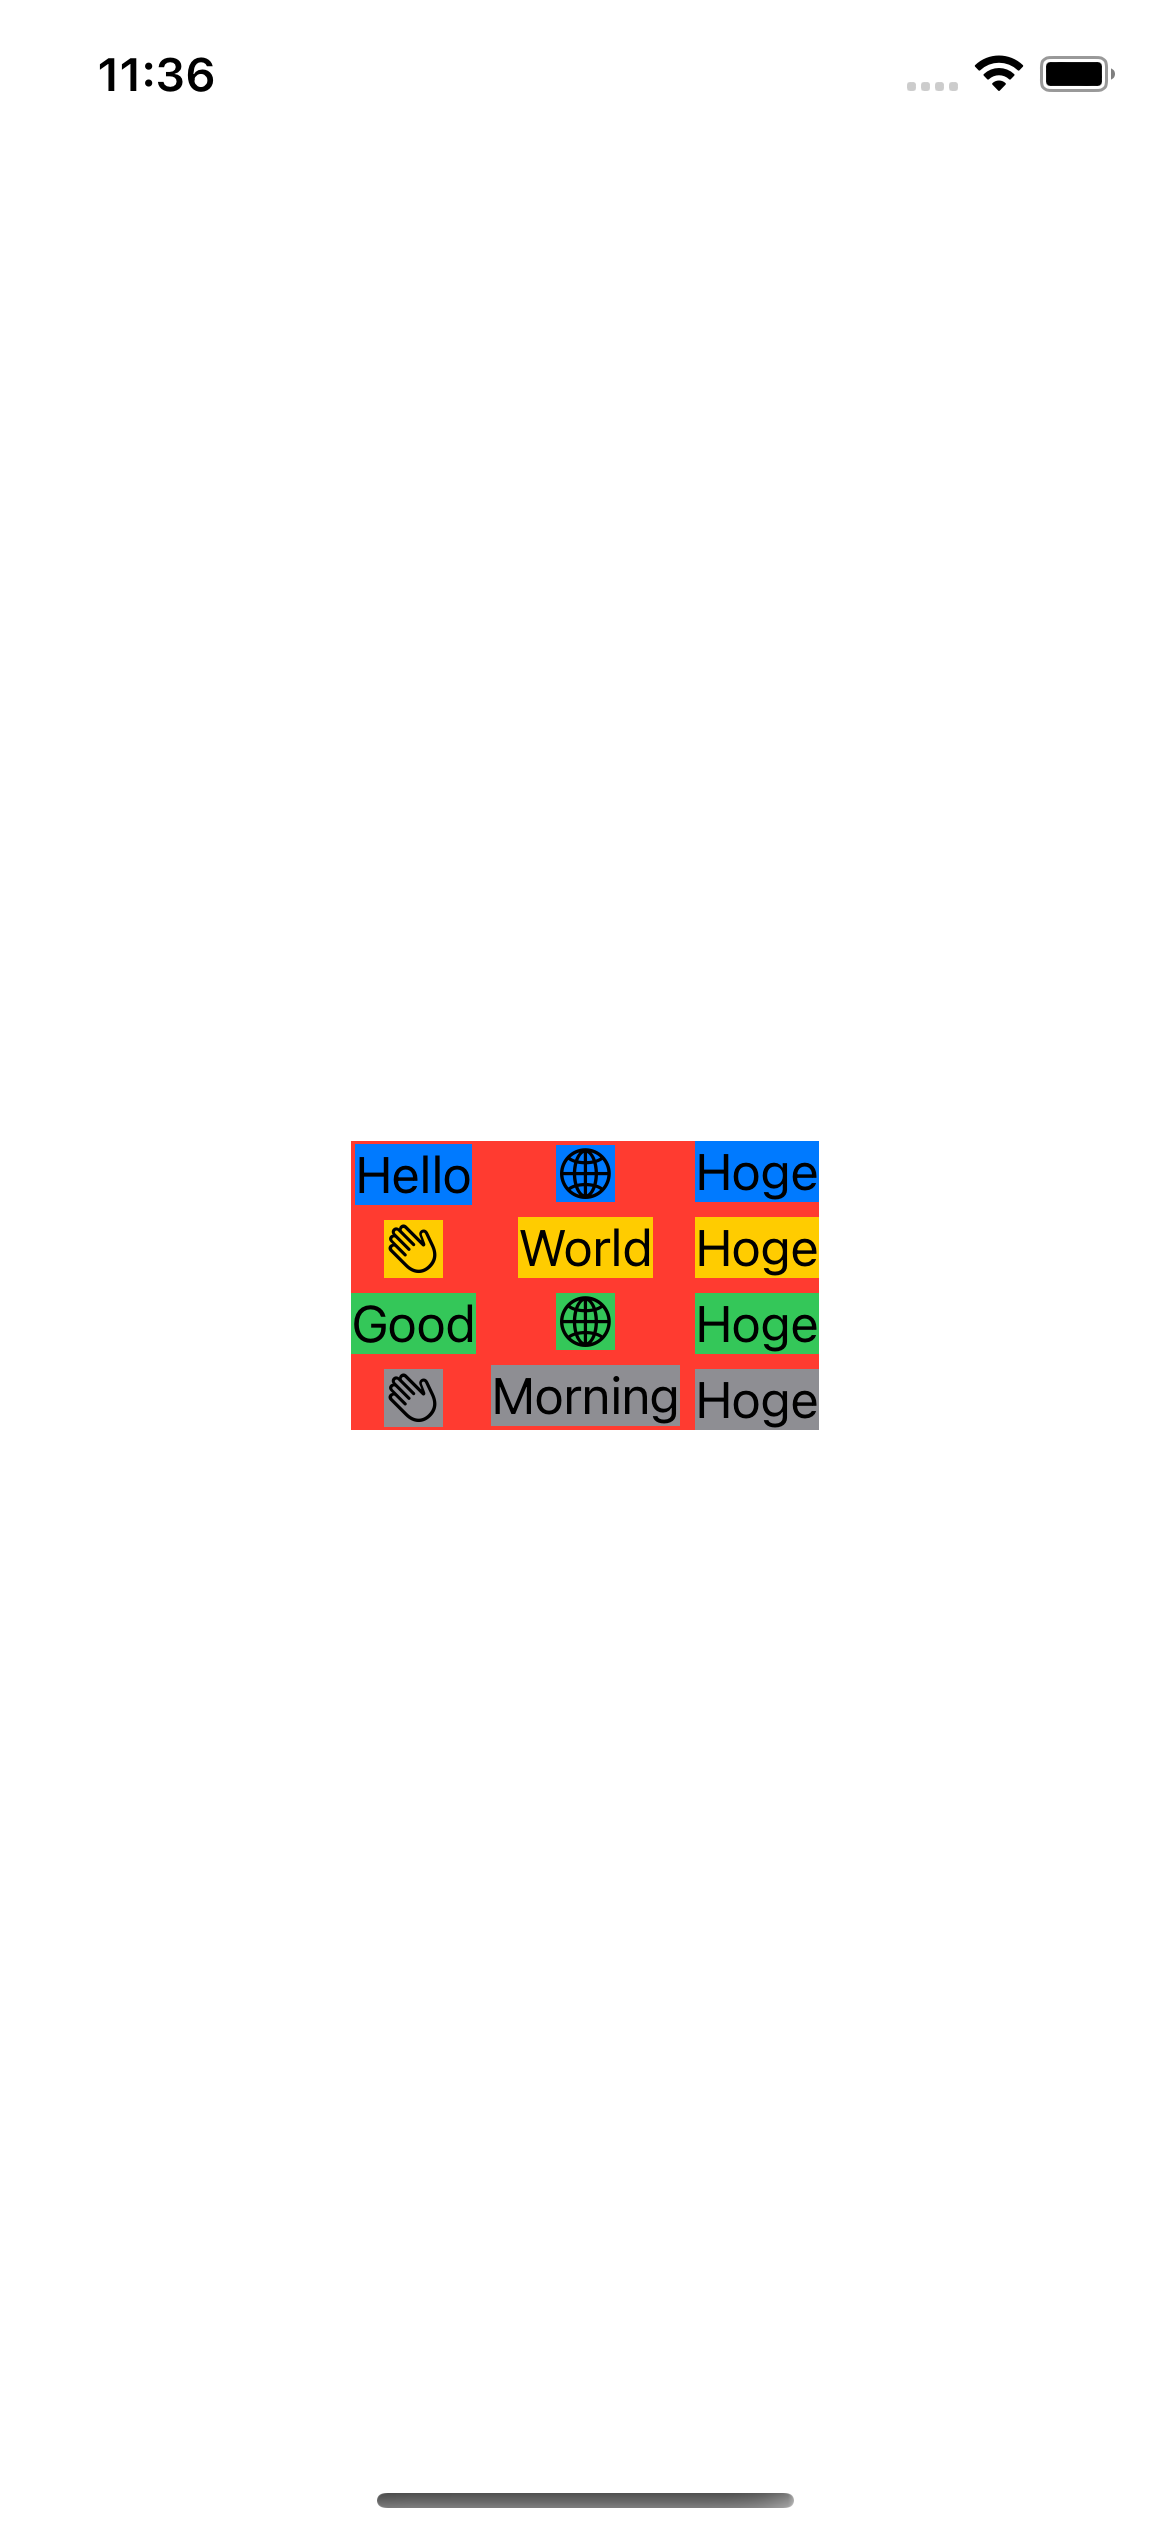
同じUIを作るのにGridを使った場合と、VStack&HStackの場合を比較してみました(これはドキュメントの内容とは全く関係ありません)
Grid(alignment: .center, horizontalSpacing: 5.0, verticalSpacing: 5.0) {
    GridRow {
        Text("Hello")
        Image(systemName: "globe")
        Text("Hoge")
    }
    .background(Color.blue)
    GridRow {
        Image(systemName: "hand.wave")
        Text("World")
        Text("Hoge")
    }
    .background(Color.yellow)
    GridRow {
        Text("Good")
        Image(systemName: "globe")
        Text("Hoge")
    }
    .background(Color.green)
    GridRow {
        Image(systemName: "hand.wave")
        Text("Morning")
        Text("Hoge")
    }
    .background(Color.gray)
}
.background(Color.red)
HStack(alignment: .center, spacing: 5.0) {
    VStack(spacing: 5.0) {
        Text("Hello")
            .background(Color.blue)
        Image(systemName: "hand.wave")
            .background(Color.yellow)
        Text("Good")
            .background(Color.green)
        Image(systemName: "hand.wave")
            .background(Color.gray)
    }
    VStack(spacing: 5.0) {
        Image(systemName: "globe")
            .background(Color.blue)
        Text("World")
            .background(Color.yellow)
        Image(systemName: "globe")
            .background(Color.green)
        Text("Morning")
            .background(Color.gray)
    }
    VStack(spacing: 5.0) {
        Text("Hoge")
            .background(Color.blue)
        Text("Hoge")
            .background(Color.yellow)
        Text("Hoge")
            .background(Color.green)
        Text("Hoge")
            .background(Color.gray)
    }
}
.background(Color.red)
さらに、等しく黄色のHogeとグレーのHogeを消すと。。。
この場合は、Gridを使うメリットがとてもありそうですね
おわりに
UIのバランスを整えるのには、Gridを使うメリットもありそうだなと思いました。
もちろんVStackとHStackの方が適する場合も多いと思うので、都度考えて使っていこうと思います!


