cssの擬似要素について
どうも、よわよわエンジニアです。
今回はcssの擬似要素についてさらっとまとめます。
サンプルコード
<!DOCTYPE html>
<html lang="ja">
<head>
  <meta charset="UTF-8">
  <meta name="viewport" content="width=device-width, initial-scale=1.0">
  <meta http-equiv="X-UA-Compatible" content="ie=edge">
  <link rel="stylesheet" href="sample.css">#cssファイルの読み込み
  <title>CSSの擬似要素</title>
</head>
<body>
  <div class="oya">
    <p class="child">ひとりめ</p>
    <p class="child">ふたりめ</p>
    <p class="child">さんにんめ</p>
  </div>
</body>
</html>
.oya{
  width: 100%;
  font-size: 16px;
}
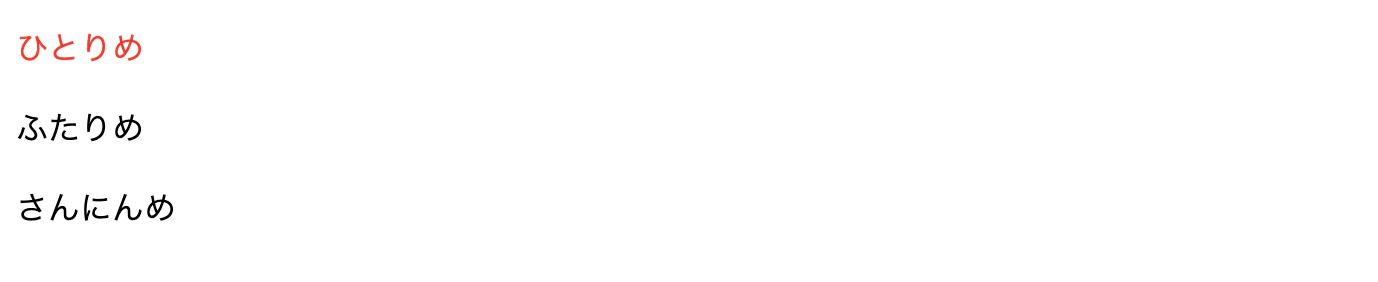
実行結果

擬似要素とは?
擬似要素とは、要素の一部に対してスタイルを適用できる指定方法です。
HTMLの要素を擬似的にCSSで設定するので、コーディングに手を加えることなく装飾を適用することができます。
:first-child,:last-child擬似要素
例えば上記の例を参考に**「ひとりめ」だけ文字色を赤くしたい**場合。
擬似要素を使わずに書くと、
  <div class="oya">
    <p class="child1">ひとりめ</p>#クラス名を変更している
    <p class="child">ふたりめ</p>
    <p class="child">さんにんめ</p>
  </div>
.oya{
  width: 100%;
  font-size: 16px;
}

.child1{
  color: red;
}
実行結果
このように、クラス名を変更しなければいけません。
今はこれでもいいですが、今後マークアップをしていく中で、クラス名をいちいち変更して管理するのが大変になってきます。
そこで登場するのが擬似要素です。
今回の例では:first-child擬似要素がつかえそうです。
:first-childはその要素群の最初の1つを選択し、変更することができます。
.oya{
  width: 100%;
  font-size: 16px;
}

.child:first-child{
  color: red;
}
このようにしてみましょう。
これは.childの1つ目の要素を赤色に変えるという記述です。
そのため、先ほどの実行結果と同じになります。
この反対で、一番最後の要素だけを変更する:last-childというものもあります
  <div class="oya">
    <p class="child">ひとりめ</p> <----これがfirst-child
    <p class="child">ふたりめ</p>
    <p class="child">さんにんめ</p>  <----これがlast-child
  </div>
.oya{
  width: 100%;
  font-size: 16px;
}

.child:first-child{
  color: red;
  font-size: 20px;
}

.child:last-child{
  color: green;
  font-size: 30px;
  border-bottom: 1px solid green;
}
実行結果
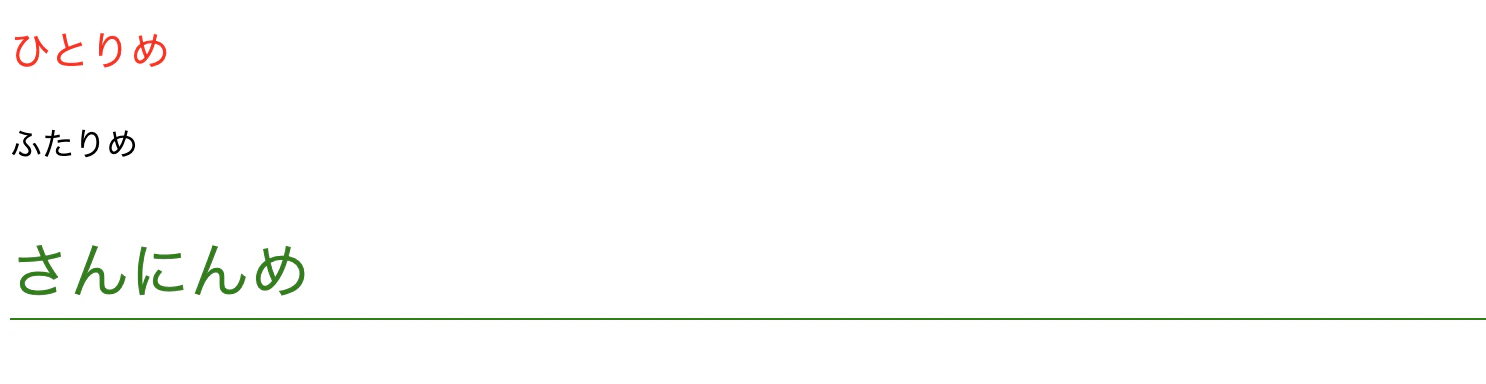
class名は全て.childですが、
擬似要素で
「ひとりめ」=first-child が赤色の20pxの大きさに、
「さんにんめ」=last-child が緑色の30pxの下線付きになりました。
:before,:after擬似要素
次に、:beforeと:afterです。
これは簡単に言うと、その要素の直前、直後に何かを付与するというものです。
先ほどのサンプルコードに追記して確認していきます。
.oya{
  width: 100%;
  font-size: 16px;
}

.child:first-child{
  color: red;
  font-size: 20px;
}

.child:last-child{
  color: green;
  font-size: 30px;
  border-bottom: 1px solid green;
}

.child:before{  <----これを追加
  content: "私は";
  color: black;
  font-size: 12px;
}
実行結果
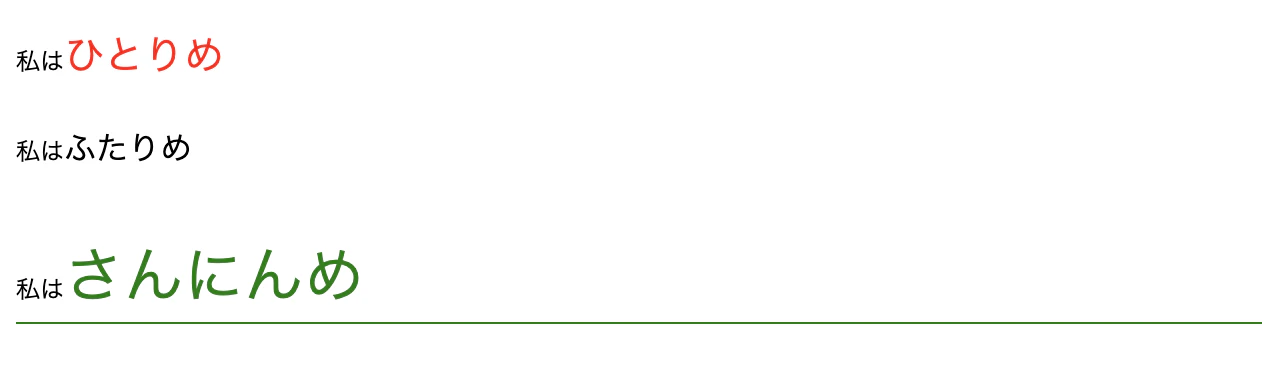
一気に文字が増えましたね。
これは、追加した.child:beforeにより、
.childの直前に"私は"という文字を黒色12pxで表示させています。
:afterはその逆で、要素の直後に付け足すことができます。
.child:after{
  content: "だよー";
  color: black;
  font-size: 12px;
}
を追記すると、.childクラスの直後に"だよー"がつくので
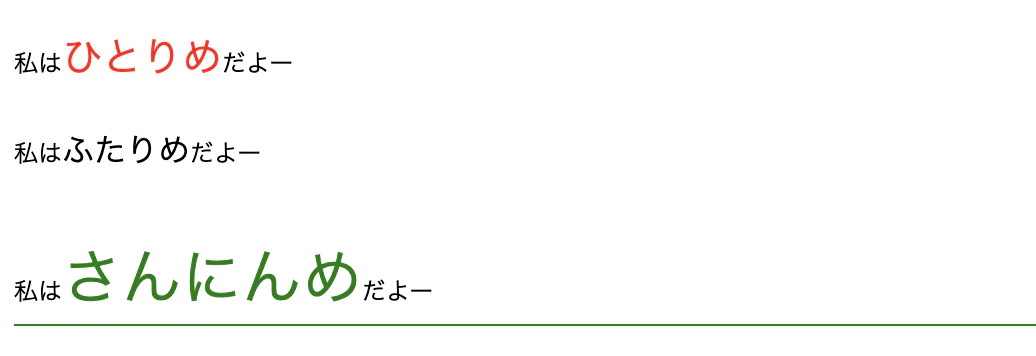
こうなります。
では、「さんにんめ」が関西人だったらどうしましょう。
擬似要素の組み合わせ

擬似要素をつかって、こうしたい場合
.childのlast-childをどうにかしたいが、、、、
実はこの擬似要素、組み合わせて使うことができます!
.child:last-child:before{
  content: "ワイは";
  color: black;
  font-size: 12px;
}
.child:last-child:after{
  content: "やでー!";
  color: black;
  font-size: 12px;
}
.childのlast-childの:beforeに
"ワイは"とつけてやり、
.childのlast-childの:afterに
"やでー!"とつけてやると、上記のような実行結果になります。
おしまい
とても簡単なコードで、4つの擬似要素を説明しました。
実際にこのように使うことは少ないですが、各擬似要素の使い方をマスターできれば、
マークアップの幅がぐんと広がります。
ぜひ活用してください。