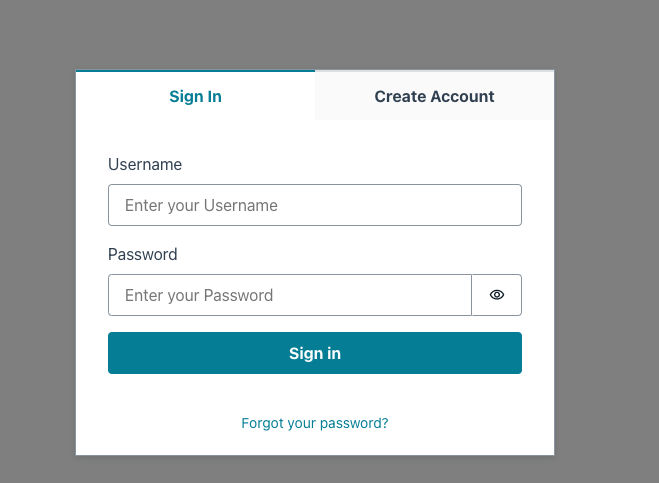
React + AWS Amplifyのチュートリアルをメモ書き程度に書いてます
なお基本は以下記事に書かれているところ通りに進め、問題が発生したところをメモ書きしています
https://www.cresco.co.jp/blog/entry/20393/
Reactアプリ作成
- 以下コマンドでアプリを作成
npx create-react-app todo
アプリを立ち上げる
cd todo
npm start
アプリの止め方
「control+C」
GitHubリポジトリ作成
GitHubにてリポジトリを作成し、リポジトリにアプリケーションをpush
git init
git remote add origin https://github.com/xxxxx/todo.git
git remote -v
git add .
git commit -m 'init'
git push origin main
- 【GitHub】 authentication failedで失敗する場合は以下を参考にトークンを設定する
https://donachikiblog.com/github-authentication-failed/
Amplifyデプロイ
AWSログインし、Amplifyコンソールからアプリをデプロイする
- 「新しいアプリケーション」 > 「ウェブアプリケーションをホスト」
- 「既存のコードから」 > 「GitHub」 > 「続行」
- GitHubとの認証をクリアする
- GitHubの認証が成功後は作成したリポジトリ/ブランチを選択し、「次へ」をクリック
- 作成したリポジトリ/ブランチがない場合は、「View GitHub Permissions」を押して作成したリポジトリの権限を追加
- GitHub連携後は以下のような設定にし、保存してデプロイ

- 数分待つとデプロイが完了する

Amplifyアプリの初期化
amplify cliのインストール
npm install -g @aws-amplify/cli
Amplifyを設定
- この際、AWSにてAmplifyでアクセスするIAMユーザを作成する必要があるのでアナウンスに記載されるURLをもとにIAMユーザを作成し、accessKeyIdとSecretAccessKeyを発行後、ローカルコンソール上に入力する
amplify configure
・
・
・
Sign in to your AWS administrator account:
https://console.aws.amazon.com/
Press Enter to continue

Specify the AWS Region
? region:  ap-northeast-1
Specify the username of the new IAM user:
? user name:  todoAdmin
Complete the user creation using the AWS console
https://console.aws.amazon.com/iam/home?region=*****
Press Enter to continue

Enter the access key of the newly created user:
? accessKeyId:  ********
? secretAccessKey:  ********
This would update/create the AWS Profile in your local machine
? Profile Name:  default

Successfully set up the new user.
Amplifyプロジェクトの初期化
amplify init --appId 【AmplifyのアプリケーションARN】
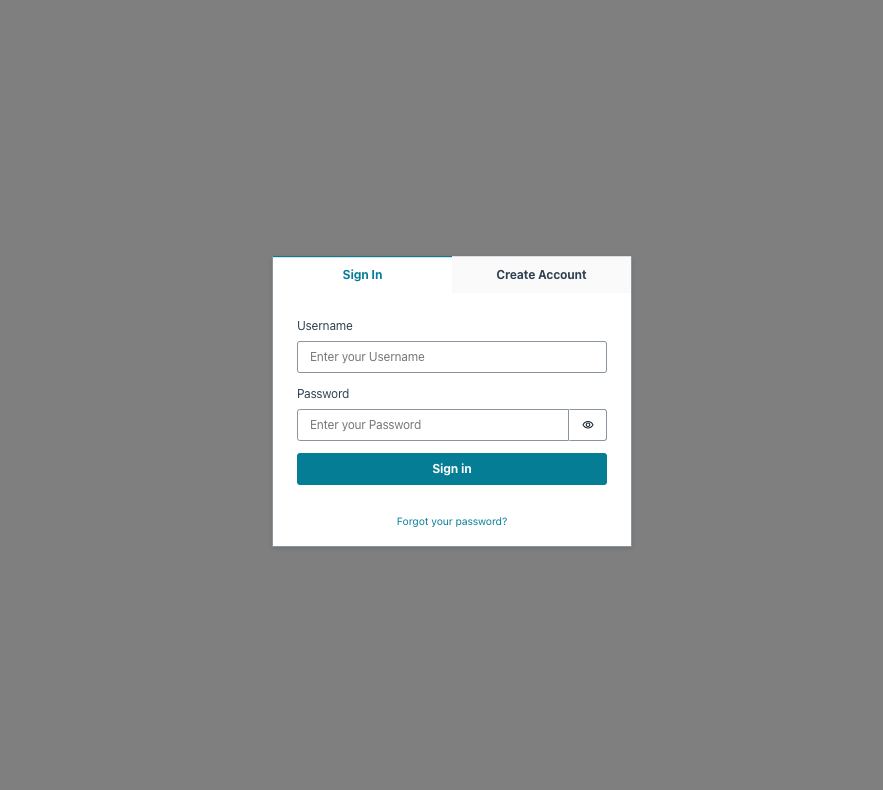
認証の追加
amplifyライブラリをインストール
npm install aws-amplify @aws-amplify/ui-react
認証サービスをAmplifyプロジェクトに追加
amplify add auth
認証サービスをデプロイ
- 「--y」オプションで全ての質問に「yew」を設定する
amplify push --y
Reactアプリを修正
src/index.js
import React from 'react';
import ReactDOM from 'react-dom/client';
import './index.css';
import App from './App';
import reportWebVitals from './reportWebVitals';
import { Amplify } from 'aws-amplify'
import config from './aws-exports';
Amplify.configure(config);

const root = ReactDOM.createRoot(document.getElementById('root'));
root.render(
  <React.StrictMode>
    <App />
  </React.StrictMode>
);

// If you want to start measuring performance in your app, pass a function
// to log results (for example: reportWebVitals(console.log))
// or send to an analytics endpoint. Learn more: https://bit.ly/CRA-vitals
reportWebVitals();
src/App.js
import React from 'react';
import logo from './logo.svg';
import './App.css';
import { withAuthenticator } from '@aws-amplify/ui-react'
import '@aws-amplify/ui-react/styles.css';

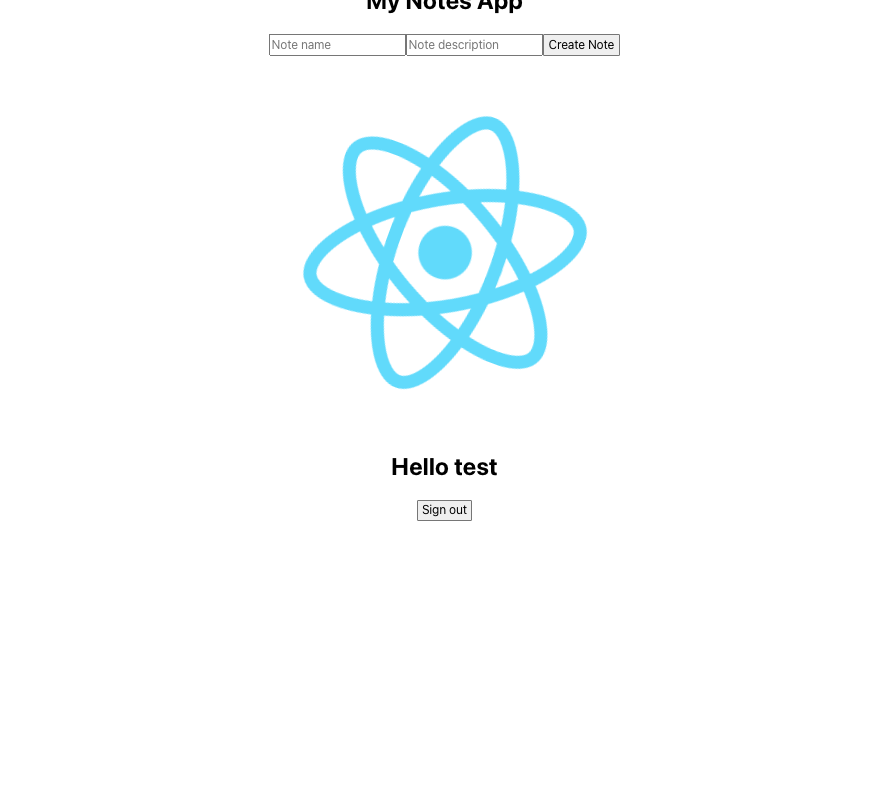
function App({ signOut, user }) {
return (
<div className="App">
<header>
<img src={logo} className="App-logo" alt="logo" />
<h1>Hello {user.username}</h1>
<button onClick={signOut}>Sign out</button>
</header>
</div>
);
}
export default withAuthenticator(App);
GraphQLを作成
GraphQL APIをアプリに追加
amplify add api
? Select from one of the below mentioned services: GraphQL
? Here is the GraphQL API that we will create. Select a setting to edit or continue Continue
? Choose a schema template: Single object with fields (e.g., “Todo” with ID, name, description)
✔ Do you want to edit the schema now? (Y/n) · yes
? Try opening with system-default editor instead? Yes
graphqlファイルを修正
-amplify/backend/api/todo/schema.graphqlを修正
type Note @model {
  id: ID!
  name: String!
  description: String
}
APIを使用するためのフロントコードを記述
- src/App.jsを更新
import React, { useState, useEffect } from 'react';
import logo from './logo.svg';
import './App.css';
import { withAuthenticator } from '@aws-amplify/ui-react'
import '@aws-amplify/ui-react/styles.css';
import { API } from 'aws-amplify';
import { listNotes } from './graphql/queries';
import { createNote as createNoteMutation, deleteNote as deleteNoteMutation } from './graphql/mutations';

const initialFormState = { name: '', description: '' }

function App({ signOut, user }) {
  const [notes, setNotes] = useState([]);
  const [formData, setFormData] = useState(initialFormState);

  useEffect(() => {
    fetchNotes();
  }, []);

  async function fetchNotes() {
    const apiData = await API.graphql({ query: listNotes });
    setNotes(apiData.data.listNotes.items);
  }

  async function createNote() {
    if (!formData.name || !formData.description) return;
    await API.graphql({ query: createNoteMutation, variables: { input: formData } });
    setNotes([ ...notes, formData ]);
    setFormData(initialFormState);
  }

  async function deleteNote({ id }) {
    const newNotesArray = notes.filter(note => note.id !== id);
    setNotes(newNotesArray);
    await API.graphql({ query: deleteNoteMutation, variables: { input: { id } }});
  }
  return (
    <div className="App">
      <h1>My Notes App</h1>
      <input
        onChange={e => setFormData({ ...formData, 'name': e.target.value})}
        placeholder="Note name"
        value={formData.name}
      />
      <input
        onChange={e => setFormData({ ...formData, 'description': e.target.value})}
        placeholder="Note description"
        value={formData.description}
      />
      <button onClick={createNote}>Create Note</button>
      <div style={{marginBottom: 30}}>
        {
          notes.map(note => (
            <div key={note.id || note.name}>
              <h2>{note.name}</h2>
              <p>{note.description}</p>
              <button onClick={() => deleteNote(note)}>Delete note</button>
            </div>
          ))
        }
      </div>
      <img src={logo} className="App-logo" alt="logo" />
      <h1>Hello {user.username}</h1>
      <button onClick={signOut}>Sign out</button>
    </div>
  );
}

export default withAuthenticator(App);
画像用のストレージの追加
amplify add storage
? Select from one of the below mentioned services: Content (Images, audio, video, etc.)
✔ Provide a friendly name for your resource that will be used to label this category in the project: · imageStorage
✔ Provide bucket name: · test-amplify-image-storage-xxx
✔ Who should have access: · Auth users only
✔ What kind of access do you want for Authenticated users? · create/update, read, delete
✔ Do you want to add a Lambda Trigger for your S3 Bucket? (y/N) · no
✅ Successfully added resource imageStorage locally
⚠️ If a user is part of a user pool group, run "amplify update storage" to enable IAM group policies for CRUD operations
✅ Some next steps:
"amplify push" builds all of your local backend resources and provisions them in the cloud
"amplify publish" builds all of your local backend and front-end resources (if you added hosting category) and provisions them in the cloud
graphqlファイルの修正
type Note @model {
  id: ID!
  name: String!
  description: String
  image: String
}
APIとストレージをデプロイ
amplify push --y
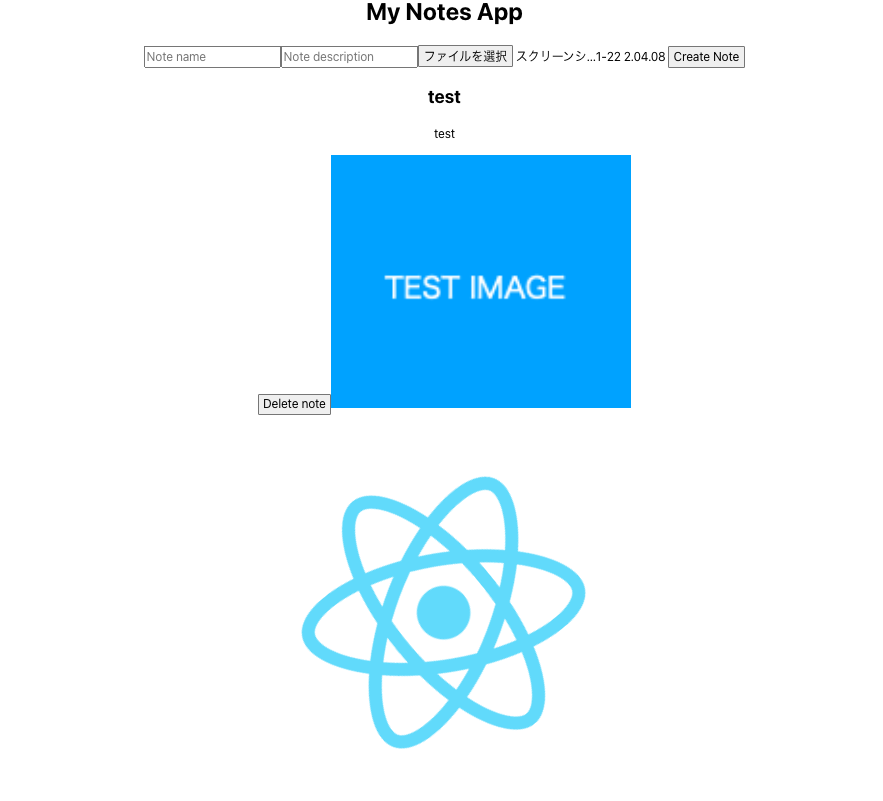
動作確認
本番環境へデプロイ
本番環境へのデプロイはGitHubのmainブランチにpushすると自動でデプロイされるためGitHubへまずpushする
git add -A
git commit -m 'main push'
git push origin main
feature flags are defined in the "amplify/cli.json" configuration file and are unknown to the currently running Amplify CLI 問題
本番環境へデプロイすると上記のエラーが発生し、デプロイに失敗した
そこでAmplifyコンソールの「アプリの設定」 > 「ビルドの設定」の「アプリケーション構築の使用」よりamplify.ymlを以下のように修正した
https://weblion303.net/2610
version: 1
backend:
  phases:
    build:
      commands:
        - '# Execute Amplify CLI with the helper script'
        - amplifyPush --simple
frontend:
  phases:
    preBuild:
      commands:
        - nvm install 16.13.1
        - nvm use  16.13.1
        - npm install @aws-amplify/cli --force
        - npm install
    build:
      commands:
        - npm run build
  artifacts:
    baseDirectory: build
    files:
      - '**/*'
  cache:
    paths:
      - node_modules/**/*
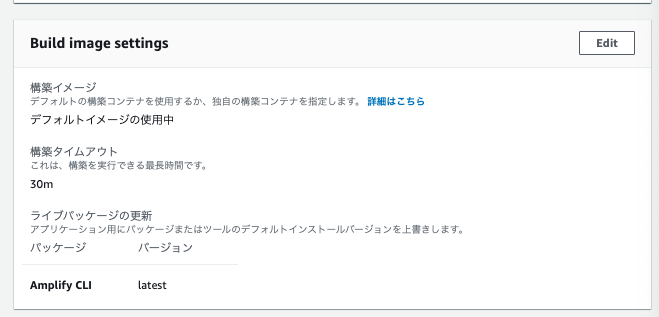
また同じく「ビルド設定」の「Build image settengs」のライブパッケージの更新にパッケージ: Amplify CLI、バージョン: latestを追加した
再度Amplifyコンソール上からbuildするとデプロイが完了し、Amplify上のドメインからアクセスできるようになった
最後に
一旦チュートリアルは完了することができたため、今後はReactコーディングについてさらに深ぼって記載していく
