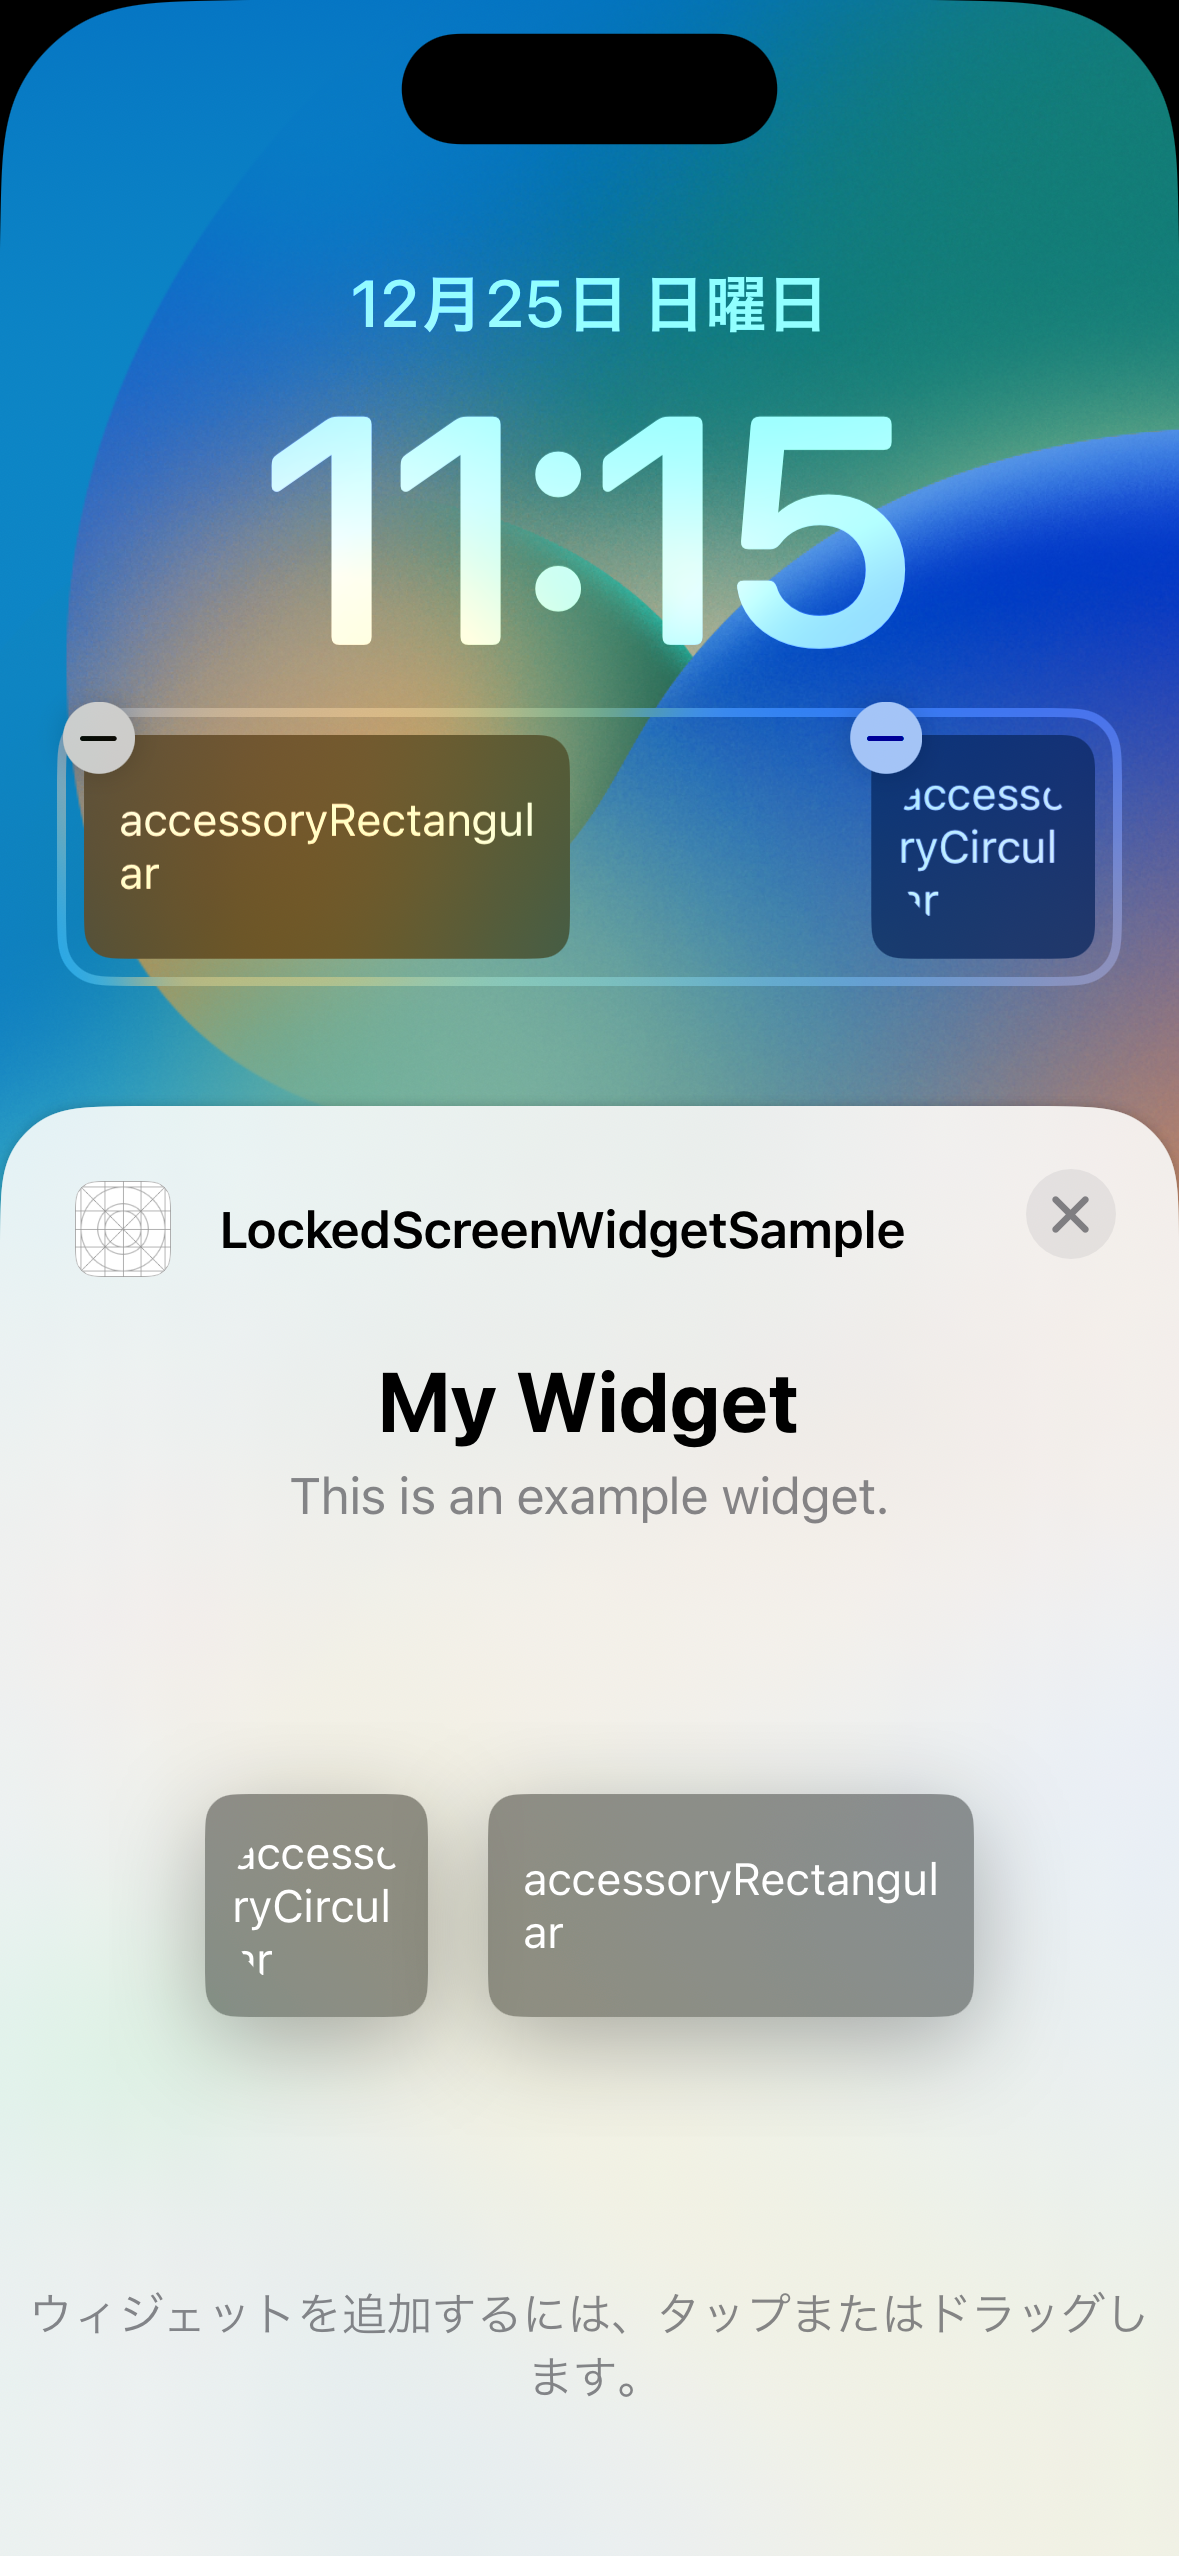
iOS16からロック画面にWidgetを表示できるようになりました。
この記事ではロック画面のWidgetでできること、できないことをまとめています。
以下のバージョンに対応しています。
| バージョン | |
|---|---|
| Xcode | 14.2 |
| iOS | 16.2 |
| macOS | Ventura 13.1 |
ロック画面のWidgetの種類
WidgetFamilyというenumに新しく追加された、
accessoryCircularaccessoryRectangularaccessoryInline
のいずれかのcaseを指定することでロック画面にWidgetを表示できます。
手順
- ホーム画面のWidgetを作成する手順と同様にWidget ExtensionからWidgetを作成
- 下記のようにWidgetとEntryViewを修正
- ビルドして表示
struct LockedScreenWidgetEntryView : View {
    var entry: Provider.Entry

    @Environment(\.widgetFamily) var widgetFamily

    var body: some View {
        switch widgetFamily {
        case .accessoryRectangular:
            Text("accessoryRectangular")
        case .accessoryCircular:
            Text("accessoryCircular")
        case .accessoryInline:
            Text("accessoryInline")
        default:
            EmptyView()
        }
    }
}

struct LockedScreenWidget: Widget {
    let kind: String = "LockedScreenWidget"

    var body: some WidgetConfiguration {
        StaticConfiguration(kind: kind, provider: Provider()) { entry in
            LockedScreenWidgetEntryView(entry: entry)
        }
        .configurationDisplayName("My Widget")
        .description("This is an example widget.")
        // ロック画面のWidgetFamilyを指定
        .supportedFamilies([.accessoryCircular, .accessoryRectangular, .accessoryInline])
    }
}
表示結果
accessoryCircularaccessoryRectangular
| ロック画面を長押し後 カスタマイズをタップ |
ロック画面を選択後 ウィジェットを追加をタップ |
作成したアプリの ウィジェットをタップ |
|---|---|---|
 |
 |
 |
| ウィジェットが追加された ことを確認 |
ロック画面を表示 |
|---|---|
 |
 |
- accessoryInline
| ロック画面を長押し後 カスタマイズをタップ |
ロック画面を選択後 日付部分をタップ |
作成したアプリの ウィジェットをタップ |
|---|---|---|
 |
 |
 |
| ウィジェットが追加された ことを確認 |
ロック画面を表示 |
|---|---|
 |
 |
できること
- 日付横へ
accessoryInlineで指定したWidget配置 - 時刻下へ
accessoryCircularとaccessoryRectangularで指定したWidget配置 - Widget選択前の一覧に表示する文言の指定(.configurationDisplayName、.descriptionの引数に指定)
できないこと
- 日付横と時刻下以外の場所にWidget配置
-
accessoryCircular、accessoryRectangular、accessoryInlineで指定したWidgetをホーム画面のWidgetとして配置
ロック画面のWidgetの大きさと背景色
ロック画面のそれぞれのWidgetの大きさを最大化し、背景色を指定してみました。
struct LockedScreenWidgetEntryView : View {
    var entry: Provider.Entry

    @Environment(\.widgetFamily) var widgetFamily

    var body: some View {
        switch widgetFamily {
        case .accessoryRectangular:
            Text("AccessoryRectangularView")
                .frame(maxWidth: .infinity, maxHeight: .infinity)
                .background(Color.yellow)
        case .accessoryCircular:
            Text("AccessoryCircularView")
                .frame(maxWidth: .infinity, maxHeight: .infinity)
                .background(Color.blue)
        case .accessoryInline:
            Text("AccessoryInlineView")
                .frame(maxWidth: .infinity, maxHeight: .infinity)
                .background(Color.red)
        default:
            EmptyView()
        }
    }
}
表示結果

できること
-
accessoryCircularとaccessoryRectangularで指定したWidgetへの半透明の背景色を指定
できないこと
-
accessoryInlineで指定したWidgetへの背景色の変更 -
accessoryCircularとaccessoryRectangularで指定したWidgetへの半透明以外の背景色の指定 - それぞれで定められたフレーム以上の大きさでWidgetを表示
ロック画面のWidget内のText
ロック画面のそれぞれのWidgeにフォントと文字色をいじったTextを表示してみました。
struct LockedScreenWidgetEntryView : View {
    var entry: Provider.Entry

    @Environment(\.widgetFamily) var widgetFamily

    var body: some View {
        switch widgetFamily {
        case .accessoryRectangular:
            VStack {
                Text("Headline").font(.headline).foregroundColor(.red)
                Text("Subheadline").font(.subheadline).foregroundColor(.blue)
                Text("Body").font(.body).foregroundColor(.yellow)
            }
        case .accessoryCircular:
            Text("A").font(.title).foregroundColor(.red)
        case .accessoryInline:
            VStack {
                Text("LargeTitle").font(.largeTitle).foregroundColor(.red)
                Text("Subheadline").font(.subheadline).foregroundColor(.blue)
                Text("Body").font(.body).foregroundColor(.yellow)
            }
        default:
            EmptyView()
        }
    }
}
表示結果

できること
-
accessoryCircularとaccessoryRectangularで指定したWidget内のTextのfontの変更 -
accessoryInlineで指定したWidgetには1行のTextのみ表示できる
できないこと
- 文字色(foregroundColor)の変更
-
accessoryInlineで指定したWidget内のTextのfontの変更
ロック画面のWidget内のButtonを表示しタップ
ロック画面のそれぞれのWidgetにButtonを表示しタップしてみました。
struct LockedScreenWidgetEntryView : View {
    var entry: Provider.Entry

    @Environment(\.widgetFamily) var widgetFamily

    var body: some View {
        switch widgetFamily {
        case .accessoryRectangular:
            Button(action: {
                print("ぽちっとな")
            }) {
                Text("ボタン")
            }
        case .accessoryCircular:
            Button(action: {
                print("ぽちっとな")
            }) {
                Text("ボタン")
            }
        case .accessoryInline:
            Button(action: {
                print("ぽちっとな")
            }) {
                Text("ボタン")
            }
        default:
            EmptyView()
        }
    }
}
できること
どのWidgetもタップでアプリを起動します。
できないこと
どのWidgetもタップで「ぽちっとな」は出力されません。Widgetタップ時の挙動を実装することは不可能なようです。
ロック画面のWidget内のList
タップは不可能でもスクロールならできるかもしれないと考え、ロック画面のそれぞれのWidgetにListでTextを表示してみました。
struct LockedScreenWidgetEntryView : View {
    var entry: Provider.Entry

    @Environment(\.widgetFamily) var widgetFamily

    var body: some View {
        switch widgetFamily {
        case .accessoryRectangular:
            List(0..<3) {(row: Int) in
                Text("\(row)行目")
            }
        case .accessoryCircular:
            List(0..<3) {(row: Int) in
                Text("\(row)行目")
            }
        case .accessoryInline:
            List(0..<3) {(row: Int) in
                Text("\(row)行目")
            }
        default:
            EmptyView()
        }
    }
}
できないこと
どのWidgetもなにも表示されませんでした。
ロック画面のWidget内の画像
ロック画面のそれぞれのWidgeに画像を表示してみました。
struct LockedScreenWidgetEntryView : View {
    var entry: Provider.Entry

    @Environment(\.widgetFamily) var widgetFamily

    var body: some View {
        switch widgetFamily {
        case .accessoryRectangular:
            Image("sample")
                .resizable()
                .scaledToFit()
        case .accessoryCircular:
            Image(systemName: "hand.thumbsup.fill")
                .resizable()
                .frame(width: 24, height: 24)

        case .accessoryInline:
            Image("sample")
                .resizable()
                .scaledToFit()
        default:
            EmptyView()
        }
    }
}
表示結果
シミュレータではなぜか表示できませんでした。
実機だと表示できます。

できること
accessoryCircularとaccessoryRectangularで指定したWidget内にモノクロになったImageを表示できます。
できないこと
accessoryInlineでWidget内にはImageを表示できませんでした。
まとめ
ロック画面のWidget自体の調査と、それぞれのWidgetに様々なViewを表示してみる調査から得たことをまとめます。
- WidgetFamilyというenumに新しく追加された、
accessoryCircular、accessoryRectangular、accessoryInlineというcaseがロック画面のWidgetに対応している- それぞれのWidgetは指定された箇所のみに表示可能
-
accessoryInlineのWidgetは文字の表示に特化している模様
- SwiftUIで作成したViewをスナップショットとして保持しロック画面にWidgetとして表示している
- 保持したスナップショットはモノクロになっている
- スナップショットとして保持しているため、View側の動的な挙動は無視される
- シミュレータのロック画面では表示できないViewがあるため、実機で確認する必要がある