RayをEKSと使ってみたかったので試してみました。
前提
以下のように作業環境からEKSにkubectlで接続して管理できる状態を想定しています。
作業環境上で実行したPythonの関数部分の処理をRayを使ってEKS上のリソースにオフロードします。
Pythonのバージョンを合わせたりが必要なので、Pythonの環境は uv使うこととします。
Ray Clusterのインストール
自身の環境ではTerraformを利用しているため、以下のような定義としています。
Python側とバージョン合わせる必要がるので、この記事では 1.2.1 に固定して進めていきます。
locals {
  kuberay_version = "1.2.1"
}
resource "helm_release" "ray_operator" {
  namespace        = "kuberay-operator"
  create_namespace = true
  name             = "kuberay-operator"
  repository       = "https://ray-project.github.io/kuberay-helm/"
  chart            = "kuberay-operator"
  version          = local.kuberay_version
}

resource "helm_release" "ray_cluster" {
  namespace        = "ray-cluster"
  create_namespace = true
  name             = "ray-cluster"
  repository       = "https://ray-project.github.io/kuberay-helm/"
  chart            = "ray-cluster"
  version          = local.kuberay_version
}
helmで実行した場合は以下のようになるはずです。
helm repo add kuberay https://ray-project.github.io/kuberay-helm/
helm repo update

helm install kuberay-operator kuberay/kuberay-operator \
  --namespace kuberay-operator \
  --create-namespace \
  --version 1.2.1
helm install ray-cluster kuberay/ray-cluster \
  --namespace ray-cluster \
  --create-namespace \
  --version 1.2.1
この時点で以下の3種類のPodが確認できると思います。
$ kubectl get pod -n kuberay-operator
NAME                              READY   STATUS    RESTARTS   AGE
kuberay-operator-b8f49b6d-sw8hx   1/1     Running   0          3m40s
$ kubectl get pod -n ray-cluster
NAME                                           READY   STATUS    RESTARTS   AGE
ray-cluster-kuberay-head-9v5h9                 1/1     Running   0          3m34s
ray-cluster-kuberay-workergroup-worker-rglnv   1/1     Running   0          3m34s
Rayへ接続
ターミナルを別で開いて以下のコマンドでPort ForwardしてRayに接続してみます。(または 2>&1 >/dev/null & などでバックエンドで実行します)
kubectl port-forward service/ray-cluster-kuberay-head-svc -n ray-cluster 8265:8265
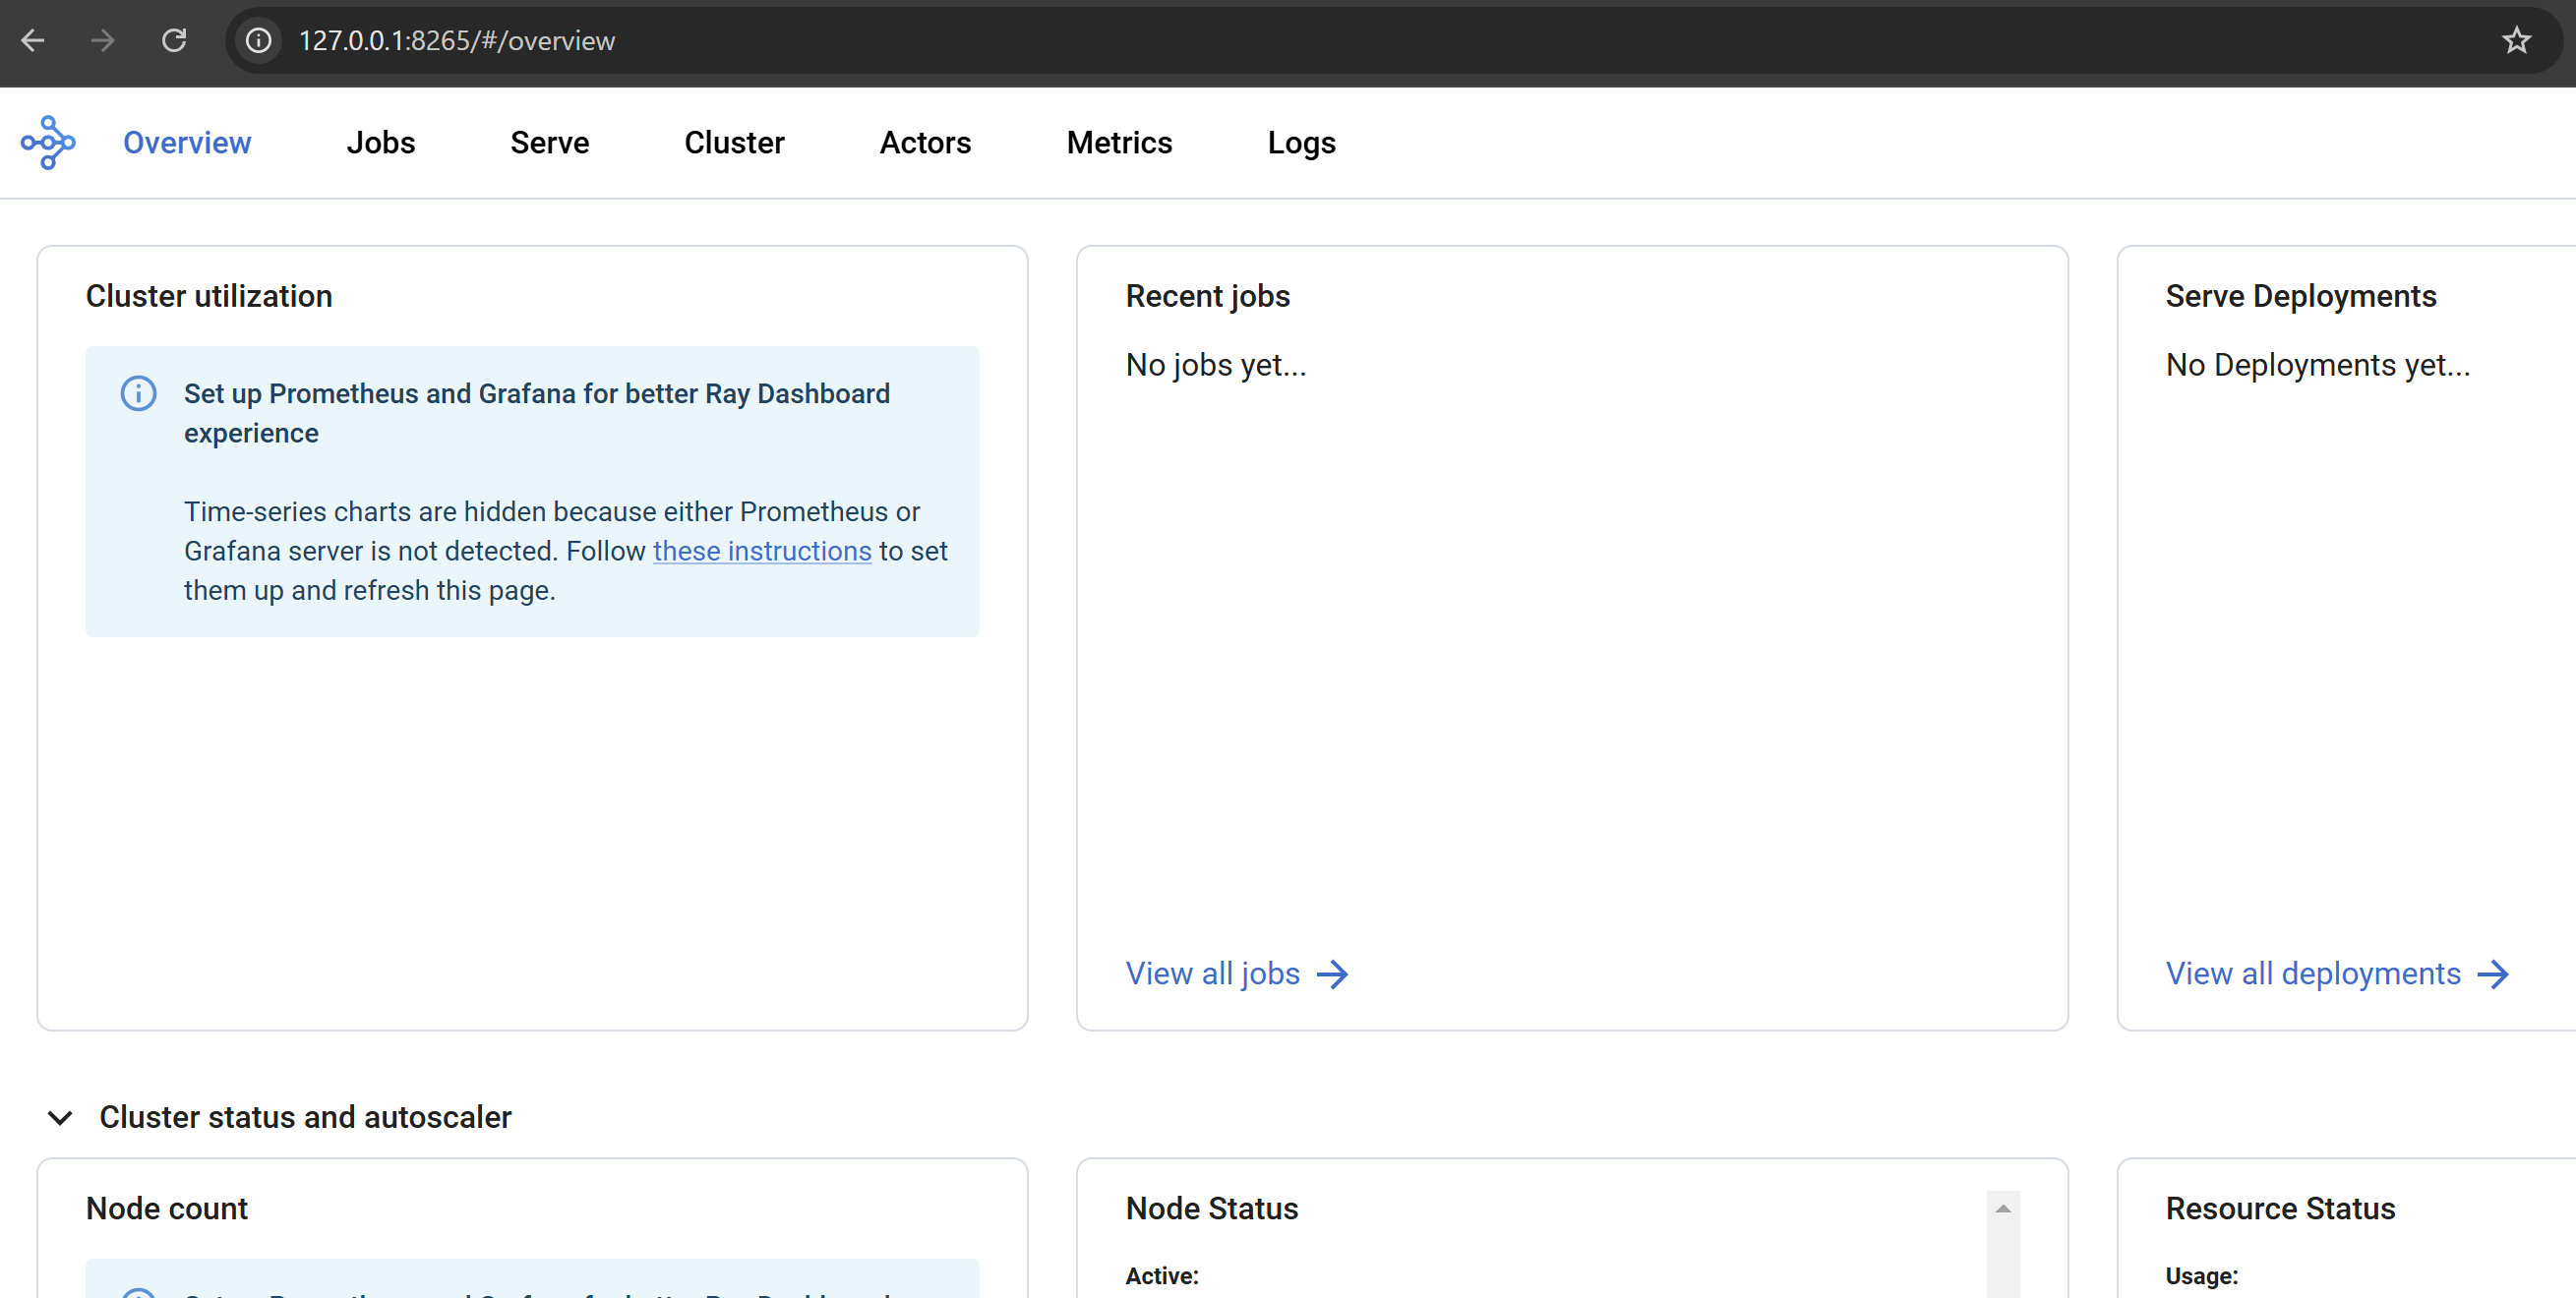
ブラウザでhttp://127.0.0.1:8265/ にアクセスすると以下のようにRayの管理画面に接続できます。この画面は後で使うのでPortはそのまま開けておきます。
Python環境準備
pyproject.toml として以下を準備します。上でも書いた通り、PythonとRayのバージョンは合わせる必要あります。
[project]
name = "hello-ray"
version = "0.1.0"
description = "Add your description here"
readme = "README.md"
requires-python = "==3.9.19"
dependencies = ["ray[client]==2.34.0"]
uvのコマンドで環境を作っておきます。
$ uv sync

$ uv run python --version
Python 3.9.19

$ uv pip list
Package                   Version
------------------------- ----------
aiosignal                 1.3.2
attrs                     24.3.0
certifi                   2024.12.14
charset-normalizer        3.4.1
click                     8.1.8
filelock                  3.16.1
frozenlist                1.5.0
grpcio                    1.69.0
idna                      3.10
jsonschema                4.23.0
jsonschema-specifications 2024.10.1
msgpack                   1.1.0
packaging                 24.2
protobuf                  5.29.3
pyyaml                    6.0.2
ray                       2.34.0
referencing               0.35.1
requests                  2.32.3
rpds-py                   0.22.3
urllib3                   2.3.0
Cluster接続確認
次に connect.py として以下を作成してみます。
import ray
from pprint import pprint
ray.init(address='ray://127.0.0.1:10001')
pprint(ray.cluster_resources())
別のターミナルを開き、10001 ポートへのPort Forwardingを開きます。
$ kubectl port-forward service/ray-cluster-kuberay-head-svc -n ray-cluster 10001:10001
この状態で connect.py を実行してみます。IP等からEKS上のノードの情報取得できているのがわかると思います。
$ uv run connect.py
{'CPU': 2.0,
 'memory': 3000000000.0,
 'node:10.2.0.204': 1.0,
 'node:10.2.0.31': 1.0,
 'node:__internal_head__': 1.0,
 'object_store_memory': 785226546.0}
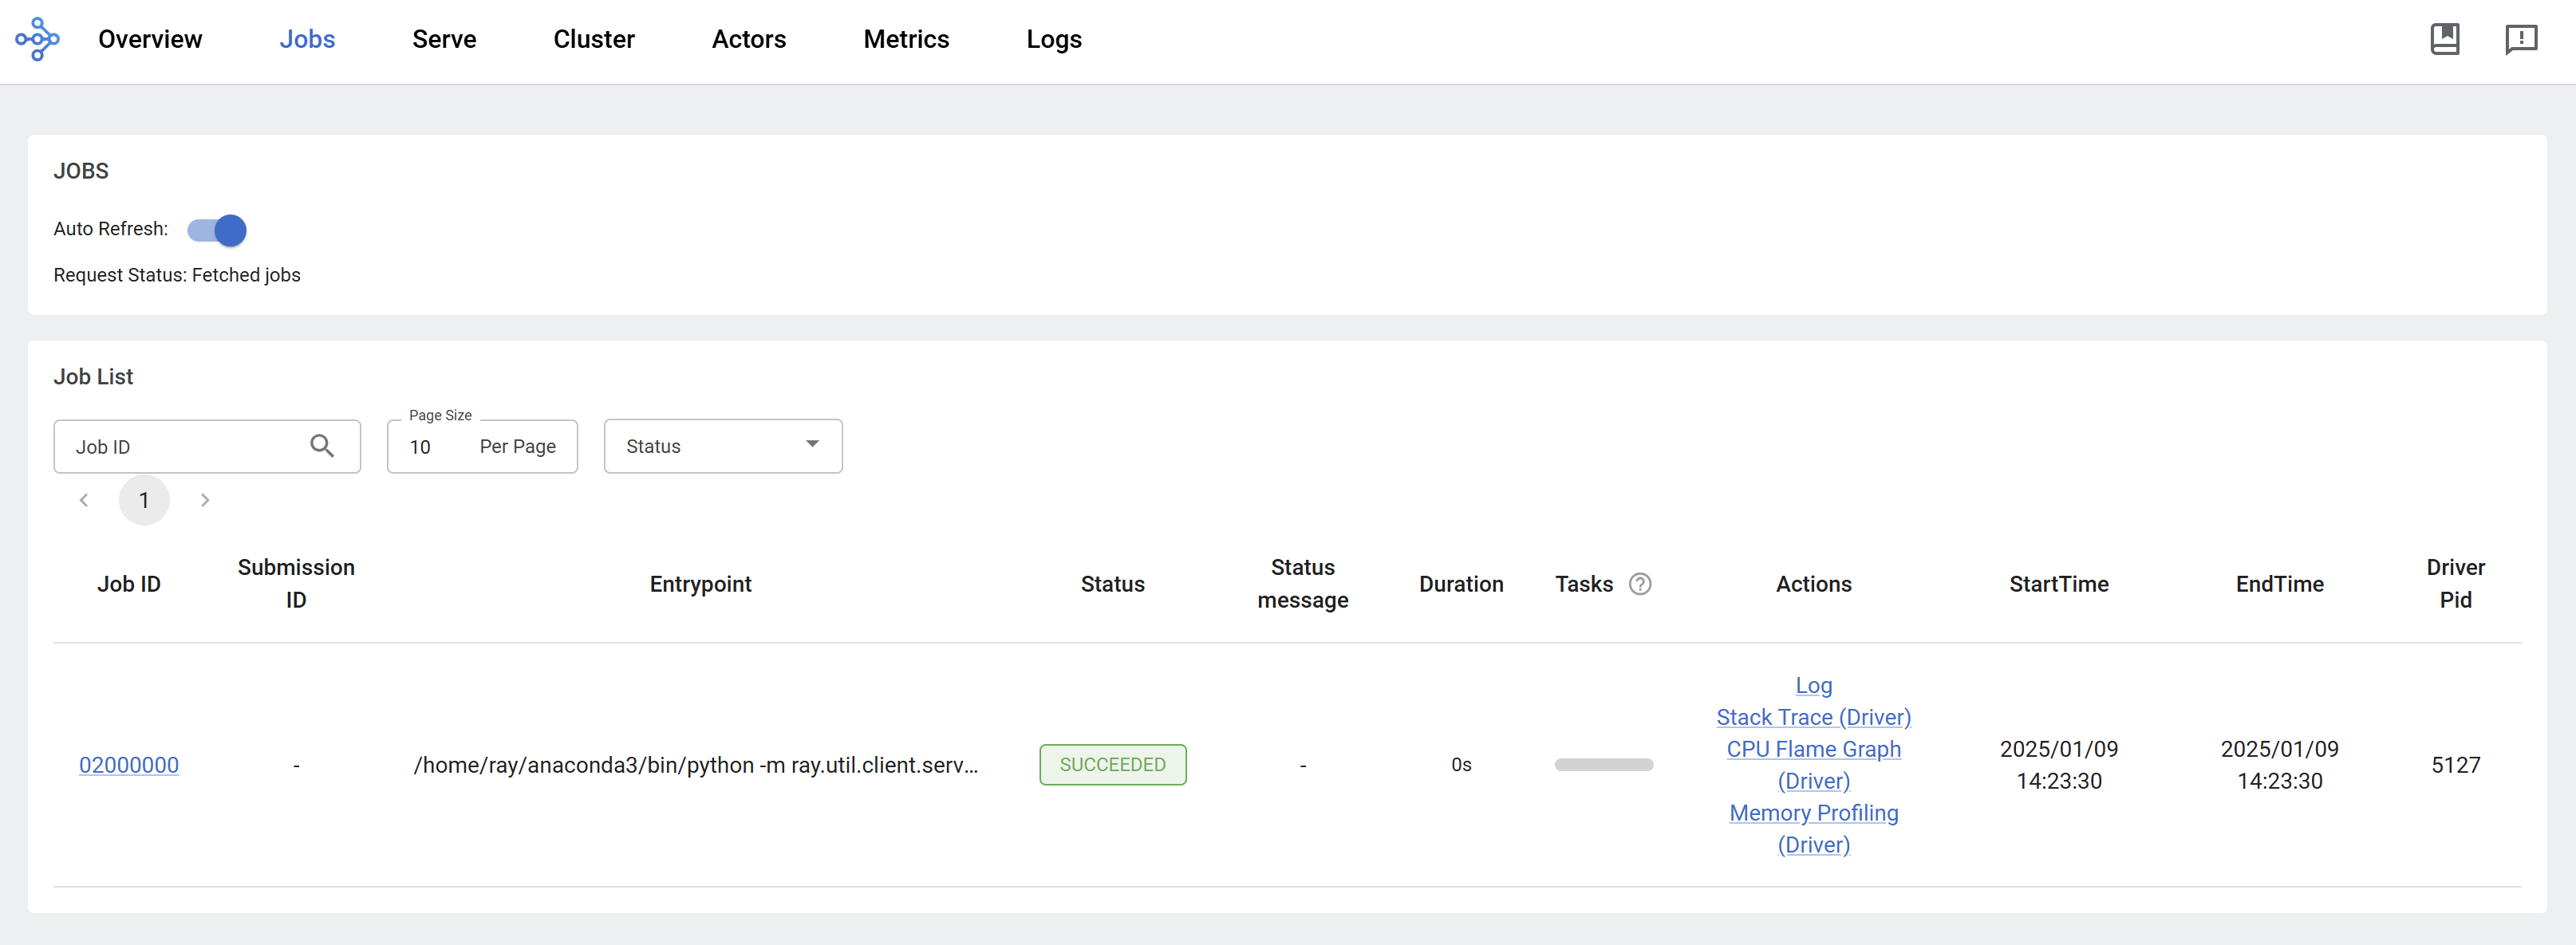
管理画面側からJobを確認してみると、ジョブが登録されているが確認できます。

処理を動かしてみる
モンテカルロ法で円周率を推定する処理がサンプルとしてあったので、こちらを動かしてみます。
pi.py として以下のコードを保存しておきます。
import ray
import math
import time
import random

ray.init(address='ray://127.0.0.1:10001')

@ray.remote
class ProgressActor:
    def __init__(self, total_num_samples: int):
        self.total_num_samples = total_num_samples
        self.num_samples_completed_per_task = {}

    def report_progress(self, task_id: int, num_samples_completed: int) -> None:
        self.num_samples_completed_per_task[task_id] = num_samples_completed

    def get_progress(self) -> float:
        return (
            sum(self.num_samples_completed_per_task.values()) / self.total_num_samples
        )

@ray.remote
def sampling_task(num_samples: int, task_id: int,
                  progress_actor: ray.actor.ActorHandle) -> int:
    num_inside = 0
    for i in range(num_samples):
        x, y = random.uniform(-1, 1), random.uniform(-1, 1)
        if math.hypot(x, y) <= 1:
            num_inside += 1

        # Report progress every 1 million samples.
        if (i + 1) % 1_000_000 == 0:
            # This is async.
            progress_actor.report_progress.remote(task_id, i + 1)

    # Report the final progress.
    progress_actor.report_progress.remote(task_id, num_samples)
    return num_inside

# Change this to match your cluster scale.
NUM_SAMPLING_TASKS = 10
NUM_SAMPLES_PER_TASK = 10_000_000
TOTAL_NUM_SAMPLES = NUM_SAMPLING_TASKS * NUM_SAMPLES_PER_TASK

# Create the progress actor.
progress_actor = ProgressActor.remote(TOTAL_NUM_SAMPLES)

# Create and execute all sampling tasks in parallel.
results = [
    sampling_task.remote(NUM_SAMPLES_PER_TASK, i, progress_actor)
    for i in range(NUM_SAMPLING_TASKS)
]

# Query progress periodically.
while True:
    progress = ray.get(progress_actor.get_progress.remote())
    print(f"Progress: {int(progress * 100)}%")

    if progress == 1:
        break

    time.sleep(1)

# Get all the sampling tasks results.
total_num_inside = sum(ray.get(results))
pi = (total_num_inside * 4) / TOTAL_NUM_SAMPLES
print(f"Estimated value of π is: {pi}")
実行してみるとプログレスが表示され、最後に円周率の推定値が表示されます。
$ uv run pi.py
Progress: 0%
Progress: 2%
...
Progress: 99%
Progress: 100%
Estimated value of π is: 3.14153996
管理画面で見るとジョブが走っていること確認できます。
簡単に手順書いただけですが、少し動かしてみたい場合に役立てていただければと思います。
参考
続き
NLB経由でジョブを投入できるようにしました。

