目次
mockサーバとは
外部APIにRESTアクセスし、結果を使用しフロント側のみ実装のテストをする場合などに使用します。
私が参加したプロジェクトだと、フロントのReactの実装が完了しAPIイベント部分の単体テストは、mockサーバで行っていました。
(実際のAPIへの接続は結合テスト段階で行っていました。)
mockサーバを試してみよう
ここを参考にしました。
「リクエストを投げてみる」までやればOKです。
手順はこれだけですね。
- VSCodeにSwagger Editor拡張をインストール
- prism-cli.exeをダウンロードしておく
- sample.ymlをコピペで作成しておく
- ./prism-cli.exe mock sample.ymlで起動
- 画面で確認
1.2.は参考URLを見て準備してください。
3.のサンプルymlです。※UTF8で保存してください。
openapi: '3.0.2'
info:
  title: API Title
  version: '1.0'
servers:
  - url: https://api.server.test/v1
paths:
  /test:
    get:
      responses:
        '200':
          description: OK
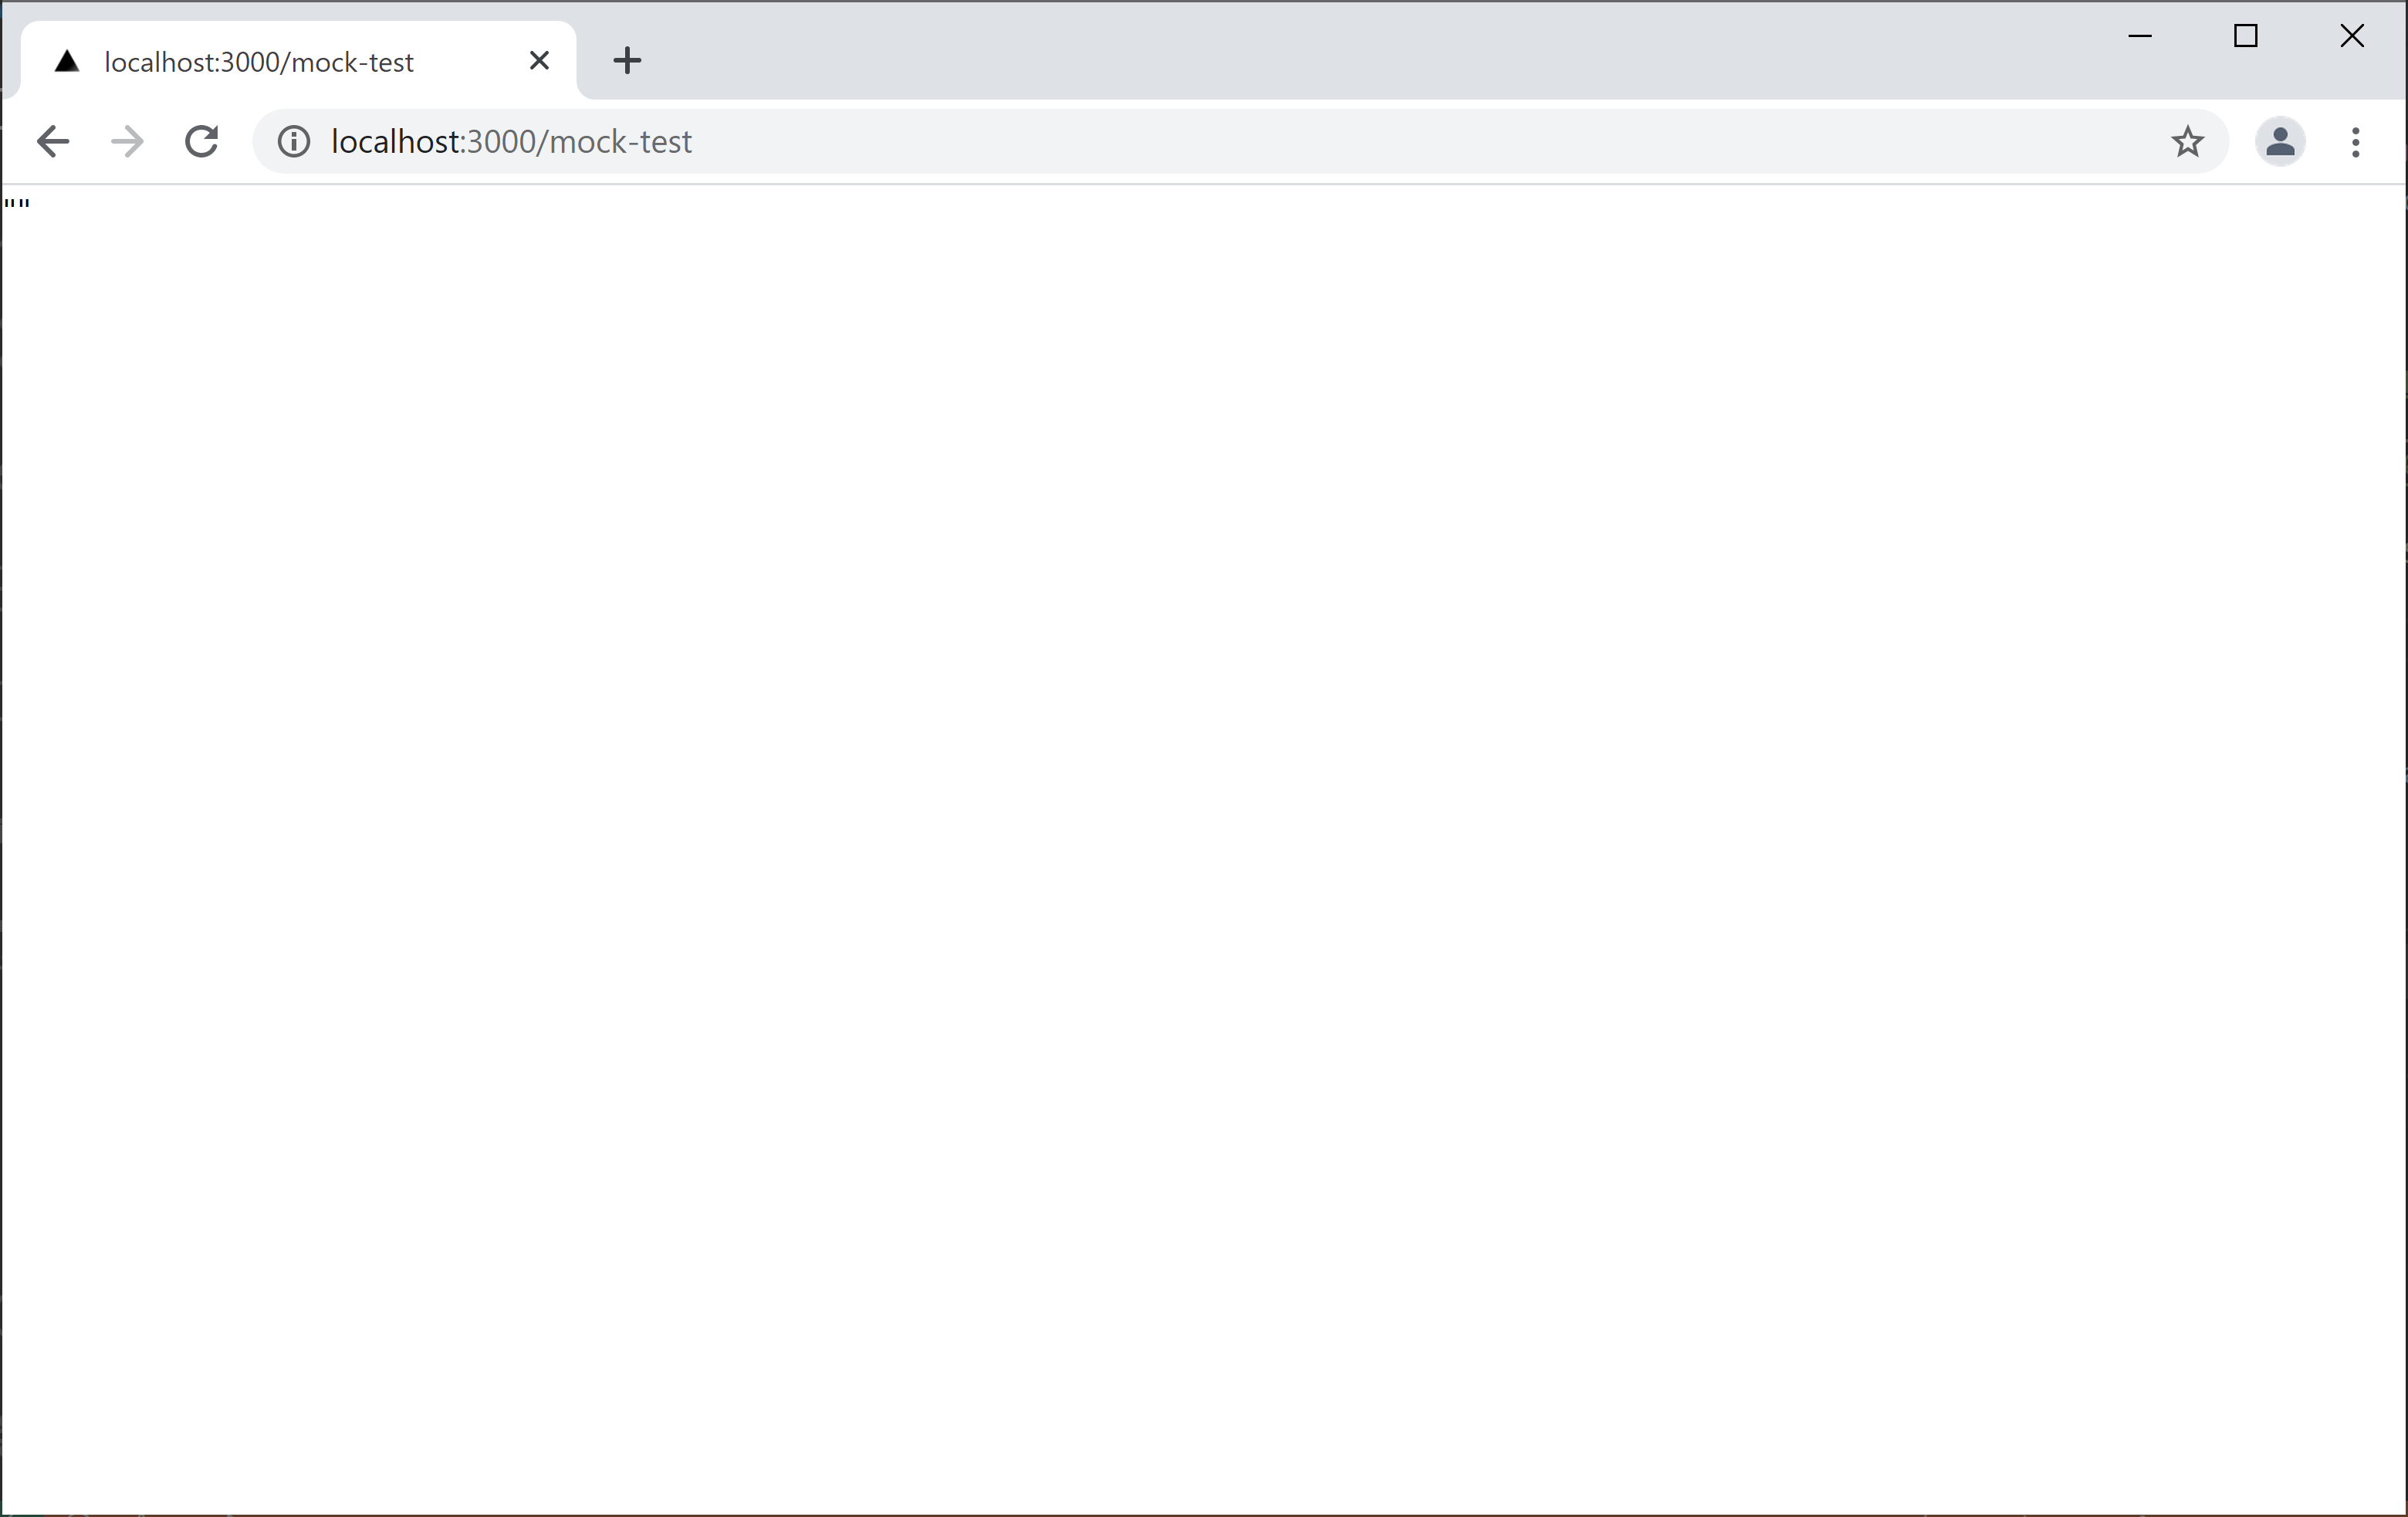
5.表示画面はこのようになります。
データがないですね。
取得データを表示してみよう
sample.ymlを拡張して、以下のようにします。
(yamlの書き方は、ググれば沢山でてきますのでここでは割愛します。)
openapi: '3.0.2'
info:
  title: API Title
  version: '1.0'
servers:
  - url: https://api.server.test/v1
paths:
  /test:
    get:
      responses:
        '200':
          description: OK
          content:
            application/json: # レスポンスの形式指定
              schema:
                type: array
                items:
                  $ref: '#/components/schemas/User' # 参照するモデル
                example: # サンプルデータ
                  - id: 1
                    name: John Doe
                  - id: 2
                    name: Jane Doe
components:
  schemas: # スキーマオブジェクトの定義
    User: # モデル名
      type: object # 型
      required: # 必須フィールド
        - id
      properties:
        id: # プロパティ名
          type: integer # 型
          format: int64 # フォーマット(int32, int64等)
        name:
          type: string
    Product:
      type: object
      required:
        - id
        - price
      properties:
        id:
          type: integer
          format: int64
          example: 1
        name:
          type: string
          example: Laptop
        price:
          type: integer
          example: 1200
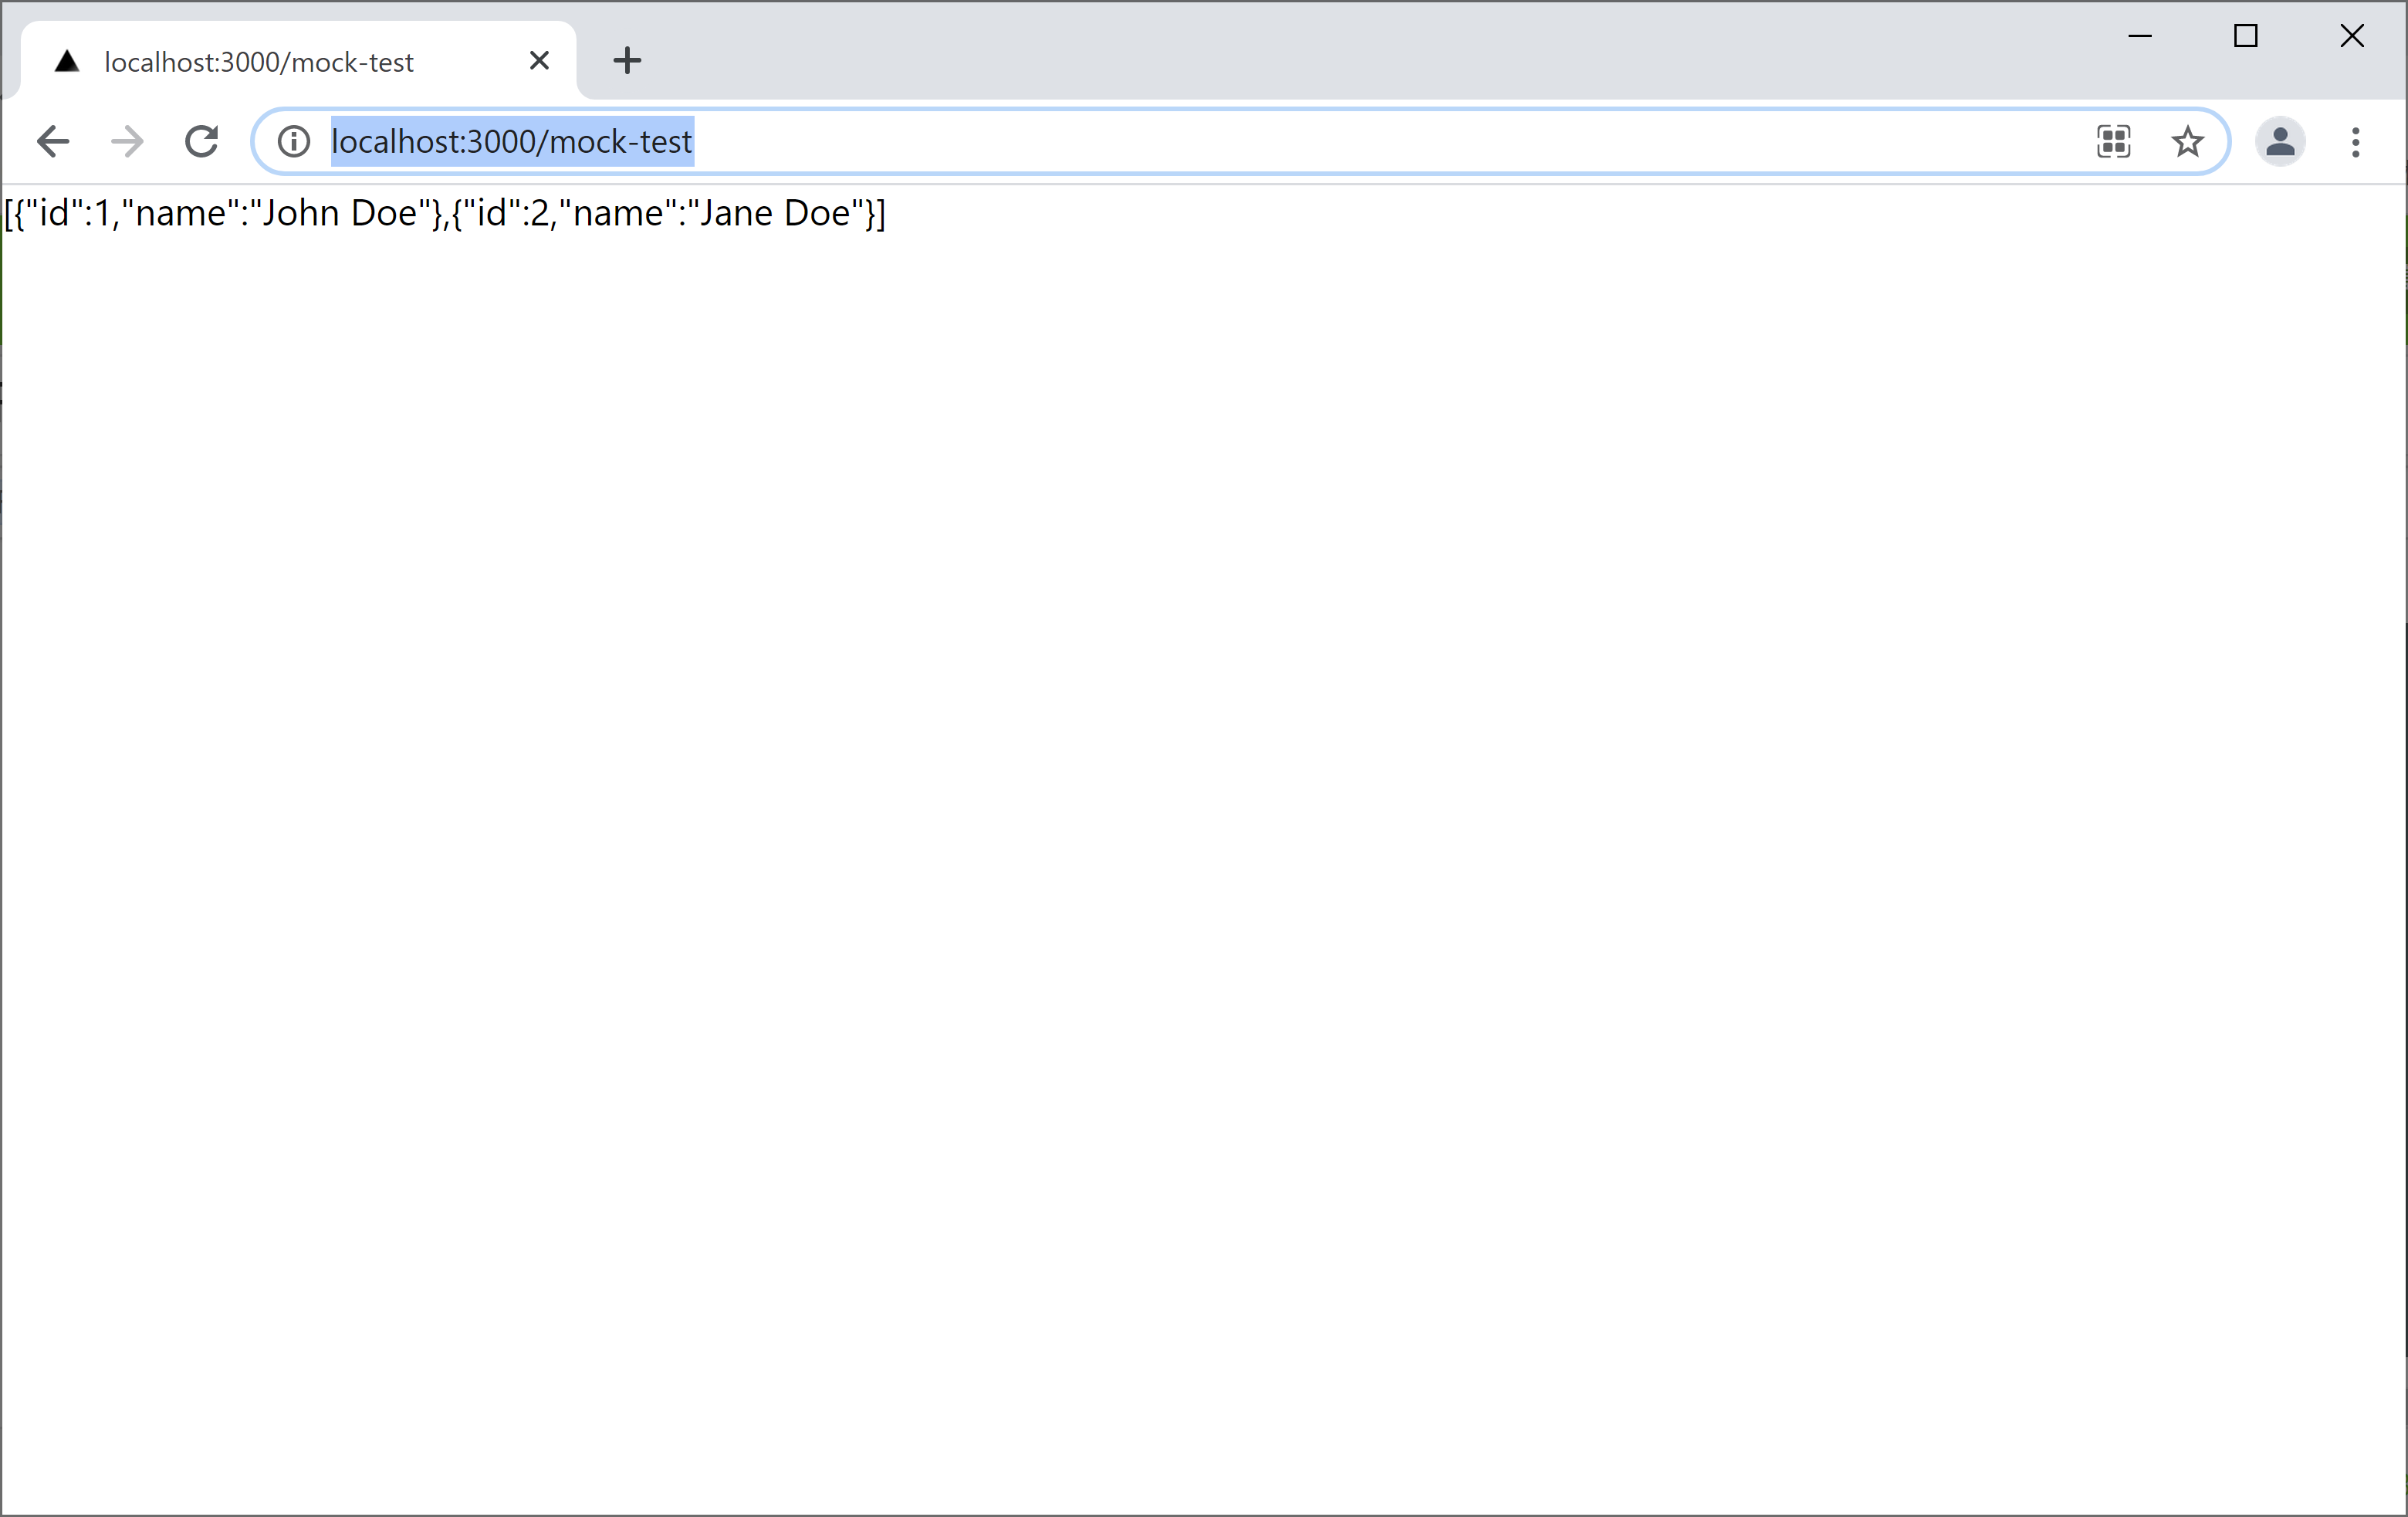
データが表示されました。

