はじめに
webscript.ioからGoogle Cloud MessagingでAndroidアプリケーションにメッセージを送信するという例を実装します。webscript.ioについてご存知ない方は、合わせて以下の記事もご覧下さい。
プロジェクトの作成
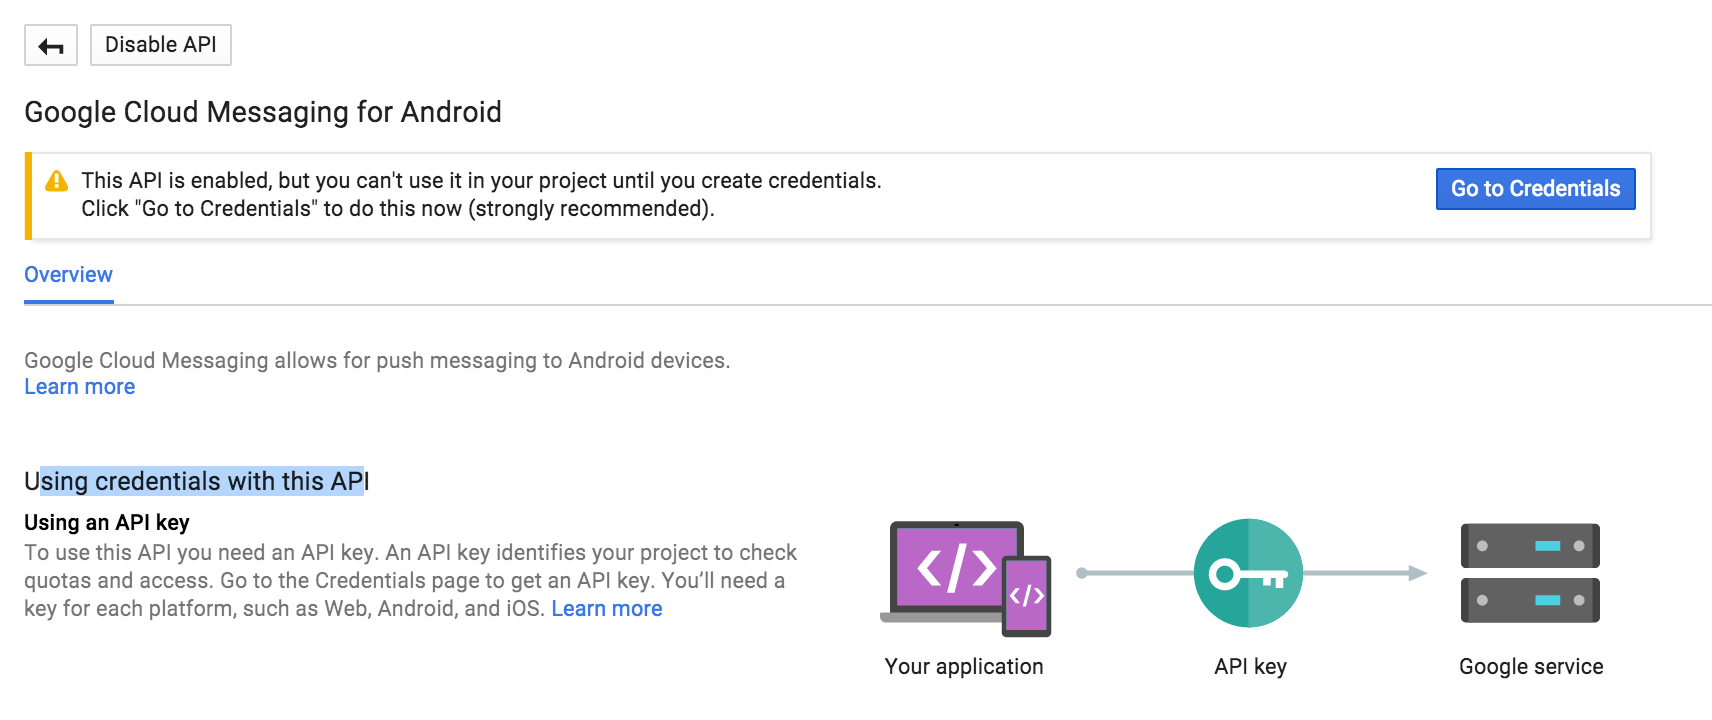
Google Developers Consoleでプロジェクトを作成します。その後、"Google Cloud Messaging For Android"をEnableにします。
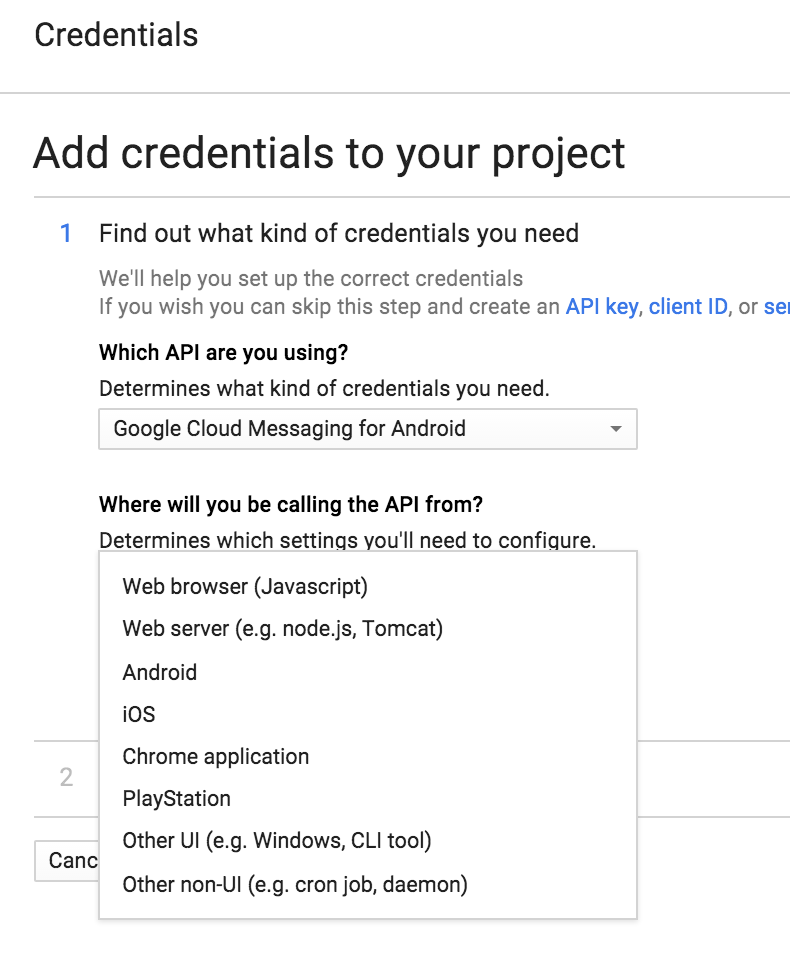
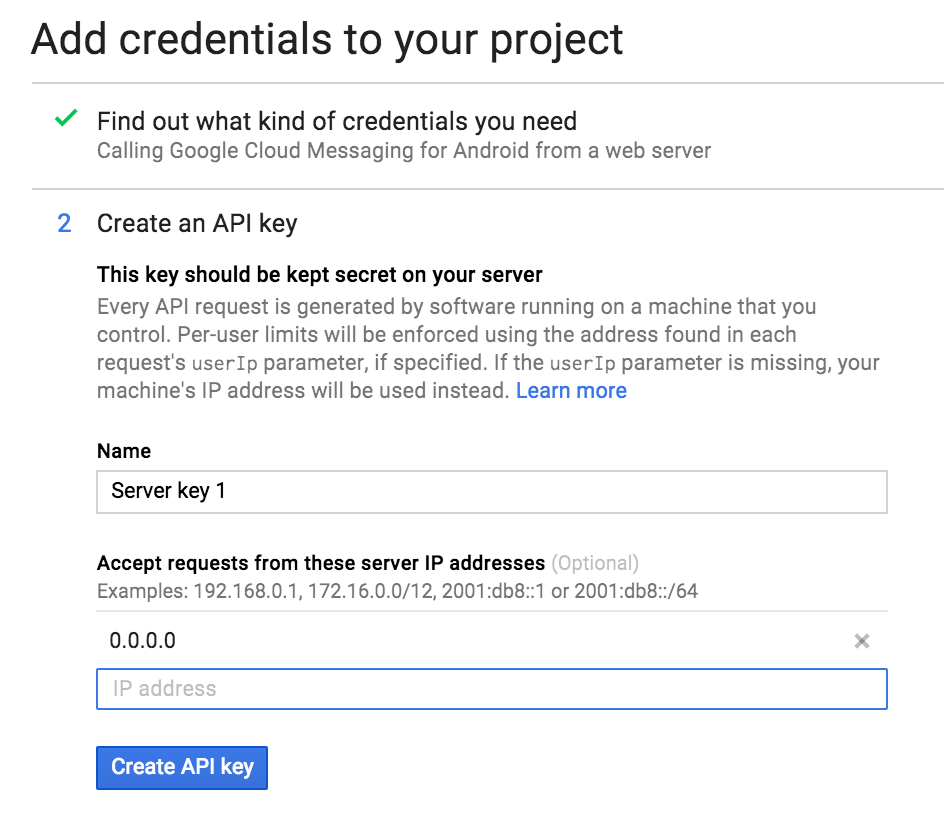
API Keyを作成します。今回は、webscript.ioからメッセージを投げるのでWeb Serverを選択します。
Android Applicationを作成
まず普通にAndroidStudioでプロジェクトを作成します。その後に以下の修正をします。
まず、プロジェクトフォルダ直下のbuild.gradleに以下を追加します。
    dependencies {
        classpath 'com.android.tools.build:gradle:1.0.0'
+        classpath 'com.google.gms:google-services:1.4.0-beta3'

        // NOTE: Do not place your application dependencies here; they belong
        // in the individual module build.gradle files
    }
次にapp以下のbuild.gradleに以下を追加します
apply plugin: 'com.android.application'
+ apply plugin: 'com.google.gms.google-services'

dependencies {
    compile fileTree(dir: 'libs', include: ['*.jar'])
+    compile 'com.google.android.gms:play-services:8.1.0'
}
必要なライブラリがダウンロードされてビルドが通れば成功です。
google-service.jsonの作成
公式サイト(https://developers.google.com/cloud-messaging/android/client) の以下のボタンをクリックしてgoogle-service.jsonを作成することができます。
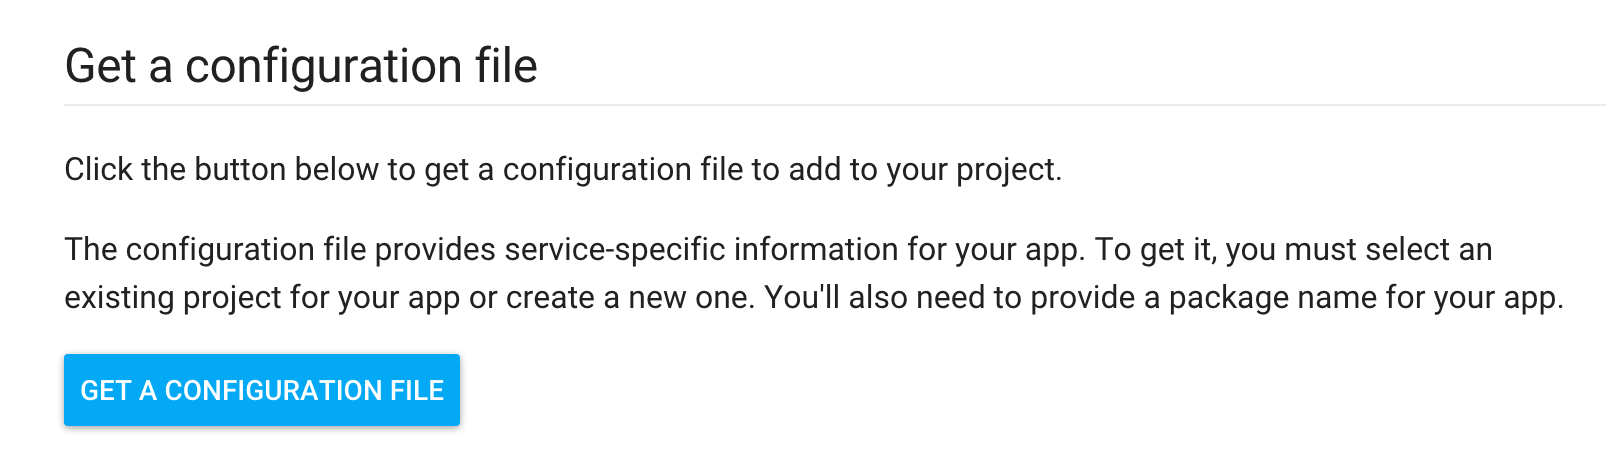
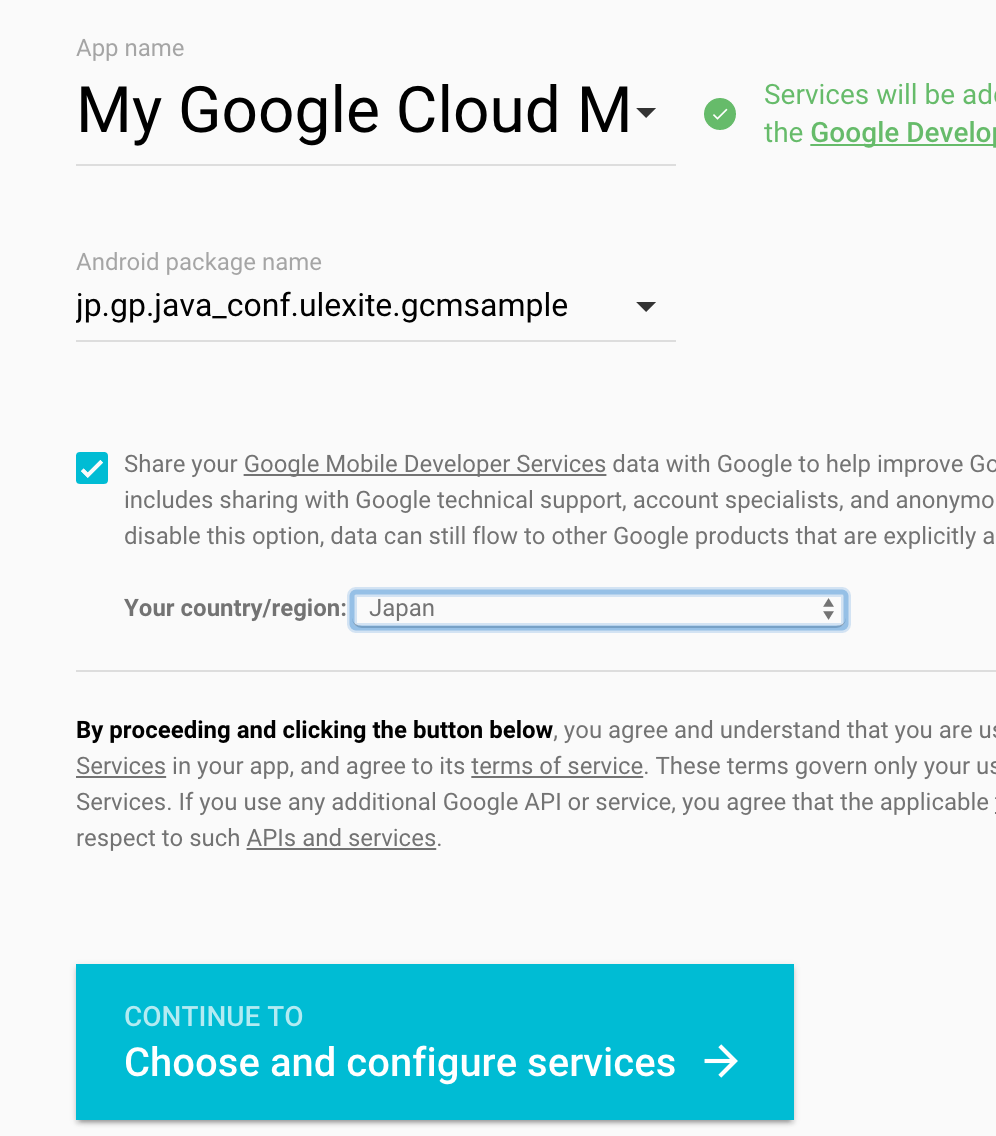
Choose and configure servicesのページで有効にするとサーバー側でメッセージを送信するためのAPI KeyやSender IDなどの情報と共に、下の方にgoogle-service.jsonを作成するボタンがあり、そこからgoogle-service.jsonがダウンロードできます。
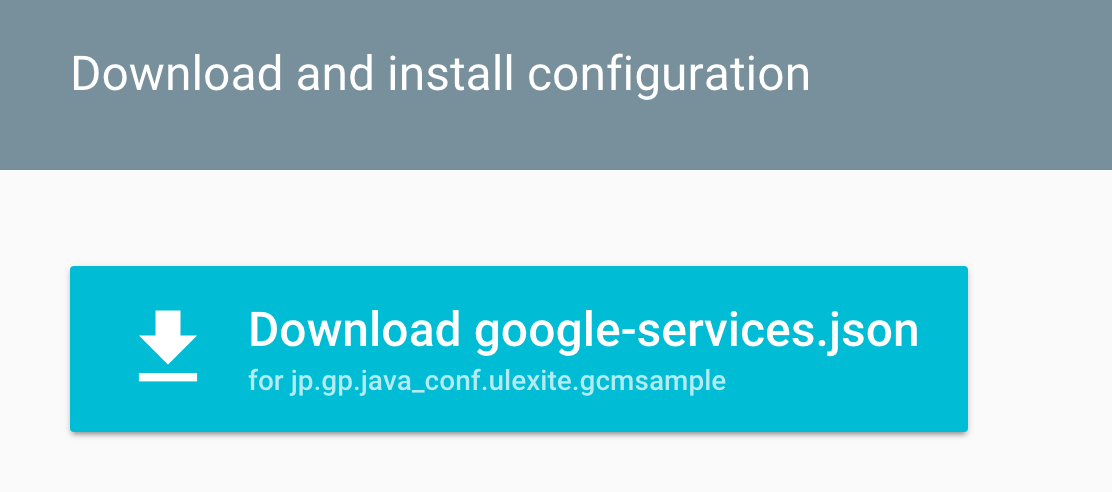
ダウンロードされたgoog-service.jsonは作成したアプリケーションのプロジェクトのappディレクトリ以下にコピーします
$mv ~/Downloads/google-services.json <YOUR_APP_DIR>/app/
Android Applicationの編集
次に実際のコードを記述していきます。今回のAndroid ApplicationはあくまでもシンプルにGCMの受信だけを行います。よってGCMを受信するBroadcastReceiverを以下のように作成します。
public class GcmReceiver extends WakefulBroadcastReceiver {
    @Override
    public void onReceive(Context context, Intent intent) {
        Bundle bundle = intent.getExtras();
        if (bundle != null) {
            android.util.Log.d("GCMSample", "onReceive() : " + bundle.getString("message"));
        }
    }
}
次にこのAndroid ApplicationのRegistrationIDを取得する部分を作成します。GCMでメッセージを送る場合、送り先の住所にあたるRegistrationIDを指定する必要があります。アプリケーションのRegistrationIDは以下のように取得が可能です。注意すべき点はAndroidのUIスレッドではregister()メソッドが呼び出せないのでAsyncTaskなどを利用する必要があります。
public class GcmRegister extends AsyncTask<Void, Void, String> {
    private static final String SENDER_ID = "<YOUR SENDER ID>";
    public interface OnRegistrationIdReceiver {
        void onReceived(String registrationId);
    }

    private final Context mContext;

    private final OnRegistrationIdReceiver mReceiver;

    public GcmRegister(@NonNull Context context, @NonNull OnRegistrationIdReceiver receiver) {
        mContext = context;
        mReceiver = receiver;
    }

    @Override
    protected String doInBackground(Void... params) {
        String msg = "";
        try {
            GoogleCloudMessaging gcm = GoogleCloudMessaging.getInstance(mContext);
            msg = gcm.register(SENDER_ID);
        } catch (IOException ex) {
            msg = "Error :" + ex.getMessage();
        }
        return msg;
    }

    @Override
    protected void onPostExecute(String msg) {
        mReceiver.onReceived(msg);
    }
}
このクラスをActivityのonCreate()などで適当に呼んで頂ければ Registration IDが取得されます。Registration IDは基本的に同じ端末で、同じアプリケーションであれば変更されることはありません。
    @Override
    protected void onCreate(Bundle savedInstanceState) {
        super.onCreate(savedInstanceState);
        setContentView(R.layout.activity_main);
        GcmRegister register = new GcmRegister(getApplicationContext(), this);
        register.execute(null, null, null);
    }
最後にAndroidManifest.xmlにPermissionを追加します
    <uses-permission android:name="android.permission.INTERNET" />

    <permission android:name="jp.gp.java_conf.ulexite.gcmsample.permission.C2D_MESSAGE"
        android:protectionLevel="signature" />
    <uses-permission android:name="jp.gp.java_conf.ulexite.gcmsample.C2D_MESSAGE" />

    <uses-permission android:name="com.google.android.c2dm.permission.RECEIVE" />
    <uses-permission android:name="android.permission.WAKE_LOCK"/>
        <receiver
            android:name=".GcmReceiver"
            android:permission="com.google.android.c2dm.permission.SEND" >
            <intent-filter>
                <action android:name="com.google.android.c2dm.intent.RECEIVE" />
                <category android:name="jp.gp.java_conf.ulexite.gcmsample" />
            </intent-filter>
        </receiver>
webscript.ioからメッセージを投げる
これでAndroid App側で受信する準備や、Google Cloud Messagingの準備は整いました。後は、webscript.ioからメッセージを投げるだけです。
GCMの送信は以下のように行います
POST https://android.googleapis.com/gcm/send
Authentication: key=<YOUR API KEY>
Content-Type: application/json

{
    "registration_ids":["<REGISTRATION ID>"],
    "data":{
        "message":"Message from webscript.io"
    }
}
上記のメッセージを送るwebscript.ioのスクリプトは以下のようになります。
local respont = http.request {
	  url = 'https://android.googleapis.com/gcm/send',
	  method = 'POST',
	  headers = {
		  ['Authorization'] = 'key=<YOUR API KEY>',
		  ['Content-Type'] = 'application/json'
		},
	  data = '{ "registration_ids":["<REGISTRATIOn ID>"], "data":{"message":"Message from webscript.io"}}'
}
これで無事、webscript.ioからAndroid Applicationにメッセージを送ることができました。