調査内容
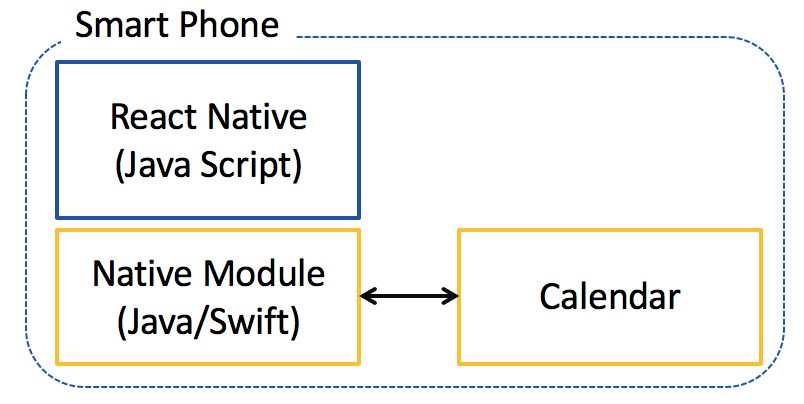
Android/iOS共にNativeコードではスマートフォンのカレンダーデータにアクセスする事ができますが、React Nativeでアクセスする方法について調査しました。

設定手順
以下のモジュールを利用します。
https://github.com/wmcmahan/react-native-calendar-events
$ npm install --save react-native-calendar-events
$ react-native link
今回はAndroidで動作確認をしますので、AndroidのNative部分をいくつか修正します。
android/settings.gradleに以下を追加
include ':react-native-calendar-events'
project(':react-native-calendar-events').projectDir = new File(rootProject.projectDir, '../node_modules/react-native-calendar-events/android')
AndroidManifest.xmlに以下を追加
    <uses-permission android:name="android.permission.READ_CALENDAR" />
    <uses-permission android:name="android.permission.WRITE_CALENDAR" />
MainActivity.javaに以下を追加
    @Override
    public void onRequestPermissionsResult(int requestCode, String[] permissions, int[] grantResults) {
        CalendarEventsPackage.onRequestPermissionsResult(requestCode, permissions, grantResults);
        super.onRequestPermissionsResult(requestCode, permissions, grantResults);
    }
React Nativeのアプリケーションを記述
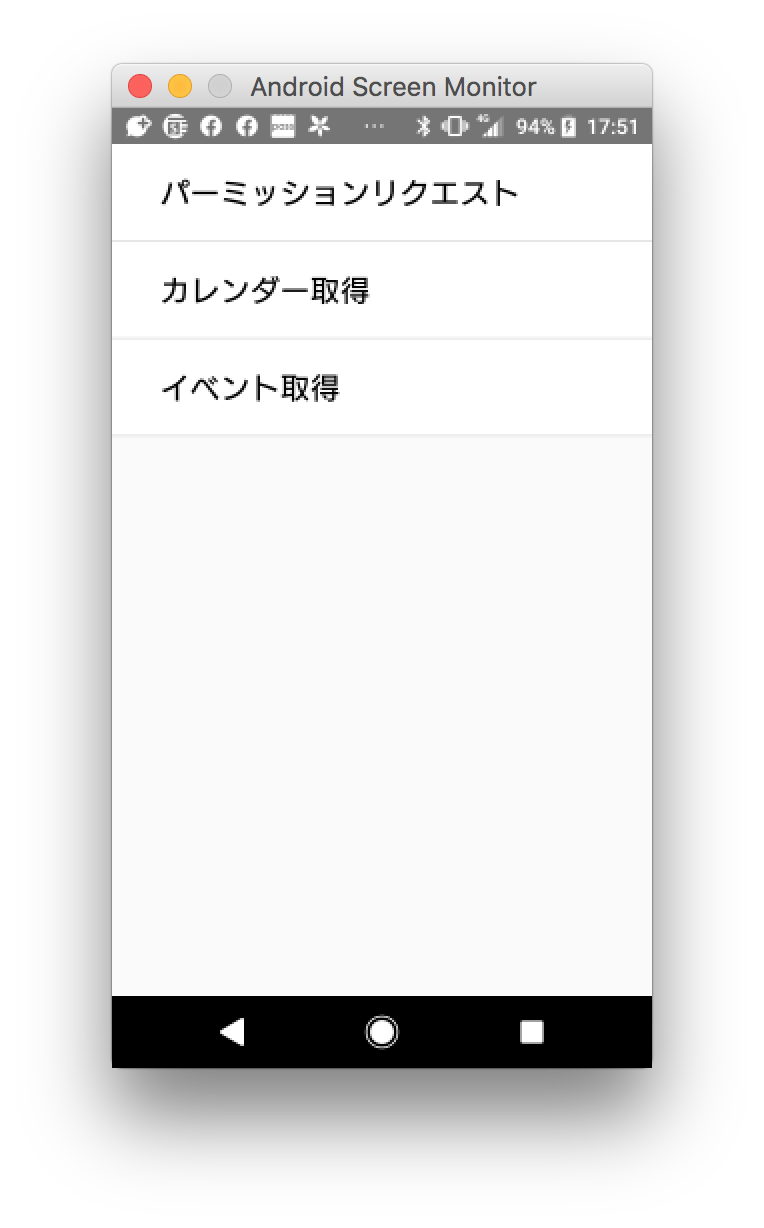
App.jsからMainScreen.jsを呼び出す形に変更して、MainScreen.jsに3箇所押せるようにTouchableViewを利用します。
/* App.js */
import React from 'react';
import { StyleSheet, Button, View, } from 'react-native';
import MainScreen from './src/screens/MainScreen'

const App: () => React$Node = () => {
  return (
    <View>
      <MainScreen />
    </View>
  );
};

const styles = StyleSheet.create({
});

export default App;
/* MainScreen.js */
class MainScreen extends React.Component {
  render() {
    return (
      <View style={styles.container}>
        <TouchableHighlight style={styles.listItem} onPress={this.authorizeEventStore}>
          <Text style={styles.title}>パーミッションリクエスト</Text>
        </TouchableHighlight>
        <TouchableHighlight style={styles.listItem} onPress={this.findCalendars}>
          <Text style={styles.title}>カレンダー取得</Text>
        </TouchableHighlight>
        <TouchableHighlight style={styles.listItem} onPress={this.fetchEvents}>
          <Text style={styles.title}>イベント取得</Text>
        </TouchableHighlight>
      </View>
    );
  }
}

const styles = StyleSheet.create({
  container: {
    width: '100%',
    flex: 1,
  },
  listItem: {
    padding: 32,
    borderBottomWidth: 1,
    borderBottomColor: '#ddd',
    backgroundColor: '#fff',
    justifyContent: 'center',
  },
  title: {
    fontSize: 20,
  },
});
コードの記述。
それぞれに応じた関数を以下のように記述します。Androidではtarget SDK 23以降はパーミッションの確認が必要なので、RNCalendarEvents.authorizeEventStore()でパーミッションを取得します。
  authorizeEventStore() {
    console.log("confirmAuthorizationStatus");
    RNCalendarEvents.authorizeEventStore()
      .then((status) => {
        console.log(status);
      })
      .catch((error) => {
        console.log(error);
      });
  }
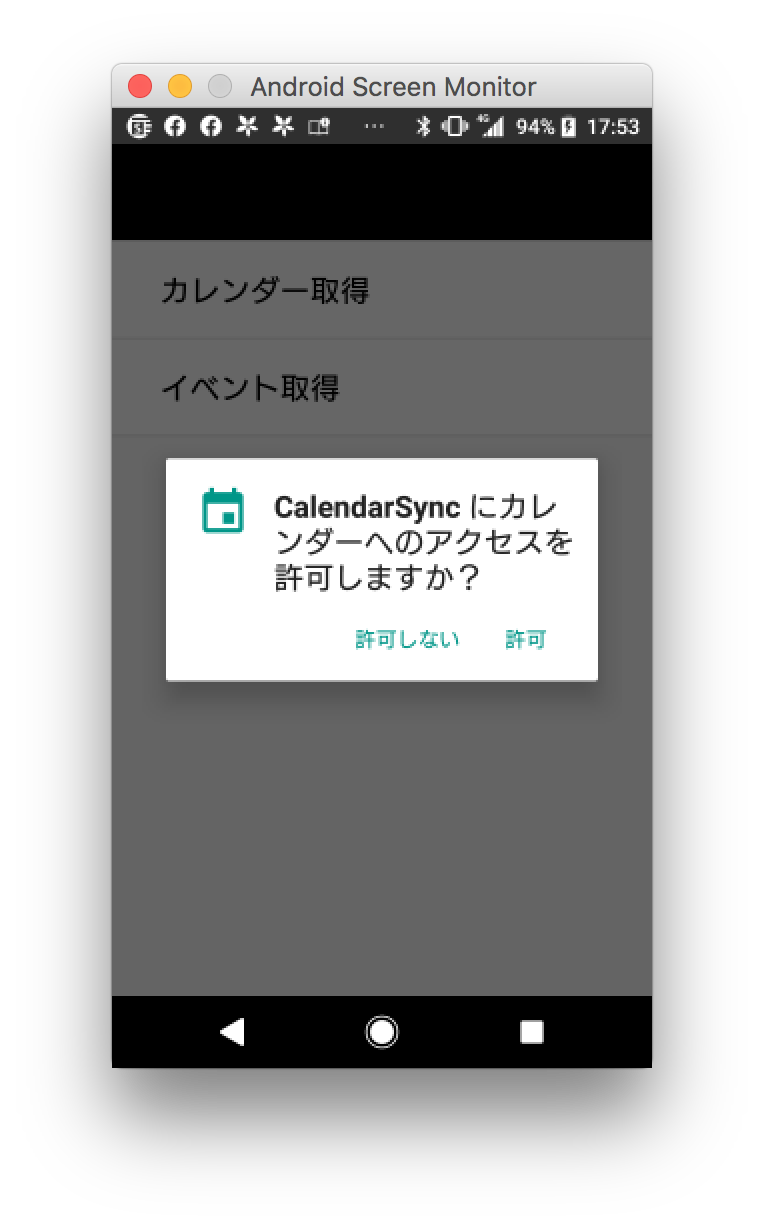
パーミッションリクエストを押すと以下のようなパーミッションの確認がOSから表示されます。

後はCalendarの取得とイベントの取得を以下のように記述します。RNCalendarEvents.fetchAllEvents(startDate, endDate, calendars)ではcalendarsでカレンダーIDを指定すれば良いですが、今回は簡略化のためにハードコーディングしています。ボタンを押すと取得された結果がConsole上で出力されます。
  findCalendars() {
    RNCalendarEvents.findCalendars()
      .then((list) => {
        console.log(list);
      })
      .catch((error) => {
        console.log(error);
      });
  }

  fetchEvents() {
    RNCalendarEvents.fetchAllEvents('2019-01-01T17:24:00.000Z', '2019-12-31T17:24:00.000Z,'[2])
      .then((list) => {
        console.log(list);
      })
      .catch((error) => {
        console.log(error);
      })
  }
以上、react-native-calendar-eventsを使う事で簡単にスマートフォンのカレンダーにアクセスする事が可能となりました。
追加調査
iOSも下記をinfo.plistに追加するだけで同じコードが動作する事を確認しました。
<key>NSCalendarsUsageDescription</key>
<string>This app requires access to the calendar</string>
