概要
Oracle Integration Cloud Process(以下OIC)とOracle Content Management(以下OCM)の連携手順をまとめます。OICとOCMを連携させることでワークフローに添付したドキュメントを自動的にOCMのフォルダへ格納することができます。
Oracle Integration Cloud Processについてはこちら
https://www.oracle.com/jp/integration/application-integration/#rc30p2
Oracle Content Managementについてはこちら
https://www.oracle.com/jp/content-management/
前提
OICのプロビジョニングおよびユーザー・ロール設定が完了していること
https://docs.oracle.com/ja-jp/iaas/integration/index.html
OCMのプロビジョニングおよびユーザー・ロール設定が完了していること
https://docs.oracle.com/ja-jp/iaas/content-management/doc/deploy-oracle-content-management.html
OIC Processの設定
"My Tasks"-"Administration"-"Services"のPlatformタブにてOracle Content and Experoence Cloud Service(OCM)のURL(※"https://***/document"まで), User, Passwordを入力し、"Test"を→"Save"をクリックし、入力情報を保存します。

OIC Processアプリケーションの作成
次に適当なProcessアプリケーションを作成します。左上のハンバーガーメニューから"Processes"-"Process Applications"に遷移し、"Create"を押して"Create an Application"から任意の名前でProcessアプリケーションを作成します。

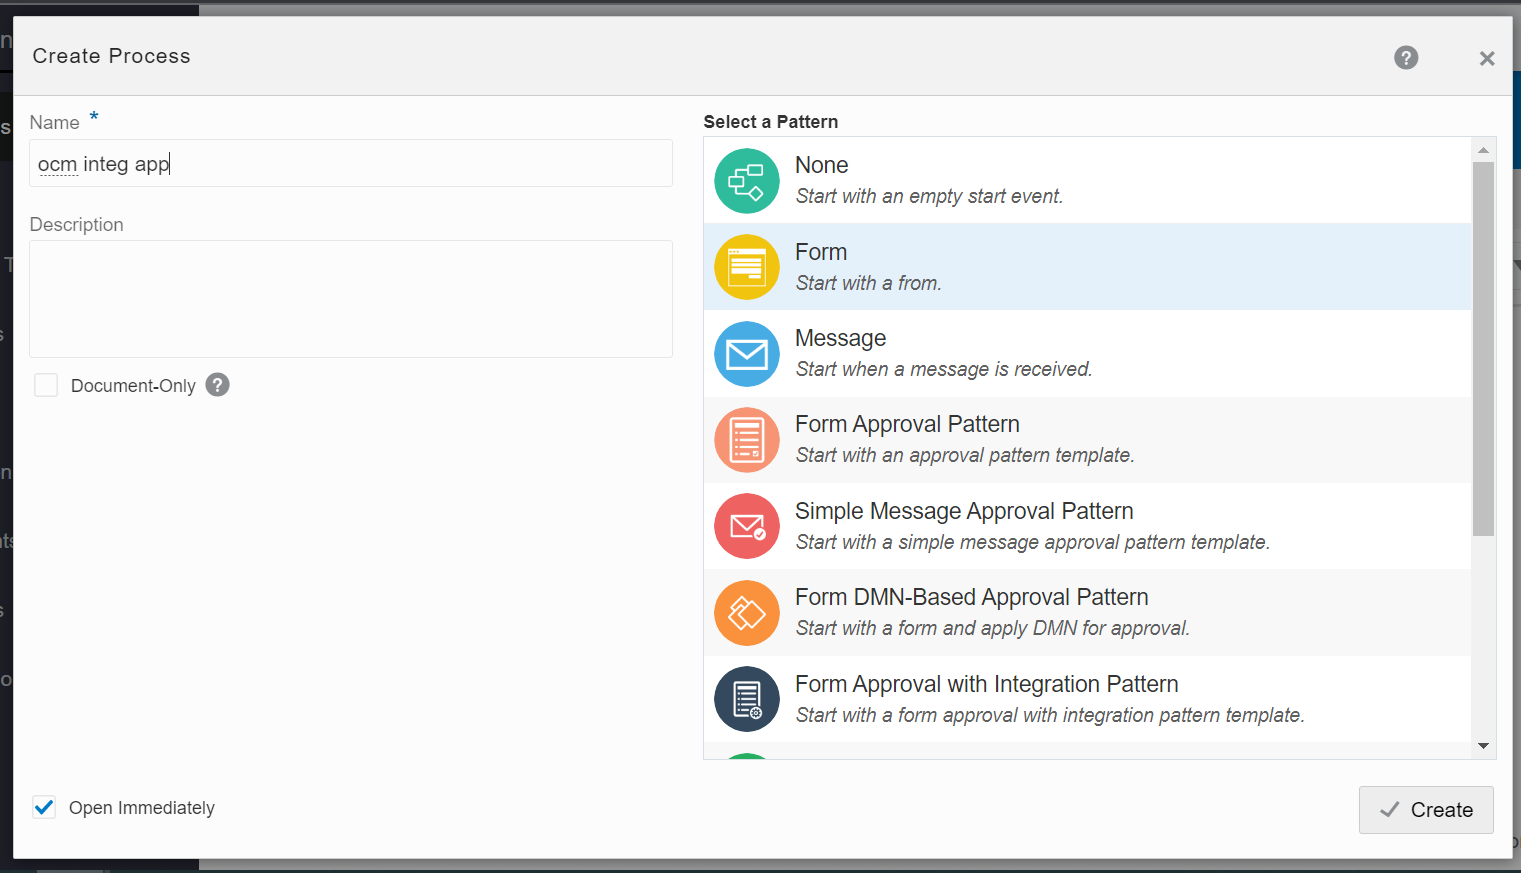
次にフォームで開始する構造化プロセスを作成します。"Create a Structured Processes"から"Start with a form"をクリックします。

任意の名前を"Name"へ入力し、"Create"をクリックします。
フローにある"Start"をクリックし、メニューから"Open Properties"をクリックすると、下部にプロパティが表示されるので、任意のTitleを入力します。

次に申請用のWebフォームを作成します。フォームで開始する構造化プロセスはWebフォームが必須になっているので適当なフォーム(今回は空のフォーム)を作成します。下部のプロパティにある"Form"の"+"をクリックし、表示されたダイアログで新規に作成するフォームの名前を入力します。

これで今回使用するアプリケーションの作成が完了しました。
OCMとの連携の設定
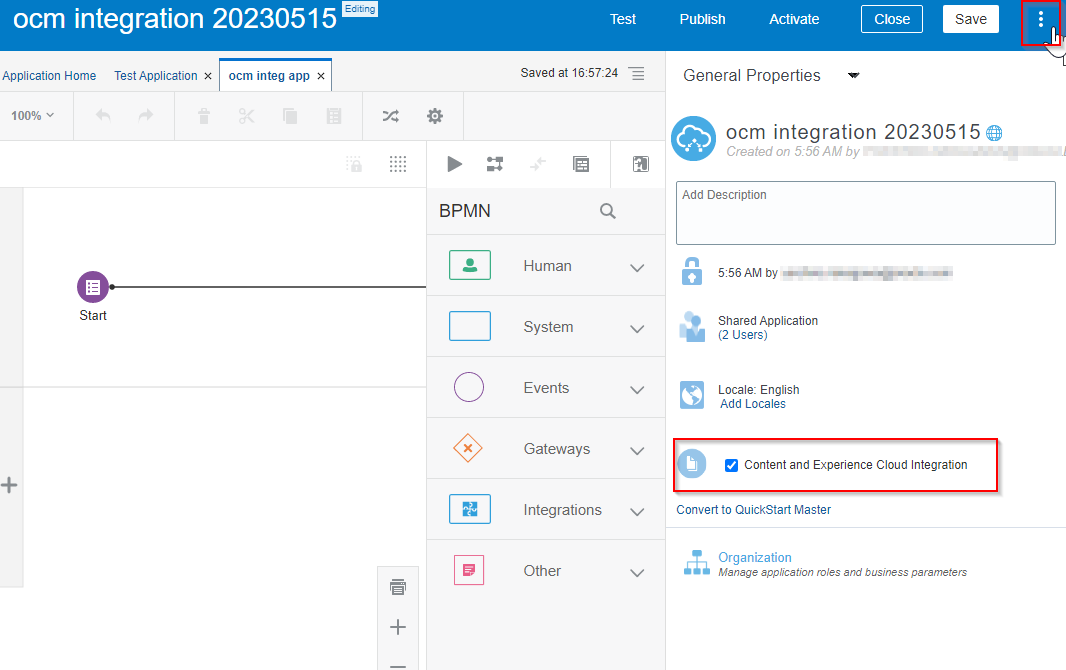
次にOCMとの連携の設定を確認します。右上にある"︙"をクリックしてGeneral Propertiesを表示させます。この中にある"Content and Experience Cloud Integration"がOCMとの連携の設定です。チェックがオンになっていることを確認します。
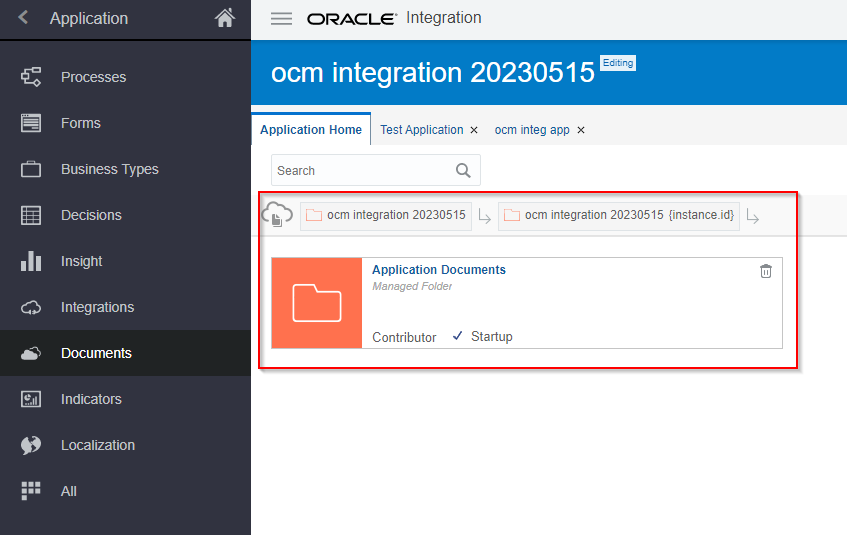
次に自動的に格納されるドキュメントの設定を確認します。メニューから"Documents"ページを開きます。すでにドキュメントの定義が作成されているのが確認できます。ここではドキュメントが格納されるディレクトリが確認できます。この図の場合は"ocm integration 20230515"-"ocm integration 20230515{instance.id}"-"Application Documents"の階層の中に添付されたドキュメントが格納される設定になっています。設定を変えることでディレクトリを変更することもできます。
動作確認
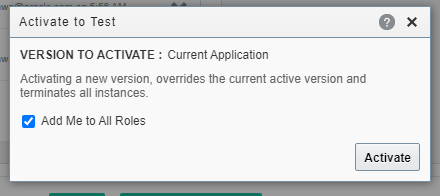
最後に動作確認をします。上部にある"Test"をクリックし、"Activate"のボタンをクリックします。今回は簡単にテストモードで確認します。
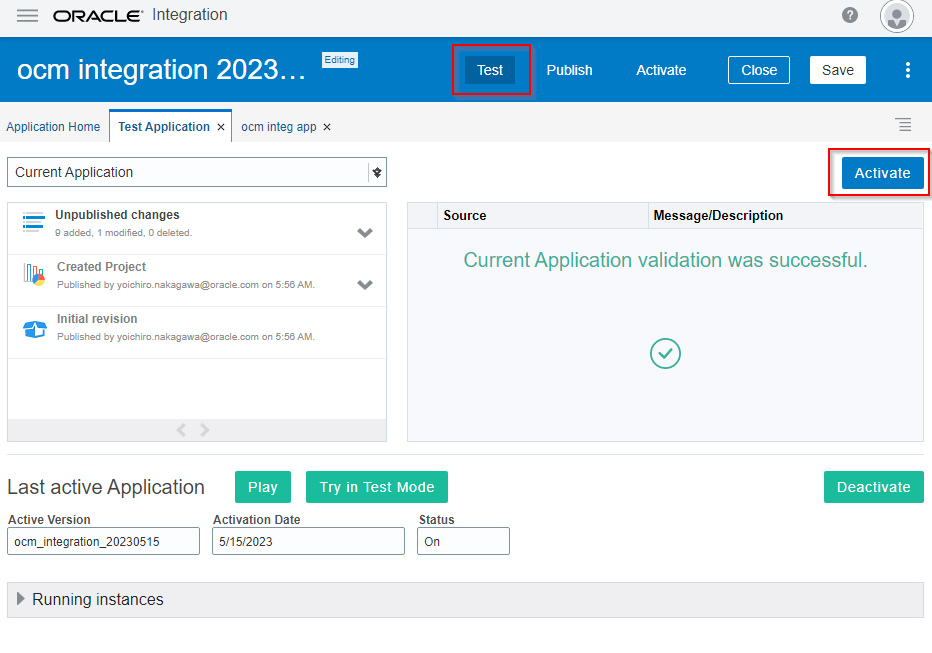
ダイアログが表示されるので"Activate"をクリックします。
テストモードでのアクティベートが完了したので、テストモードでプロセスを開始してみます。下部にある"Try in Test Mode"をクリックし、テストモードで管理画面を開きます。

My Appsから自身の作成したアプリケーションをクリックして開きます。

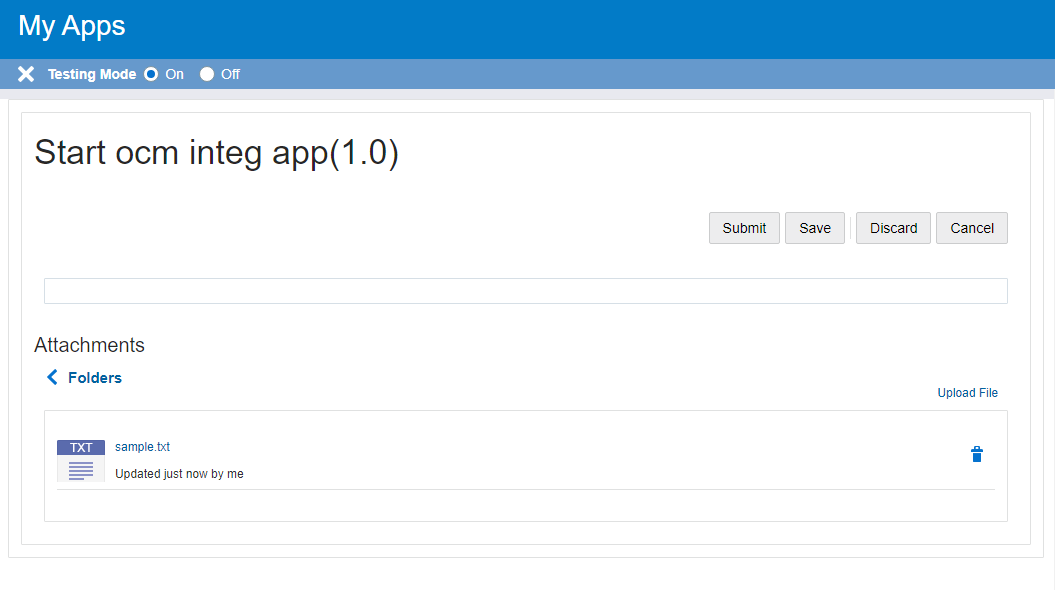
申請用のWebフォーム(今回は空)が開かれるので"Application Documents"をクリックして任意のドキュメントを添付します。添付できたら"Submit"ボタンをクリックして、申請を完了させます。
ここまで出来たら、ドキュメントはOCMに格納されています。OCMのコンソールから確認してみます。指定のディレクトリに添付したドキュメントが格納されていることが確認できます。

以上です。