毎度、ググっても出てこない小ネタを取り扱っております。
本記事は個人的な見解であり、筆者の所属するいかなる団体にも関係ございません。
0. はじめに
Kubeflowを動かすのは随分楽になってきました。しかし、Ksonnetがメンテナンスされなくなって再度混乱が起きているように思います。KsonnetはKubernetes 1.14系でしか動かないというのが混乱の元になっています。なので、Kubernets v1.15にインストールしようとしてはまるのは私ぐらいだと思いますが、一応念のため書いておきます。
Kubeflow 0.5はKsonnetを利用しますが、Kubeflow 0.6系はKustomizeを利用します。なので、Kubeflow 0.6系はv1.15で動きます。
ここでは、Kubeflow 0.5.1をMicroK8S(Kubernetes v1.14)で動かす方法をご紹介します。
1. MicroK8SでKubernetes v1.14.6をインストールする
前提条件として、snapが動く状態であることが必要です。今回はUbuntuを使ってみます。
microk8sからv1.14をインストールします。
$ sudo apt install -y snap
$ sudo snap install microk8s --channel=v1.14/stable --classic
aliasとログインユーザーをmicrok8sグループにいれておきます。
sudo snap alias microk8s.kubectl kubectl
sudo usermod -a -G microk8s $USER
2. microK8S(Kubernetes v1.14)の諸々の障害を取り除く
MicroK8SのKubernetes v1.14は、Dashboardを有効にしても動かない、StorageClassが使えないという問題があります。
$ microk8s.enable rbac
$ microk8s.enable dns dashboard storage
別記事に仕立ててありますので、こちらをご参照下さい。
microk8sのdashboardとmicrok8s-hostpathを直す(Kubernetes v1.14) - Qiita
https://qiita.com/ynott/items/6794c6142759866f3675
GPUを搭載している場合は、nvidiaのドライバーを入れた状態でGPUを有効にします。
$ microk8s.enable gpu
3. MicroK8sをセットアップ
大したことはしないのですが、Kubeflowのドキュメントに沿って実行
git clone https://github.com/canonical-labs/kubernetes-tools
sudo kubernetes-tools/setup-microk8s.sh
4. Kubeflowを設定
Kubeflowをインストールします。
git clone https://github.com/canonical-labs/kubeflow-tools
kubeflow-tools/install-kubeflow.sh
実行中以下のような表示ができてnot runningがなくなればOKです。
Checking kubeflow status until all pods are running (31 not running). Sleeping for 10 seconds.
Checking kubeflow status until all pods are running (30 not running). Sleeping for 10 seconds.
Checking kubeflow status until all pods are running (28 not running). Sleeping for 10 seconds.
Checking kubeflow status until all pods are running (25 not running). Sleeping for 10 seconds.
Checking kubeflow status until all pods are running (25 not running). Sleeping for 10 seconds.
Checking kubeflow status until all pods are running (22 not running). Sleeping for 10 seconds.
Checking kubeflow status until all pods are running (20 not running). Sleeping for 10 seconds.
Checking kubeflow status until all pods are running (19 not running). Sleeping for 10 seconds.
Checking kubeflow status until all pods are running (19 not running). Sleeping for 10 seconds.
Checking kubeflow status until all pods are running (19 not running). Sleeping for 10 seconds.
Checking kubeflow status until all pods are running (17 not running). Sleeping for 10 seconds.
Checking kubeflow status until all pods are running (17 not running). Sleeping for 10 seconds.
Checking kubeflow status until all pods are running (17 not running). Sleeping for 10 seconds.
Checking kubeflow status until all pods are running (17 not running). Sleeping for 10 seconds.
Checking kubeflow status until all pods are running (15 not running). Sleeping for 10 seconds.
Checking kubeflow status until all pods are running (14 not running). Sleeping for 10 seconds.
Checking kubeflow status until all pods are running (11 not running). Sleeping for 10 seconds.
Checking kubeflow status until all pods are running (9 not running). Sleeping for 10 seconds.
Checking kubeflow status until all pods are running (7 not running). Sleeping for 10 seconds.
Checking kubeflow status until all pods are running (7 not running). Sleeping for 10 seconds.
Checking kubeflow status until all pods are running (7 not running). Sleeping for 10 seconds.
Checking kubeflow status until all pods are running (7 not running). Sleeping for 10 seconds.
Checking kubeflow status until all pods are running (7 not running). Sleeping for 10 seconds.
Checking kubeflow status until all pods are running (5 not running). Sleeping for 10 seconds.
Checking kubeflow status until all pods are running (5 not running). Sleeping for 10 seconds.
Checking kubeflow status until all pods are running (2 not running). Sleeping for 10 seconds.
Checking kubeflow status until all pods are running (2 not running). Sleeping for 10 seconds.
Checking kubeflow status until all pods are running (2 not running). Sleeping for 10 seconds.
Checking kubeflow status until all pods are running (2 not running). Sleeping for 10 seconds.

Ambassador Port: 30311 ==> Access default Kubeflow UIs
JupyterHub Port: 30533 ==> Access JupyerHub directly
5. 利用する
Microk8sが動いているIPアドレスに対して、ログの最後のポート番号でアクセスします。
Ambassador Port: 30311 ==> Access default Kubeflow UIs
JupyterHub Port: 30533 ==> Access JupyerHub directly
Ambassador(Kubeflowのポータルのようなもの)
http://IPアドレス:30311/

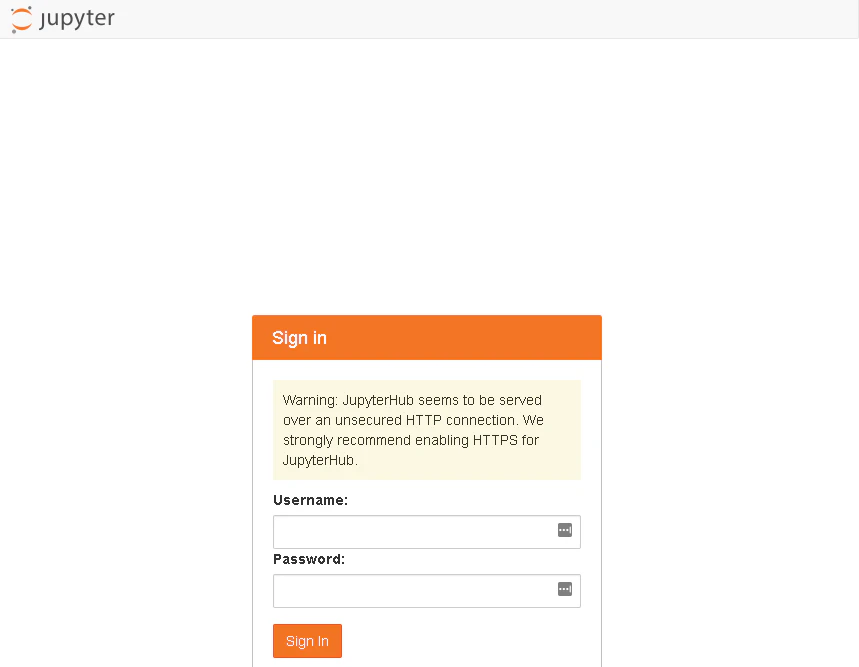
JupyterHub
http://IPアドレス:30533/