本記事は、GitLab Contribute 2019 recap (Meetup Tokyo #17) の ダブルSSOで始めるGitLab Mattermost に関する補足記事です。
※Windows AD は今回用意できなかったので、代わりに Keycloak 使ってやります。
はじめに
Docker Compose を使って、GitLab と GitLab Mattermost、Keycloak を構築、GitLab と GitLab Mattermost を Keycloak 認証で使えるようにしてみます。
Contents
環境情報
- OS:OS X 10.14.5
- Docker Desktop:2.0.0.3
- Docker:18.09.2
- Docker Compose:1.23.2
環境準備
GitLab
GitLab インストール
GitLab Community Edition のコンテナ環境を作成します。
version: '3'

services:
  gitlab:
    image: 'gitlab/gitlab-ce:latest'
    container_name: 'gitlab-ce'
    hostname: 'localhost'
    environment:
      GITLAB_OMNIBUS_CONFIG: |
        external_url 'http://localhost:8929'
        gitlab_rails['gitlab_shell_ssh_port'] = 10022
    ports:
      - '8929:8929'
      - '10022:22'
      - '10080:80'
      - '10443:443'
    volumes:
      - './srv/gitlab/config:/etc/gitlab'
      - './srv/gitlab/logs:/var/log/gitlab'
      - './srv/gitlab/data:/var/opt/gitlab'
$ ls -al /Users/ymasaoka/docker/gitlab-ce/
drwxr-xr-x  4 ymasaoka  staff  128  6 10 12:35 .
drwxr-xr-x  6 ymasaoka  staff  192  6  9 21:02 ..
-rw-r--r--@ 1 ymasaoka  wheel  682  6 10 12:33 docker-compose.yaml
drwxr-xr-x  2 ymasaoka  staff   64  6 10 12:35 srv

$ docker-compose up -d
# 実行ログを確認したい場合
docker-compose logs -f
正常に GitLab が稼働したら、初回ログイン設定を行います。
http://localhost:8929 にアクセスします。
root ユーザーのパスワード変更を要求されるので、パスワードを更新します。
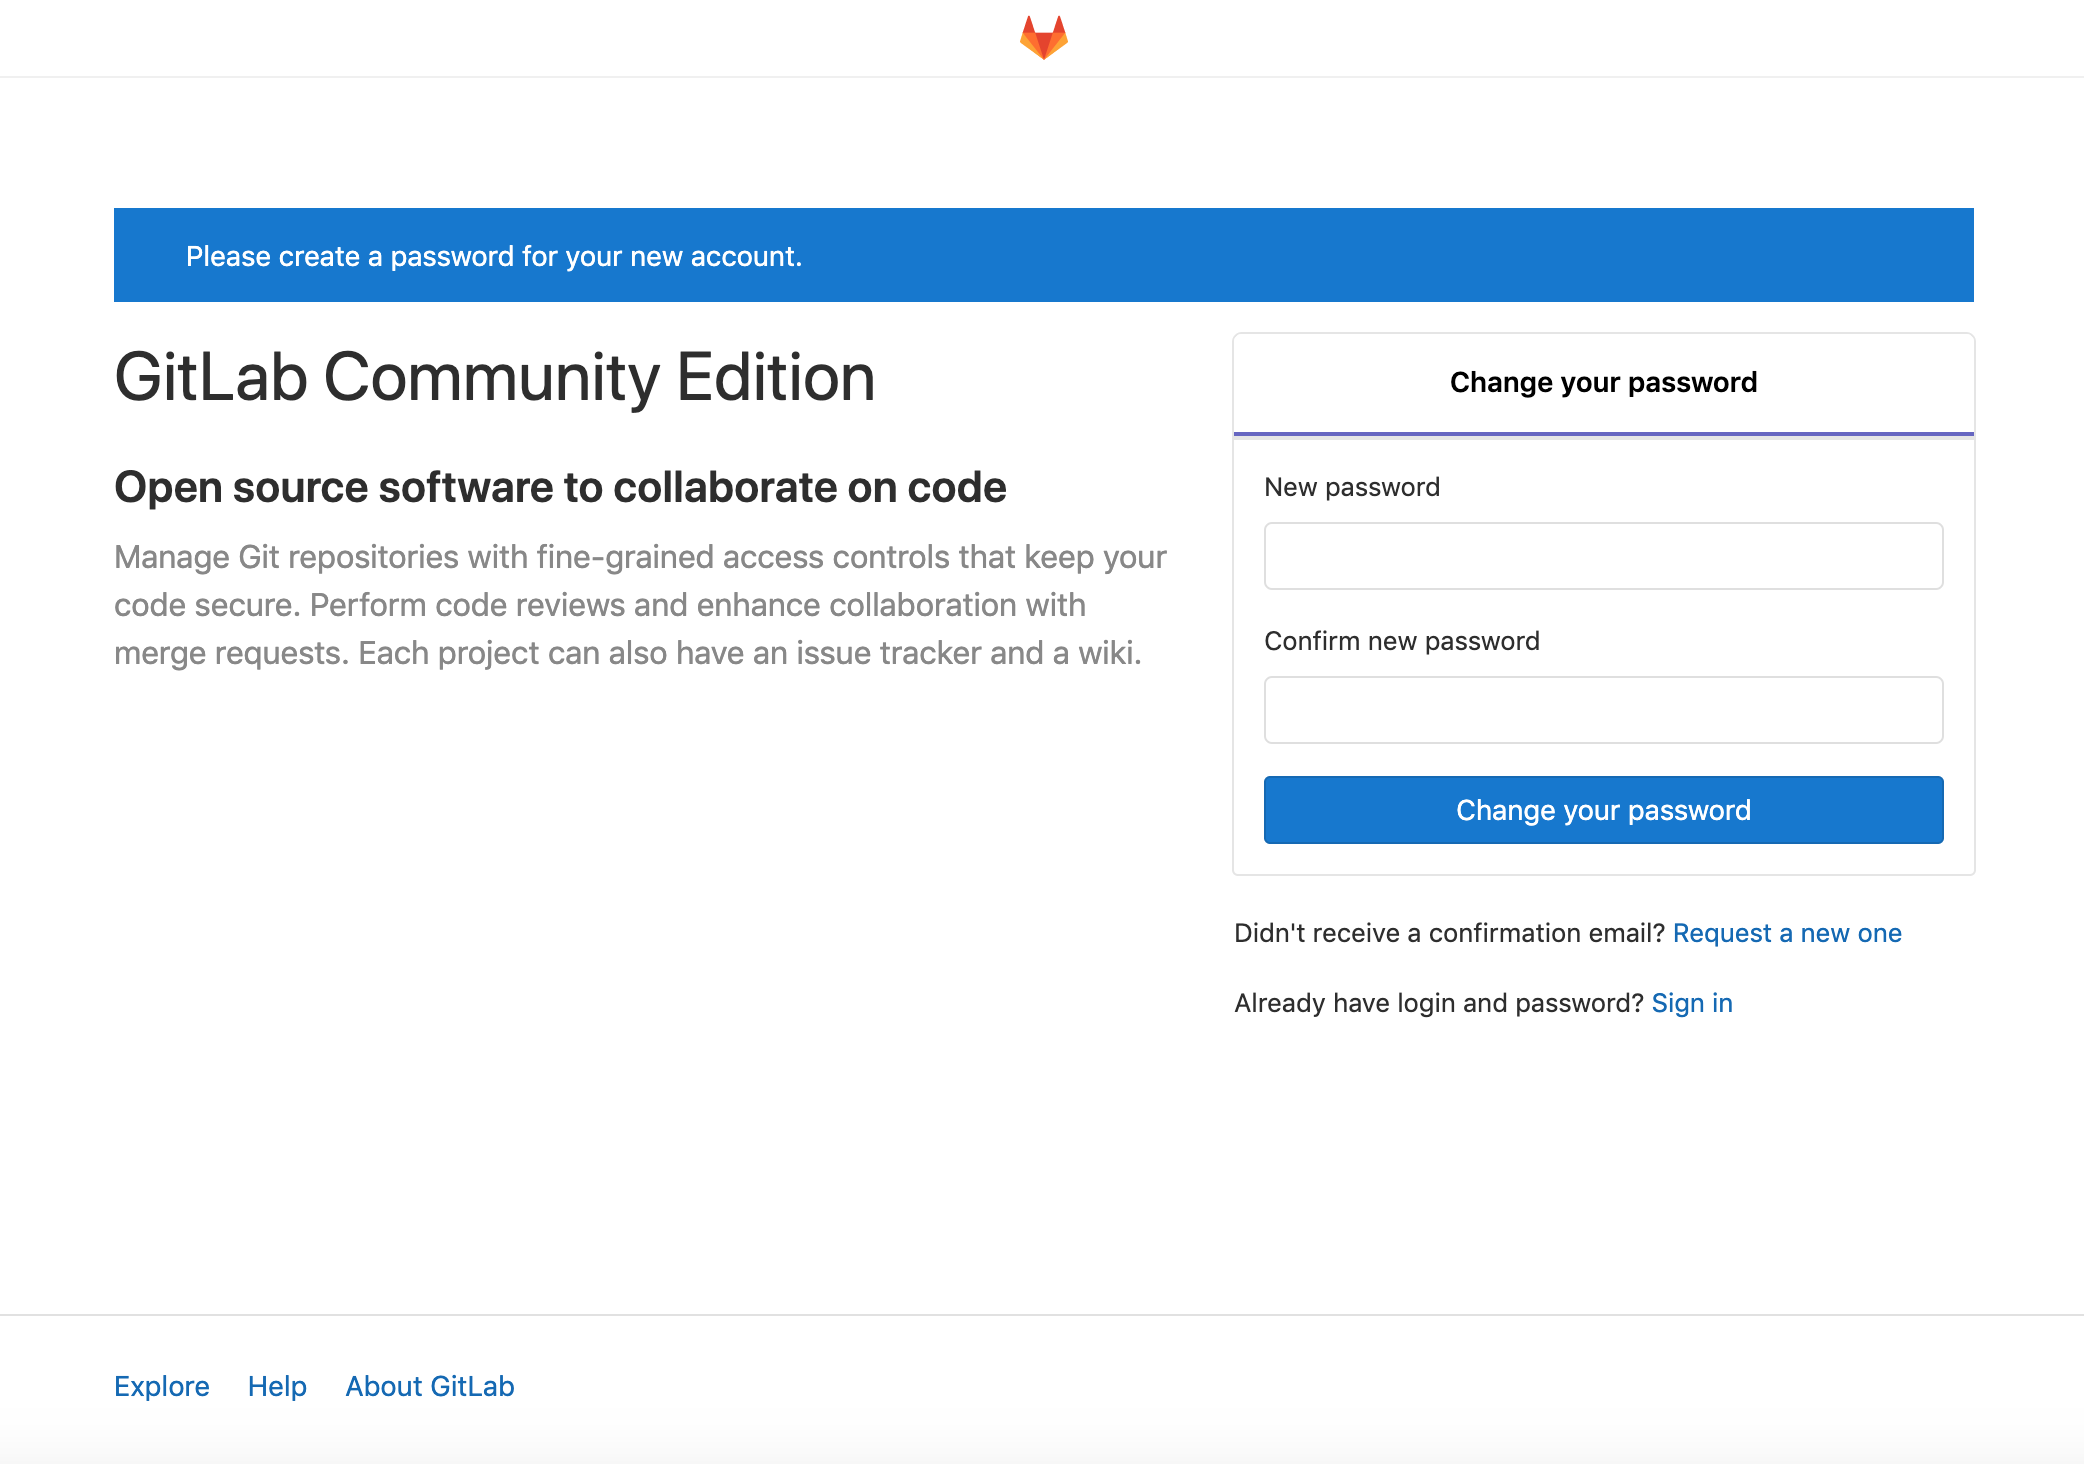
パスワード更新に成功すると、ログイン画面に遷移するので、先ほど更新したパスワードを使用して root ユーザーでログインします。
GitLab Mattermost
GitLab Mattermost インストール
先ほど構築した GitLab の環境に、GitLab Mattermost を追加インストールします。
GitLab コンテナを停止します。
$ docker-compose stop
先ほど作成した docker-compose.yaml に、以下の行を追加します。
version: '3'

services:
  gitlab:
    image: 'gitlab/gitlab-ce:latest'
    container_name: 'gitlab-ce'
    hostname: 'localhost'
    environment:
      GITLAB_OMNIBUS_CONFIG: |
        external_url 'http://localhost:8929'
        gitlab_rails['gitlab_shell_ssh_port'] = 10022
        mattermost_external_url 'http://localhost:8001' # 追加
    ports:
      - '8001:8001' # 追加
      - '8929:8929'
      - '10022:22'
      - '10080:80'
      - '10443:443'
    volumes:
      - './srv/gitlab/config:/etc/gitlab'
      - './srv/gitlab/logs:/var/log/gitlab'
      - './srv/gitlab/data:/var/opt/gitlab'
docker-compose.yaml を更新したら、コンテナを再起動します。
$ docker-compose up -d
起動したら、http://localhost:8001 にアクセスし、Mattermost のログイン画面に移動します。
[GitLab Single Sign-On] を選択します。
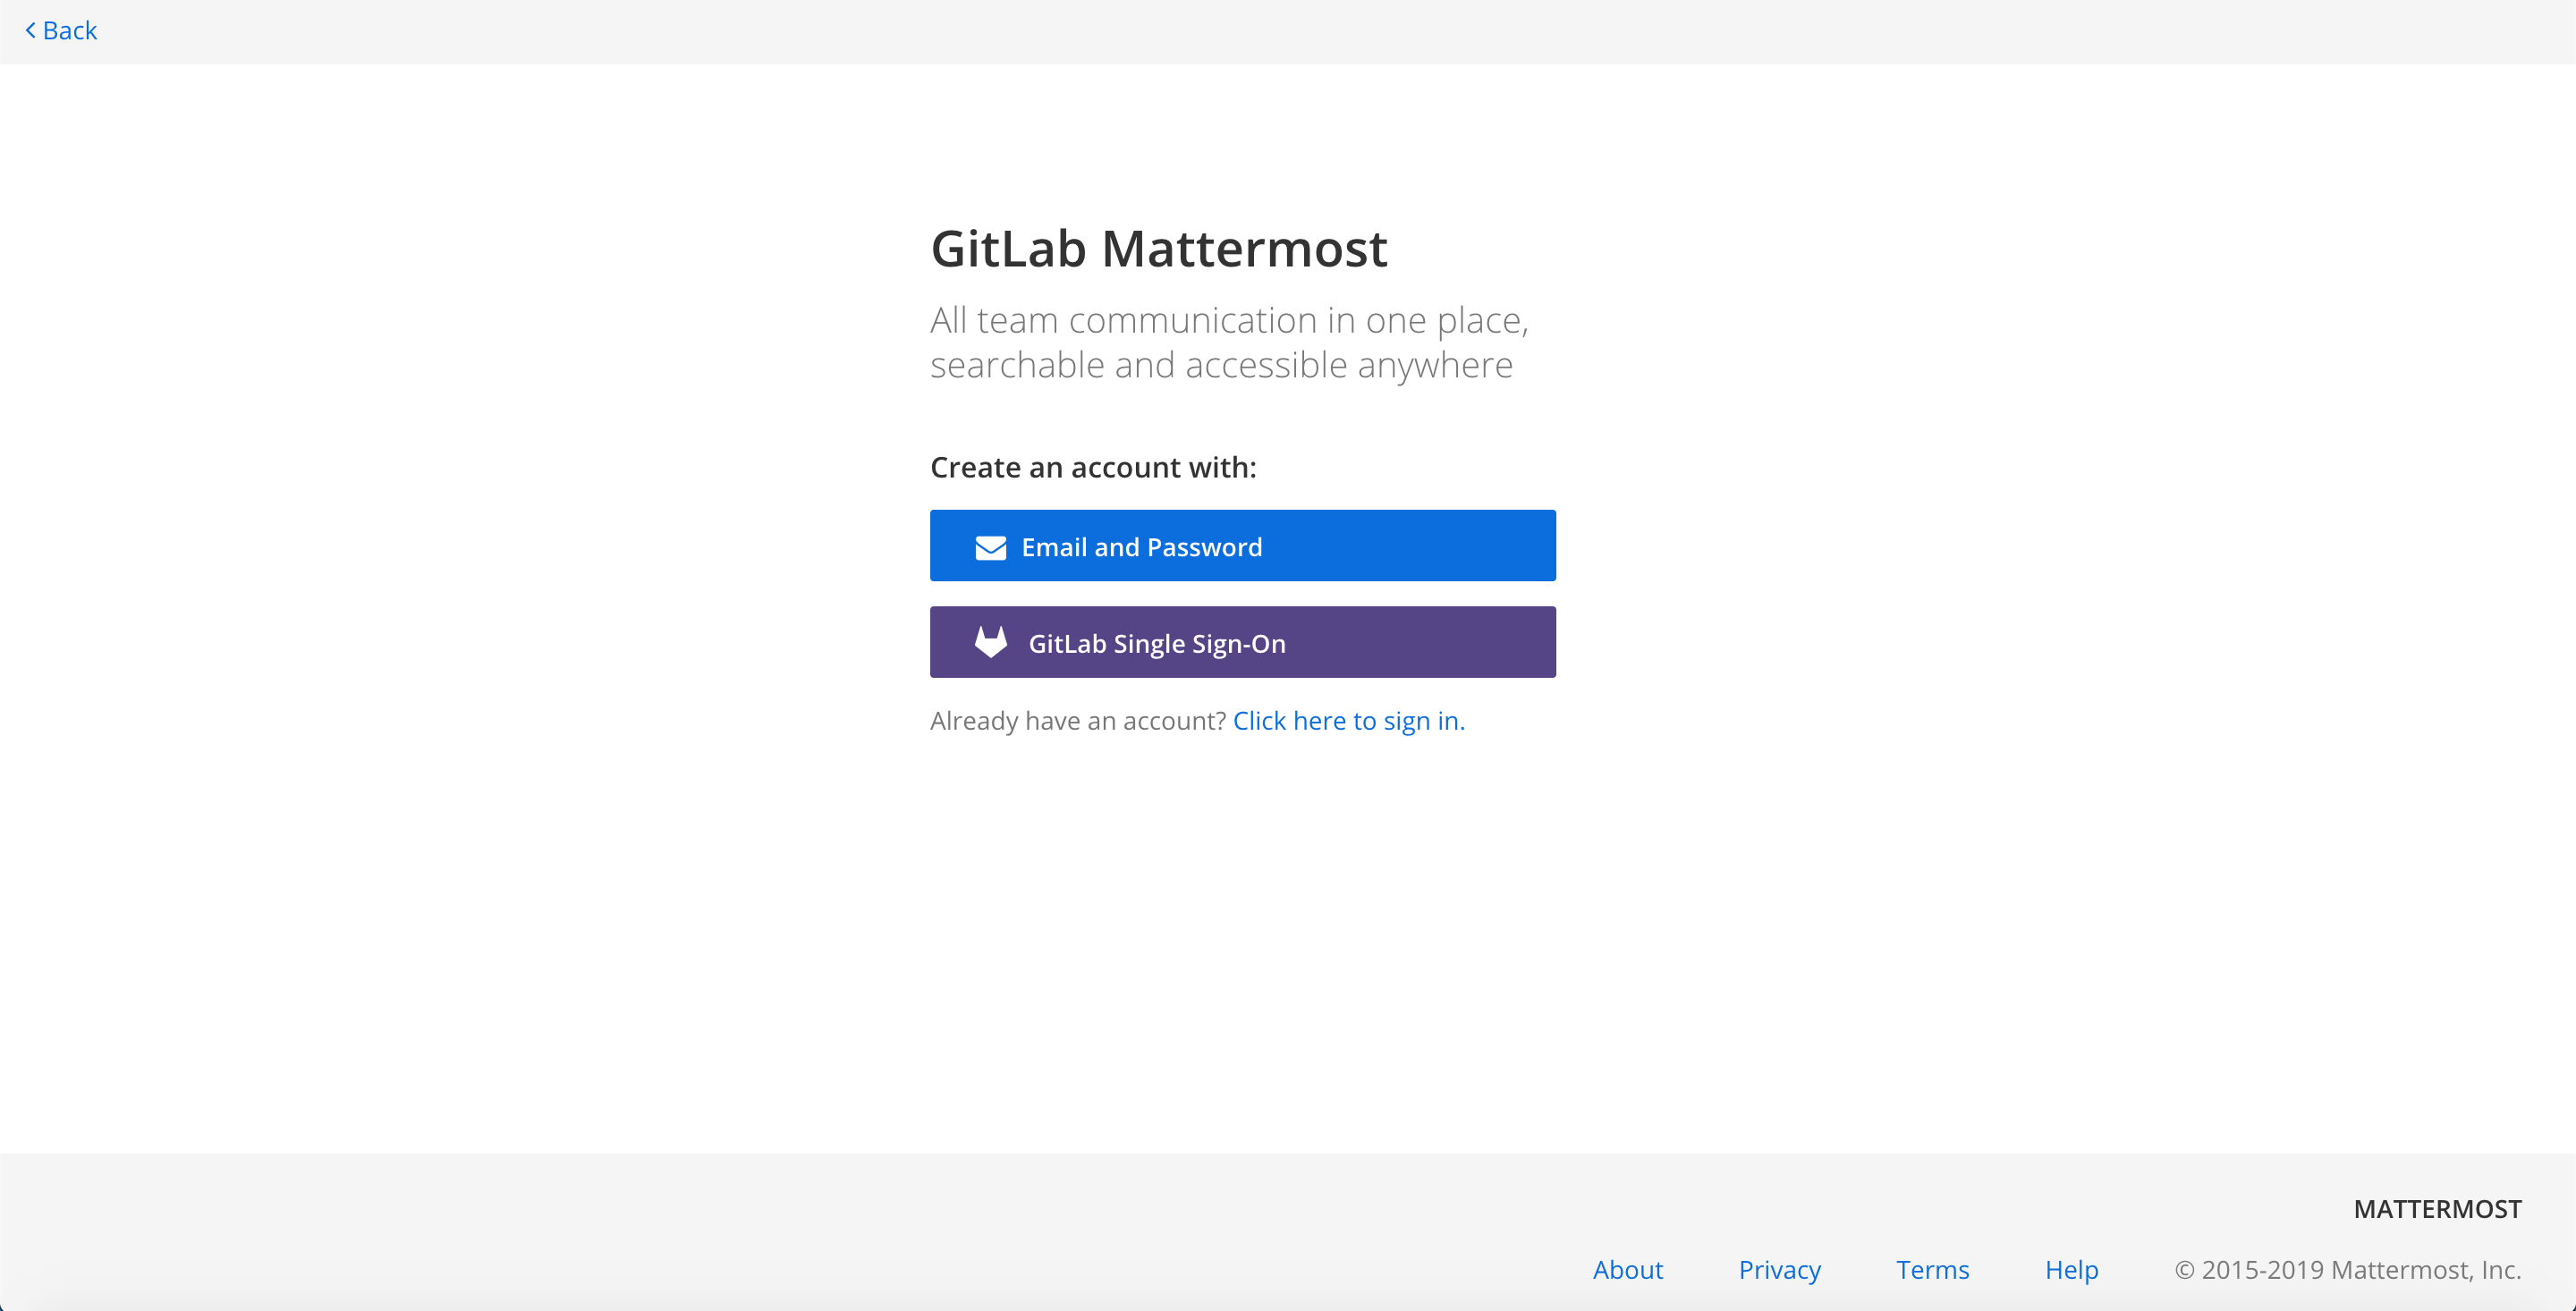
選択後、GitLab のサインイン画面に遷移するので、先ほど同様、root ユーザーでサインインします。

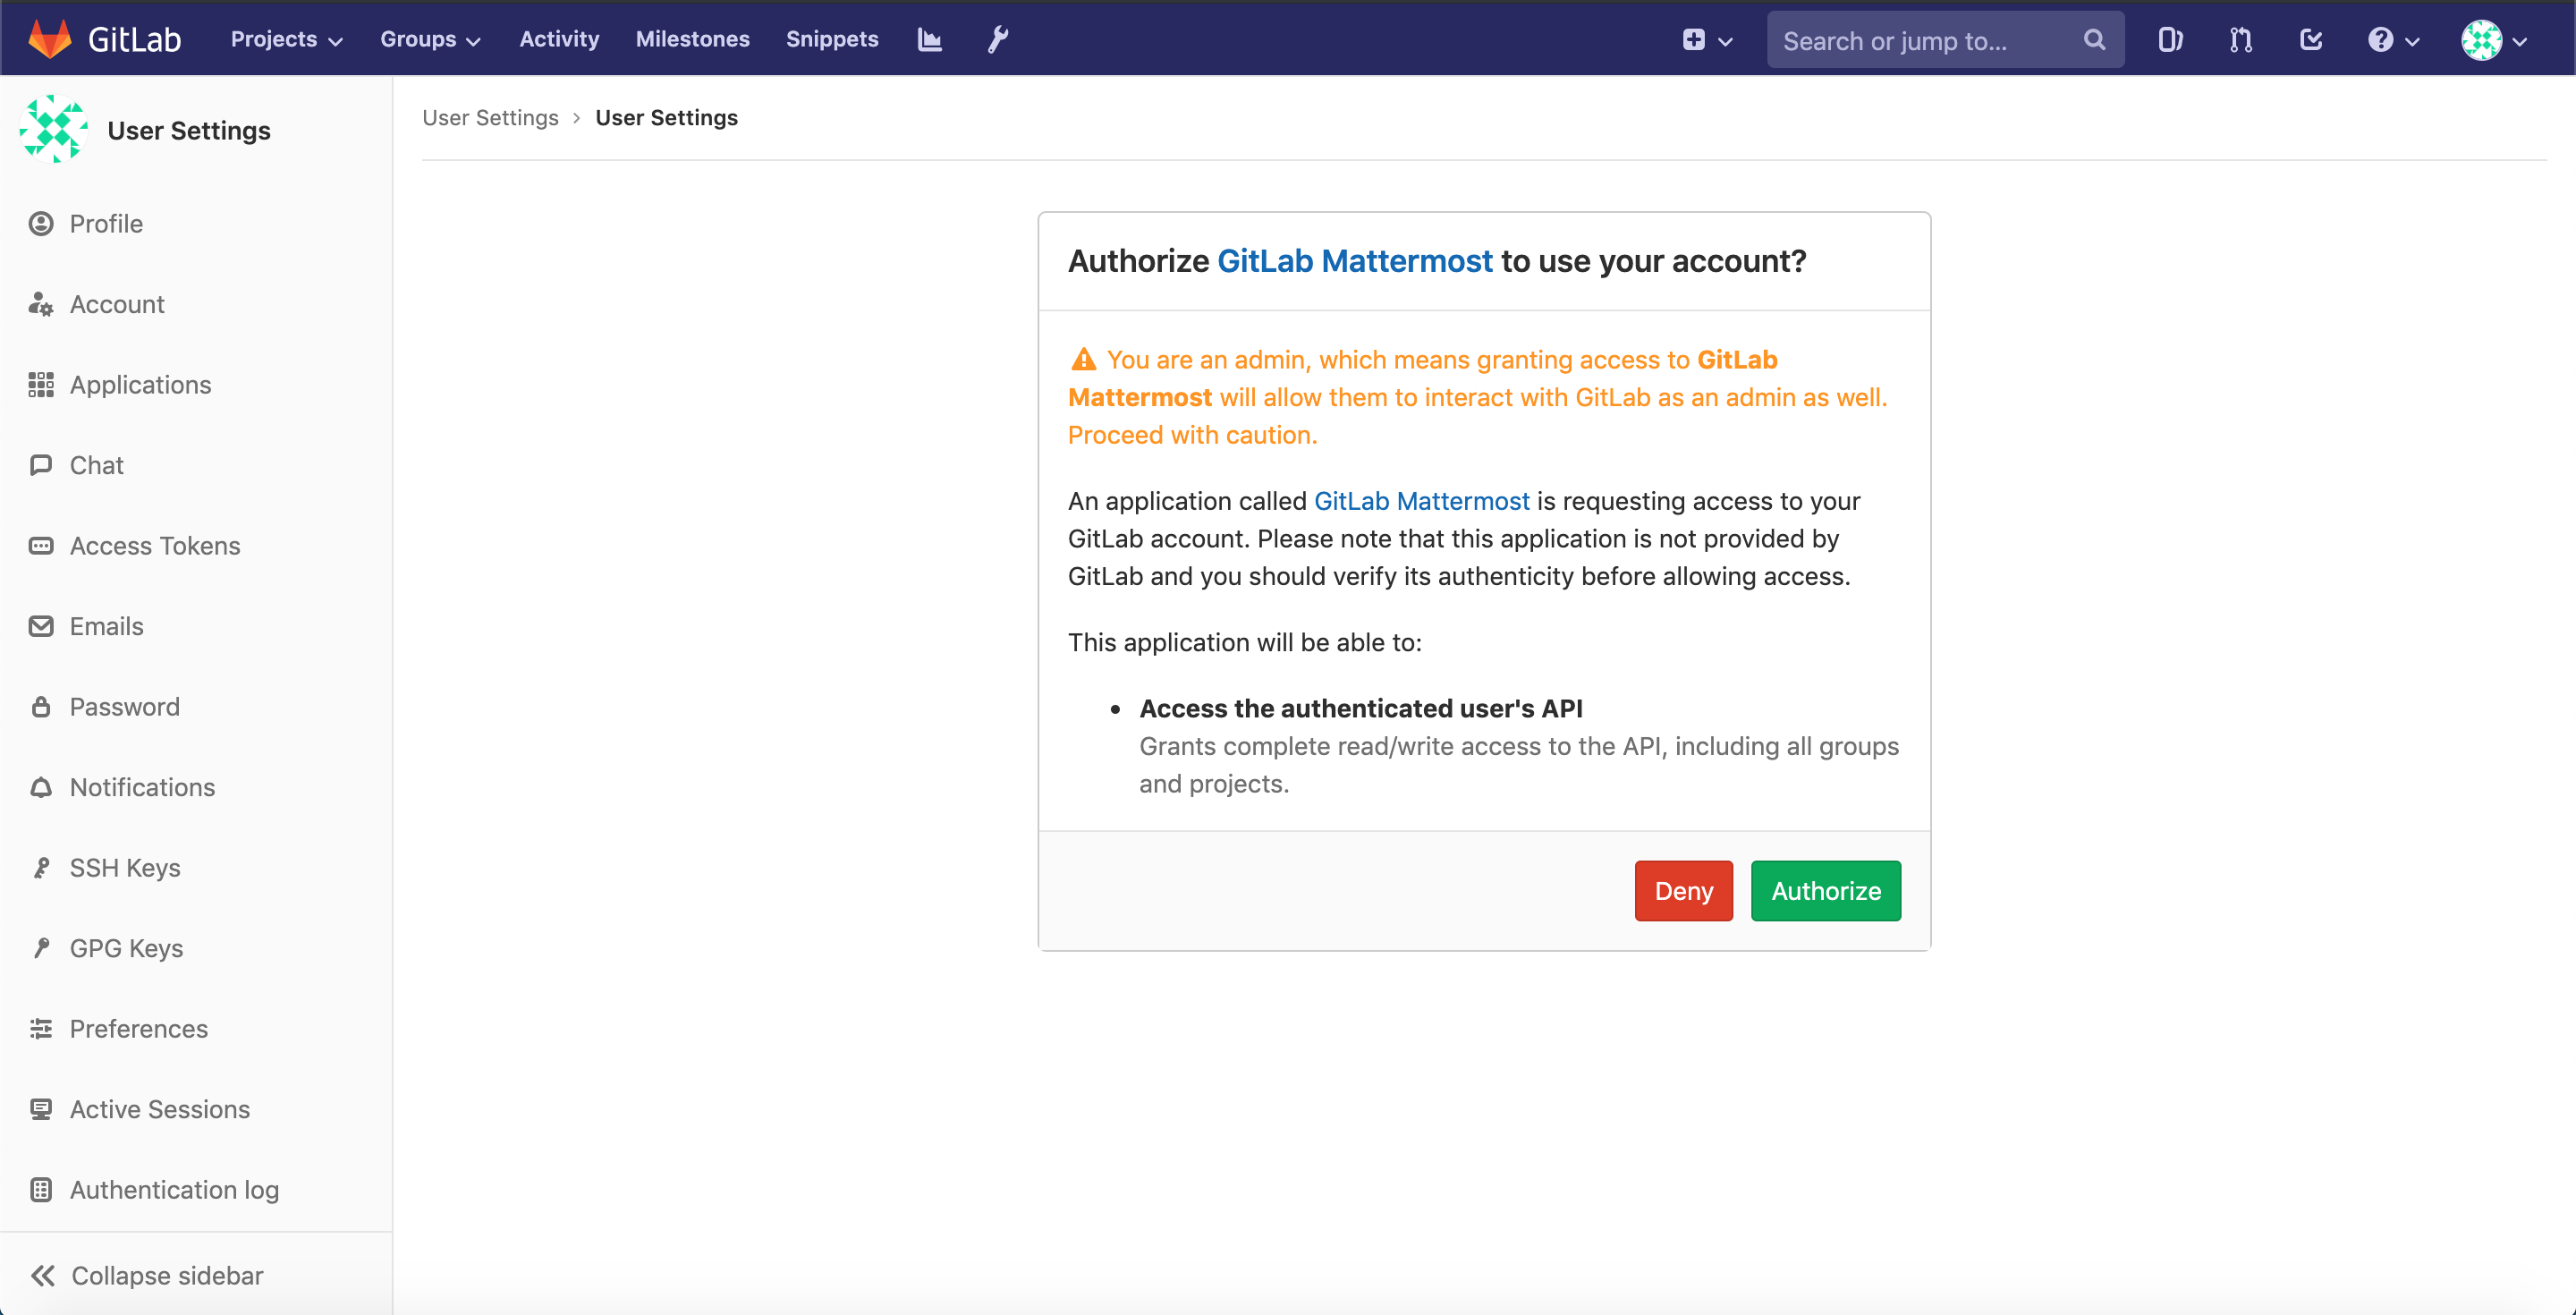
ログインすると、GitLab Mattermost からの認証許可確認画面が表示されるので、[Authorize] を選択します。
選択後、Mattermost のチーム作成画面が表示されます。
チームを作成する場合は [Create a new team] を選択してください。
(今回は、チームを作成せずに、[Go to System Console] を選択します。)
GitLab アカウントで正常に GitLab Mattermost にログインできることを確認してください。


Keycloak
Keycloak インストール
認証先となる Keycloak のコンテナ環境を作成します。
version: '3'

services:
  postgres:
      image: postgres
      volumes:
        - ./postgresql/data:/var/lib/postgresql/data
      environment:
        POSTGRES_DB: keycloak
        POSTGRES_USER: keycloak
        POSTGRES_PASSWORD: password

  keycloak:
      image: jboss/keycloak
      environment:
        DB_VENDOR: POSTGRES
        DB_ADDR: postgres
        DB_DATABASE: keycloak
        DB_USER: keycloak
        DB_SCHEMA: public
        DB_PASSWORD: password
        KEYCLOAK_USER: admin
        KEYCLOAK_PASSWORD: Pa55w0rd
        # Uncomment the line below if you want to specify JDBC parameters. The parameter below is just an example, and it shouldn't be used in production without knowledge. It is highly recommended that you read the PostgreSQL JDBC driver documentation in order to use it.
        #JDBC_PARAMS: "ssl=true"
      ports:
        - 8080:8080
      depends_on:
        - postgres
$ ls -al /Users/ymasaoka/docker/keycloak-docker/
drwxr-xr-x   7 ymasaoka  staff    224  6 15 14:58 .
drwxr-xr-x   6 ymasaoka  staff    192  6 15 14:57 ..
drwxr-xr-x  13 ymasaoka  staff    416  6 15 14:57 .git
-rw-r--r--   1 ymasaoka  staff  11357  6 15 14:57 LICENSE
-rw-r--r--   1 ymasaoka  staff     81  6 15 14:57 README.md
-rw-r--r--   1 ymasaoka  staff    909  6 15 14:57 docker-compose.yaml

$ docker-compose up -d
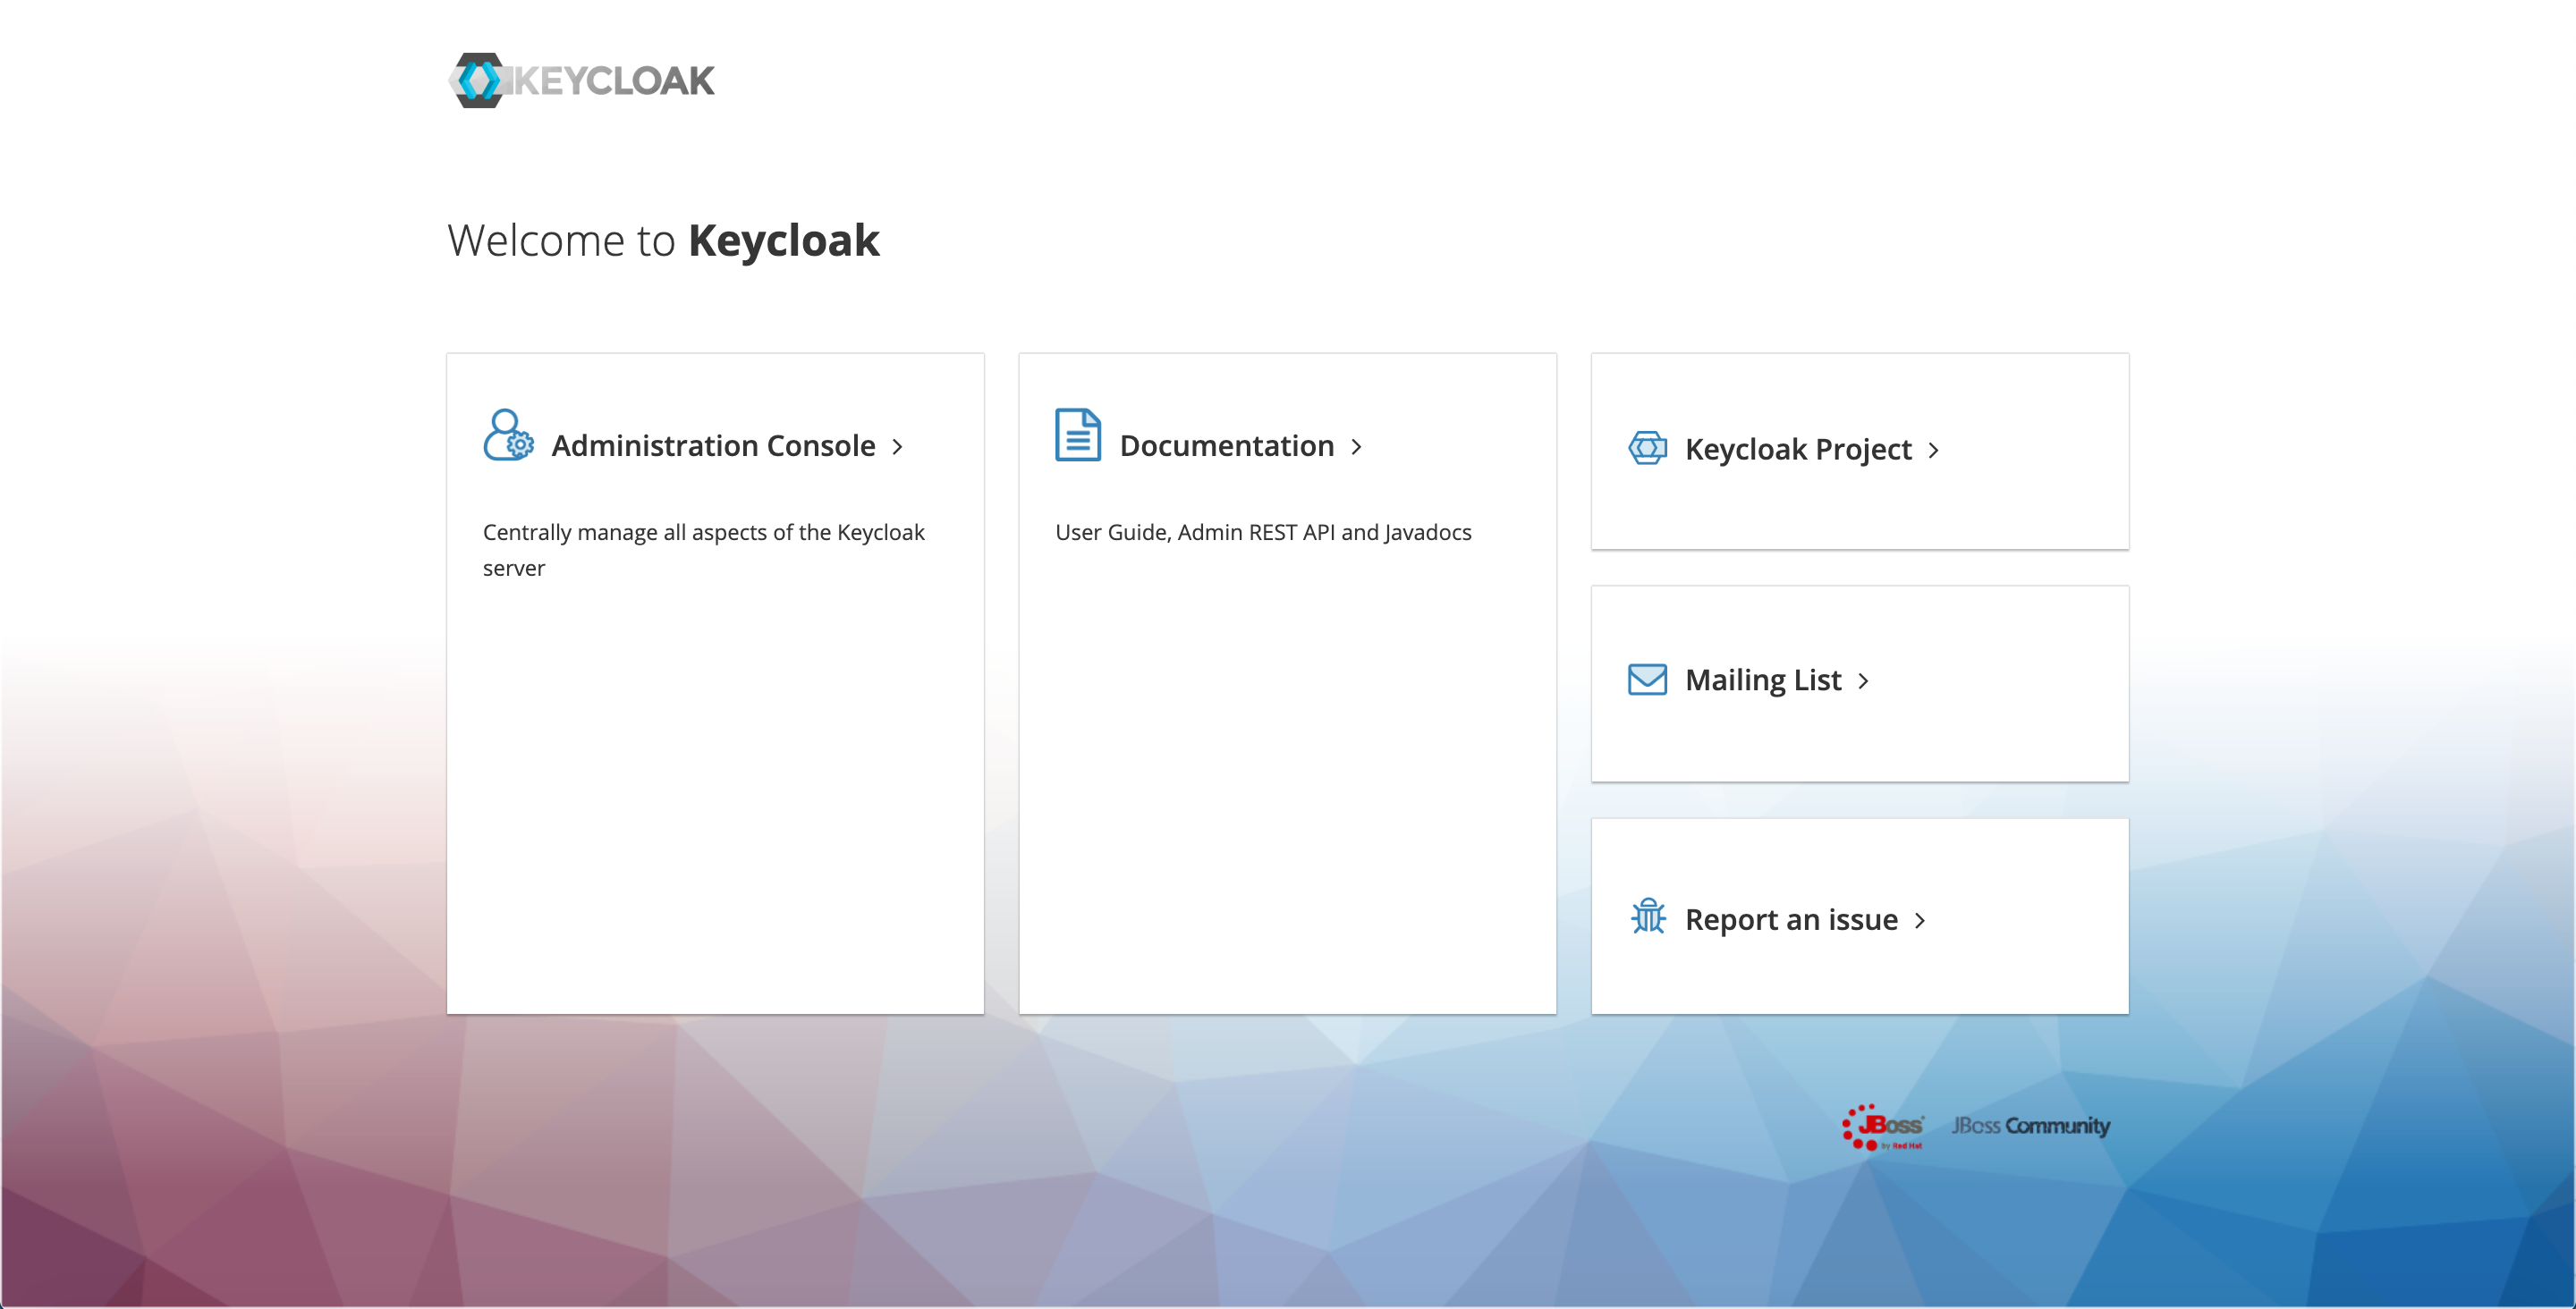
起動したら、http://localhost:8080/auth にアクセスします。
Welcome to Keycloak が表示されるので、[Administration Console] を選択します。
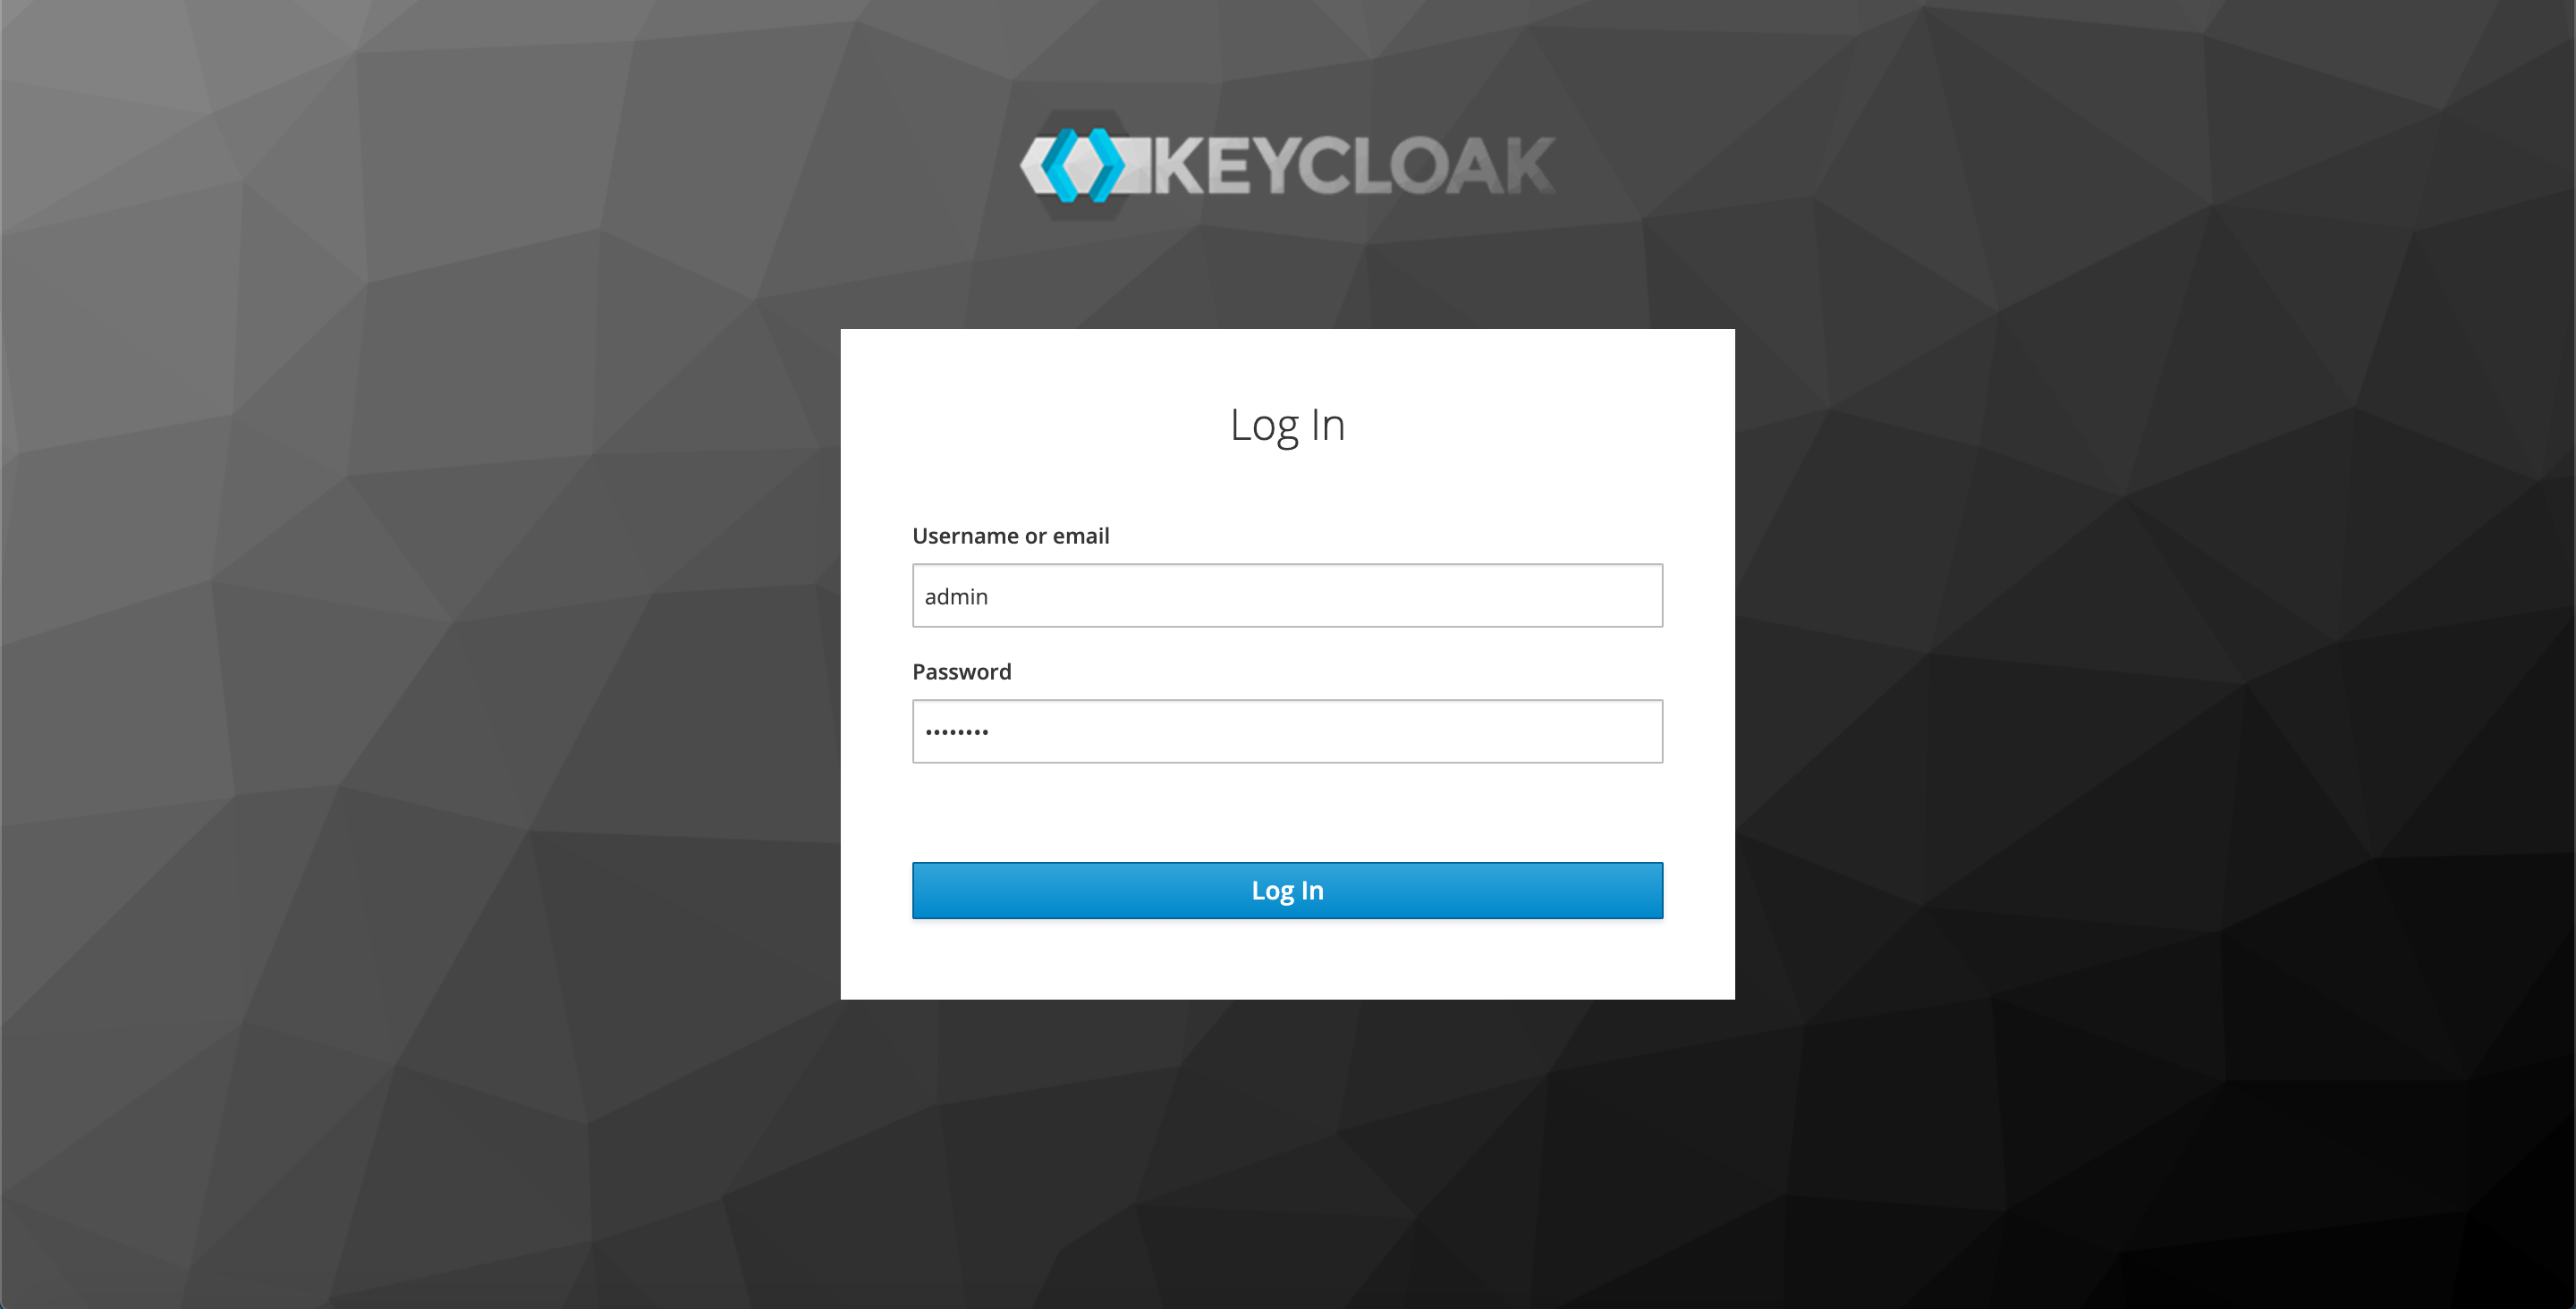
Keycloak のログイン画面が表示されます。
先ほどの docker-compose.yaml の中で KEYCLOAK_USER と KEYCLOAK_PASSWORD に設定した値を使用して、Keycloak にログインします。
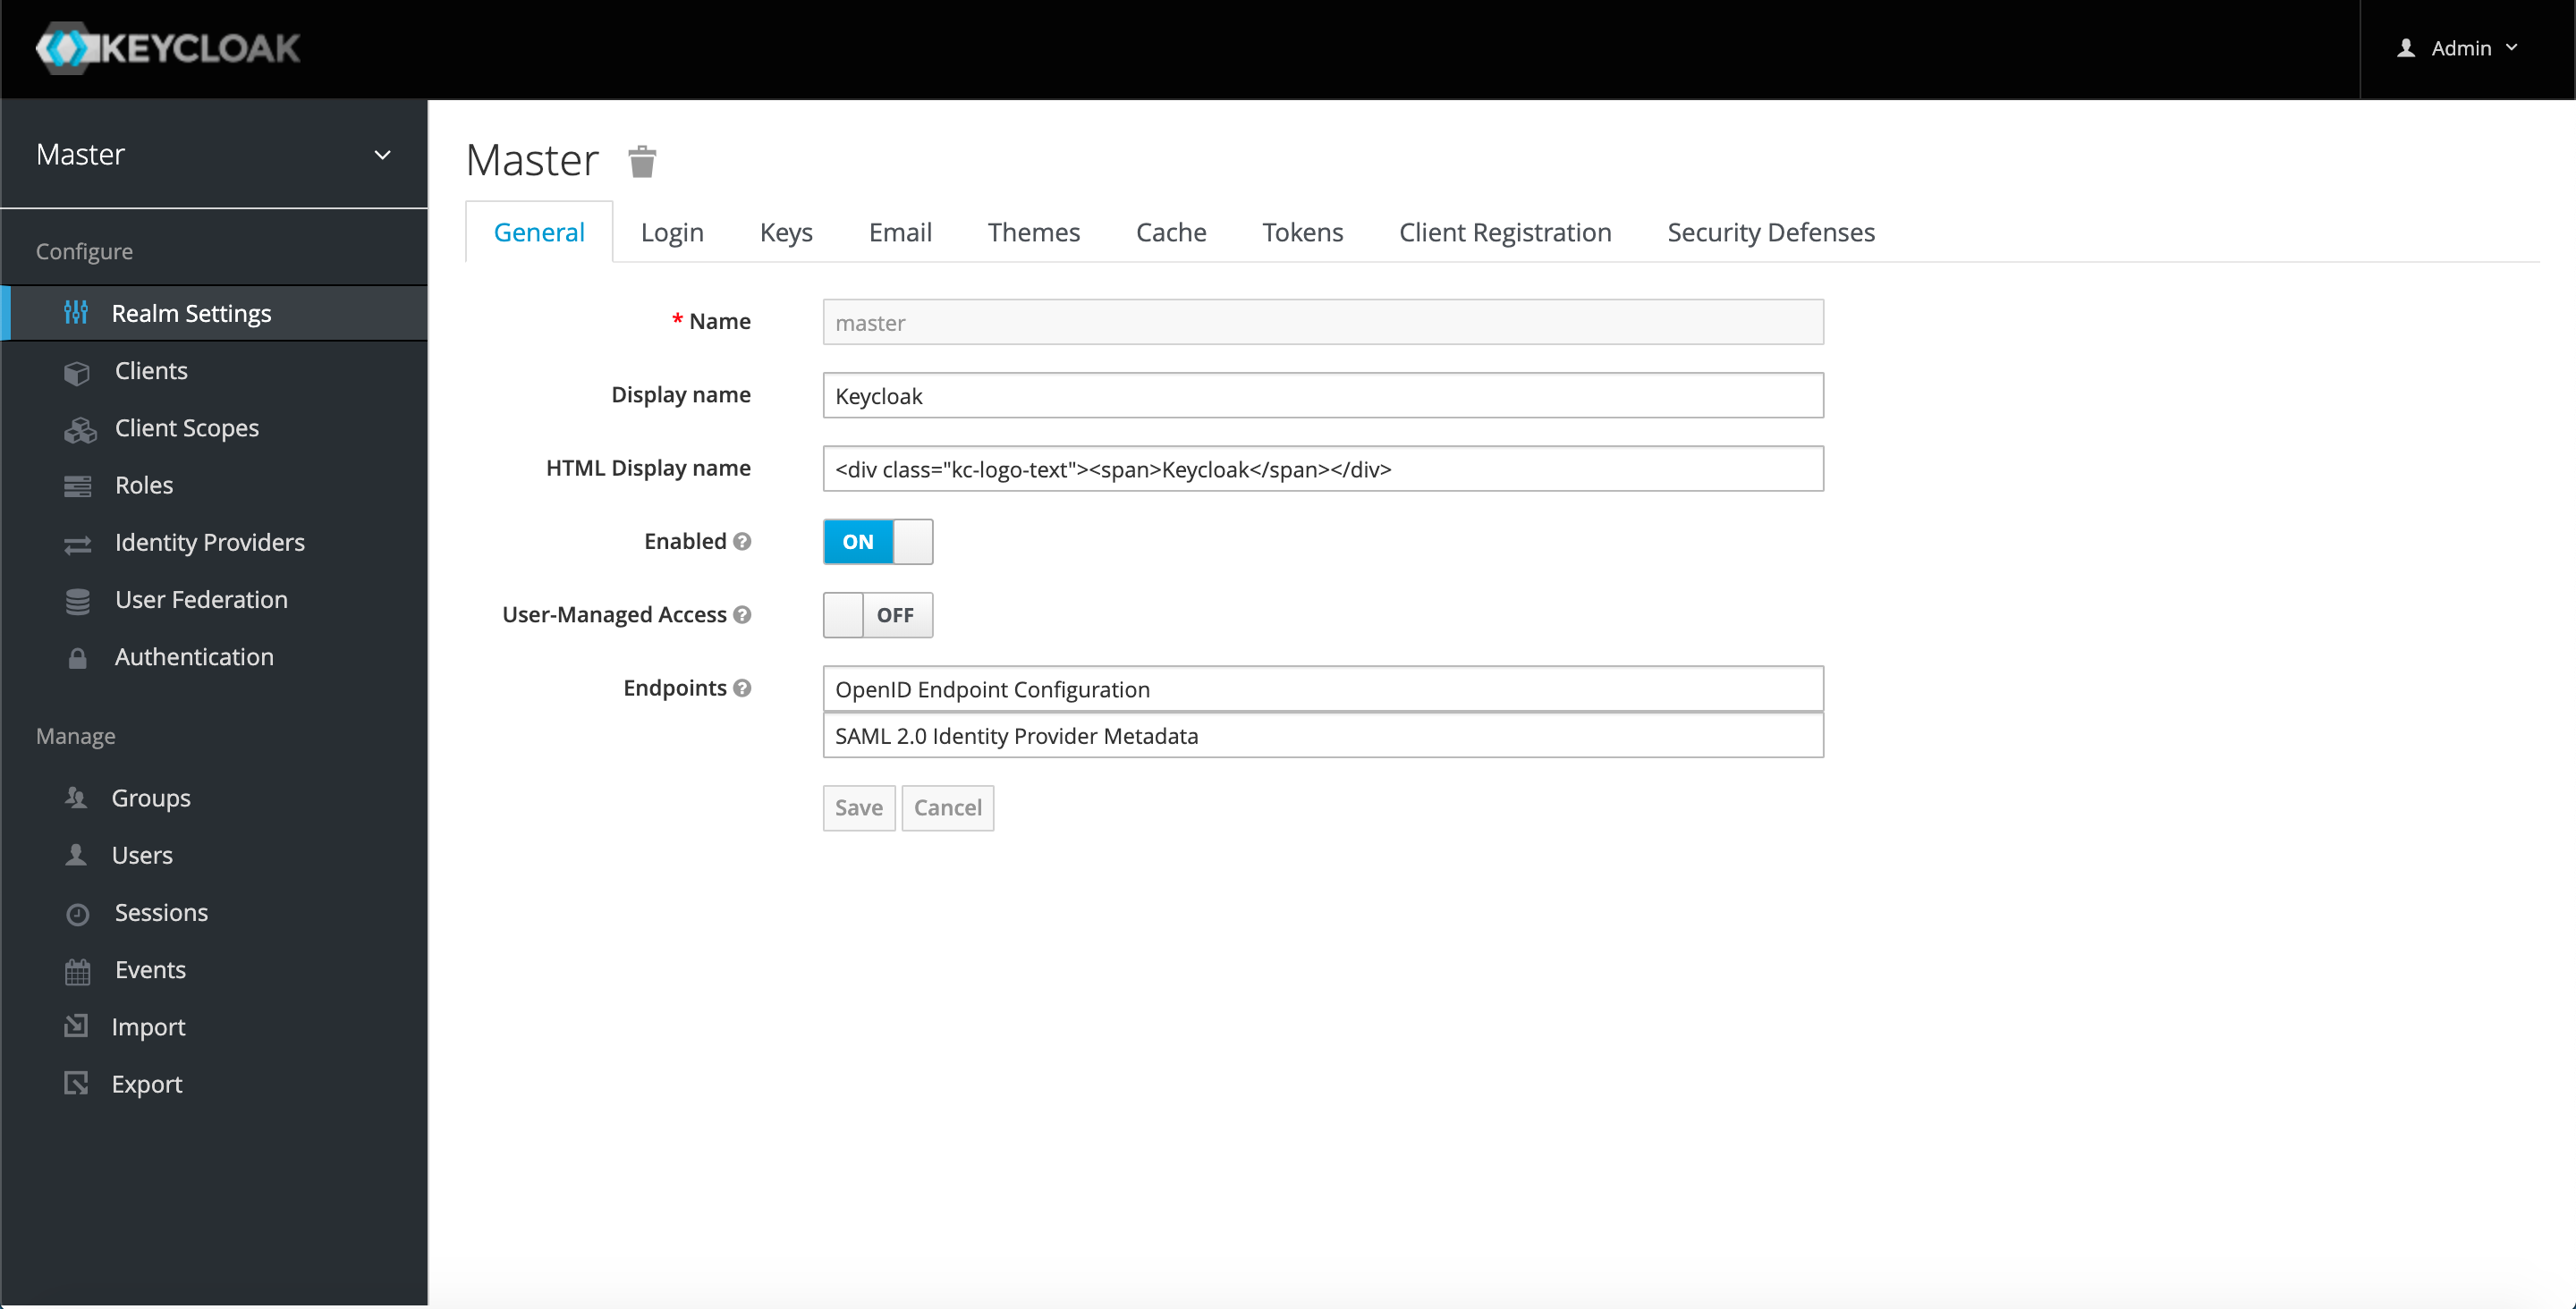
ログインに成功すると、Master Realm の画面を確認できるはずです。
GitLab と Keycloak の SSO 設定
構築した Keycloak のユーザー情報を使用して、GitLab にログインできるように設定します。
Keycloak 設定
認証に使用したい Realm に移動します。
(今回は Master を使用します。)
Client 設定
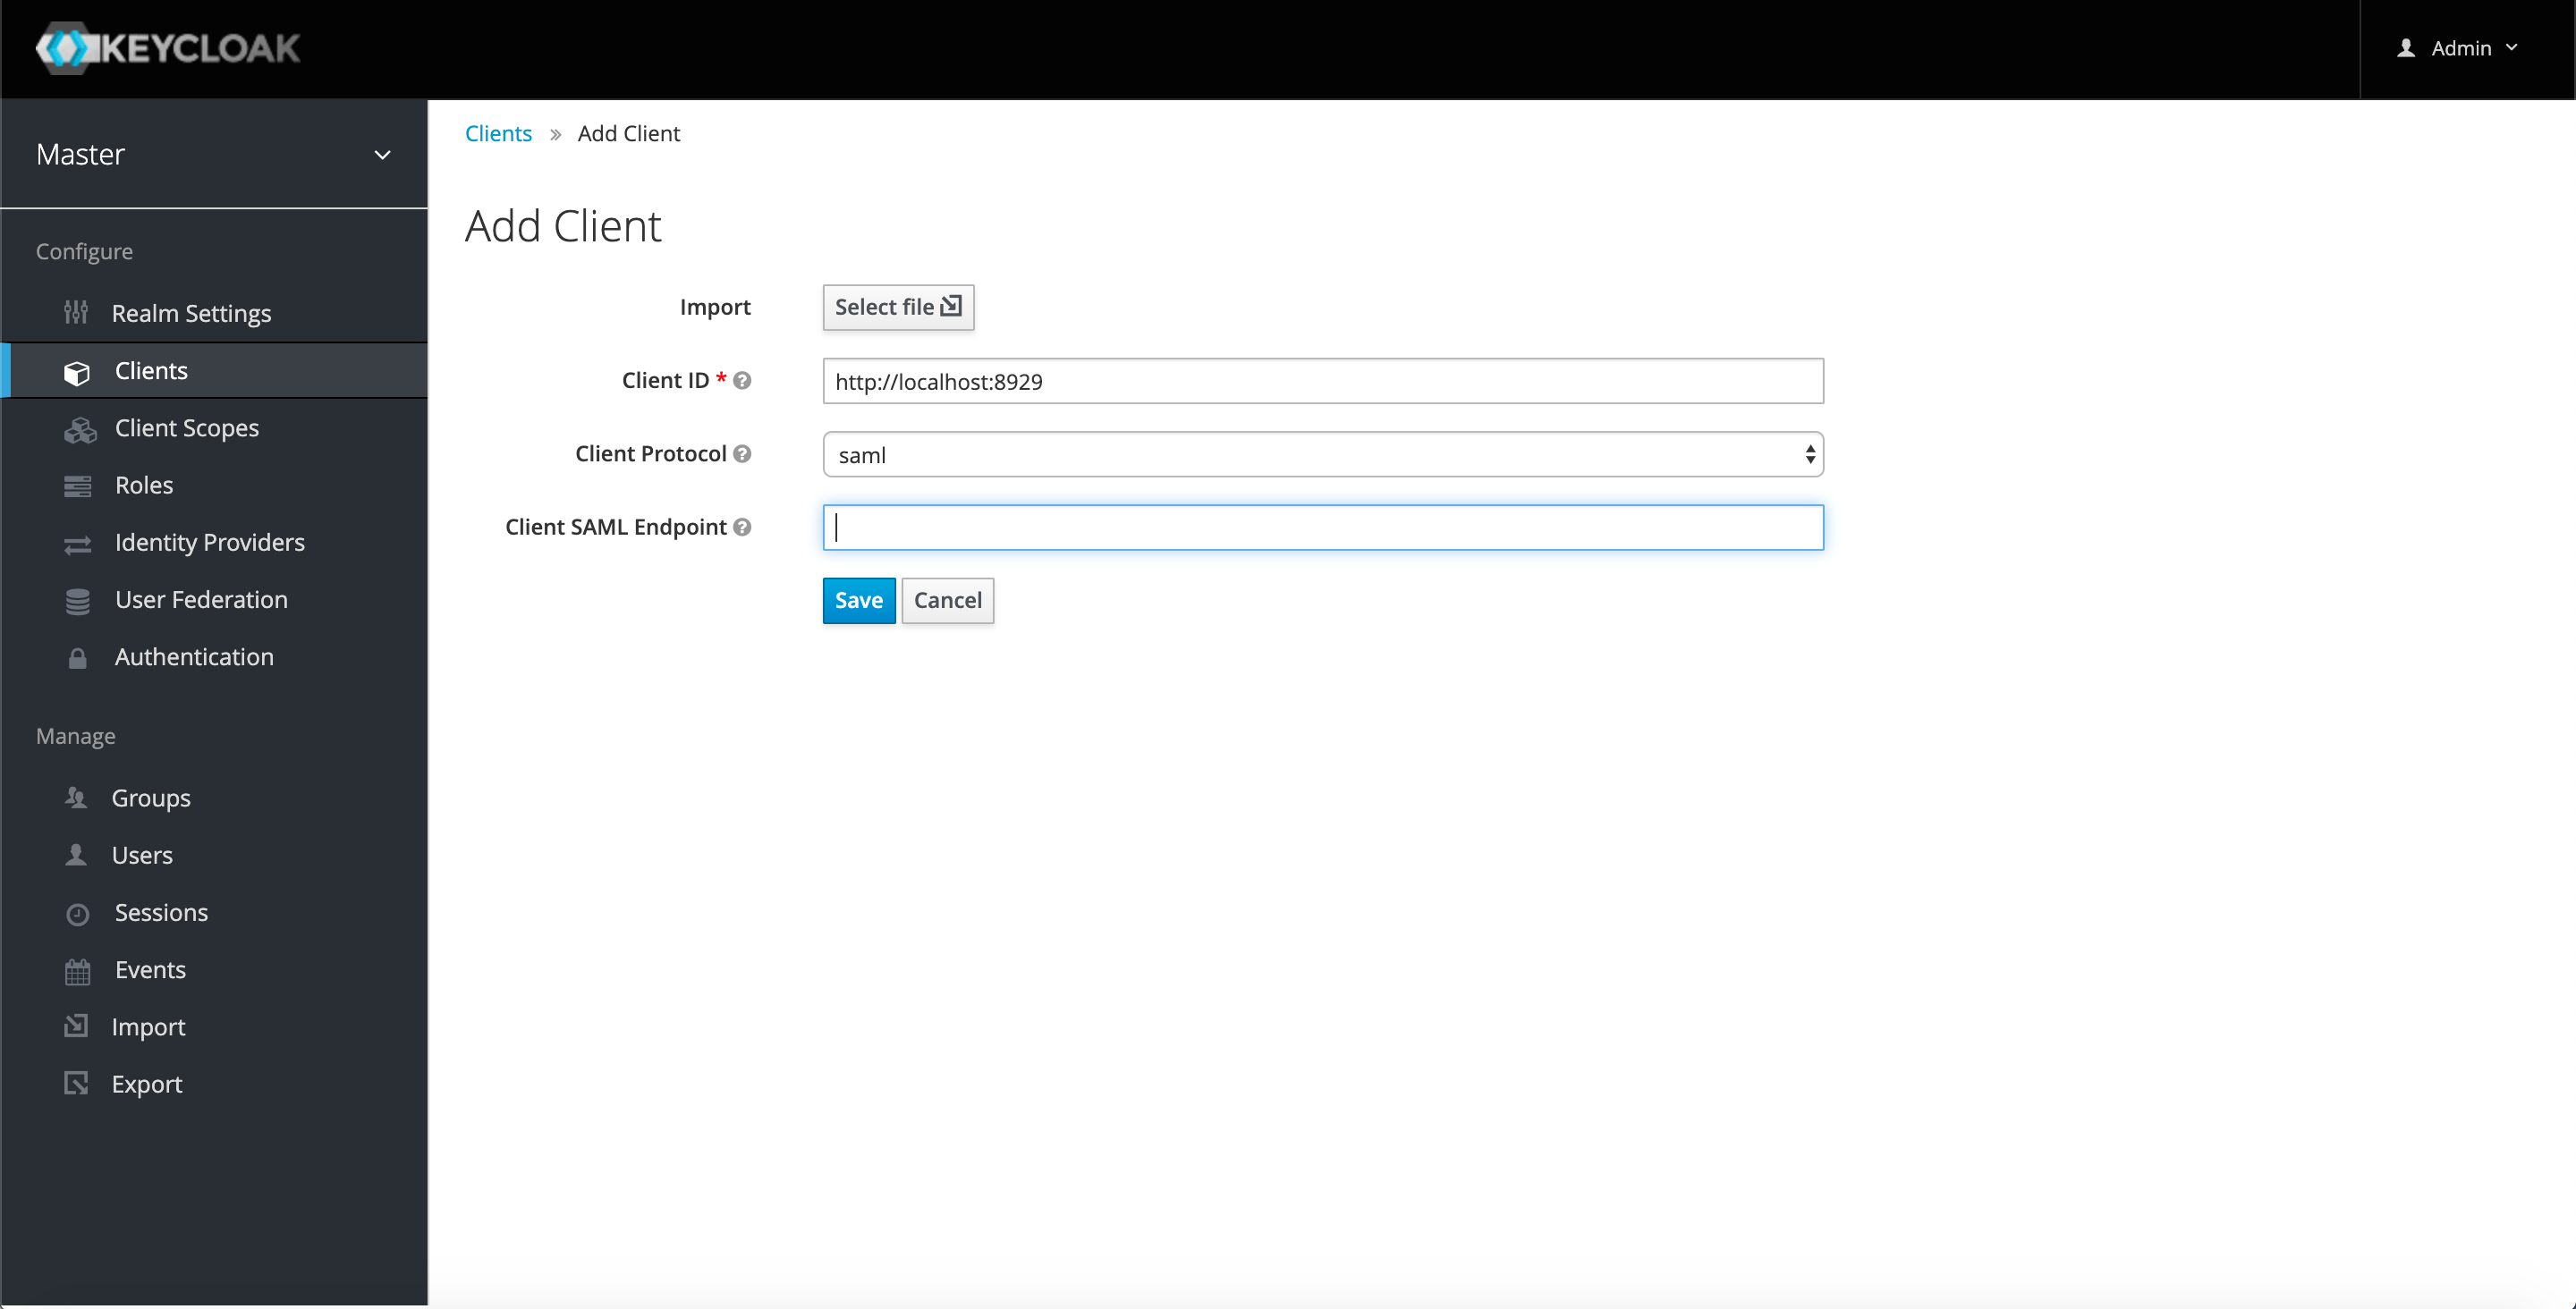
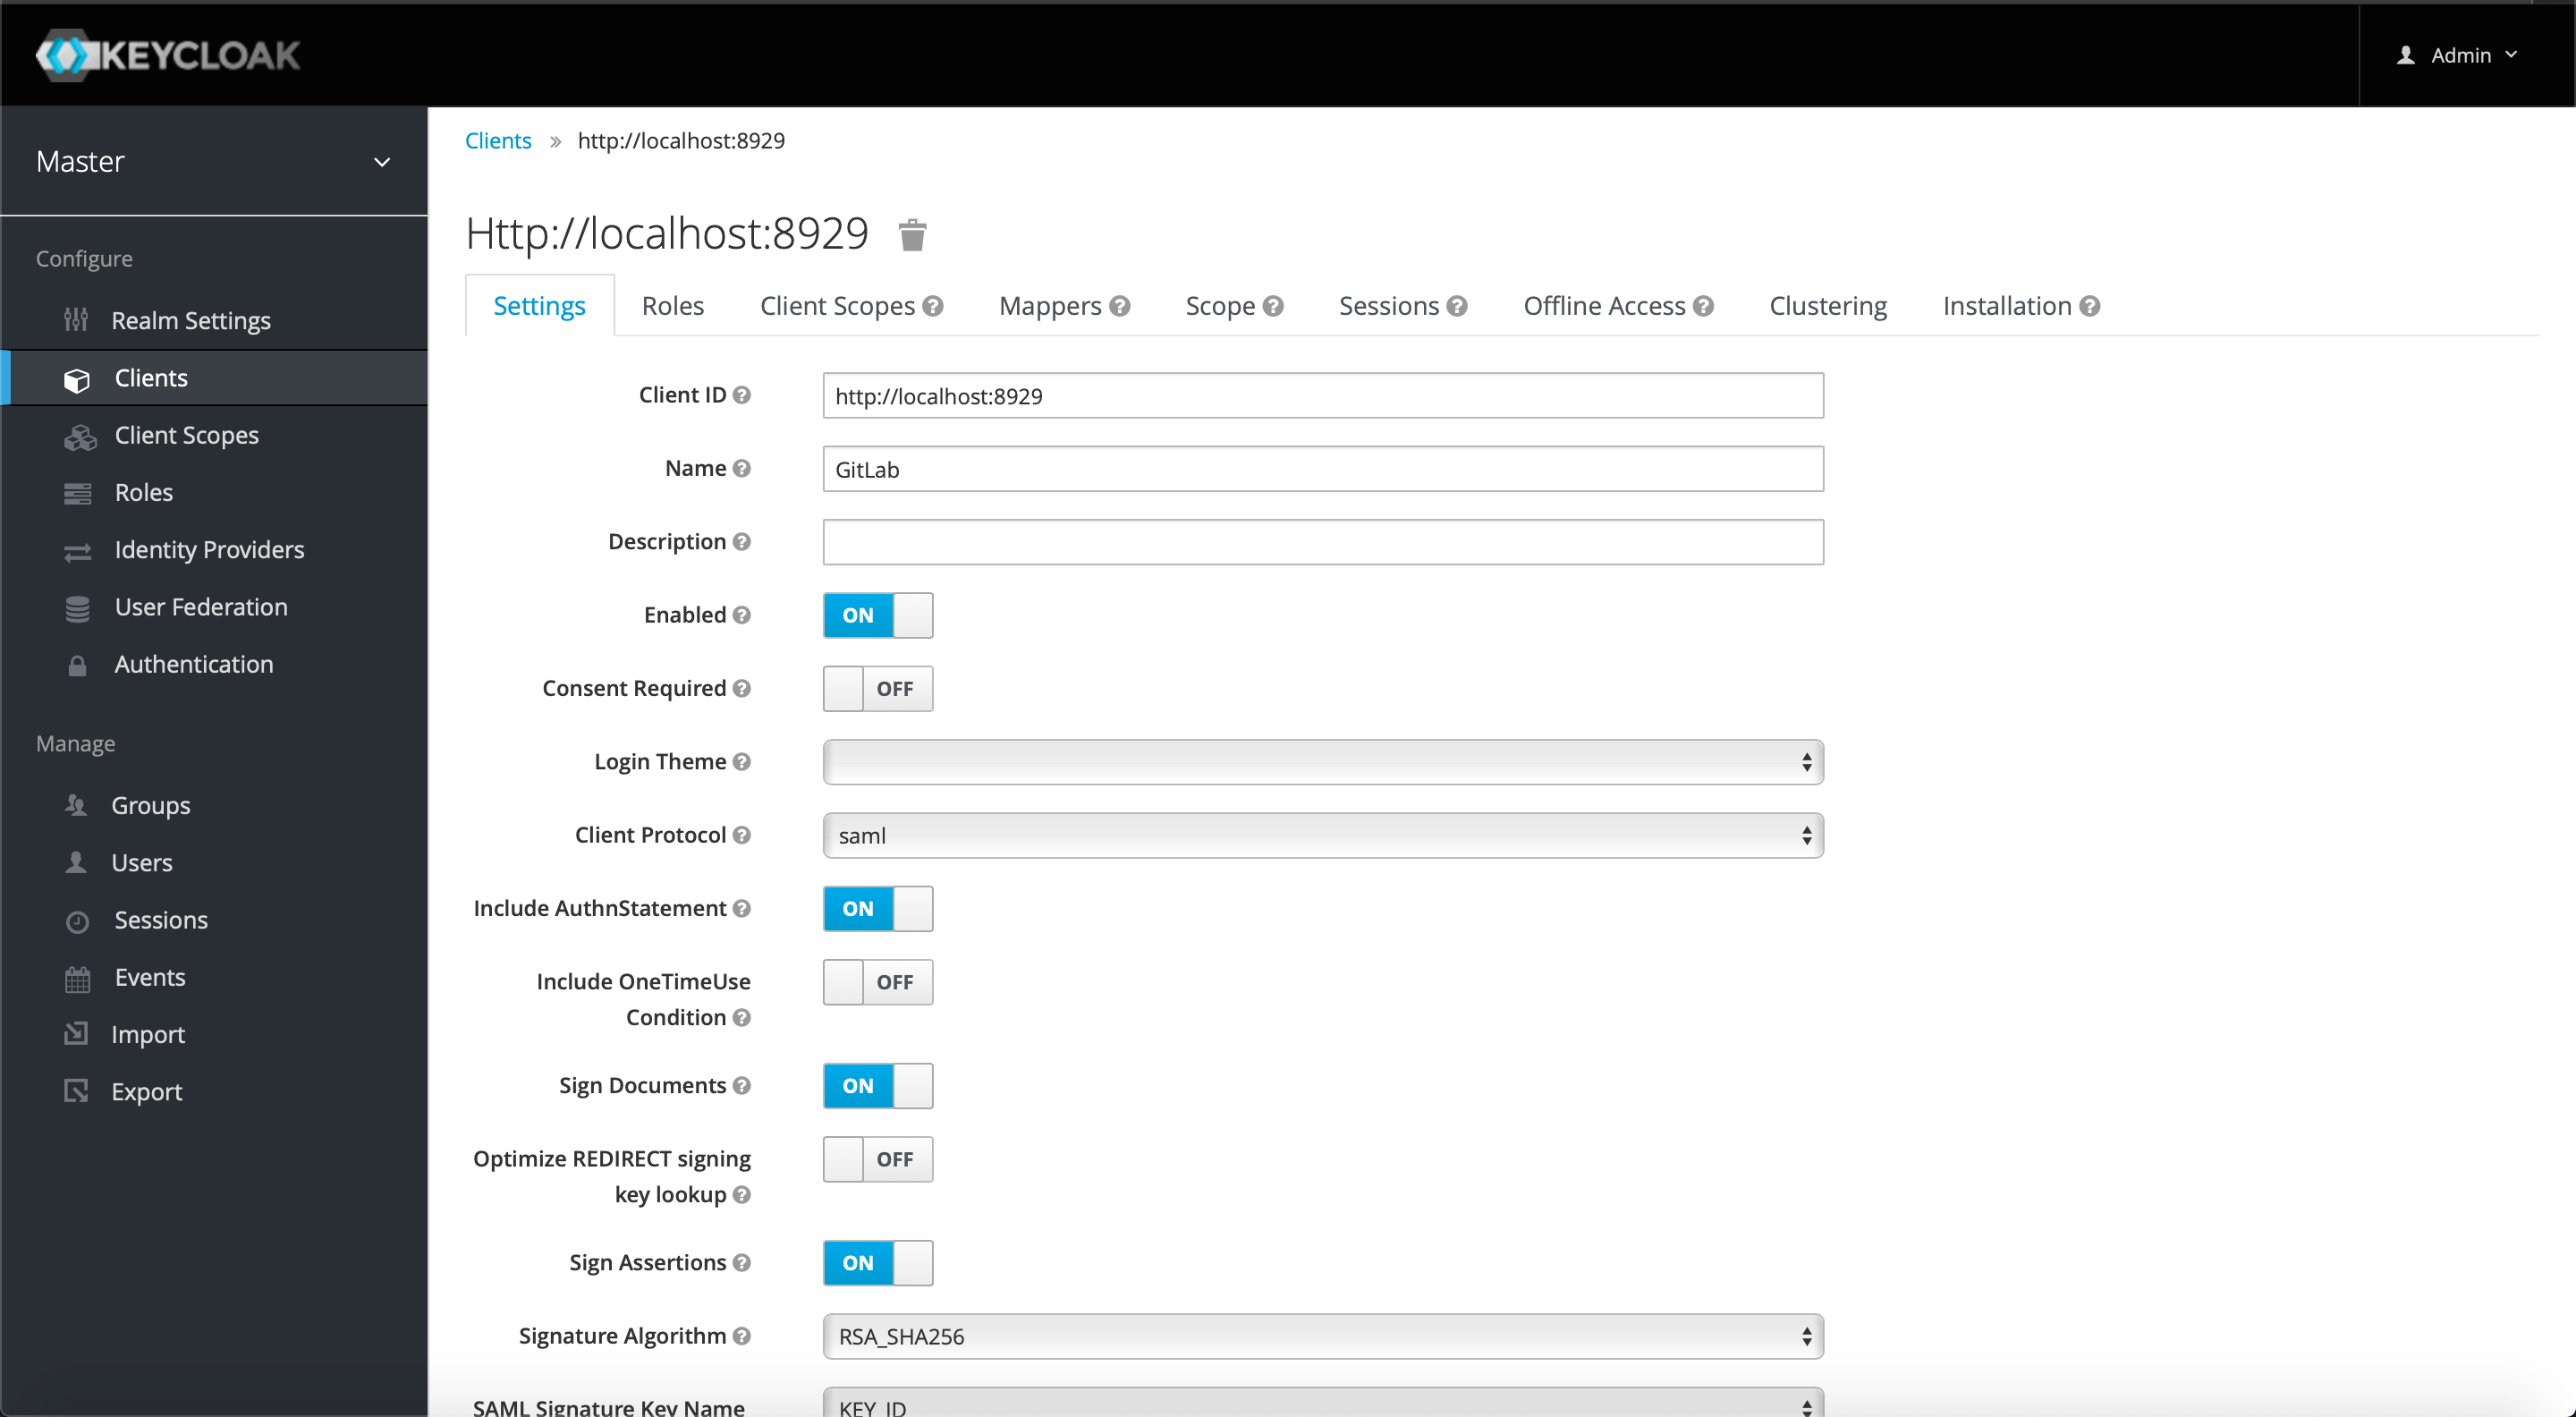
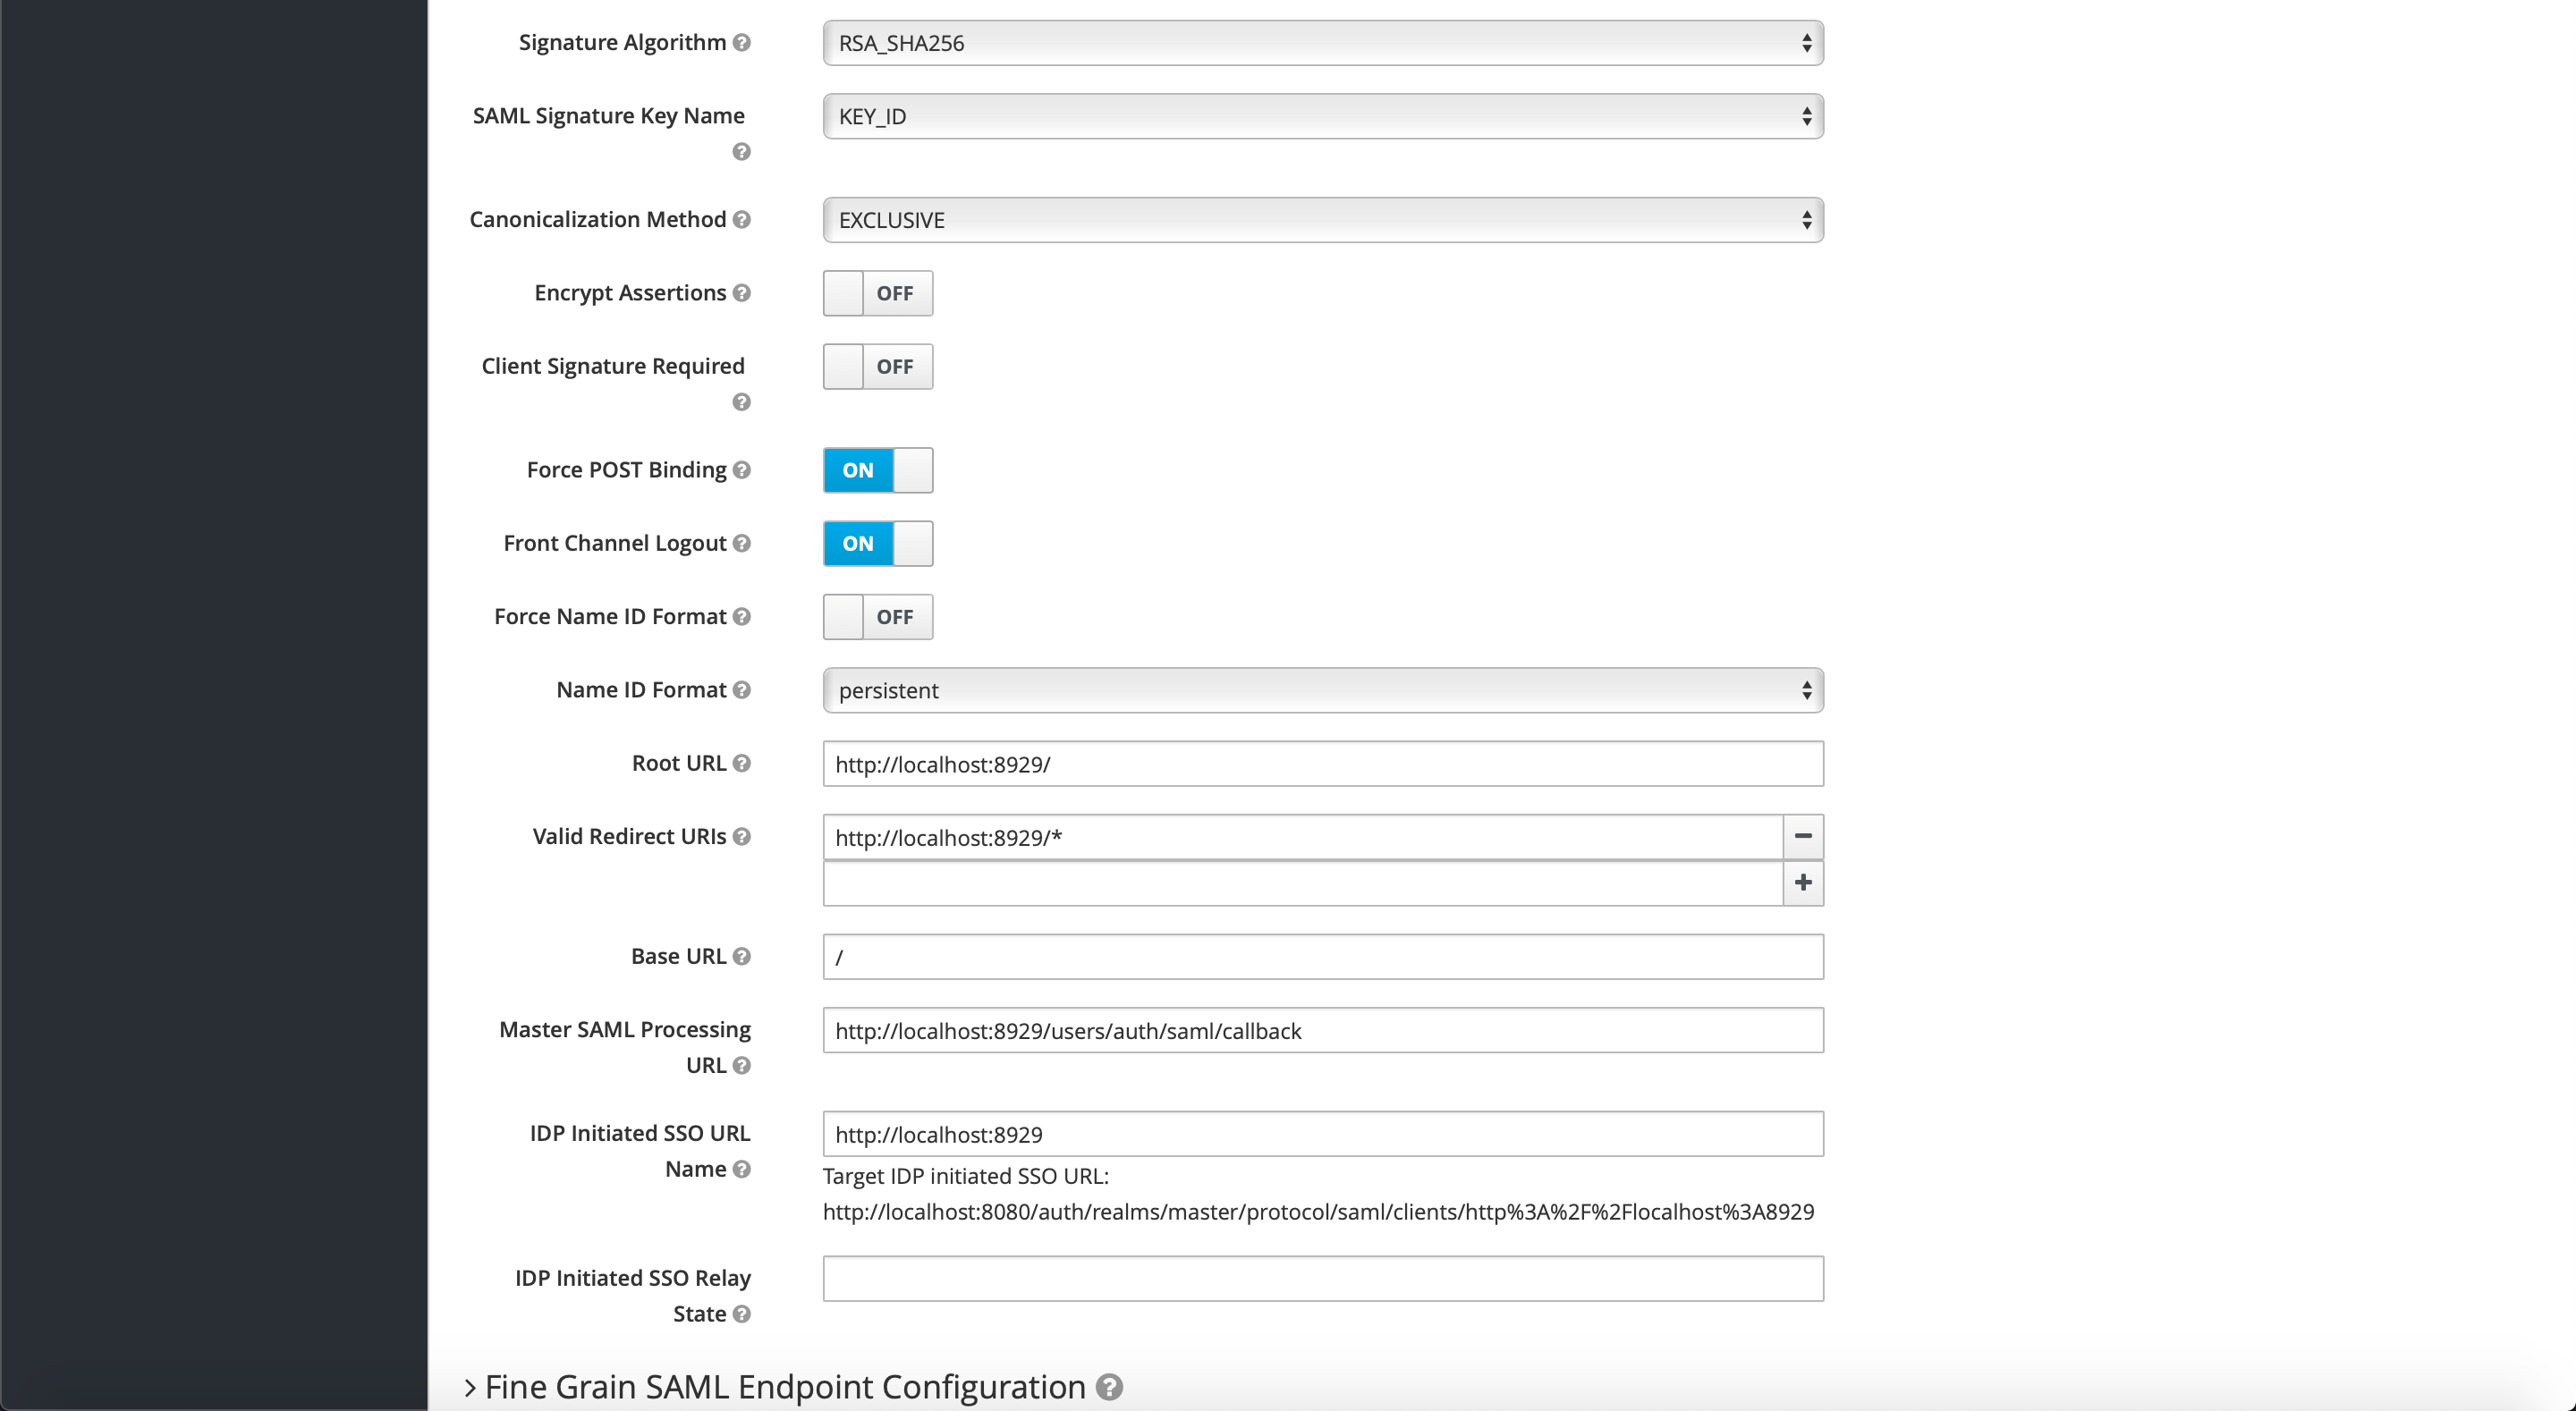
[Configure] -> [Clients] -> [Create] より、GitLab 用の新しい Client を追加します。

以下の内容を入力し、設定を保存します。
- Client:http://localhost:8929
- Client Protocol:saml
新しく作成した Client に追加の設定を行います。
以下の内容を入力し、設定を保存します。
- Name:GitLab
- Include AuthStatement:ON
- Sign Documents:ON
- Force POST Binding:OFF
- Front Channel Logout:OFF
- Name ID Format:persistent
- Root URL:http://localhost:8929
- Valid Redirect URL:http://localhost:8929/*
- Base URL:/
- Master SAML Processing URL:http://localhost:8929/users/auth/saml/callback
- IDP Initiated SSO URL Name:http://localhost:8929
- Assertion Consumer Service POST Binding URL:http://localhost:8929/users/auth/saml/callback

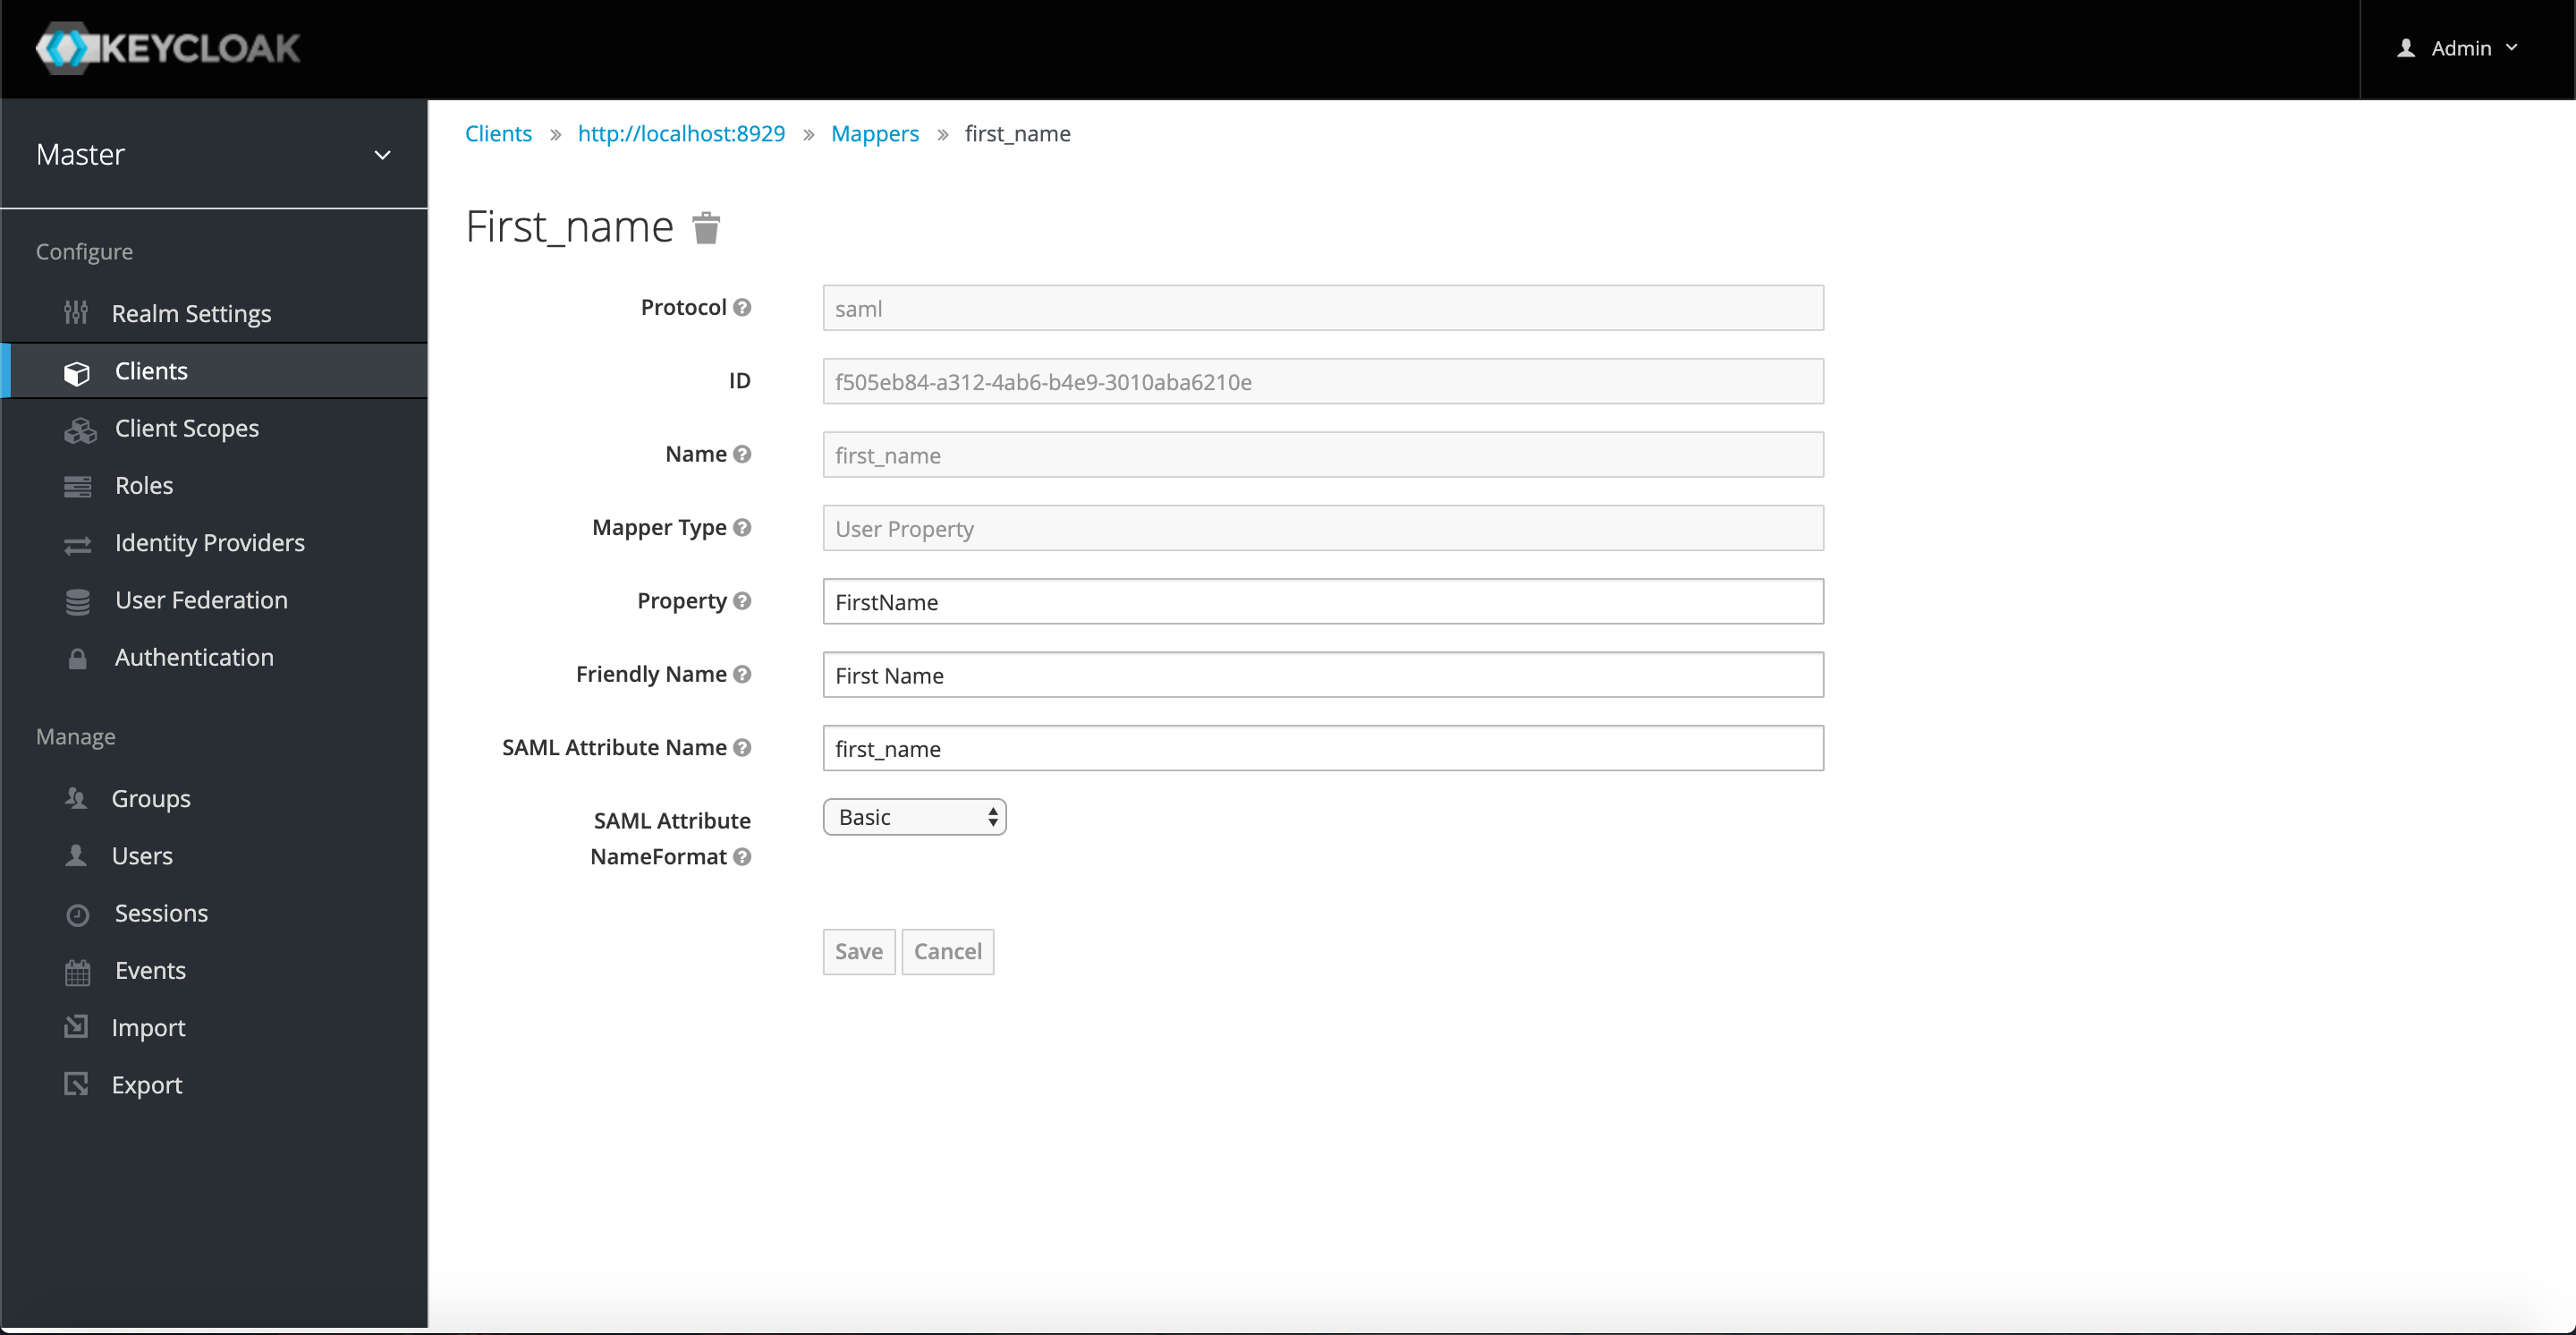
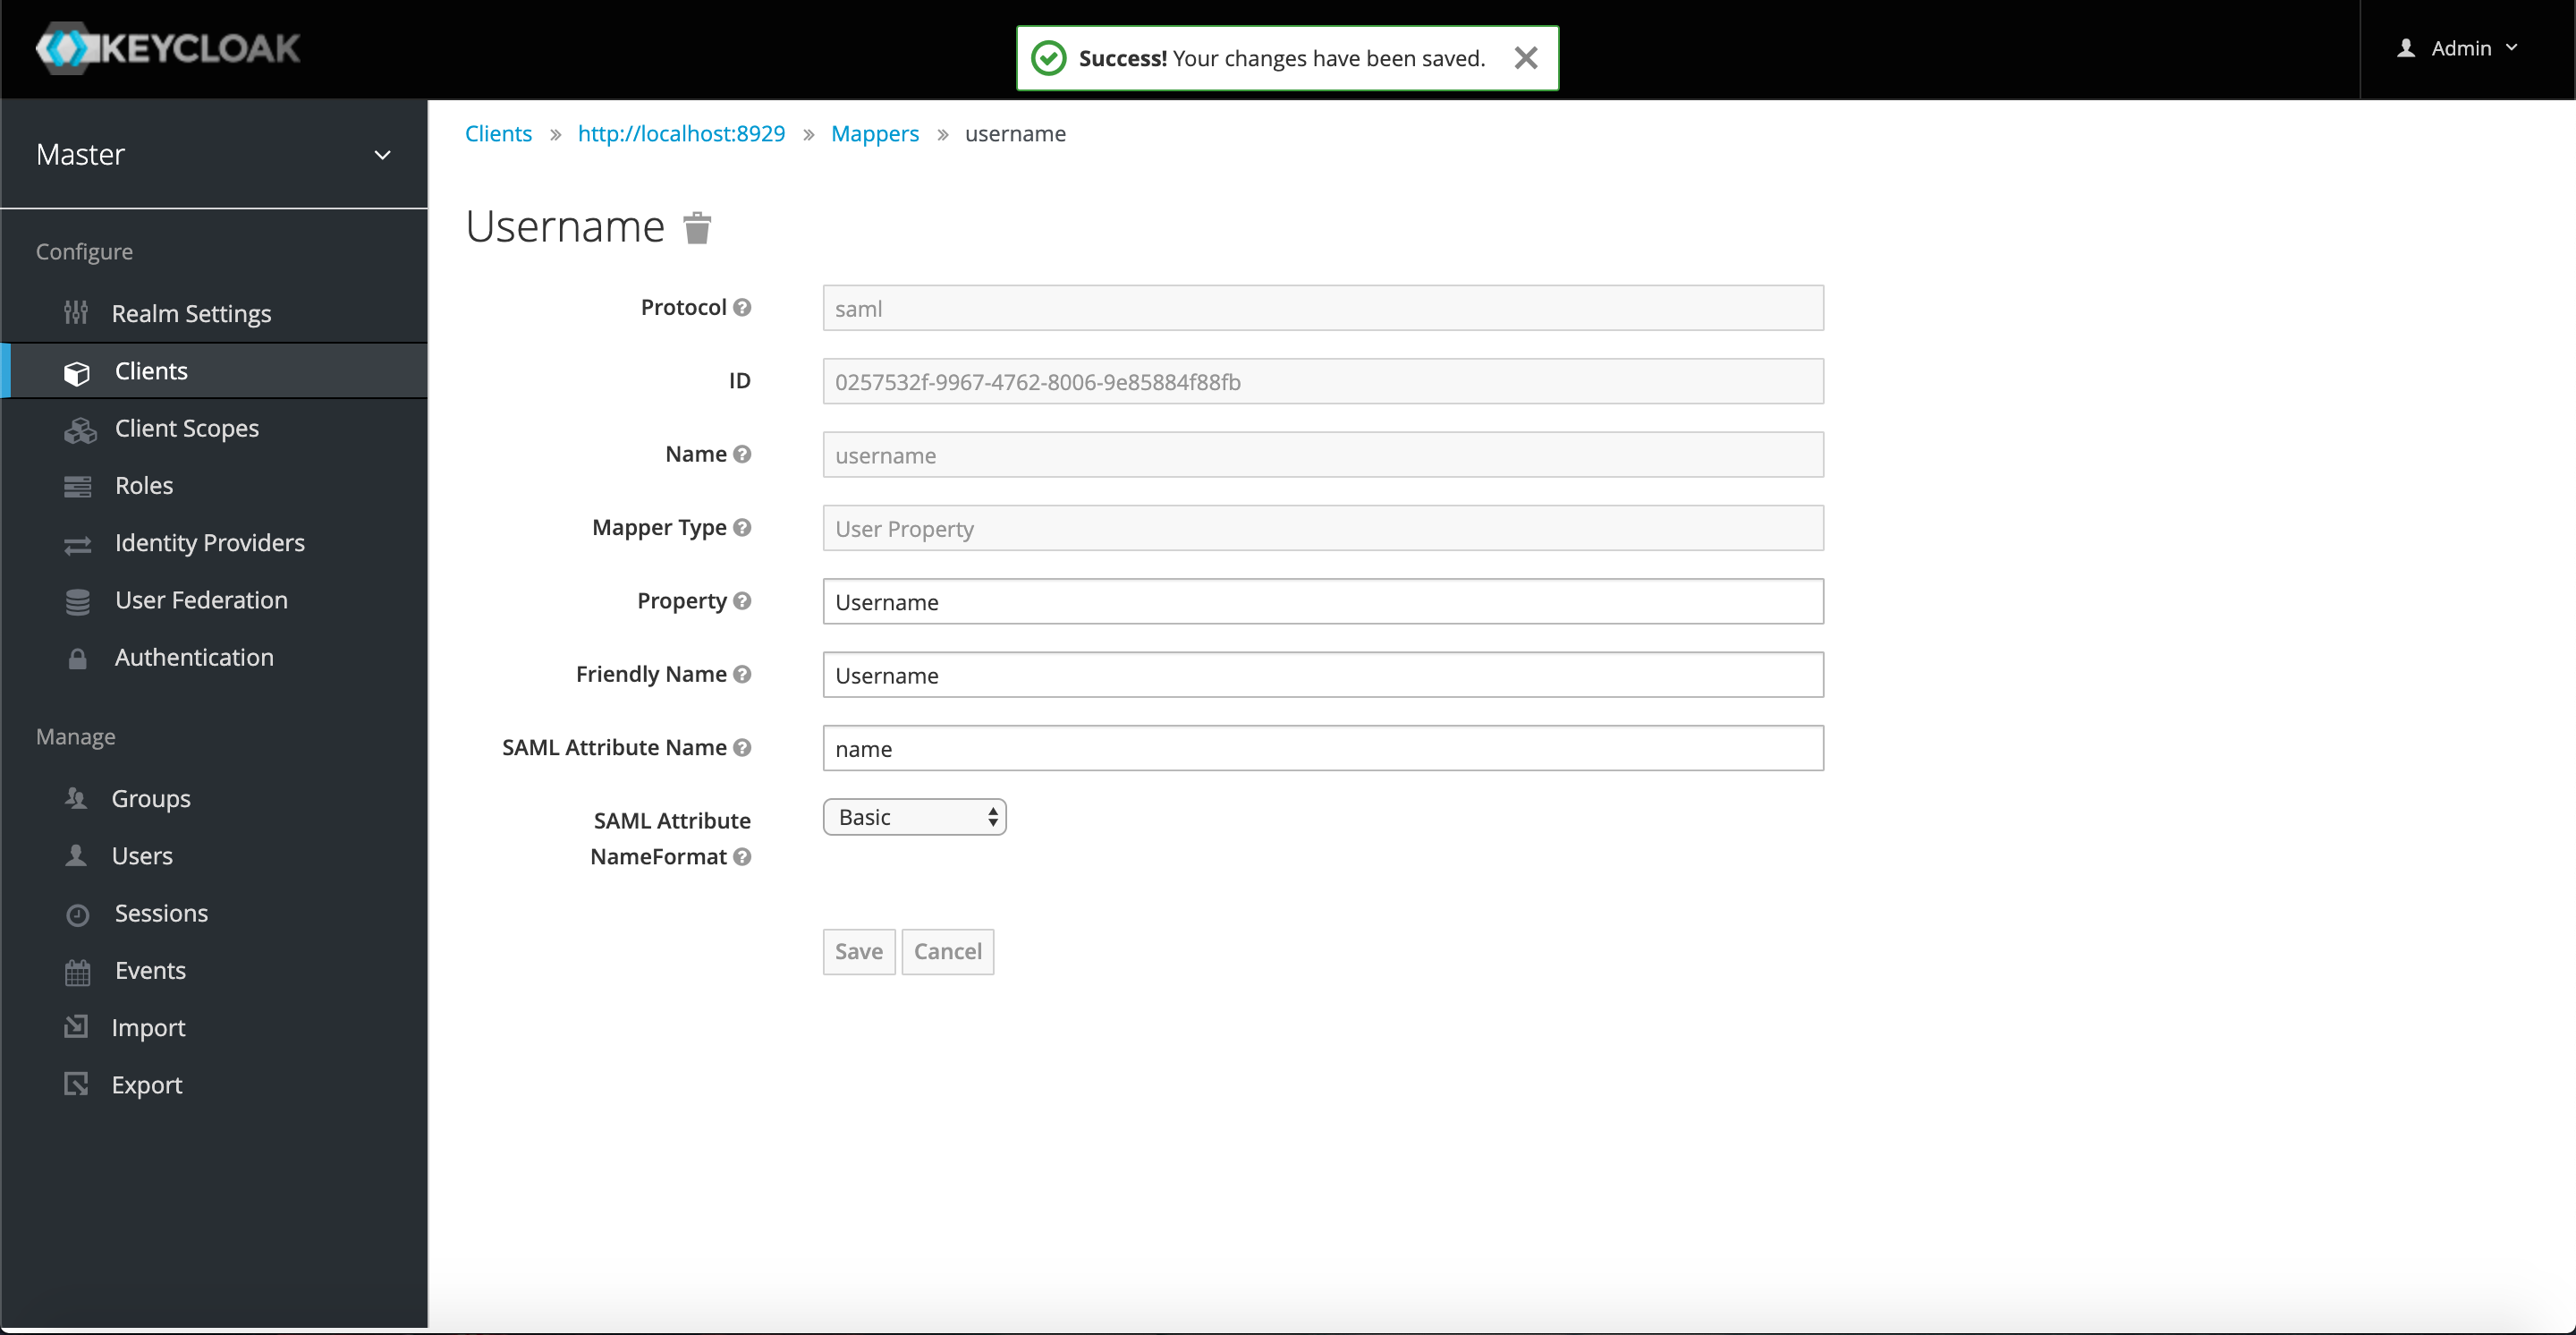
Mappers 設定
[Configure] -> [http://localhost:8929] -> [Mappers] に移動します。

[Create] より、新しく Mapper を登録します。
- Email
- Name:email
- Mapper Property:User Property
- Property:Email
- Friendly Name:Email
- SAML Attribute Name:email
- SAML Attribute NameFormat:Basic
- Single Role Attribute:ON
- First_Name
- Name:first_name
- Mapper Property:User Property
- Property:FirstName
- Friendly Name:First Name
- SAML Attribute Name:first_name
- SAML Attribute NameFormat:Basic
- Single Role Attribute:ON
- Last_Name
- Name:last_name
- Mapper Property:User Property
- Property:LastName
- Friendly Name:Last Name
- SAML Attribute Name:name
- SAML Attribute NameFormat:Basic
- Single Role Attribute:ON
- Username
- Name:username
- Mapper Property:User Property
- Property:UserName
- Friendly Name:User Name
- SAML Attribute Name:name
- SAML Attribute NameFormat:Basic
- Single Role Attribute:ON
- Roles
- Name:roles
- Mapper Property:Role List
- Role attribute name:roles
- Friendly Name:Roles
- SAML Attribute NameFormat:Basic
- Single Role Attribute:ON


RS256 確認
Keycloak で発行された証明書の情報を確認します。
[Configure] -> [Realm Settings] -> [Keys] -> [Active] に移動します。
[RS256] の行にある [Certificate] を選択します。

証明書の文字列を確認します。

GitLab 設定
GitLab コンテナを停止します。
$ docker-compose stop
docker-compose.yaml の GITLAB_OMNIBUS_CONFIG に値を追加します。
version: '3'

services:
  gitlab:
    image: 'gitlab/gitlab-ce:latest'
    container_name: 'gitlab-ce'
    hostname: 'localhost'
    environment:
      GITLAB_OMNIBUS_CONFIG: |
        external_url 'http://localhost:8929'
        gitlab_rails['gitlab_shell_ssh_port'] = 10022
        mattermost_external_url 'http://localhost:8001'
        # 以下を新規に追加
        gitlab_rails['omniauth_enabled'] = true
        gitlab_rails['omniauth_allow_single_sign_on'] = ['saml']
        gitlab_rails['omniauth_block_auto_created_users'] = false
        gitlab_rails['omniauth_auto_link_saml_user'] = true
        gitlab_rails['omniauth_providers'] = [
          {
            name: 'saml',
            label: 'Keycloak Login',
            groups_attribute: 'roles',
            args: {
              assertion_consumer_service_url: 'http://localhost:8929/users/auth/saml/callback',
              idp_sso_target_url: 'http://localhost:8080/auth/realms/master/protocol/saml', # Realm を別にしている場合はmasterの部分を書き換える
              issuer: 'http://localhost:8929',
              idp_cert: '-----BEGIN CERTIFICATE-----
                MII.....
                -----END CERTIFICATE-----', # MII...の部分は先ほど確認した証明書の値
              name_identifier_format: 'urn:oasis:names:tc:SAML:2.0:nameid-format:persistent',
              attribute_statements: {
                first_name: ['first_name'],
                last_name: ['last_name'],
                name: ['name'],
                username: ['name'],
                email: ['email']
              }
            }
          }
        ]
    # 追加ここまで
    ports:
      - '8001:8001'
      - '8929:8929'
      - '10022:22'
      - '10080:80'
      - '10443:443'
    volumes:
      - './srv/gitlab/config:/etc/gitlab'
      - './srv/gitlab/logs:/var/log/gitlab'
      - './srv/gitlab/data:/var/opt/gitlab'
docker-compose.yaml を更新したら、コンテナを再起動します。
$ docker-compose up -d
GitLabのログイン画面にアクセスします。
[Keycloak Login] の項目が追加されていることを確認します。

Keycloak 認証での Mattermost ログイン
http://localhost:8001 にアクセスし、Mattermost の画面から GitLab -> Keycloak の順に画面遷移し、ログインを試みます。
