以下のような構成を取ればいい。
Gmail APIの面倒さ
Cloud Functionsを使ったとしても、Gmail内容はAPIとして取得できない
CloudFunctionsから
- 「API とサービス」 「認証情報」
- 「認証情報を作成」「OAuth クライアント ID」の取得
- ...ClientサイドでAuthのコード書き、トークンの取得してGmailのAPIを叩く
面倒。
GasをWebアプリケーションとして公開してAPI公開
const FAIL = { ok: false, code: null };

const output = ContentService.createTextOutput();
output.setMimeType(ContentService.MimeType.JSON);
output.setContent(JSON.stringify(FAIL));

/**
 * 認証ラベルがついたGmailを取得します
 * queryの例: https://blog.synnex.co.jp/google/gmail-gas/
 */
function getGmail(id, date = '2023-04-17T11:00:00.000Z') {
  // 認証ラベルの付いた、アカウントIDが本文にはいっているメールを1件取得する
  const newestThread = GmailApp.search(`${id} label:タイトルXXX`, 0, 1)[0];

  // スレッドが存在しない
  if (!newestThread) {
    Logger.log("スレッドが存在しません");
    return output;
  }

  let messages = newestThread.getMessages();
  Logger.log(`messages length: ${messages.length}`);
  messages = messages.filter((message) => message.getPlainBody().includes(id))
  // date(Instagramクリック日時)) < メール(message)受信日時
  messages = messages.filter((message) => (new Date(date)).getTime() < message.getDate().getTime());
  Logger.log(`messages length: ${messages.length}`);

  const message = messages[0];

  // 指定時間より前のメールは無視する
  if (!message) {
    Logger.log("期間内のメールが存在しません");
    return output;
  }

  const code = getCode(message.getPlainBody());
  Logger.log(code)

  output.setContent(JSON.stringify({ ok: true, code }))
  return output;
}

/**
 * param:  {
 *   "id": "",
 *   "data": "2023-04-17T16:18:00.173Z",
 *   "pass": "ベアラートークンみたいなの"
 * }
 */
function doGet(e) {
  Logger.log(e);
  const params = e.parameter;
  if (params?.pass !== 'ベアラートークンみたいなの' ) {
    Logger.log("passが間違いです。");
    output.setContent(JSON.stringify(FAIL));
    return output;
  }

  return getGmail(params?.id, params?.date);
}
Clientサイド
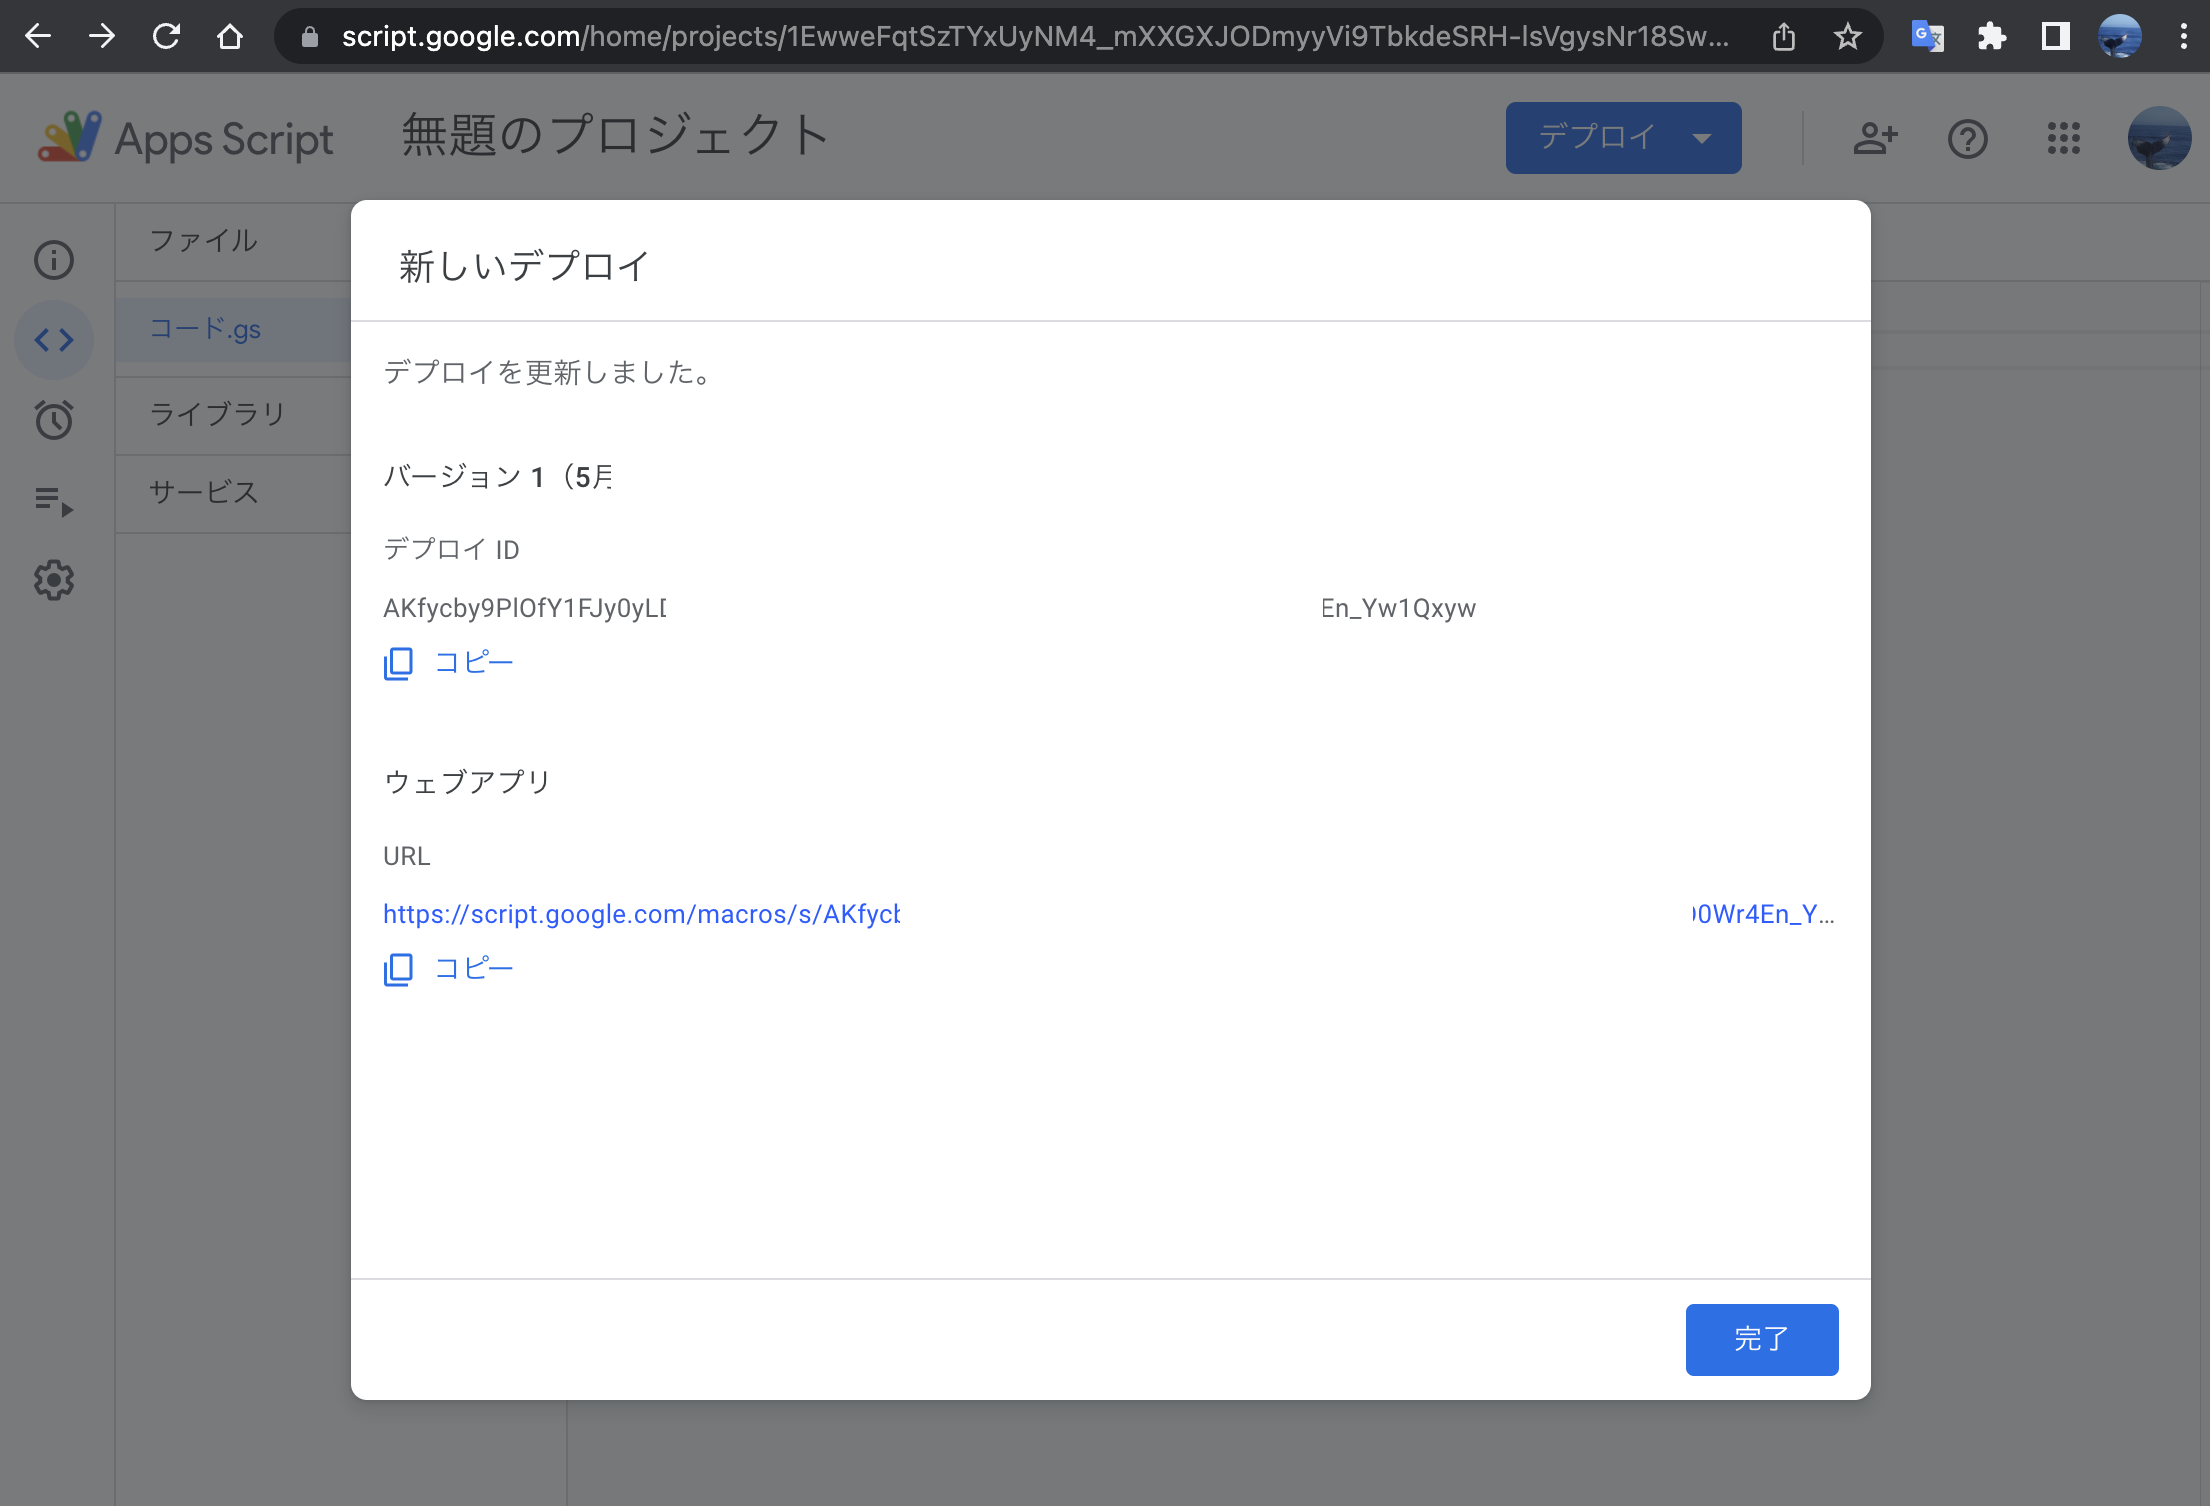
  const deployId = 'GAS画面からデプロイしたときのID_デプロイするたびに変わる';
  const res = await axios.get<{ ok: true, code: string }>(
    `https://script.google.com/macros/s/${deployId}/exec`,
    {
      params: {
        pass: 'ベアラートークンみたいなの',
        date,
        id,
      },
    }
  );
ベアラートークンみたいなのは任意の文字列128文字とか適当にジェネレートしたものを使って、絶対に推測できないものにしてください。UUIDに合わせると英数字の32桁です。
UUIDが16進数で32桁ですが、特定させるにはどれくらいの時間がかかるかを示した計算を参考にするのがいいかと思います。
デプロイ方法はこんな感じ
上部のデプロイボタンからウェブアプリとして公開
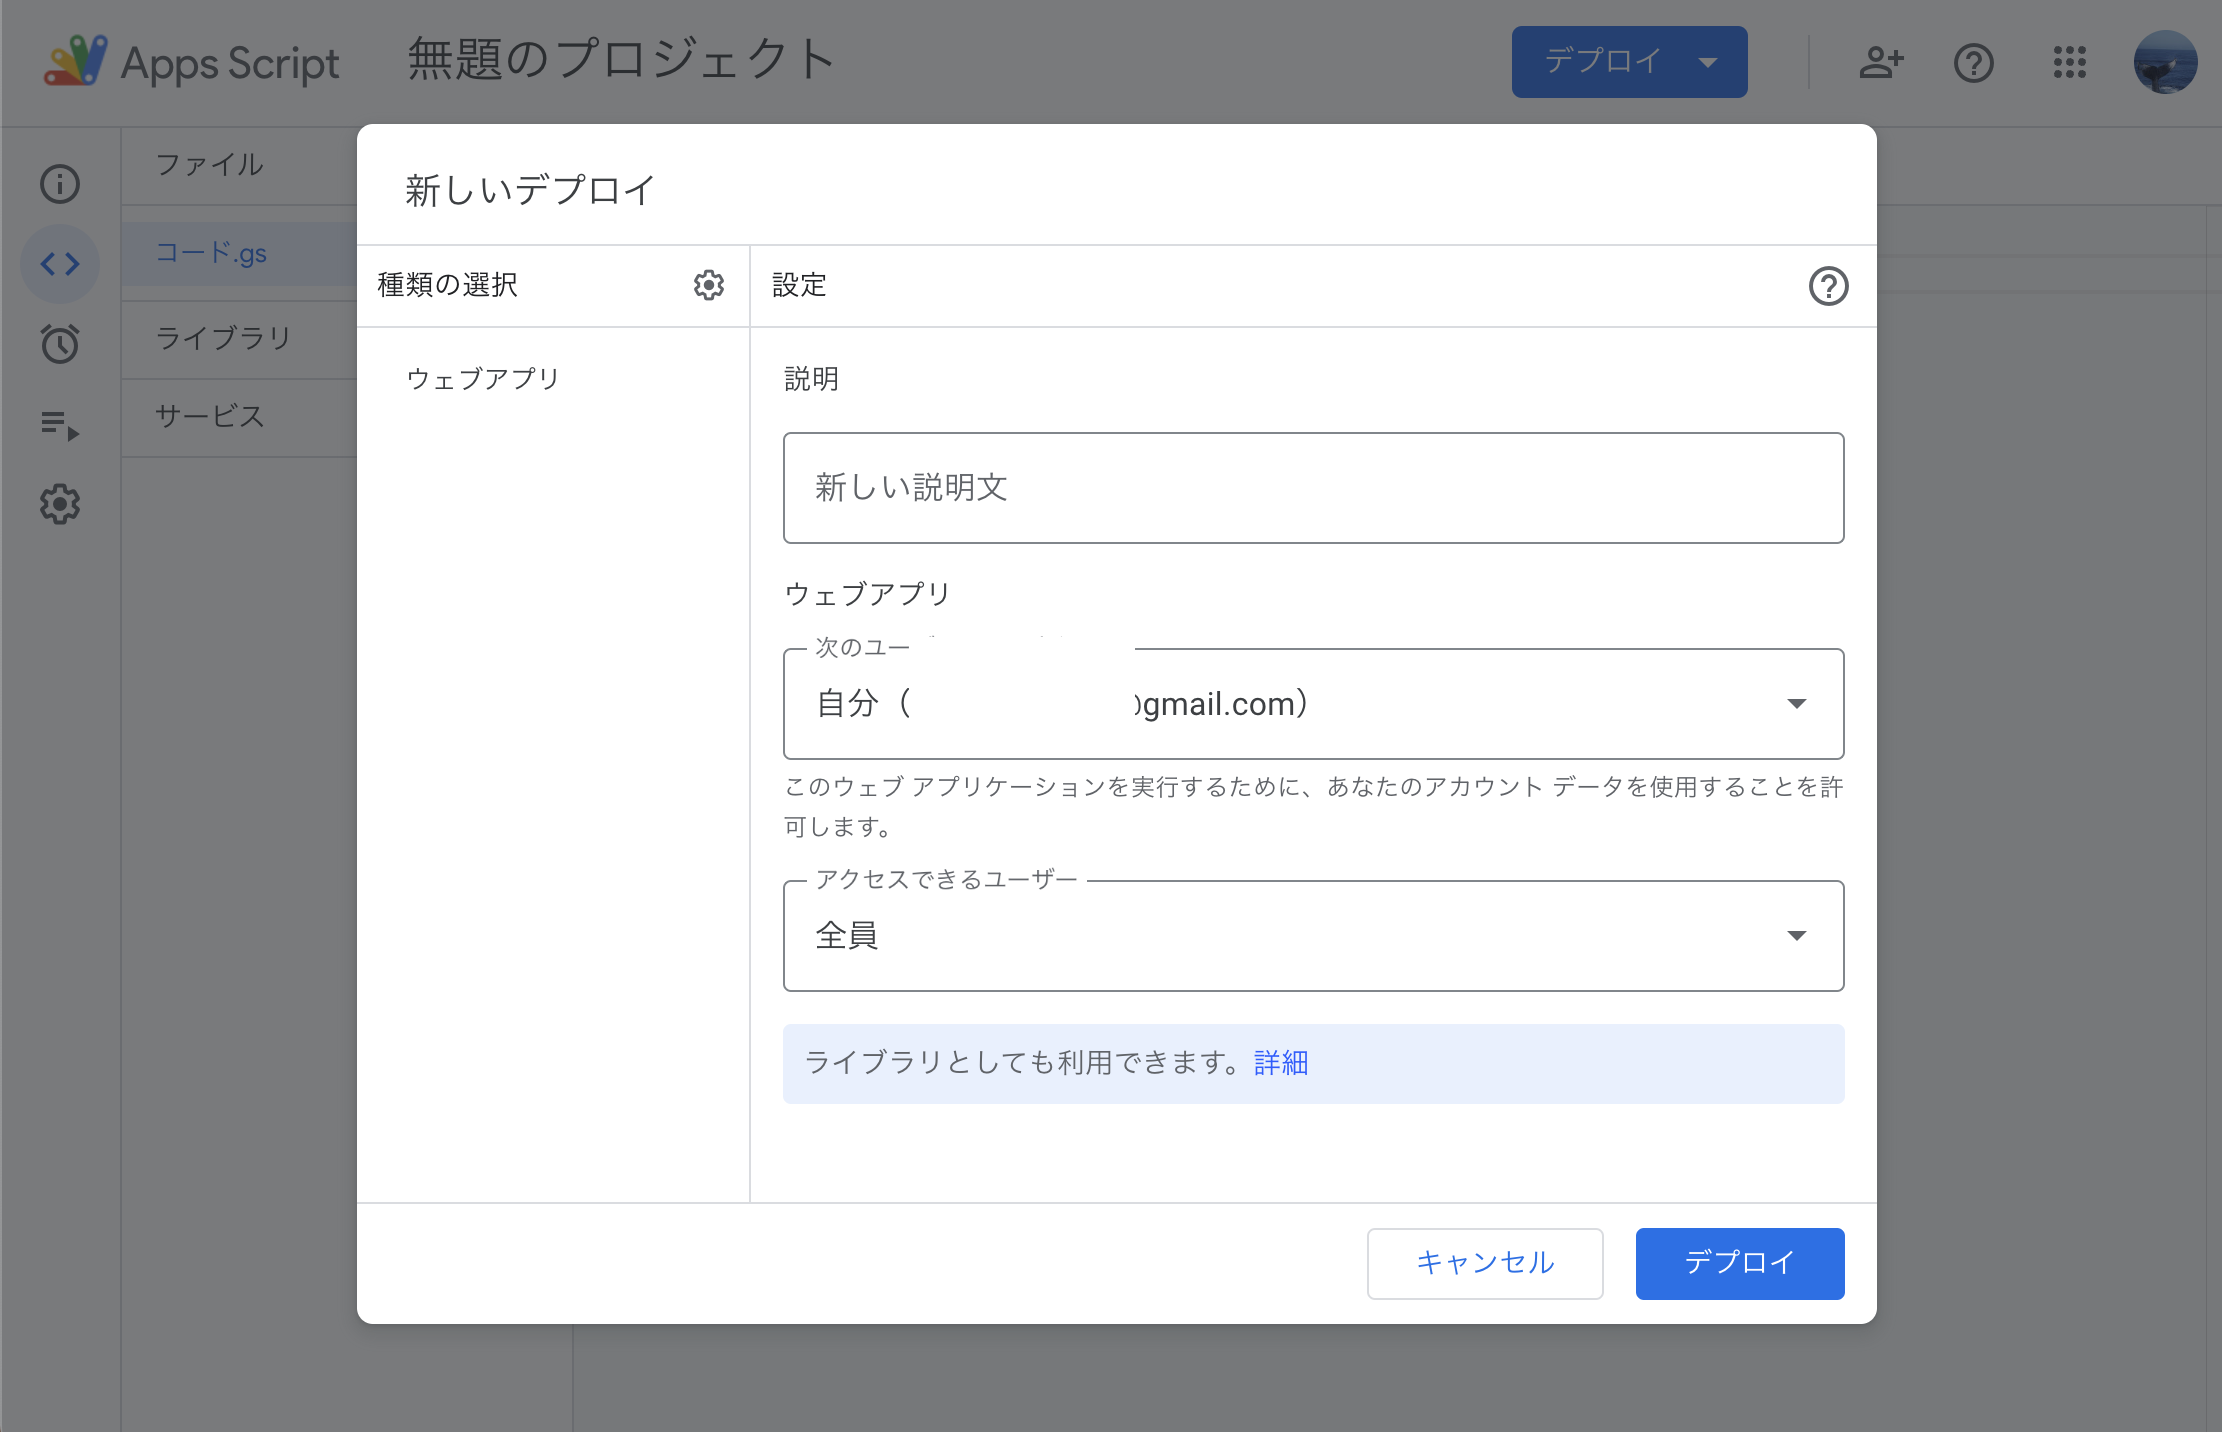
もろもろ認証でOKを押したら
注意
APIとして公開すると、パスワードが漏れると、自分のGmailが全世界に公開される可能性があることを考慮のうえ使ってください。
その意味では、普通のGoogleのID/Passが漏れた場合と同じですが、その場合はGoogle側で不審なログインはブロックしてくれたりしますが、このAPIの場合は不審なログインは弾かれません。
毎回変わるデプロイIDもかなりの桁数なので、基本的にこれだけでもかなり有効なURLを見つけるのは大変なはずですがちゃんと理解した上で使ってください。
↓以下のdeployIdは32桁超えているので、UUIDよりも特定は難しいはず。 https://script.google.com/macros/s/${deployId}/exec