はじめに
この記事ではCentOS7にZabbix4.4をインストールする手順について説明する。
Zabbixとは
Zabbixとは、サーバ監視、ネットワーク監視などを集中監視するために開発されたオープンソース(OSS)の統合監視ソフトウェアであり、監視ソフトウェアとしてのデファクト・スタンダードなポジションを築いている。
Zabbixは統合監視に必要な監視、障害検知、通知機能を備えている。多数のプラットフォームに対応したZabbixエージェントとSNMPに対応しているため、システム全体を Zabbix ひとつで監視することが可能だ。
Zabbix WebインターフェースはPHPで作成されており、Apache上でWeb アプリケーションとして動作する。すべての監視設定と情報表示はWebブラウザからから簡単に行うことができる。
環境
- ホストOS:Windows10
- ゲストOS:CentOS7 (CentOS Linux release 7.6.1810 (Core))
- 仮想マシン構築方法:VirtaulBox, Vagrant
- Webサーバー:Apache2.4
- PHP:5.4.16
- DBMS:MariaDB 5.5.65
Zabbixサーバーの構築手順(概要)
- CentOSのOSアップデート
- Webサーバ(Apache), PHP, DB(MariaDB)のインストール
- Zabbixのインストール
- 各種設定(データベース、Webサーバなど)
- Webブラウザ上でZabbix監視・設定画面の表示
Zabbixサーバーの構築手順(詳細)
あらかじめCentOS7の環境を構築する。
インストールするOSは最小限のパッケージで問題ない。
構築したCentOS7は、インターネット接続、yumコマンド、他のゲストOSマシンへの疎通ができる状態とする。
また、以下のZabbix環境構築はroot権限で行っている。
CentOSに接続
WindowsのコマンドプロンプトからVagrantで環境構築したCentOSにSSH接続する。
D:\hoge>vagrant ssh zabbix
Last login: Tue Oct 20 16:40:47 2020 from 10.0.2.2
[vagrant@zabbix ~]$ su -
Password:
Last login: Tue Oct 20 16:43:52 UTC 2020 on pts/0
[root@zabbix ~]#
OSアップデート&OS再起動
まずはyum updateコマンドでOSを最新の状態にアップデートする。
[root@zabbix ~]# yum update
Loaded plugins: fastestmirror
Determining fastest mirrors
 * base: ftp.iij.ad.jp
 * extras: ftp.iij.ad.jp
 * updates: ftp.iij.ad.jp
 ~~~省略~~~
  tuned.noarch 0:2.11.0-8.el7                                 tzdata.noarch 0:2020a-1.el7
  util-linux.x86_64 0:2.23.2-63.el7                           vim-minimal.x86_64 2:7.4.629-6.el7
  xfsprogs.x86_64 0:4.5.0-20.el7                              yum.noarch 0:3.4.3-167.el7.centos
  yum-plugin-fastestmirror.noarch 0:1.1.31-54.el7_8           yum-utils.noarch 0:1.1.31-54.el7_8

Complete!
OSアップデートが完了したらOSを再起動し、CentOS7にSSH接続する。
[root@zabbix ~]# reboot
Connection to 127.0.0.1 closed by remote host.
Connection to 127.0.0.1 closed.

D:\hoge>vagrant ssh zabbix
Last login: Tue Oct 20 16:40:47 2020 from 10.0.2.2
[vagrant@zabbix ~]$ su -
Password:
Last login: Tue Oct 20 16:43:52 UTC 2020 on pts/0
[root@zabbix ~]#
Zabbixの動作に必要なソフトウェアを(Apache, PHP, MariaDB)をインストール
以下のコマンドでZabbixを動作させるために必要なソフトウェア(Apache, PHP, MariaDB)をインストールする。
[root@zabbix ~]# yum -y install httpd-devel php php-devel php-pdo php-mysqlnd php-mbstring php-mcrypt php-gd php-pear php-pecl-apc-devel zlib-devel mariadb-devel mariadb-server
各ソフトのバージョン確認
Webサーバ(Apache)のバージョンを確認する。
[root@zabbix ~]# httpd -v
Server version: Apache/2.4.6 (CentOS)
PHPのバージョンを確認する。
[root@zabbix ~]# php -v
PHP 5.4.16 (cli) (built: Apr  1 2020 04:07:17)
Copyright (c) 1997-2013 The PHP Group
Zend Engine v2.4.0, Copyright (c) 1998-2013 Zend Technologies
MariaDBのバージョンを確認する。
[root@zabbix ~]# mysql -V
mysql  Ver 15.1 Distrib 5.5.65-MariaDB, for Linux (x86_64) using readline 5.1
Zabbixのインストール
今回はZabbixバージョン4.4をインストールする。
Zabbixサーバーの最新バージョンは以下の公式リポジトリより確認できる。
https://repo.zabbix.com/zabbix/
Zabbix Serverのインストール
Zabbix 公式リポジトリからバージョン4.4をインストールする。
[root@zabbix ~]# yum -y install https://repo.zabbix.com/zabbix/4.4/rhel/7/x86_64/zabbix-release-4.4-1.el7.noarch.rpm
以下のコマンドを実行し、Zabbix Serverの関連パッケージをインストールする。
yum install zabbix-web-mysql zabbix-web-japanese zabbix-server-mysql
Zabbixサーバのバージョンを確認する。
無事にバージョン4.4のインストールができている。
[root@zabbix ~]# zabbix_server -V
zabbix_server (Zabbix) 4.4.10
Revision 4db30afc70 29 June 2020, compilation time: Jun 29 2020 11:55:57

Copyright (C) 2020 Zabbix SIA
License GPLv2+: GNU GPL version 2 or later <http://gnu.org/licenses/gpl.html>.
This is free software: you are free to change and redistribute it according to
the license. There is NO WARRANTY, to the extent permitted by law.

This product includes software developed by the OpenSSL Project
for use in the OpenSSL Toolkit (http://www.openssl.org/).

Compiled with OpenSSL 1.0.1e-fips 11 Feb 2013
Running with OpenSSL 1.0.1e-fips 11 Feb 2013
Zabbix Agentのインストール
以下のコマンドを実行し、Zabbix Agentをインストールする。
(zabbix-agentは本来監視対象のサーバーにインストールするソフトウェア)
[root@zabbix ~]# yum -y install zabbix-agent
Zabbix agentのバージョンを確認する。
無事にバージョン4.4のインストールができている。
[root@zabbix ~]# zabbix_agentd -V
zabbix_agentd (daemon) (Zabbix) 4.4.10
Revision 4db30afc70 29 June 2020, compilation time: Jun 29 2020 11:56:26

Copyright (C) 2020 Zabbix SIA
License GPLv2+: GNU GPL version 2 or later <http://gnu.org/licenses/gpl.html>.
This is free software: you are free to change and redistribute it according to
the license. There is NO WARRANTY, to the extent permitted by law.

This product includes software developed by the OpenSSL Project
for use in the OpenSSL Toolkit (http://www.openssl.org/).

Compiled with OpenSSL 1.0.1e-fips 11 Feb 2013
Running with OpenSSL 1.0.1e-fips 11 Feb 2013
MariaDB起動&ログイン
MariaDBを起動し、ログインする。
[root@zabbix ~]# systemctl start mariadb
[root@zabbix ~]# systemctl enable mariadb
Created symlink from /etc/systemd/system/multi-user.target.wants/mariadb.service to /usr/lib/systemd/system/mariadb.service.
[root@zabbix ~]# mysql -u root
Welcome to the MariaDB monitor.  Commands end with ; or \g.
Your MariaDB connection id is 2
Server version: 5.5.65-MariaDB MariaDB Server

Copyright (c) 2000, 2018, Oracle, MariaDB Corporation Ab and others.

Type 'help;' or '\h' for help. Type '\c' to clear the current input statement.
MariaDB設定
zabbix-serverが使用するデータベース「zabbix」およびユーザー「zabbix」を作成する。
new-passwordとなっている部分は任意のパスワードに置き換えてコマンドを実行すること。
MariaDB [(none)]> create database zabbix character set utf8 collate utf8_bin;
Query OK, 1 row affected (0.00 sec)

MariaDB [(none)]> grant all on zabbix.* to zabbix@localhost identified by 'new-password';
Query OK, 0 rows affected (0.00 sec)

MariaDB [(none)]> UPDATE mysql.user SET Password=PASSWORD('new-password') WHERE User='root';
Query OK, 4 rows affected (0.00 sec)
Rows matched: 4  Changed: 4  Warnings: 0

MariaDB [(none)]> FLUSH PRIVILEGES;
Query OK, 0 rows affected (0.00 sec)

MariaDB [(none)]> quit;
Bye
続いて以下のコマンドを実行して初期設定用SQLをzabbixデータベースにインポートする。
[root@zabbix ~]# cd /usr/share/doc/zabbix-server-mysql-4.4.10/
[root@zabbix zabbix-server-mysql-4.4.10]# zcat create.sql.gz | mysql -u zabbix -p zabbix
Enter password:
[root@zabbix zabbix-server-mysql-4.4.10]#
Zabbix サーバーの設定ファイルzabbix_server.confに先ほど作成したzabbixユーザーのパスワードを記入する。
new-passwordとなっている部分は任意のパスワードに置き換えてコマンドを実行すること。
# vi /etc/zabbix/zabbix_server.conf
---

# DBPassword=
↓
DBPassword=new-password
Webサーバの設定・起動
Zabbixブラウザ上で日本時間で表示されるように、Apacheの設定ファイルzabbix.confにて、タイムゾーンを「Asia/Tokyo(日本/東京)」に設定する。
# vi /etc/httpd/conf.d/zabbix.conf
---

# php_value date.timezone Europe/Riga
↓
php_value date.timezone Asia/Tokyo
Apacheの起動と自動起動設定を実行する。
[root@zabbix ~]# systemctl start httpd
[root@zabbix ~]# systemctl enable httpd
Created symlink from /etc/systemd/system/multi-user.target.wants/httpd.service to /usr/lib/systemd/system/httpd.service.
Zabbixサーバの起動
zabbix-serverの起動と自動起動設定を実行する。
[root@zabbix ~]# systemctl start zabbix-server
[root@zabbix ~]# systemctl enable zabbix-server
Created symlink from /etc/systemd/system/multi-user.target.wants/zabbix-server.service to /usr/lib/systemd/system/zabbix-server.service.
ファイアウォール(FW)の起動・設定
ファイアウォールを起動後、ZabbixのWebインタフェースを表示できるようにhttp(80/TCP)への通信を許可する。
[root@zabbix ~]# systemctl start firewalld
[root@zabbix ~]# systemctl enable firewalld
Created symlink from /etc/systemd/system/dbus-org.fedoraproject.FirewallD1.service to /usr/lib/systemd/system/firewalld.service.
Created symlink from /etc/systemd/system/multi-user.target.wants/firewalld.service to /usr/lib/systemd/system/firewalld.service.
[root@zabbix ~]# firewall-cmd --add-service=http --zone=public --permanent
success
[root@zabbix ~]# firewall-cmd --reload
success
[root@zabbix ~]#
Zabbix画面の表示
以降はWebブラウザ上で作業を行う。
Zabbix管理画面のURLにアクセスする。
IPアドレス部分にCentOS7のIPアドレスを入力する。
http://[IPアドレス]/zabbix/
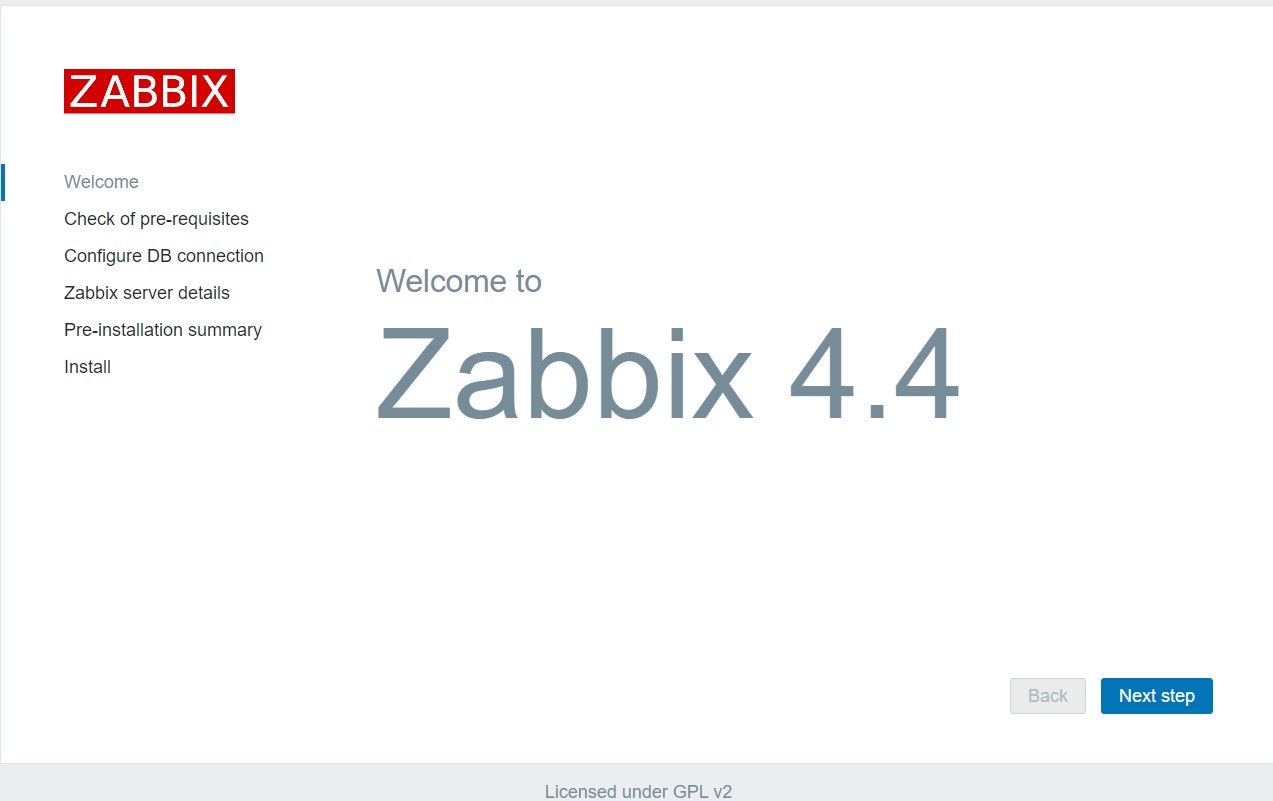
以下の画面が表示されたら「Next Step」をクリックし、次に進む。
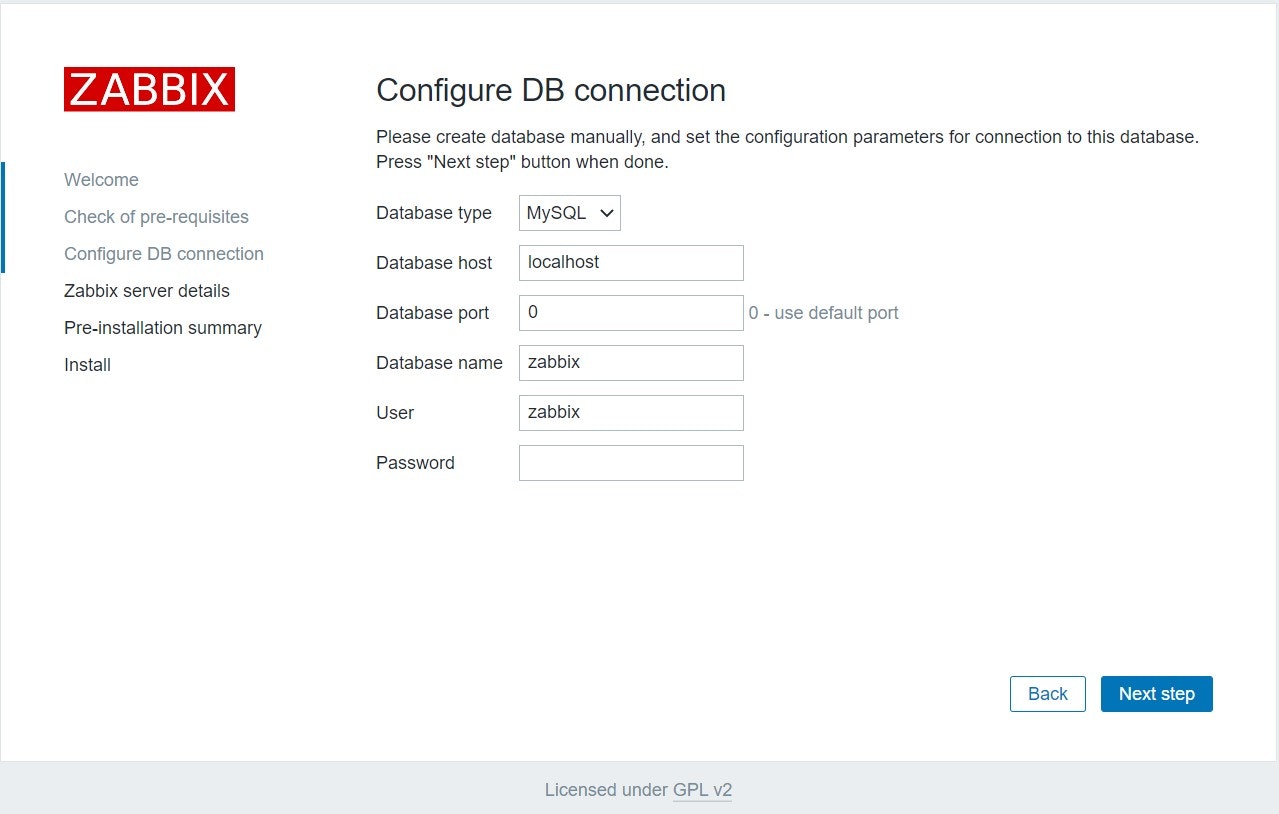
以下の画面の「Password」にMariaDBの設定時に決めた任意のパスワードを入力する。
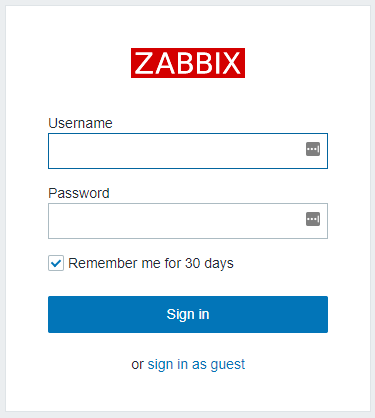
順次、進めていくと以下のログイン画面が表示される。
以下の初期設定でログインできる。
・username:Admin
・Password:zabbix
以下の画面(Zabbixのダッシュボード)が表示されればログインは成功。
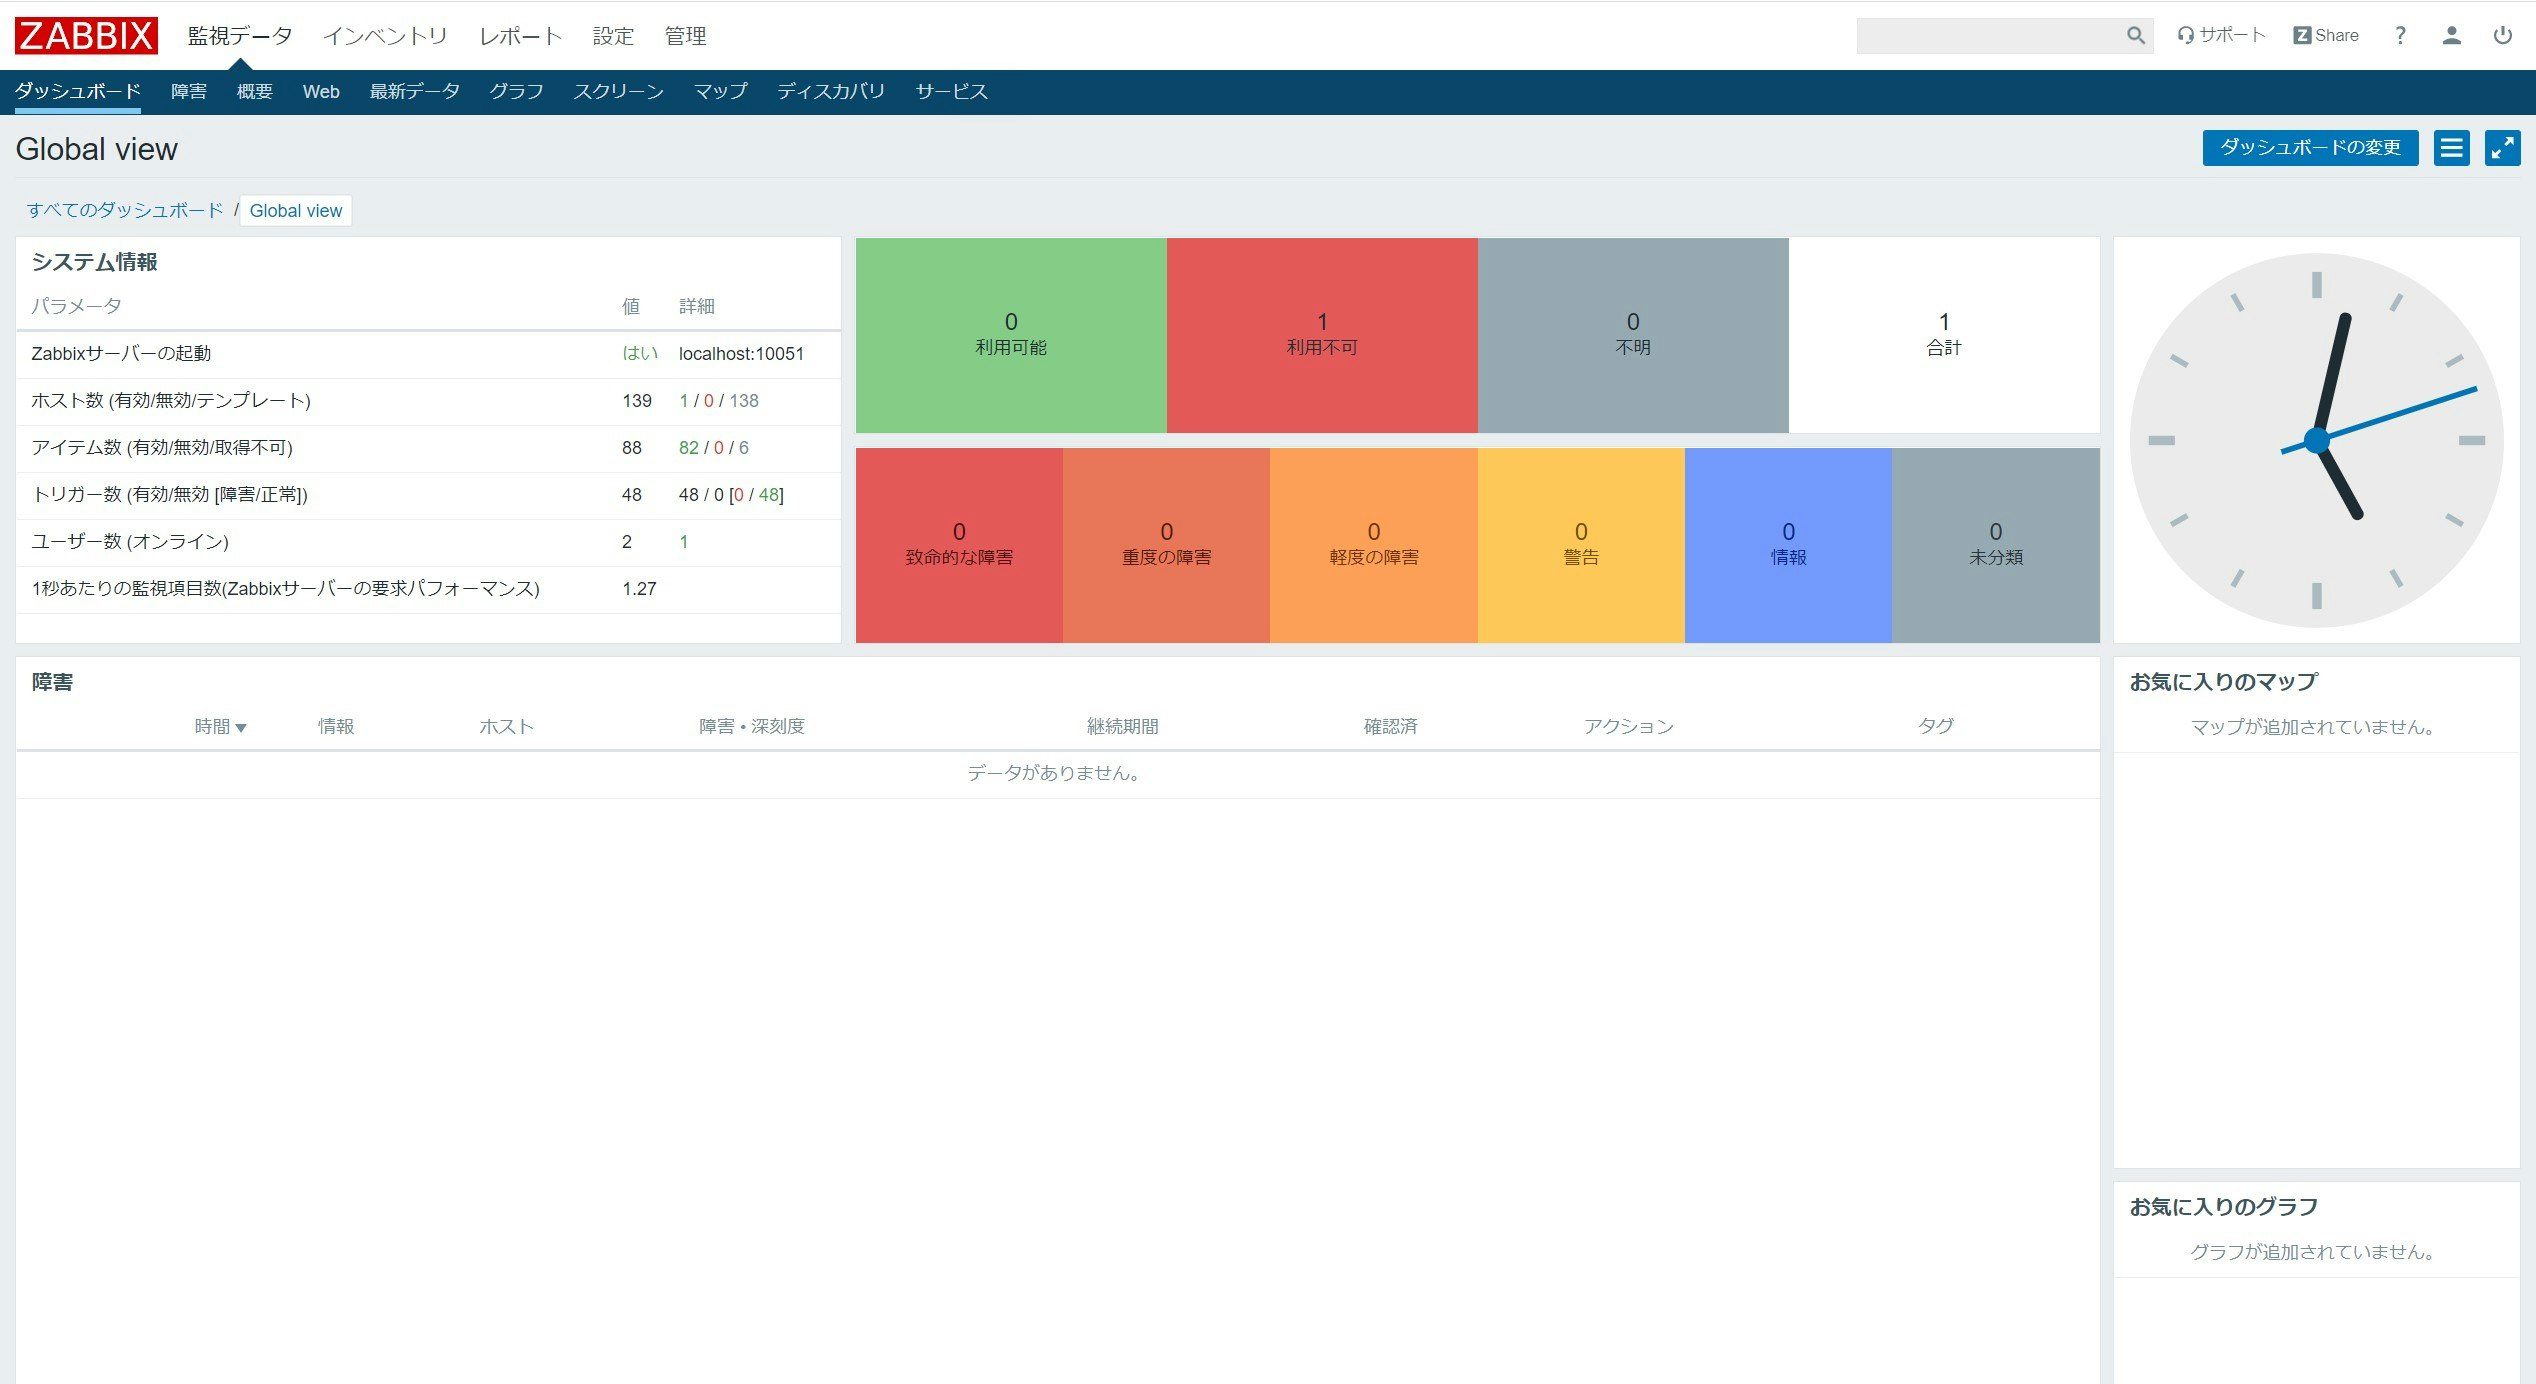
以上。
参考にした記事
ITインフラ監視入門~Zabbixインストール編~ – 「クラウド時代だから必要なITインフラ基礎知識」(5)
https://knowledge.sakura.ad.jp/12446/