hey アドベントカレンダー2020の8日目の記事です。
Next.js + FullCalendar v5を使う際の諸々の知見がたまったのでまとめました。
概要
カレンダーをさくっと作成できるライブラリ FullCalendar を Next.js (+TypeScript)上で使う際のポイントをまとめます。割と初級者向けの内容になります。
導入
セットアップ
まずは通常?通りNext.js + TypeScriptの環境をセットアップします。
Next.js - Create Next App
$ yarn create next-app --example with-typescript
そして、FullCalendarを扱うため、パッケージを追加します。
FullCalendarはReact用のパッケージが用意されているのでそちら+、必要な機能に応じてプラグインを追加する形になります。
下のコマンドだと @fullcalendar/daygrid がカレンダーの見た目に関するプラグインです。
FullCalendar - React Component
FullCaleddar - Plugin Index
yarn add @fullcalendar/react @fullcalendar/daygrid
パッケージを追加できたら、FullCalendar Componentを任意のcomponentへ追加してみましょう。
import Layout from "../components/Layout";
import FullCalendar from "@fullcalendar/react";
import dayGridPlugin from "@fullcalendar/daygrid";

const IndexPage = () => (
  <Layout>
    <FullCalendar
      plugins={[dayGridPlugin]}
      initialEvents={[{ title: "initial event", start: new Date() }]}
    />
  </Layout>
);

export default IndexPage;
docの通り普通にpropsなどを設定してComponentを作成しています。
yarn dev などで確かめてみましょう。
$ yarn dev
yarn run v1.16.0
$ next
ready - started server on http://localhost:3000
event - compiled successfully
event - build page: /
wait  - compiling...
error - ./node_modules/@fullcalendar/common/main.css
Global CSS cannot be imported from within node_modules.
Read more: https://err.sh/next.js/css-npm
Location: node_modules/@fullcalendar/common/main.js
Could not find files for / in .next/build-manifest.json
Could not find files for / in .next/build-manifest.json
!?!???!?!??!????
Global CSS cannot be imported from within node_modules.
Global CSS cannot be imported from within node_modules. というエラーが出てしまいますね..こちらを解決していきましょう。
まずNext.jsではnode_modules内のファイルからcssがimportされることが禁止
されています。
CSS Imported by a Dependency
そこでFullCalendarの実装を確認してみると..
import './main.css'

// exports
// --------------------------------------------------------------------------------------------------

export const version: string = '<%= version %>' // important to type it, so .d.ts has generic string

// explicit API
...(以下略)
がっつりimportされていますね、どうやらこちらがエラーを出している原因なようです。
これは詰みというやつなのでしょうか..?
解決
Next.jsはポピュラーなフレームワーク(※個人の感想です)、FullCalendar側も何か対策はあるはず..?
ググラビリティを駆使すると次のissueにぶつかります。
"Global CSS cannot be imported from within node_modules." error in Next.js
まさにこれ!なやつが見つかりました。
詳しいことはこちらのissueをみていただくとして、解決方法はこちらにまとまっています。
fullcalendar/fullcalendar-example-projects/next#workarounds-explained
(こちらの解決方法でやや古い箇所や自分が初見で理解できなかった箇所を補いつつ解説していきます。)
next-transpile-modules
まず、next-transpile-modules こちらを使ってESMで書かれているFullCalendarをトランスパイル可能にします。
こちらのパッケージの最新版は v6.0.0 ですがv5以上だと諸事情で動かないので、 v4.1.0 を入れます。
$ yarn add next-transpile-modules@^4.1.0
そしておそらくデフォルトでは入っていない next.config.js を加えましょう。
const withTM = require("next-transpile-modules")(["@fullcalendar"]);

module.exports = withTM({});
babel-plugin-transform-require-ignore
そして次はbabel-plugin-transform-require-ignoreをインストールします。
$ yarn add babel-plugin-transform-require-ignore
そしてbableの設定ファイルを加えます。
module.exports = {
  presets: ["next/babel"],
  overrides: [
    {
      include: ["./node_modules"],
      plugins: [
        [
          "babel-plugin-transform-require-ignore",
          {
            extensions: [".css"],
          },
        ],
      ],
    },
  ],
};
ポイントはoverrides部分です。この部分によって ".node_modules" 内のファイルから .css をインポートしている部分を削除することができます。
"./node_modules" の箇所は "./node_modules/@fullcalendar" などとしても構いません。
またbabelがv7以上の場合 .babelrc だと動かないので注意です。
(Next.jsを昔からアップデートして運用している方などは注意が必要かもしれません。)
ここまで来るとコンパイル可能になり yarn dev などで表示することは可能になります。
↓こんな感じで表示されるかと思います。
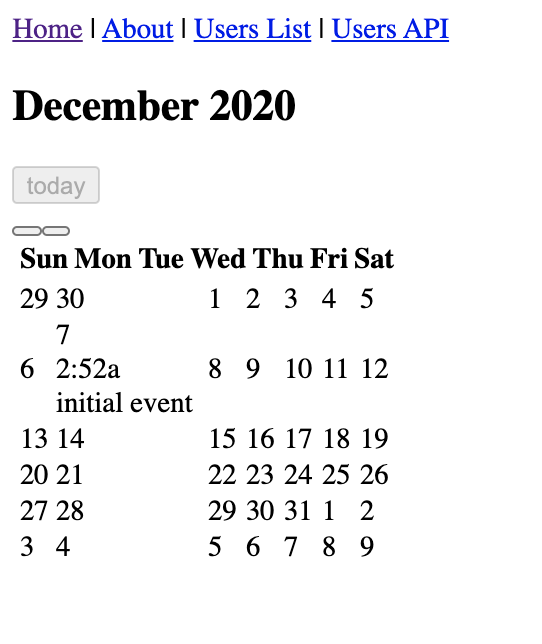
cssが削除されてしまっているので、手動でimportする必要があります。
css
cssをimportする箇所は、Next.js 9.5.4までは pages/_app.js(ts) 内で行う必要がありましたが、それ以降は実際に利用する箇所でimport可能です。
import Layout from "../components/Layout";
import FullCalendar from "@fullcalendar/react";
import dayGridPlugin from "@fullcalendar/daygrid";
import '@fullcalendar/common/main.css'
import '@fullcalendar/daygrid/main.css'

const IndexPage = () => (
..以下略
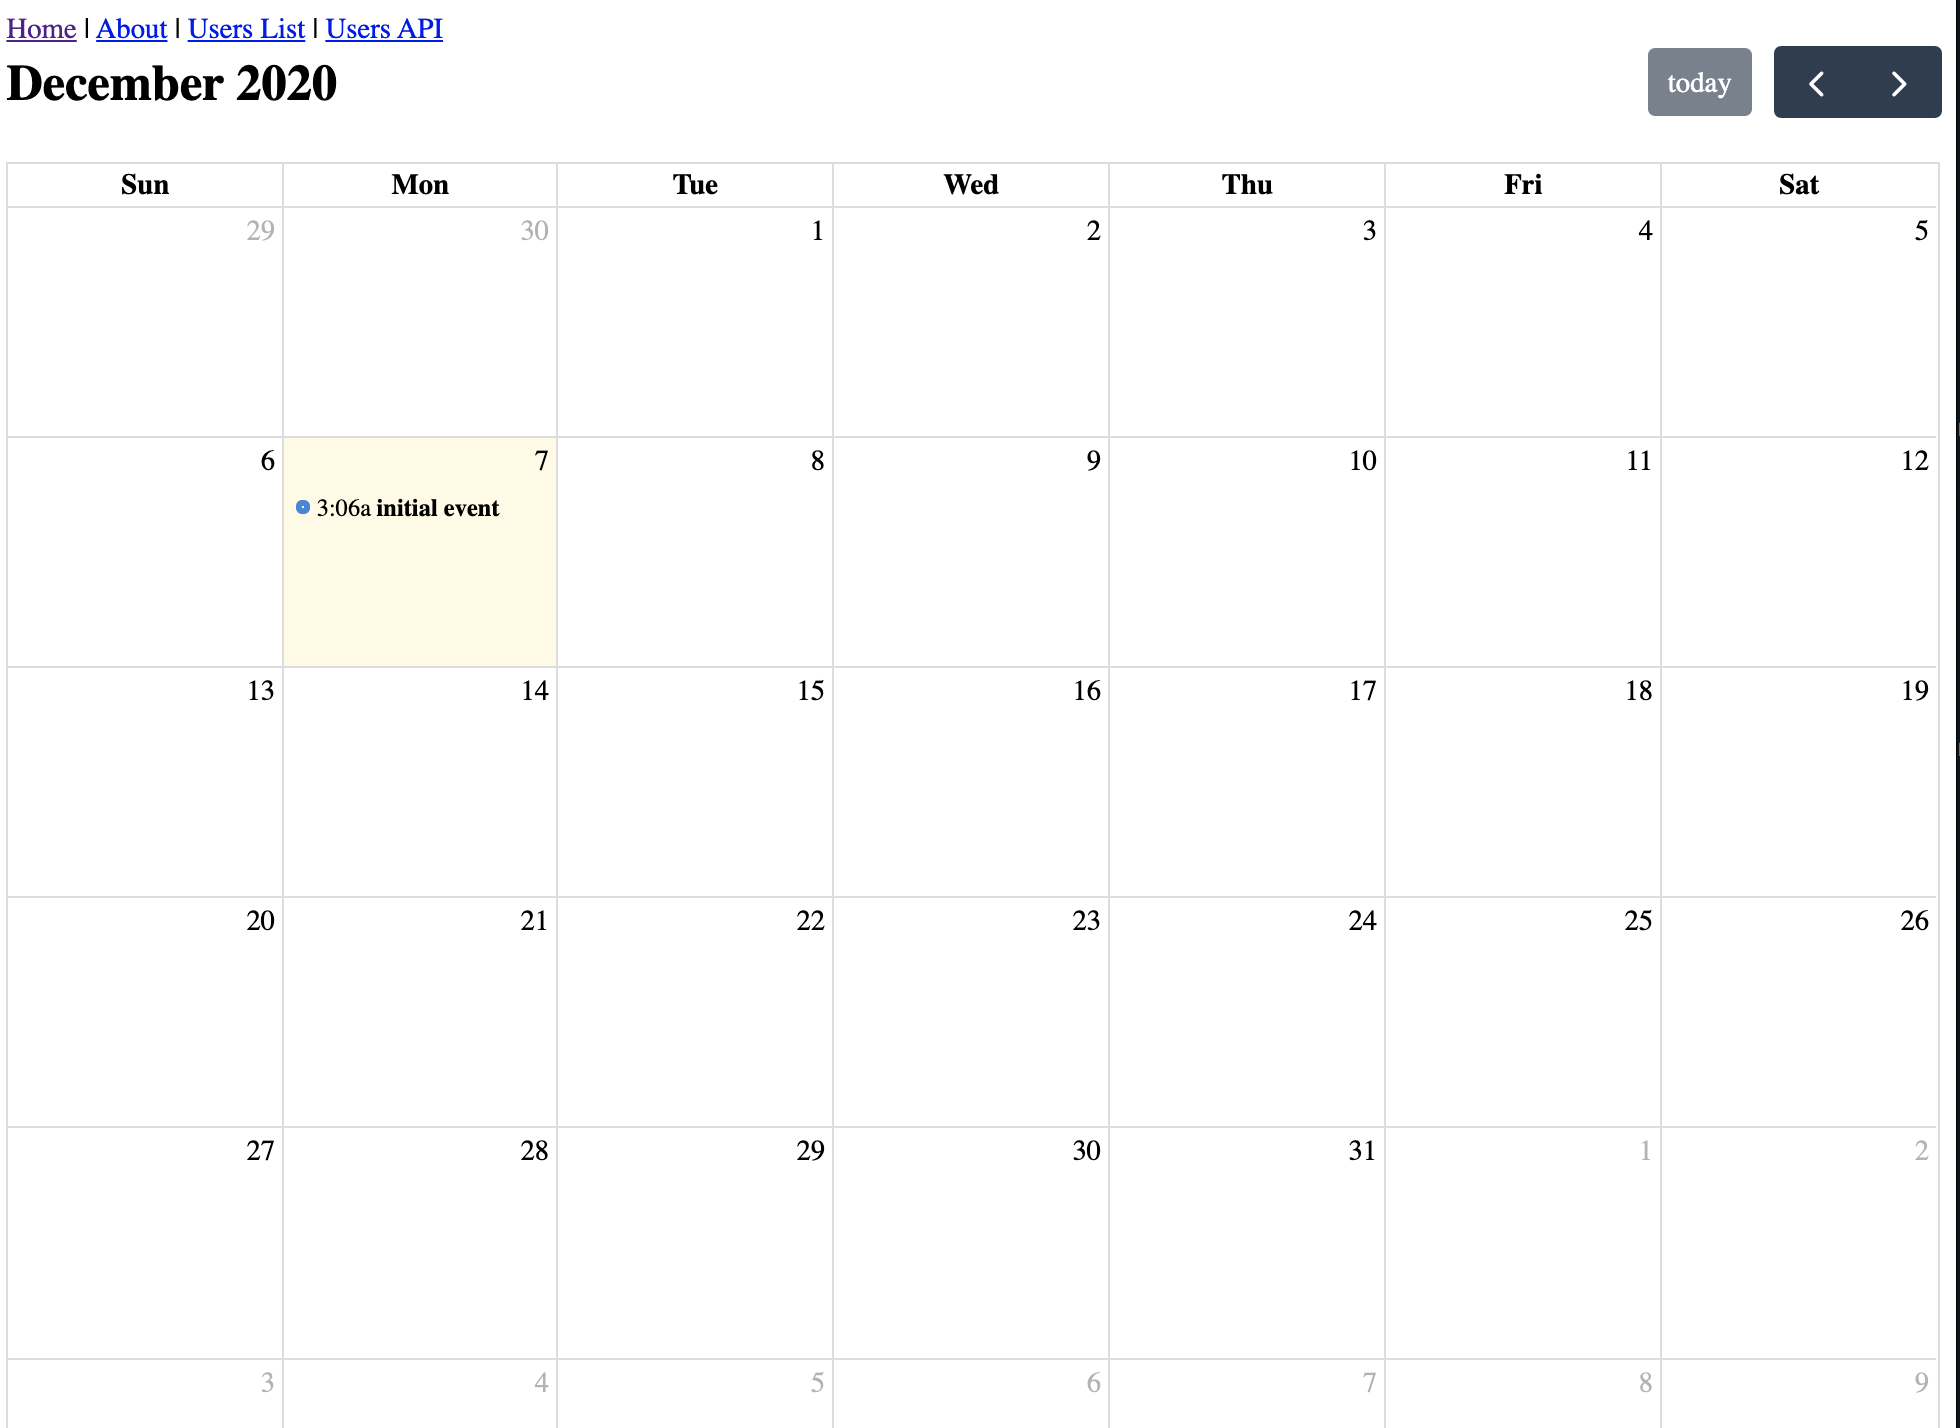
これでいよいよ正常に表示することが可能になりました!
カスタマイズ
それではFullCalendarのカスタマイズをみていきましょう。
FullCalendarのカスタマイズはかなり色々設定できるので公式ドキュメントを参考にしながら試してみてください。また先ほど述べたようにpluginでも色々できることはあります。
またTypeScriptだとFullCalendarが型定義を色々用意してくれているので実装が楽になるのでおすすめです。
本記事内では基本的なことに触れる程度にします。
FullCalendar - doc
イベントの表示
FullCalendarでは基本的に日付に合わせてEventを表示することができます。
FullCalendar Componentのevents propsにてそれが可能になります。
const IndexPage = () => (
  <Layout>
    <FullCalendar
      plugins={[dayGridPlugin]}
      events={[{ title: "initial event", start: new Date() }]}
    />
  </Layout>
);
events には基本的に Event Object ( EventInput type) を作成してその配列を渡す形になりますが、その渡し方は単純なデータだけでなく、Functionも渡すことができます。
このFunctionは日付などを含んだ引数を受け取り、Eventの配列およびPromiseを返すことができます。
つまり、Reduxなどを使ってpropsをただ受け渡すことも、また表示する日付に対応して外部ソースから直接fetchすることなども可能な仕様になっています。
イベントの見た目を変える
FullCalendar v5ではイベントをレンダーするタイミングでの様々なHookが用意されています。
(v4ではeventRenderが担っていた箇所です。)
eventClassNames ではclassNameを挿入することが可能です。cssレベルの内容であればこちらで可能です。
eventContent ではEventの内容そのものを変換することが可能で、htmlや、ReactComponentを差し込むことが可能です。html構成そのものを変えたい場合などに有効です。
import FullCalendar, { EventContentArg } from "@fullcalendar/react";
// 省略

const EventComponent = (title: string) => <div>{title}</div>;

const IndexPage = () => (
  <Layout>
    <FullCalendar
      plugins={[dayGridPlugin]}
      events={[{ title: "initial event1", start: new Date() }]}
      eventContent={(arg: EventContentArg) => EventComponent(arg.event.title)}
    />
  </Layout>
);

export default IndexPage;
eventDidMount eventWillUnmount では Reactコンポーネントの componentDidMount componentWillUnmount() にあたるタイミングでのhookが可能になります。
いずれも EventContentArg を引数として受けられるので様々な条件での操作が可能になります。
カレンダーのフック
カレンダー自体の操作にももちろんHookが用意されています。
例えば上記の イベントの表示 項目でReduxなどを用いstate管理することも可能と書きましたが、カレンダーを次に送った時、どうすれば次の表示分のEventを取得しにいけるでしょうか。
その時は datesSet propを用いるのが有効です。datesSetはカレンダーの日付表示が変わったタイミングで発火するfunctionで、引数に表示される日付のレンジ(startとend)などを受け取ることができます。
import { useState } from "react";
import FullCalendar, { DatesSetArg, EventInput } from "@fullcalendar/react";
// import省略

const IndexPage = () => {
  const [events, setEvents] = useState<EventInput[]>([
    { title: "initial event1", start: new Date() },
  ]);

  return (
    <Layout>
      <FullCalendar
        plugins={[dayGridPlugin]}
        events={events}
        datesSet={(arg: DatesSetArg) => {
          setEvents([...events, { title: "additional", start: arg.start }]);
        }}
      />
    </Layout>
  );
};

export default IndexPage;
少々雑な例ですがこのようにEventを日付によって追加することが可能です。
まとめ
以上の内容は大体こちらにまとまっているので何か詰まった人の参考になれば幸いです。
next-fullcalendar-example
Next.js + TypeScript + FullCalendarの導入やカスタマイズ方法を簡単にまとめてみました。
カスタマイズに関しては、ここで触れたのはほんの基本的なことで、思ったよりも多くの操作ができるので、よかったら是非触れてみると楽しいかもしれません。さくっと高機能なカレンダーが作成できて便利なモジュールです。
それでは、よきFullCalendarライフを!
明日は@daiki_nishiokaさんの「要求仕様書とはなにか」です!