QGIS のプラグインを VSCode 上で開発・リモートデバッグできるまでの環境を作成した際のメモです。環境は以下の通り。
- macOS Catalina 10.15.5
- Visual Studio Code 1.46.0
- Python 拡張機能 をインストール済
- 適宜 Homebrew を使用
QGIS や Python にさほど明るいわけではないので、その点はひとつよしなに。
QGIS のインストール
オフィシャルサイトからダウンロードしたインストーラー、もしくは Homebrew Cask でインストール。
$ brew cask install qgis
ここでは最新版 (Version 3.12.3) をインストールしましたが LTS 版 (Version 3.10.6) でも以下の手順はアプリケーションパッケージの名前が異なる以外はほぼ同じです。
いきなり QGIS プラグインを作ってみる
GIS実習オープン教材 の プラグイン開発 のページを参考に、Plugin Builder 3 を使ってテスト用のプラグインを作成します。
プラグインを書き出す場所はデフォルトプロファイルのプラグインディレクトリ (/Users/ユーザー名/Library/Application Support/QGIS/QGIS3/profiles/default/python/plugins) とします。
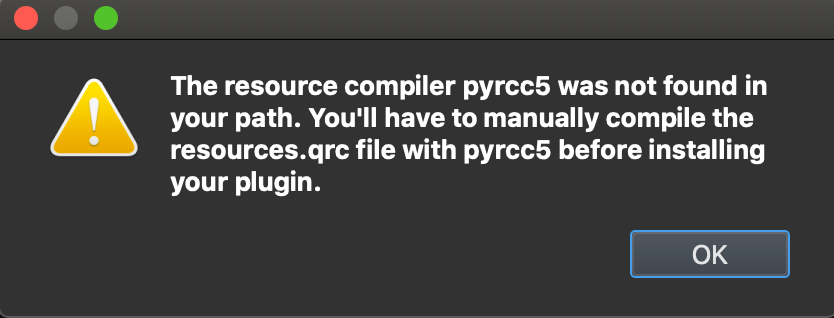
プラグイン生成の段階でリソースコンパイラーが無いという旨のエラーが表示されますが、とりあえず書き出しは行われます。
PyQt のインストール
pyrcc5 が必要となったので、Homebrew で PyQt をインストールします。
$ brew install pyqt
依存関係で要求されるのが python@3.8 ですが、さきほど作成したプラグインのリソースがコンパイルできればとりあえずOK。
$ cd /Users/xxx/Library/Application\ Support/QGIS/QGIS3/profiles/default/python/plugins/plugin_test
$ pyrcc5 -o resources.py resources.qrc
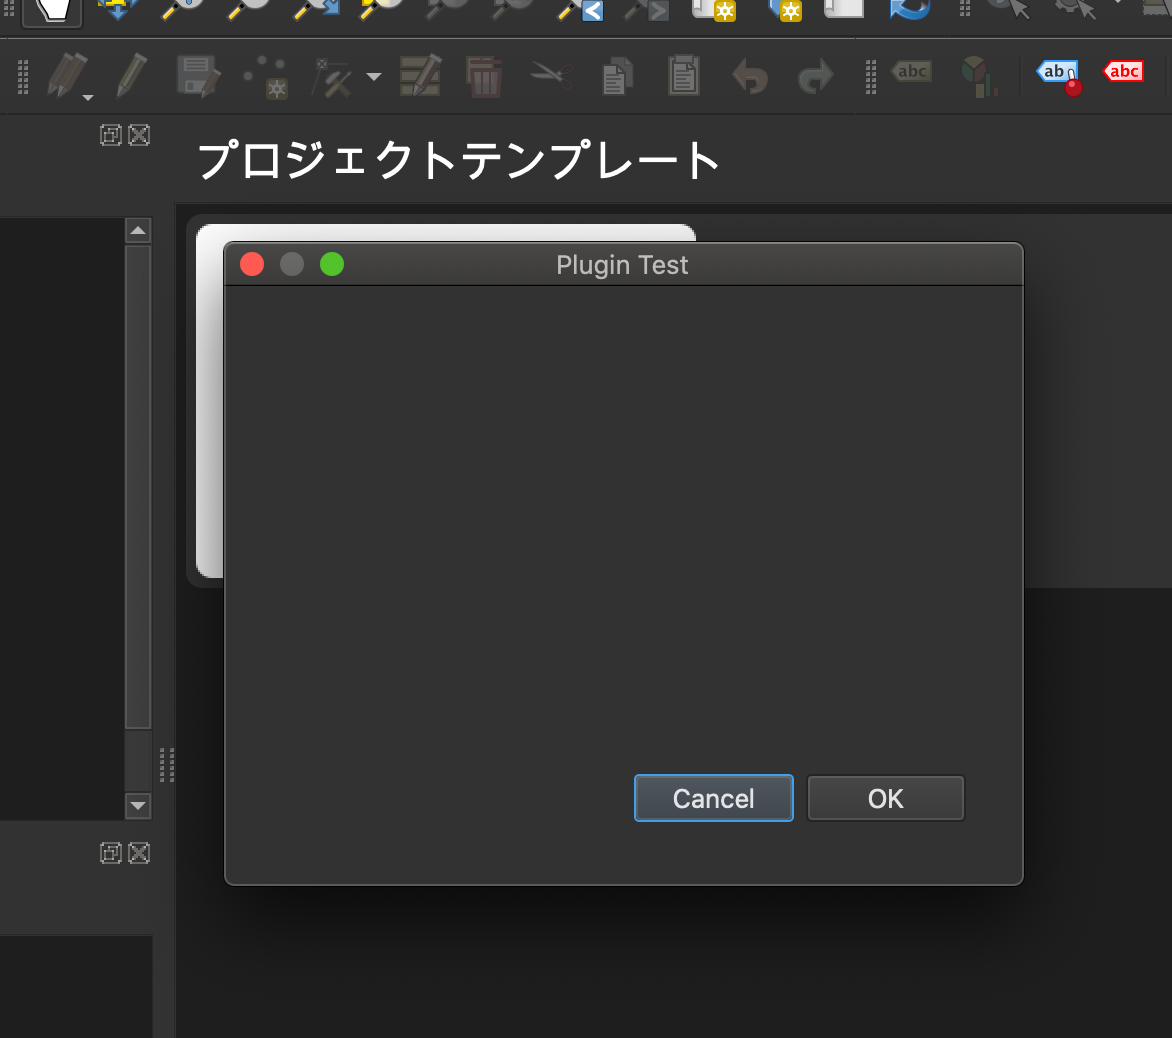
「プラグイン」→「プラグインの管理とインストール...」メニューから作成したプラグインをアクティベートし、実行ができるところまで確認。
Python Tools for Visual Studio debug server のインストール
VS/VSCode 用の Python デバッガーパッケージである ptvsd をインストールしたいのですが QGIS 付属の Python 用の pip が無い…
というわけでまず PyPI の ptvsd パッケージページへ行き、Download files から ptvsd-4.3.2.zip をダウンロード。
アーカイブを展開し、ptvsd-4.3.2/src 内の ptvsd フォルダを /Applications/QGIS3.12.app/Contents/Resources/python 以下にコピー。(LTS 版の場合は QGIS3.10.app)
$ cd ~/Downloads
$ unzip ptvsd-4.3.2.zip
$ cd ptvsd-4.3.2/src
$ cp -r ptvsd /Applications/QGIS3.12.app/Contents/Resources/python
QGIS を再起動し、debugvs プラグインをインストール。
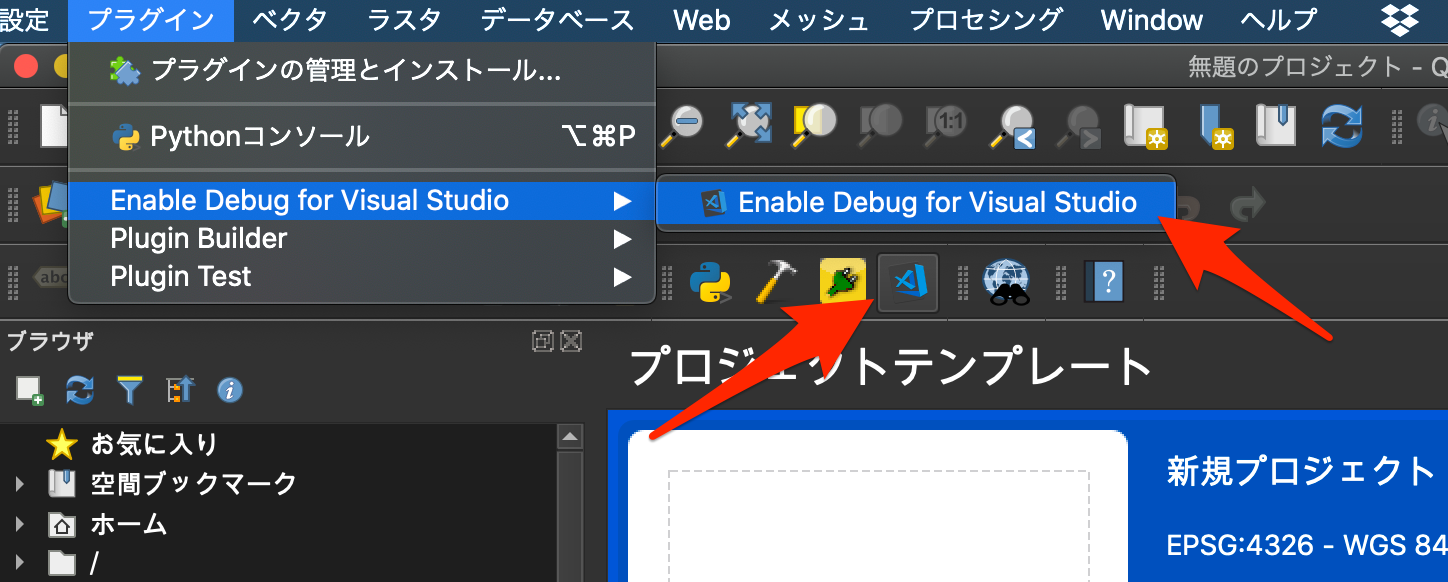
インストールできたらプラグインメニューの [Enable Debug Visual Studio] もしくはツールバーのボタンを選択します。
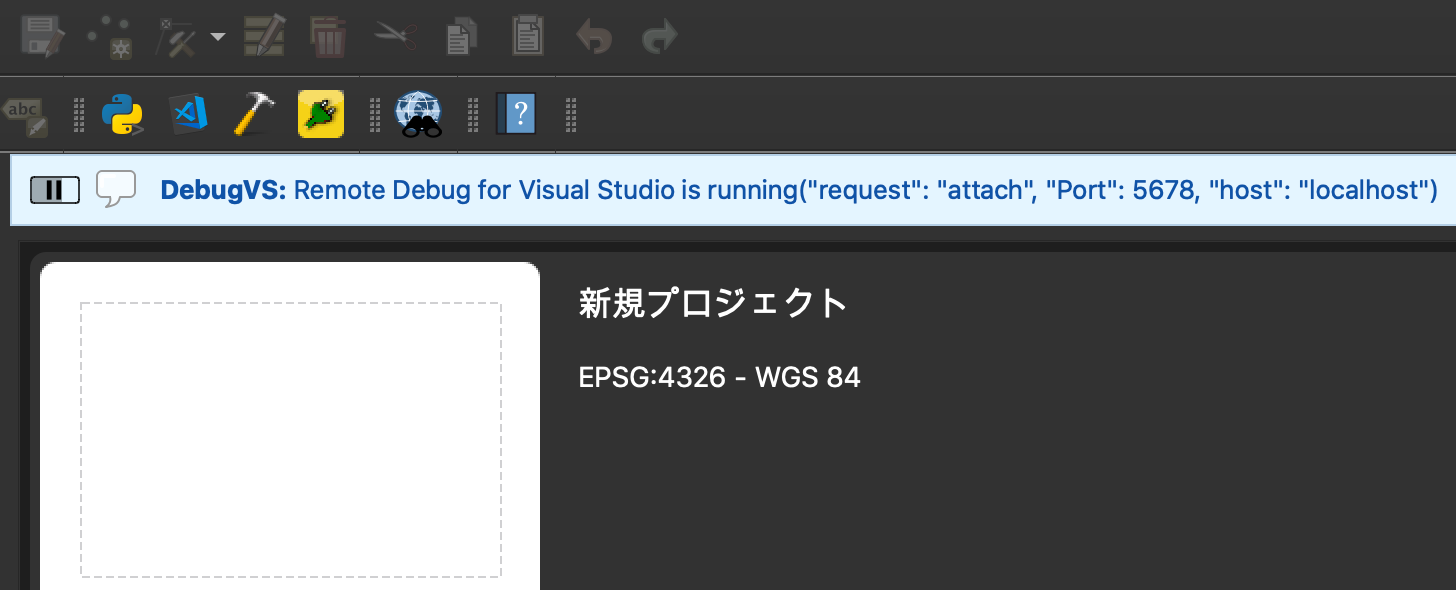
「Remote Debug for Visual Studio is running」のメッセージが表示されればOK。
VSCode からリモートデバッグ
先程作成したプラグインのディレクトリをワークスペースとして VSCode を起動。
$ cd /Users/xxx/Library/Application\ Support/QGIS/QGIS3/profiles/default/python/plugins/plugin_test
$ code .
Python interpreter の指定
(注:リモートデバッグだけに限れば不要?要確認)
コマンドパレットから「Python: Select Interpreter を実行し

「Enter interpreter path...」 を選択して /Applications/QGIS3.12.app/Contents/MacOS/bin/python3 を直接指定 (LTS 版の場合は QGIS3.10.app)

デバッグ構成の追加
「実行」→「構成の追加...」メニューを選択し、リモートデバッグ用の構成を追加します。
環境の選択: Python
Debug Configuration: Remote Attach
Enter the host name: localhost
Enter the port number that ...(略): 5678
.vscode/launch.json に構成が追加されます。
そのままだとうまく動作しないので pathMappings の remoteRoot の値を "${workspaceFolder}" に修正します。
{
  "version": "0.2.0",
  "configurations": [
    {
      "name": "Python: アタッチ",
      "type": "python",
      "request": "attach",
      "port": 5678,
      "host": "localhost",
      "pathMappings": [
        {
          "localRoot": "${workspaceFolder}",
          "remoteRoot": "${workspaceFolder}"
        }
      ]
    }
  ]
}
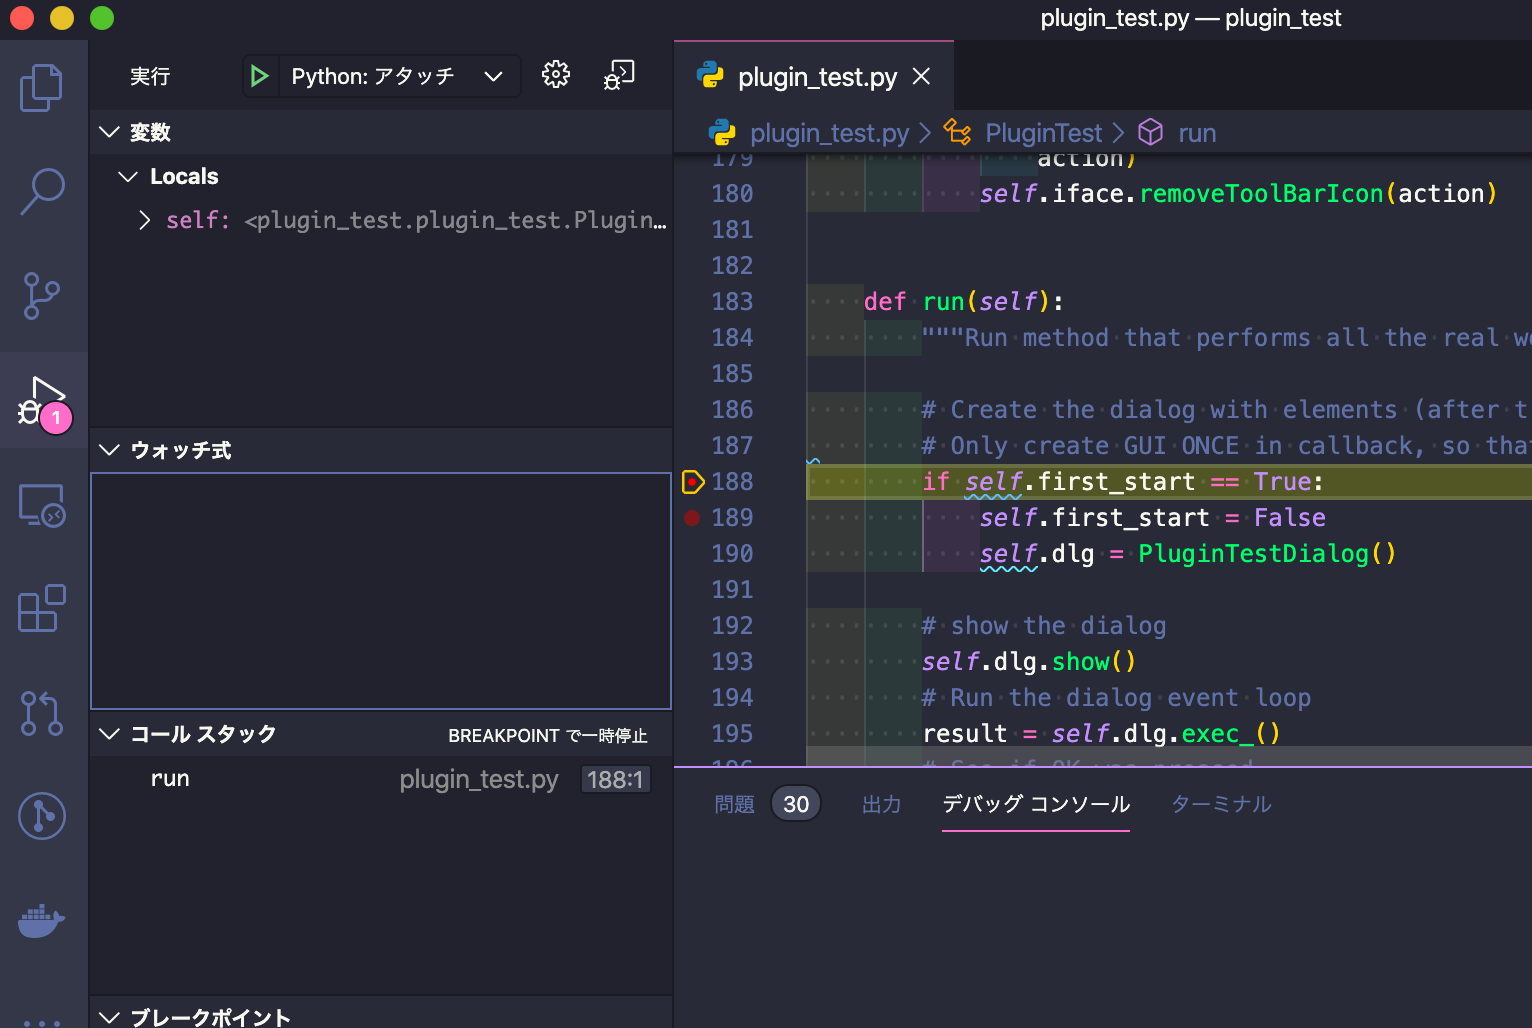
これで「実行」→「デバッグの開始」などでデバッグ実行を開始すると QGIS Python のデバッグサーバーにアタッチされます。試しにコード上の適当な場所にブレークポイントを置いてプラグインを実行するとデバッグが可能であることが確認できます。
これでなんとか慣れた環境で開発ができそうな予感。