Revitの開発をPythonで行う際に便利なpyRevitを紹介したいと思います。
https://github.com/eirannejad/pyRevit!
3つの構成になっています。
- pyRevitって何?
- pyRevitでAddonをつくる
- pyRevitでツールをつくる際に知っておいたほうが良いもの
pyRevitって何?
RevitのUIタブやボタンを作ってPythonで作ったツールを簡単につくることができる環境を提供してくれる便利なツールです。素早くちゃっちゃっと自動化やアドオンのアイディアを作ることができます。またCLIで作ったツールの使用率などもモニタリングできます。
pyRevit (with lowercase py) is a Rapid Application Prototyping (RAD) environment for Autodesk Revit®. It helps you quickly sketch out your automation and addon ideas, in whichever language that you are most comfortable with, inside the Revit environment and using its APIs. It also ships with an extensive set of powerful tools that showcase its capabilities as a development environment. Download and install pyRevit, launch Revit, and note the new pyRevit tab that includes these tools. pyRevit also ships with a handy CLI utility for customized configuration and deployment of your tools, and a telemetry server to monitor pyRevit usage across your teams.
早速インストール!
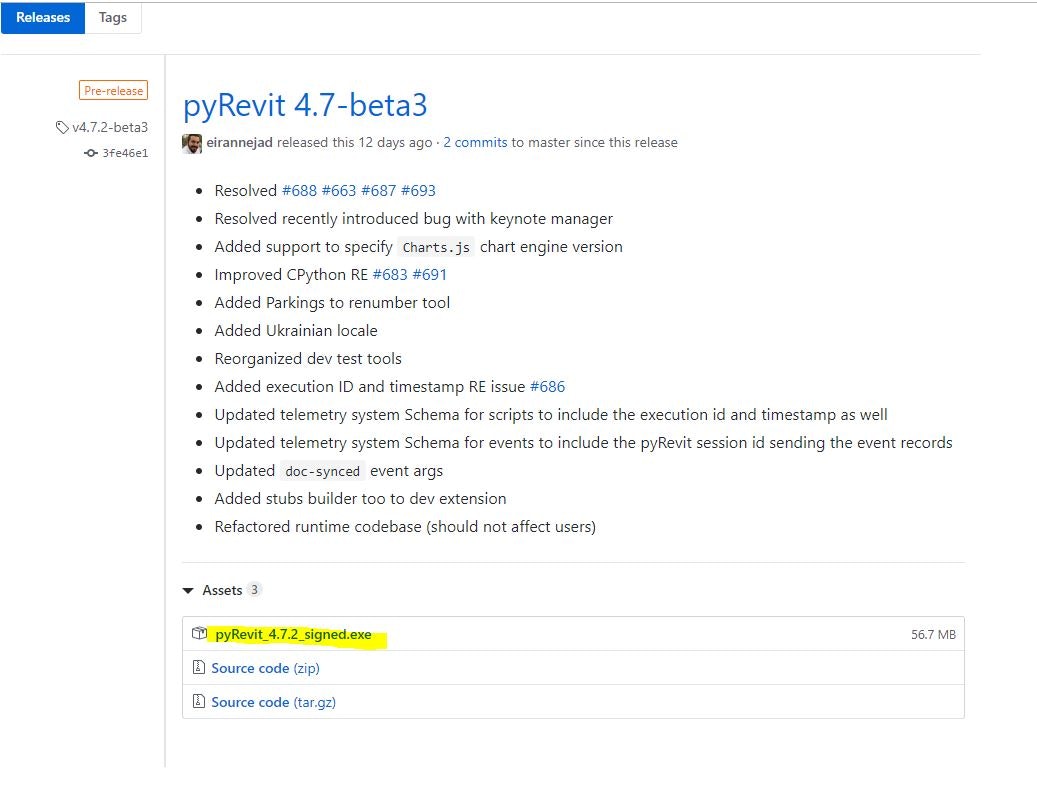
https://github.com/eirannejad/pyRevit/releases
① GitHubからインストールバージョンを選んで、exeファイルをダウンロードします。
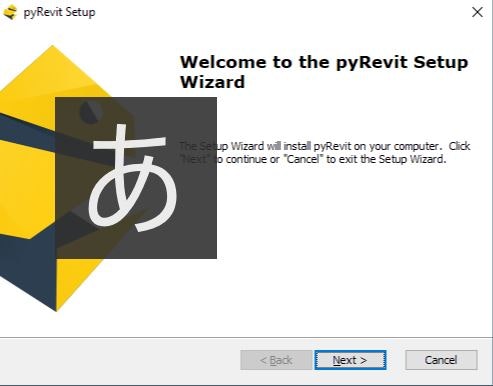
② exeファイルを実行します。ガイドに従い、パスを選択してインストールします。
③ 新しくつくるExtension用のフォルダーを作っておきます。フォルダーの位置はどこでも大丈夫ですが、ここではUsersの下に作りたいと思います。
C:\Users\[UserName]\[FolderName]
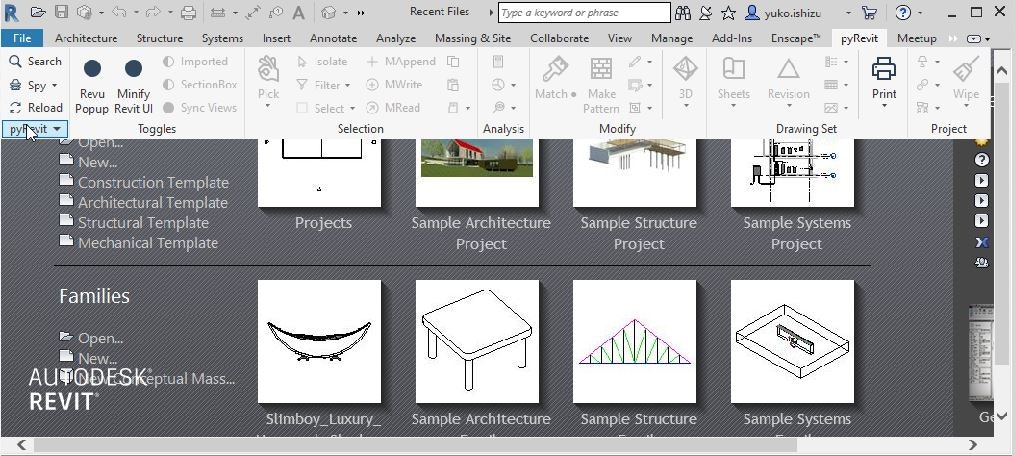
④ インストールできたらRevitを開きます。pyRevitのタブができているか確認します。
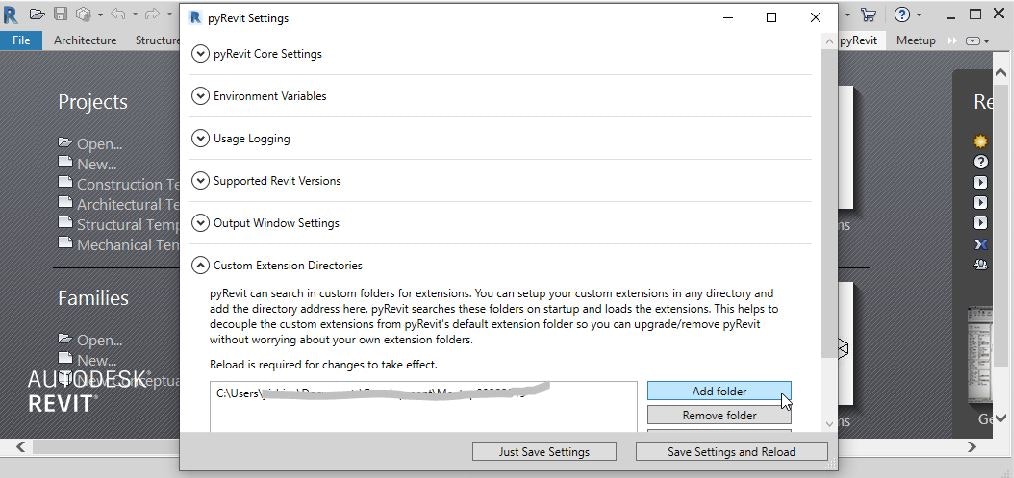
pyRevitのタブから、pyRevitパネルのSettingsをクリックして、設定を選択します。

Custom Extension DirectoriesにC:\Users\[UserName]\[FolderName]をAdd foloderで指定します。
ここまででPyRevitの設定は終わりです!では、ツールを作ってみましょう!
pyRevitでAddonをつくる
①先ほど作ったフォルダーに[ExtensionName].extension[TabName].tab[Panelname].panel[buttonName].pushbuttonという階層でフォルダーを作ります。
例えば、C:\Users\[UserName]\[FolderName]\Meetup.extension\Meetup.tab\Happy.panel\hello.pushbutton
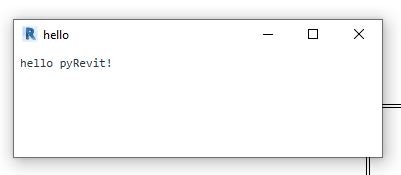
② 次にアイコン画像ととsample_script.pyをそのフォルダに追加します。

print("hello pyRevit!")
③pyRevitのReloadボタンを押します。

すると、先ほどのフォルダー名通りのタブ、パネル、ボタンができがっています。

④ ボタンを押すとこんな感じです!
C#だとかなりかかる設定をすべてスキップできて、こんな簡単にツールが開発ができました。ちなみに、pythonのコードを新しくした際は、reloadしなくても更新されます。ボタンやタブ、パネルなどUIを変更したときにはreloadが必要になります。
pyRevitでツールをつくる際に知っておいたほうが良いもの
1. text editor
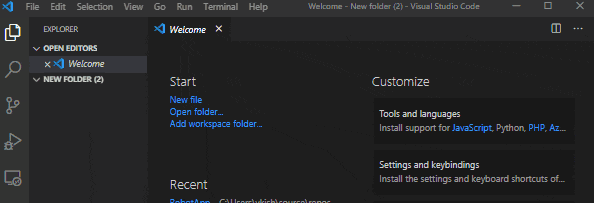
私はVS codeを使用しています。https://code.visualstudio.com/
2. IronPython CLRのスタブ
これを入れるとテキストエディタで書くときに楽になります。https://github.com/gtalarico/ironpython-stubs
設定の仕方
1.https://marketplace.visualstudio.com/items?itemName=ms-python.pythonからVSCodeのPythonアドオンを入れる。
2.VSCodeからShift+Ctrl+Pでパッケージマネージャーを開き、設定のjsonファイルを開く。
以下のコードをそこに加える。
"python.pythonPath": "C:\\Program Files\\Python27\\python.exe",
"python.autoComplete.extraPaths": ["C:\\Path\\To\\ironpython-stubs\\release\\stubs.min"],
3. Revit Python Shell
https://github.com/architecture-building-systems/revitpythonshell

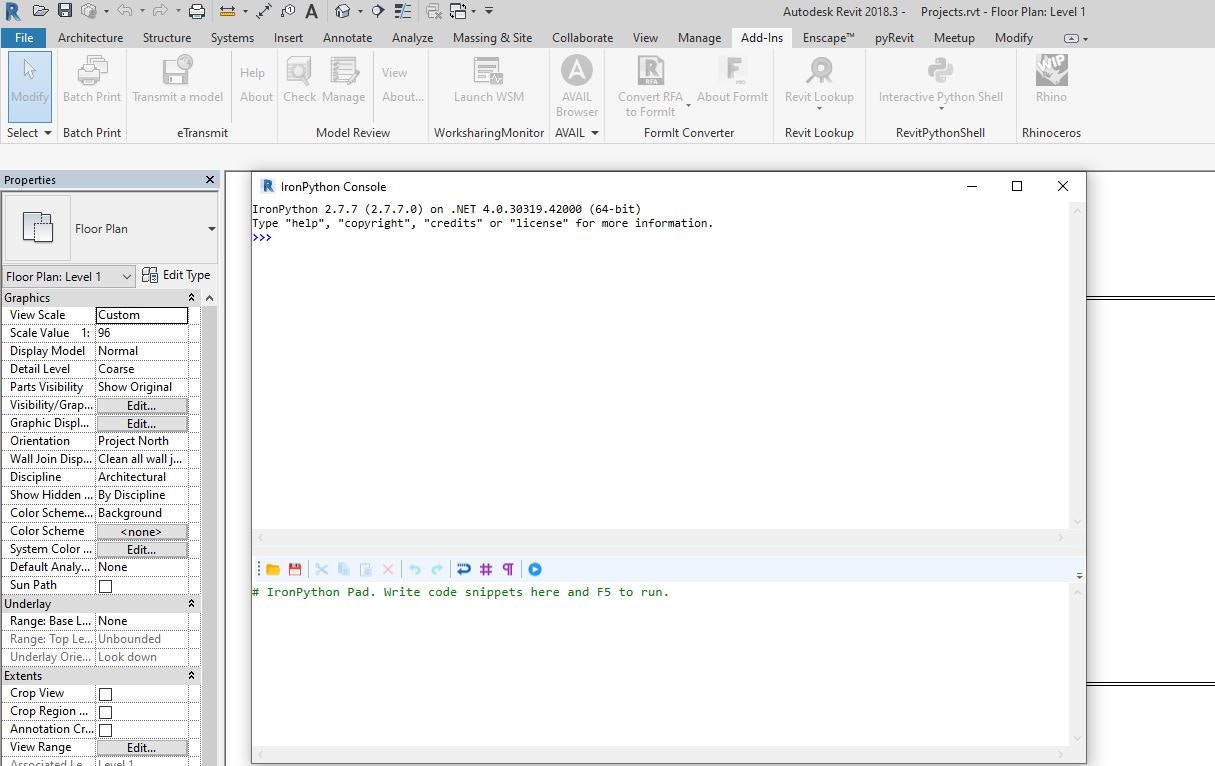
4. RevitLookup
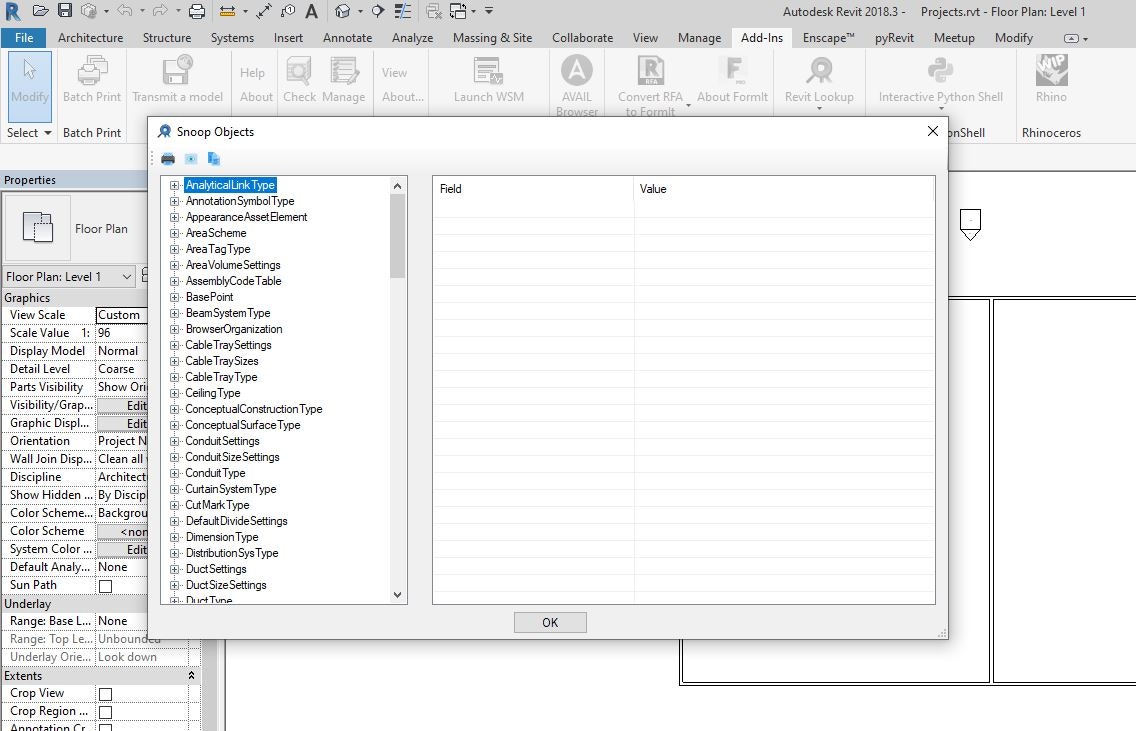
Revitのエレメントの構造がわかるので便利です。選択したものElementIdをみたいときやパラメータの種類を確認したいときに使います。
https://github.com/jeremytammik/RevitLookup
5. revitapidoc
AudodeskにはAPIのwebドキュメントがないので、Guiさんが作ったこのサイトをよく見ています。
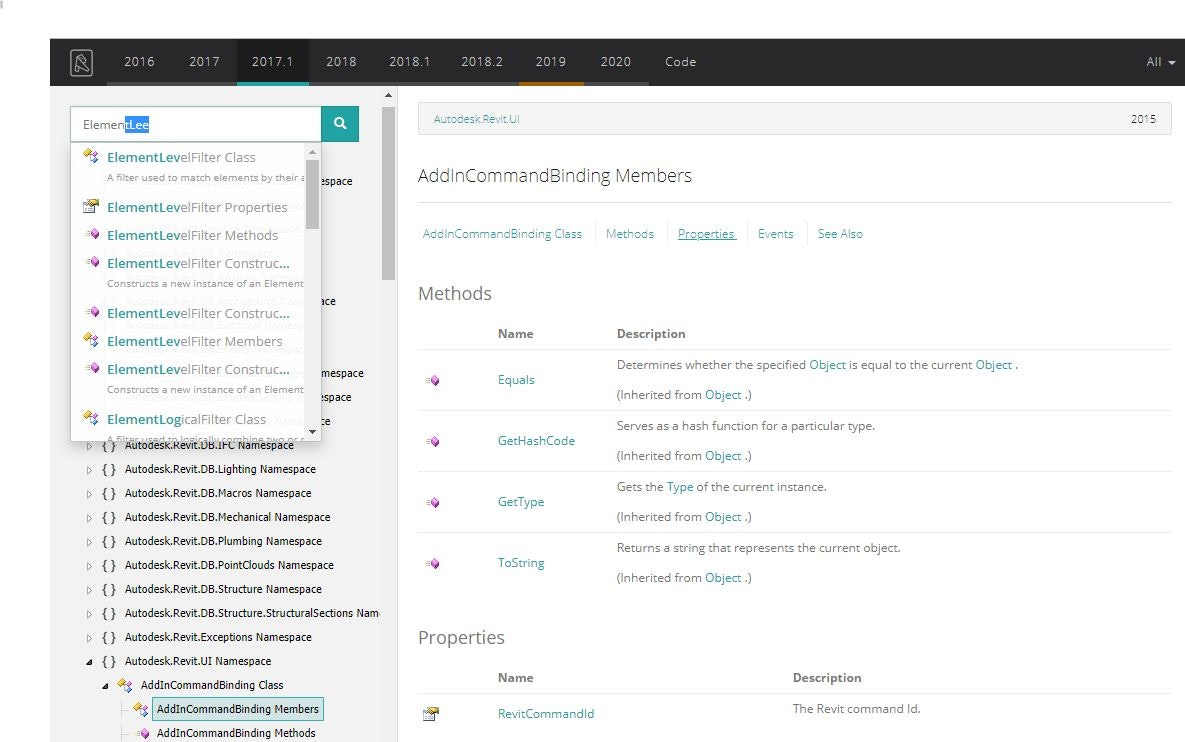
https://www.revitapidocs.com/2017.1/
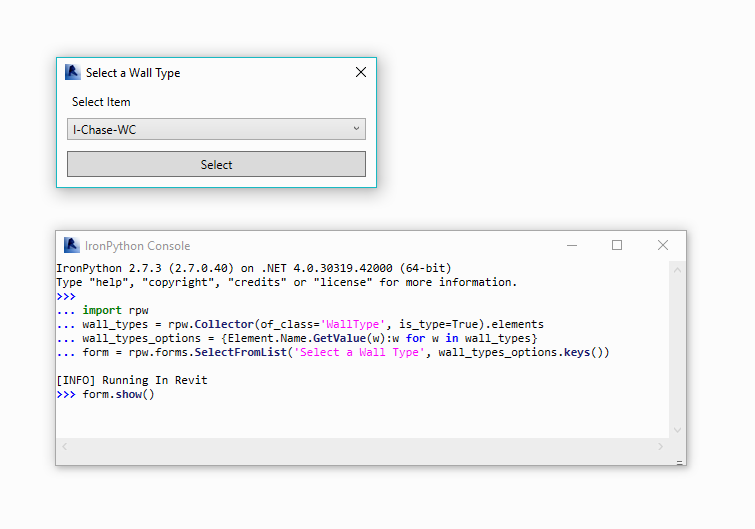
6. Revit Python Wrapper
こちらもGuiさんが、よく使うRevitのファンクションをPythonicにかけるようにラップしてくれています。pyRevitには標準で入っているので、import rpwとするだけですぐに使えます。python Shellで使う際には、パスを指定する必要があります。
https://revitpythonwrapper.readthedocs.io/en/latest/
①レポジトリをクローン
https://github.com/gtalarico/revitpythonwrapper
②revit python shellにパスを指定する。

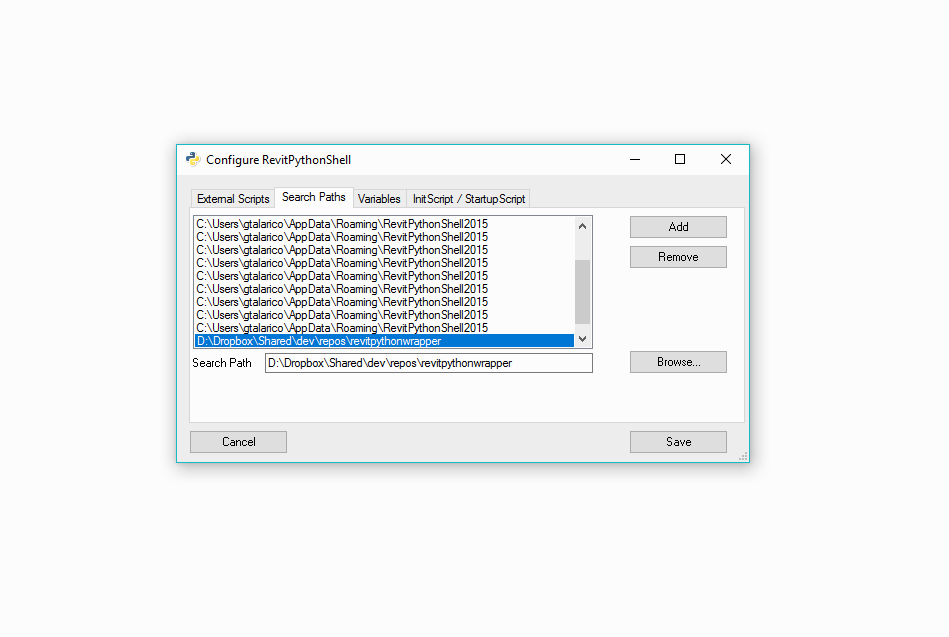
https://revitpythonwrapper.readthedocs.io/en/latest/installation.html
私は、ShellでpyRevitのModuleも使うのでそちらも指定しています。
いかがでしょうか?これでセットアップは完了です!
ぜひ気軽にPythonでRevitツール開発を始めてみてください!