目次
- はじめに
- postfix のインストール
- postfix の設定
- gmail の設定
- 検証
- おわりに
はじめに
メール通知を実装したくて,テストで試したものを備忘録的に書き下す.
OS はCent OS 8,postfix のバージョンは3.3.1 です.
postfix のインストール
自分が使っているCent OS 8 には,postfix がプリインストールされていなかったので,まずはインストールを実施.
実行コマンド
dnf -y install postfix
postfix の設定
main.cf の設定
main.cf に以下のように設定を追記する.
/etc/postfix/main.cf
# Gmail
relayhost = [smtp.gmail.com]:587
smtp_use_tls = yes
smtp_tls_CApath = /etc/pki/tls/certs/ca-bundle.crt
smtp_sasl_auth_enable = yes
smtp_sasl_password_maps = hash:/etc/postfix/sasl_passwd
smtp_sasl_tls_security_options = noanonymous
smtp_sasl_mechanism_filter = plain
認証ユーザーの設定
上記設定で記述した,sasl_passwd ファイルを作成する.
/etc/postfix/sasl_passwd
[smtp.gmail.com]:587 [ユーザー名]@gmail.com:[アプリパスワード]
アプリパスワードについては後述する.
パーミッションの変更とdb化を実施する.
実行コマンド
chmod 600 /etc/postfix/sasl_passwd
postmap hash:/etc/postfix/sasl_passwd
設定の有効化
実行コマンド
systemctl restart postfix
gmail の設定
「Gmail > Google アカウントを管理する > セキュリティ > アプリパスワード」を選択する.アカウントのパスワードを聞かれるので,パスワードを入力する.
- アプリを選択する → メール
- デバイスを選択する → その他 (名前を入力) 適当な名前を入力する
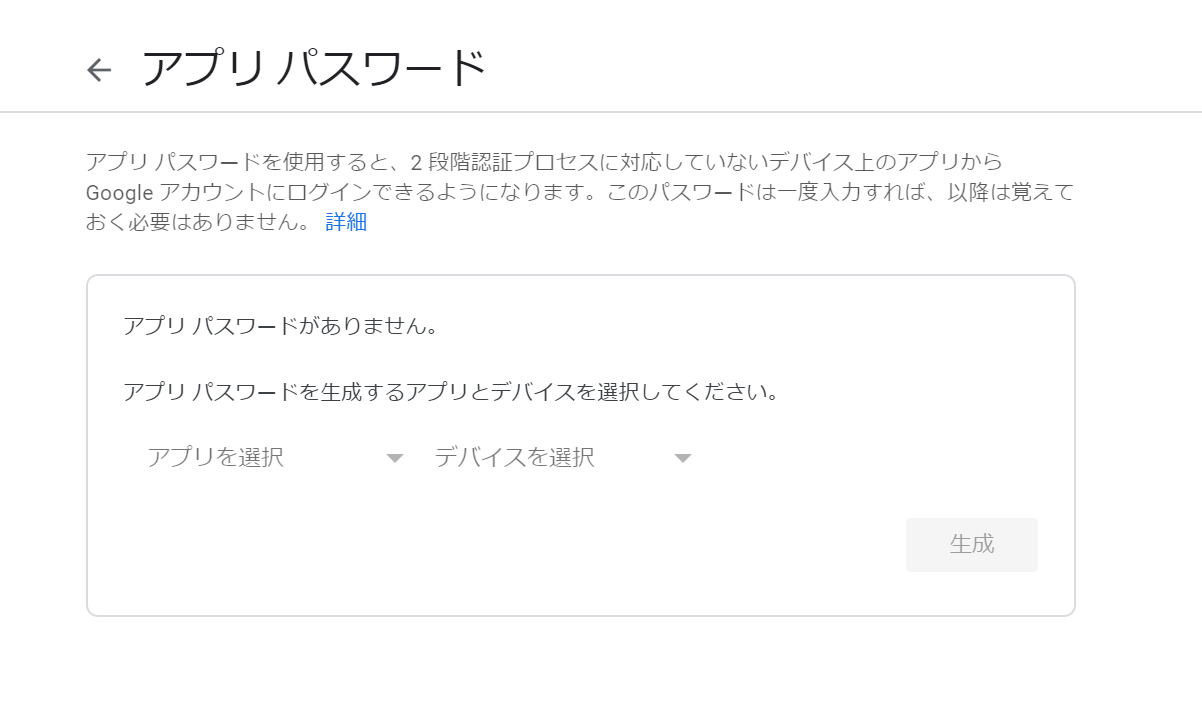
そうすると,アプリパスワードが生成されるので,そのパスワードを上記の設定ファイルに記述すると,gmailを利用したメール送信が可能になる.
検証
メール送信検証するため,以下のコマンドを実行する.
実行コマンド
sendmail [宛先メールアドレス]
Subject: test
This is a test mail.
.
最後の「.」は,本文入力の終わりを意味する.
このコマンドを実行することで,設定ファイルで指定したメールアドレスから宛先メールアドレス宛に件名がtest,本文がThis is a test mail. のメールが送信される.
おわりに
これを利用して,自宅のサーバの異常を検知した際に通知するプログラムを作成する予定.
今回はその予行練習になった.