前提
Storyboard上でのSegueを設定するパターンとSegueなしの2パターンで解説してきます。
ViewController→NextViewControllerへの値渡しという前提で進めていきます
Segueあり
簡単な流れ
1. Segueをつける
2. SegueにIDをつける
3. 遷移先に変数を用意する
4. Segueで値を渡す
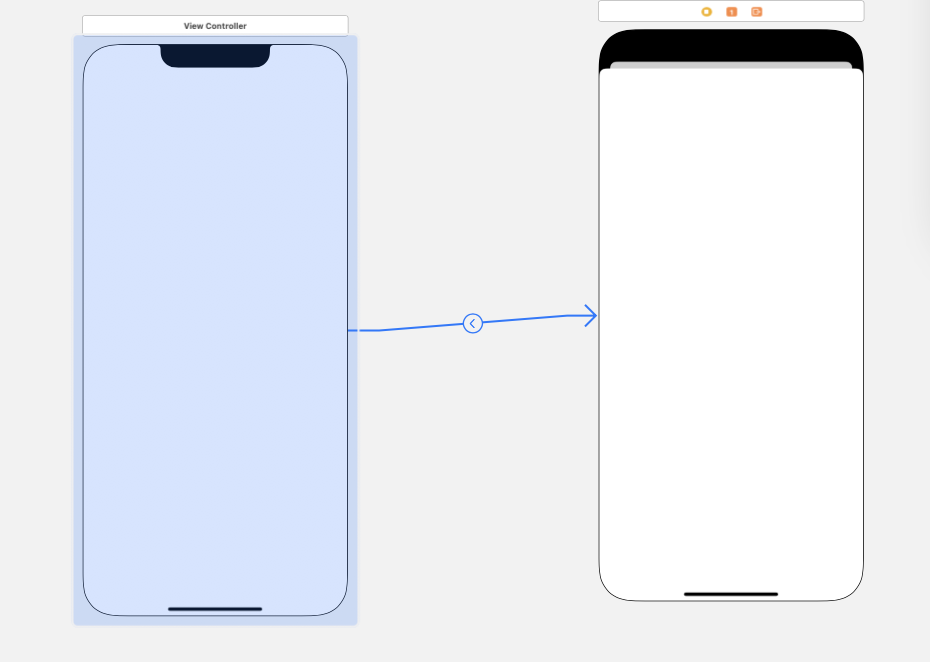
1. Storyboard上でSegueを設定する
controlを押しながらViewController→NextViewControllerへ接続します
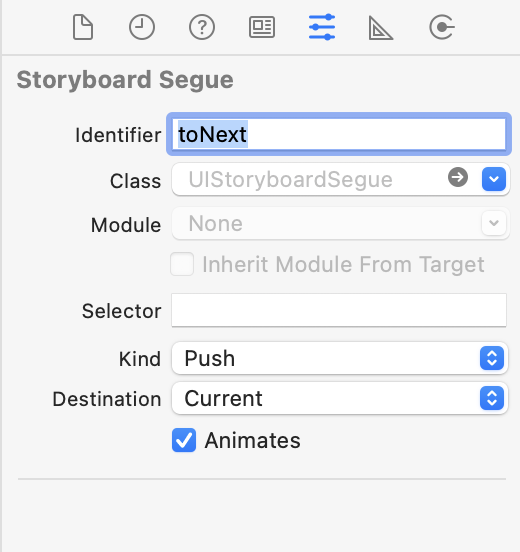
2. SegueにIDをつける
表示されたSegueをタップし、識別子を設定します
3. 遷移先に変数を用意する
NextViewController内に値を受け取る箱を用意します
NextViewController
var receiveValue = ""
4. 遷移元でコード上を記述
ViewController
override func prepare(for segue: UIStoryboardSegue, sender: Any?) {
        if segue.identifier == "toNext" {
            let nextView = segue.destination as! NextViewController
            nextView.receiveValue = "渡したい値"
        }
    }
ViewControllerから遷移した場合、
遷移先のvar receiveValueに値が代入されている状態になります
Segueなし
簡単な流れ
1. StoryboardIDを設定する
2. 遷移先に箱となる変数を用意する
3. 値を渡す
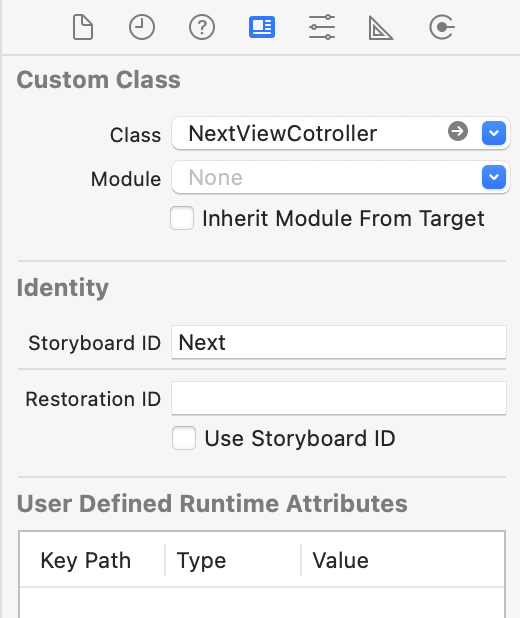
1. StoryboardIDを設定する
Segueなしで画面遷移する場合は、遷移先にStoryboardIDがついていないと遷移できないので、画面遷移先にStoryboardIDをつけます。
2. 遷移先に箱となる変数を用意する
NextViewController
var receiveValue = ""
3. 値を渡す
ViewController
@IBAction func NextButtonAction(_ sender: Any) {
    let nextView = self.storyboard?.instantiateViewController(withIdentifier: "Next") as! NextViewController
    nextView.receiveValue = "渡したい値"
    self.navigationController?.pushViewController(nextView, animated: true)
}
ボタンタップ時にViewControllerから遷移し、
遷移先のNextViewController内のvar receiveValueに値が代入されている状態になります