目的
ServiceNowのソースコード管理は、レコードの中身を参照してから見るので取り回しが不便である。さらに、Update Setの更新でソースコードを見るのはXMLの山々から宝探しの様相を呈するのでしんどい。
そういった悩みを解決するツールがGithub,Gitlabである。
上記、管理ツールとの連携を行うことで、チーム開発における利便を測ることは有効。
[差分管理]

[フォルダ管理]
上記のように管理が可能でなかなか便利。
ということで個人インスタンスでGithubとの連携を行ったのでその備忘録です。
手順
Github側の設定
以下3つの設定を行う
- Create Github repository
- Personal access tokens
- 2Factor Autentication
1.Create Github repository
1Githubにサインインする
2 リポジトリの新規作成をクリックする

3 リポジトリを作成する
(参考)
2.Personal access tokens
Settings

Developer Settings

Personal access tokens > Generate new token

トークンを作成する
ここで作成したToken情報は2.ServiceNow設定で使用する
(参考) https://developer.servicenow.com/dev.do#!/guides/paris/developer-program/github-guide/using-servicenow-provided-application-repositories#authenticating-to-github
https://docs.github.com/en/authentication/keeping-your-account-and-data-secure/creating-a-personal-access-token#creating-a-token
3.2 Factor Autentication
Settings
Account Security > Two-factor autentication

これでAuthenticator appの設定を行うこと
(参考) https://developer.servicenow.com/dev.do#!/guides/paris/developer-program/github-guide/using-two-factor-authentication
https://docs.github.com/en/authentication/securing-your-account-with-two-factor-authentication-2fa/configuring-two-factor-authentication
2 ServiceNowの設定
GitHubのリポジトリを、アプリケーションのStudioのリポジトリにリンクする。
そのため、以下の手順を実行する
1 Credentialを作成する
2 studioでリンクを作成する
Credentialを作成する
1 Connection & Credentials > Credentials
2 Newで新規作成
3 [Basic Auth Credentials]を選択
以下のように入力
Name Github Credentials
User Name Githubのユーザーネーム
Password personal access token

4 saveする
studioでリンクを作成する
1 GitからrepogitoryのURLをコピーする
2 system application > studio でstudioを起動
左上のSource Control > Link to Source Controlをクリック
パネルが表示されるので以下の項目を記入
URL 先ほどコピーしたGit URL
Credential 先ほど作成したGithub Credential

saveする
以上で、GithubとServiceNowの連携がなされる
ブランチ作成から変更のGithubへの適用まで
作成手順
Studio
1 Create Branch でブランチ作成
2 Switch Branch でブランチの変更
3 実装(テーブルの追加やスクリプト追加)
4 Commit Changes
Github
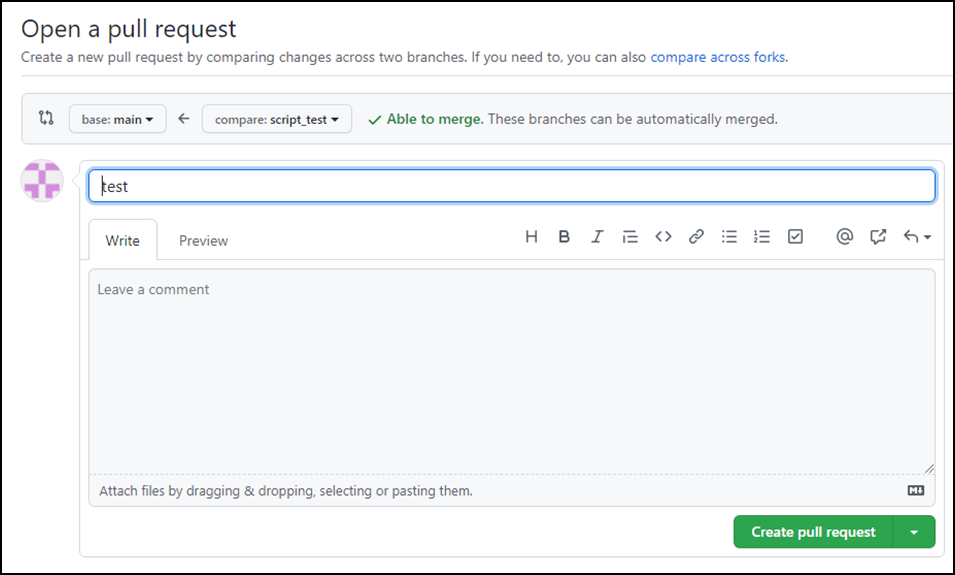
5 Create Pull Requestでプルリクエストの作成
6 Merge Pull Requestでプルリクエストの承認
作成
1 Create Branch でブランチ作成
2 Switch Branch でブランチの変更
3 実装(テーブルの追加やスクリプト追加)
4 Commit Changes
(Studio) 以下のメニューより操作する
実装は適宜行うこと。
上記操作で、ローカルの変更をコミットまで行える。
Studioでの操作を終えたらGithubでリクエストを作成・確認・承認する

(Github)
Compare&pull Requestをクリック

Create pull Requestをクリック
File Changedで差分を確認し、問題がなければ、
Merge pull Requestをクリック

上記操作で差分が適用される
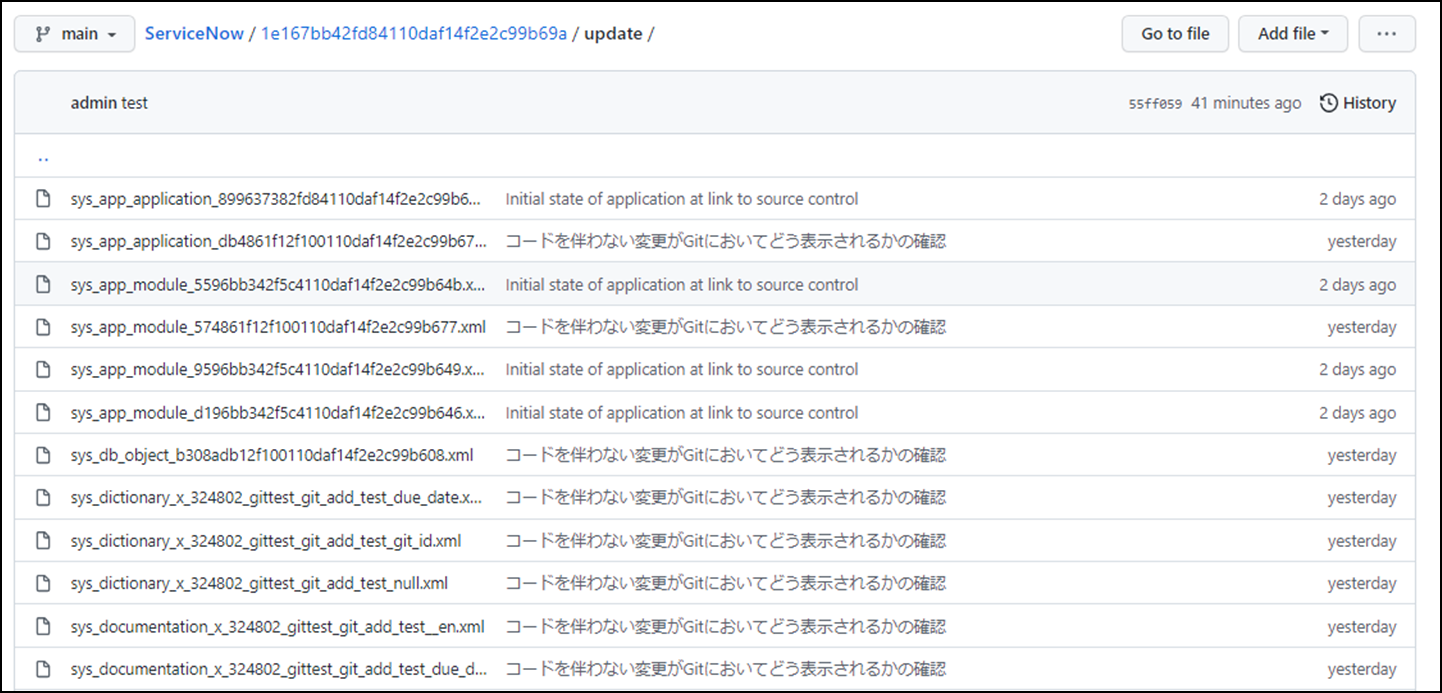
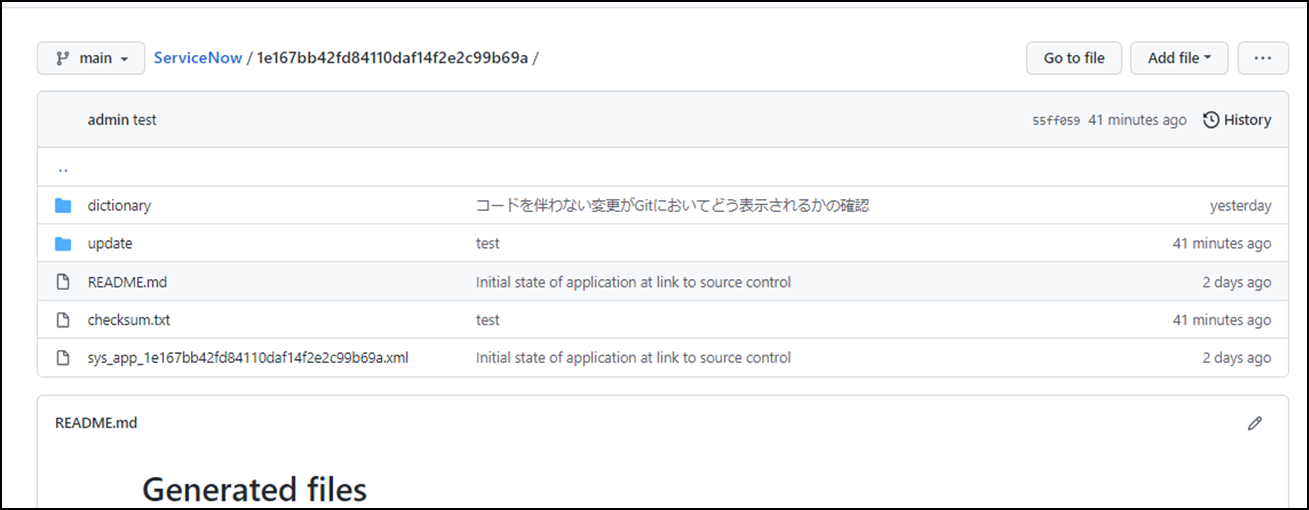
変更はupdateフォルダ以下にXML形式で保存されている
ServiceNow変更箇所のGitでの見え方
1 スクリプトの変更の場合
2 非スクリプトの変更の場合
スクリプトの場合
差分で表現される
非スクリプトの場合
差分表記される
変更は基本的にXMLで保存される
