vue-cli で作成した vue-routerプロジェクトを Apache HTTP Server にデプロイする方法を紹介します。
(Vue.js や Node.js を使ってSPA を勉強していたところ、実際に開発環境で作ったものを本番環境にデプロイするにはどうするんだろう、というとこから、とりあえず Apache HTTP Server にデプロイしてみました。)
環境
- 開発環境:Windows10
- Node.js v18.12.1
- npm 8.19.2
- @vue/cli 5.0.8
- サーバー環境:CentOS Linux release 8.5.2111
- Apache/2.4.37
ここでは、開発環境にNode.js、npm、vue-cliをインストールし、vue-routerのサンプルプロジェクトを作成します。また、開発環境でvue-routerのサンプルプロジェクトのデプロイモジュールを作成し、サーバー環境に転送します。
サーバー環境にApache http Serverをインストールし、vue-routerのサンプルプロジェクトのデプロイモジュールをApache http Serverにデプロイします。
1. 事前準備(開発環境:Windows10)
1.1. Node.jsとnpmのインストール(開発環境:Windows10)
「Node.jsとnpmをWindowsにインストールする方法」に従い、開発環境:Windows10に Node.js と npm をインストールします。
1.2. vue-cliのインストール(開発環境:Windows10)
「Vue.jsのVueCLIをWindowsにインストールする手順」 に従い、開発環境:Windows10に vue-cli をインストールします。
2. 事前準備(サーバー環境:CentOS8)
「CentOS8にApache(httpd)をインストールする方法」に従い、サーバー環境:CentOS8に Apache HTTP Server をインストールし、接続確認します。
3. vue-routerのサンプルプロジェクト作成(開発環境:Windows10)
Windowsのコマンドプロンプト(cmd.exe)を開きます。
以下のコマンドで vue-router のサンプルプロジェクトを作成したいディレクトリ(ここでは「C:\prj」)へ移動します。
cd /D C:\prj
Microsoft Windows [Version 10.0.19044.2251]
(c) Microsoft Corporation. All rights reserved.

C:\Users\testuser>cd /D C:\prj

C:\prj>
以下のコマンドを実行し、vue-routerプロジェクトの作成を開始します。
vue create vue-router-sample
C:\prj>vue create vue-router-sample
以下の選択で、「Manually select features」を選択しEnterキーを押します。
Vue CLI v5.0.8
? Please pick a preset:
  Default ([Vue 3] babel, eslint)
  Default ([Vue 2] babel, eslint)
> Manually select features
以下の選択で、「Router」をチェックしEnterキーを押します。
Vue CLI v5.0.8
? Please pick a preset: Manually select features
? Check the features needed for your project: (Press <space> to select, <a> to toggle all, <i> to invert selection, and
<enter> to proceed)
 (*) Babel
 ( ) TypeScript
 ( ) Progressive Web App (PWA) Support
>(*) Router
 ( ) Vuex
 ( ) CSS Pre-processors
 (*) Linter / Formatter
 ( ) Unit Testing
 ( ) E2E Testing
以下の選択で、「3.x」を選択しEnterキーを押します。
Vue CLI v5.0.8
? Please pick a preset: Manually select features
? Check the features needed for your project: Babel, Router, Linter
? Choose a version of Vue.js that you want to start the project with (Use arrow keys)
> 3.x
  2.x
「Use history mode for router? (Requires proper server setup for index fallback in production) (Y/n)」ルーターに履歴モードを使用しますか? (本番環境でのインデックス フォールバックには適切なサーバー設定が必要です) (Y/n))と聞かれるので、「y」を入力し、Enterキーを押します。
Vue CLI v5.0.8
? Please pick a preset: Manually select features
? Check the features needed for your project: Babel, Router, Linter
? Choose a version of Vue.js that you want to start the project with 3.x
? Use history mode for router? (Requires proper server setup for index fallback in production) (Y/n) y
以下の選択で、「ESLint + Standard config」を選択しEnterキーを押します。
Vue CLI v5.0.8
? Please pick a preset: Manually select features
? Check the features needed for your project: Babel, Router, Linter
? Choose a version of Vue.js that you want to start the project with 3.x
? Use history mode for router? (Requires proper server setup for index fallback in production) Yes
? Pick a linter / formatter config:
  ESLint with error prevention only
  ESLint + Airbnb config
> ESLint + Standard config
  ESLint + Prettier
以下の選択で、「Lint on save」を選択しEnterキーを押します。
Vue CLI v5.0.8
? Please pick a preset: Manually select features
? Check the features needed for your project: Babel, Router, Linter
? Choose a version of Vue.js that you want to start the project with 3.x
? Use history mode for router? (Requires proper server setup for index fallback in production) Yes
? Pick a linter / formatter config: Standard
? Pick additional lint features: (Press <space> to select, <a> to toggle all, <i> to invert selection, and <enter> to
proceed)
>(*) Lint on save
 ( ) Lint and fix on commit (requires Git)
以下の選択で、「In dedicated config files」を選択しEnterキーを押します。
Vue CLI v5.0.8
? Please pick a preset: Manually select features
? Check the features needed for your project: Babel, Router, Linter
? Choose a version of Vue.js that you want to start the project with 3.x
? Use history mode for router? (Requires proper server setup for index fallback in production) Yes
? Pick a linter / formatter config: Standard
? Pick additional lint features: Lint on save
? Where do you prefer placing config for Babel, ESLint, etc.? (Use arrow keys)
> In dedicated config files
  In package.json
「Save this as a preset for future projects? (y/N)」これを将来のプロジェクトのプリセットとして保存しますか? (y/N)と聞かれるので、「n」を入力し、Enterキーを押します。
Vue CLI v5.0.8
? Please pick a preset: Manually select features
? Check the features needed for your project: Babel, Router, Linter
? Choose a version of Vue.js that you want to start the project with 3.x
? Use history mode for router? (Requires proper server setup for index fallback in production) Yes
? Pick a linter / formatter config: Standard
? Pick additional lint features: Lint on save
? Where do you prefer placing config for Babel, ESLint, etc.? In dedicated config files
? Save this as a preset for future projects? (y/N) n
ここから、プロジェクトの作成が開始されるので、しばらく待ちます。
完了すると以下が表示されます。
Vue CLI v5.0.8
✨  Creating project in C:\prj\vue-router-sample.
⚙️  Installing CLI plugins. This might take a while...


added 847 packages in 3m
🚀  Invoking generators...
📦  Installing additional dependencies...


added 153 packages in 38s
⚓  Running completion hooks...

📄  Generating README.md...

🎉  Successfully created project vue-router-sample.
👉  Get started with the following commands:

 $ cd vue-router-sample
 $ npm run serve


C:\prj>
dirコマンドで参照すると「vue-router-sample」が作成されています。
C:\prj>dir
 ドライブ C のボリューム ラベルは Windows です
 ボリューム シリアル番号は F039-627E です

 C:\prj のディレクトリ

2022/11/19  16:59    <DIR>          .
2022/11/19  16:59    <DIR>          ..
2022/11/19  17:03    <DIR>          vue-router-sample
               0 個のファイル                   0 バイト
               3 個のディレクトリ  109,055,127,552 バイトの空き領域

C:\prj>
dir vue-router-sampleコマンドで「vue-router-sample」を参照すると以下の通り作成されています。
C:\prj>dir vue-router-sample
 ドライブ C のボリューム ラベルは Windows です
 ボリューム シリアル番号は F039-627E です

 C:\prj\vue-router-sample のディレクトリ

2022/11/19  17:03    <DIR>          .
2022/11/19  17:03    <DIR>          ..
2022/11/19  17:02                40 .browserslistrc
2022/11/19  17:02               121 .editorconfig
2022/11/19  17:03               357 .eslintrc.js
2022/11/19  17:02               231 .gitignore
2022/11/19  17:02                73 babel.config.js
2022/11/19  17:02               279 jsconfig.json
2022/11/19  17:13    <DIR>          node_modules
2022/11/19  17:03           824,716 package-lock.json
2022/11/19  17:02               776 package.json
2022/11/19  17:02    <DIR>          public
2022/11/19  17:03               329 README.md
2022/11/19  17:02    <DIR>          src
2022/11/19  17:02               118 vue.config.js
              10 個のファイル             827,040 バイト
               5 個のディレクトリ  109,056,266,240 バイトの空き領域

C:\prj>
4. サンプルプロジェクトの動作確認(開発環境:Windows10)
以下のコマンドで、作成したサンプルプロジェクトのディレクトリへ移動します。
cd vue-router-sample
C:\prj>cd vue-router-sample

C:\prj\vue-router-sample>
以下のコマンドで、開発環境:Windows10上でserviceを起動します。
npm run serve
C:\prj\vue-router-sample>npm run serve
以下が表示されたら起動完了です。
 DONE  Compiled successfully in 3088ms                                                                          17:14:02


  App running at:
  - Local:   http://localhost:8080/
  - Network: http://192.168.0.2:8080/

  Note that the development build is not optimized.
  To create a production build, run npm run build.
ここで、開発環境:Windows10上でブラウザを起動し「http://localhost:8080/」へアクセスします。
すると以下のページが表示されます。
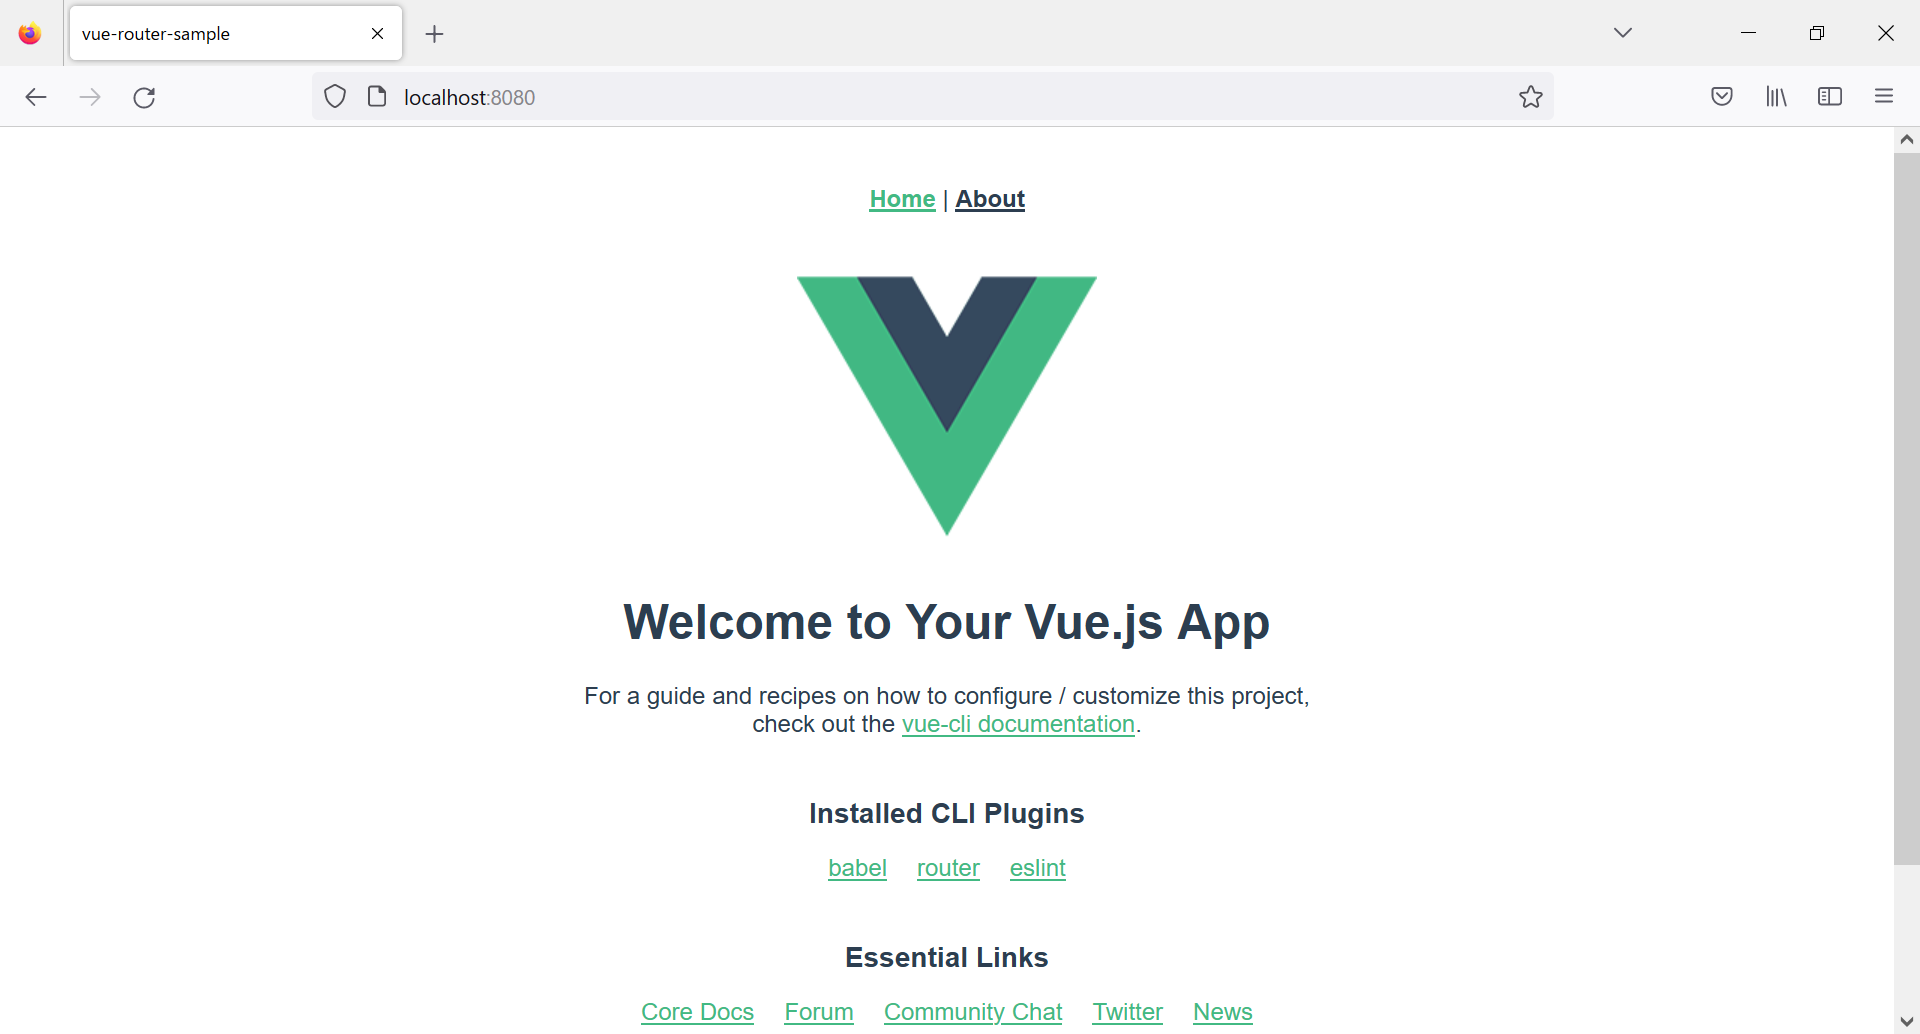
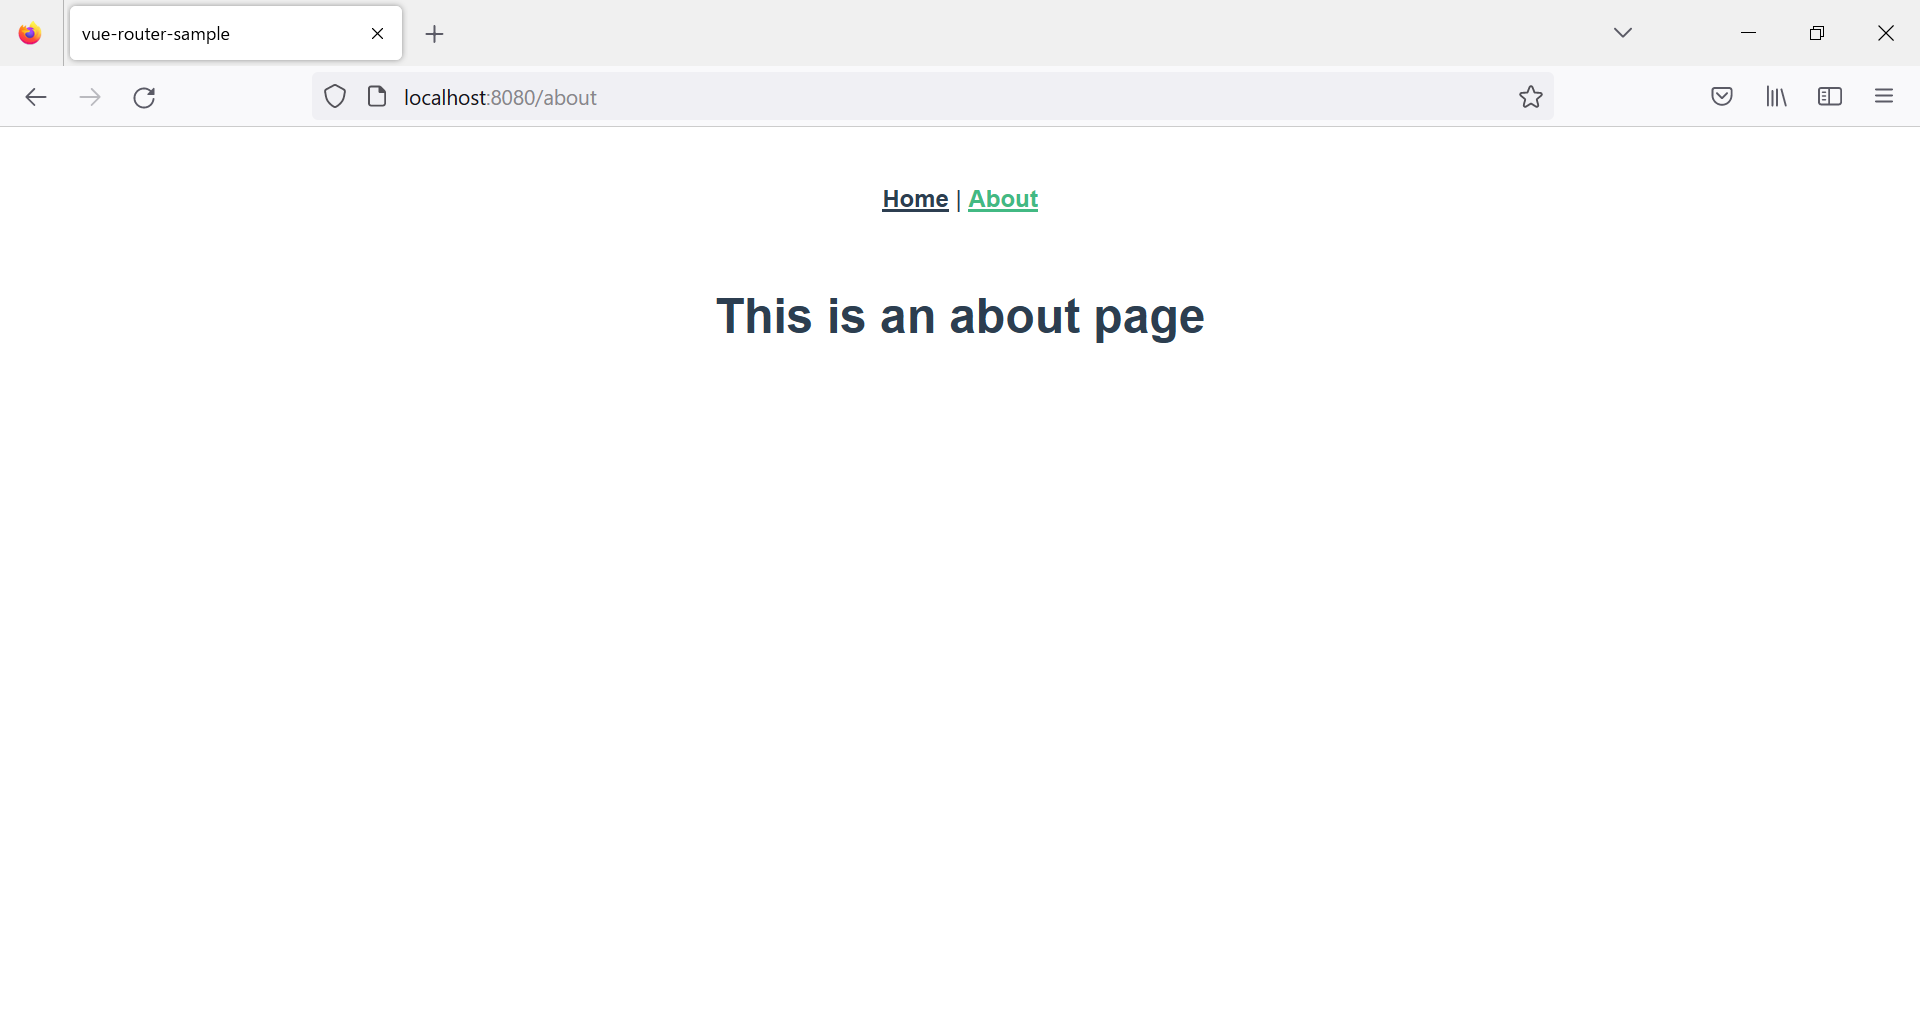
画面上部の「About」をクリックすると、vue-routerの起動で「About」のページへ移動します。

確認が終わったら、コマンドプロンプトで「Ctrl + c」を入力後、「バッチ ジョブを終了しますか (Y/N)」で「y」を入力し、サービスを停止させます。
 DONE  Compiled successfully in 3254ms                                                                          17:25:55


  App running at:
  - Local:   http://localhost:8080/
  - Network: http://192.168.0.2:8080/

  Note that the development build is not optimized.
  To create a production build, run npm run build.

バッチ ジョブを終了しますか (Y/N)? y

C:\prj\vue-router-sample>
5. デプロイモジュール作成(開発環境:Windows10)
「C:\prj\vue-router-sample」のディレクトリ上で以下のコマンドを実行します。
npm run build
C:\prj\vue-router-sample>npm run build

> vue-router-sample@0.1.0 build
> vue-cli-service build

All browser targets in the browserslist configuration have supported ES module.
Therefore we don't build two separate bundles for differential loading.


-  Building for production...

 DONE  Compiled successfully in 26648ms                                                                         17:53:51

  File                                 Size                                   Gzipped

  dist\js\chunk-vendors.ca179411.js    95.61 KiB                              35.44 KiB
  dist\js\app.d337ea2a.js              15.41 KiB                              9.45 KiB
  dist\js\about.2921d089.js            0.42 KiB                               0.30 KiB
  dist\css\app.9bdcf330.css            0.42 KiB                               0.26 KiB

  Images and other types of assets omitted.
  Build at: 2022-11-19T08:53:51.349Z - Hash: 3c01f3ee4072b3a2 - Time: 26648ms

 DONE  Build complete. The dist directory is ready to be deployed.
 INFO  Check out deployment instructions at https://cli.vuejs.org/guide/deployment.html


C:\prj\vue-router-sample>
dirコマンドで「dist」ディレクトリが作成されていることを確認します。
C:\prj\vue-router-sample>dir
 ドライブ C のボリューム ラベルは Windows です
 ボリューム シリアル番号は F039-627E です

 C:\prj\vue-router-sample のディレクトリ

2022/11/19  17:53    <DIR>          .
2022/11/19  17:53    <DIR>          ..
2022/11/19  17:02                40 .browserslistrc
2022/11/19  17:02               121 .editorconfig
2022/11/19  17:03               357 .eslintrc.js
2022/11/19  17:02               231 .gitignore
2022/11/19  17:02                73 babel.config.js
2022/11/19  17:53    <DIR>          dist
2022/11/19  17:02               279 jsconfig.json
2022/11/19  17:13    <DIR>          node_modules
2022/11/19  17:03           824,716 package-lock.json
2022/11/19  17:02               776 package.json
2022/11/19  17:02    <DIR>          public
2022/11/19  17:03               329 README.md
2022/11/19  17:02    <DIR>          src
2022/11/19  17:02               118 vue.config.js
              10 個のファイル             827,040 バイト
               6 個のディレクトリ  109,059,166,208 バイトの空き領域

C:\prj\vue-router-sample>
「dist」ディレクトリ配下に、デプロイ用のモジュールが作成されます。
C:\prj\vue-router-sample>dir dist
 ドライブ C のボリューム ラベルは Windows です
 ボリューム シリアル番号は F039-627E です

 C:\prj\vue-router-sample\dist のディレクトリ

2022/11/19  17:53    <DIR>          .
2022/11/19  17:53    <DIR>          ..
2022/11/19  17:53    <DIR>          css
2022/11/19  17:53             4,286 favicon.ico
2022/11/19  17:53               620 index.html
2022/11/19  17:53    <DIR>          js
               2 個のファイル               4,906 バイト
               4 個のディレクトリ  109,057,105,920 バイトの空き領域

C:\prj\vue-router-sample>
6. httpd.confの確認(サーバー環境:CentOS8)
/etc/httpd/conf/httpd.confに設定されているDocumentRootを確認します。
cat /etc/httpd/conf/httpd.conf | grep ^DocumentRoot
[root@centos8 ~]# cat /etc/httpd/conf/httpd.conf | grep ^DocumentRoot
DocumentRoot "/var/www/html"
[root@centos8 ~]#
DocumentRootとして"/var/www/html"が設定されていることがわかります。
7. httpd.confの修正(サーバー環境:CentOS8)
/etc/httpd/conf/httpd.confの<Directory "/var/www/html">の箇所を確認します。
# Further relax access to the default document root:
<Directory "/var/www/html">
    #
    # Possible values for the Options directive are "None", "All",
    # or any combination of:
    #   Indexes Includes FollowSymLinks SymLinksifOwnerMatch ExecCGI MultiViews
    #
    # Note that "MultiViews" must be named *explicitly* --- "Options All"
    # doesn't give it to you.
    #
    # The Options directive is both complicated and important.  Please see
    # http://httpd.apache.org/docs/2.4/mod/core.html#options
    # for more information.
    #
    Options Indexes FollowSymLinks

    #
    # AllowOverride controls what directives may be placed in .htaccess files.
    # It can be "All", "None", or any combination of the keywords:
    #   Options FileInfo AuthConfig Limit
    #
    AllowOverride None

    #
    # Controls who can get stuff from this server.
    #
    Require all granted
</Directory>
<Directory "/var/www/html">内に以下を追記ます。
以下の追記をしないと「http://ServerName/」から「About」をクリックして、「http://ServerName/about」を表示することはできますが、直接「http://ServerName/about」を直打ちした場合、「404 Not Fund」となります。
<IfModule mod_rewrite.c>
  RewriteEngine On
  RewriteBase /
  RewriteRule ^index\.html$ - [L]
  RewriteCond %{REQUEST_FILENAME} !-f
  RewriteCond %{REQUEST_FILENAME} !-d
  RewriteRule . /index.html [L]
</IfModule>
ここでは以下の「### 追加分 start」と「### 追加分 end」の間に追記しました。
# Further relax access to the default document root:
<Directory "/var/www/html">
    #
    # Possible values for the Options directive are "None", "All",
    # or any combination of:
    #   Indexes Includes FollowSymLinks SymLinksifOwnerMatch ExecCGI MultiViews
    #
    # Note that "MultiViews" must be named *explicitly* --- "Options All"
    # doesn't give it to you.
    #
    # The Options directive is both complicated and important.  Please see
    # http://httpd.apache.org/docs/2.4/mod/core.html#options
    # for more information.
    #
    Options Indexes FollowSymLinks

    #
    # AllowOverride controls what directives may be placed in .htaccess files.
    # It can be "All", "None", or any combination of the keywords:
    #   Options FileInfo AuthConfig Limit
    #
    AllowOverride None
    #
    #
    # Controls who can get stuff from this server.
    #
    Require all granted

### 追加分 start
    <IfModule mod_rewrite.c>
      RewriteEngine On
      RewriteBase /
      RewriteRule ^index\.html$ - [L]
      RewriteCond %{REQUEST_FILENAME} !-f
      RewriteCond %{REQUEST_FILENAME} !-d
      RewriteRule . /index.html [L]
    </IfModule>
### 追加分 end
</Directory>
8. デプロイモジュールをアップロード(開発環境:Windows10→サーバー環境:CentOS8)
開発環境:Windows10のC:\prj\vue-router-sample\dist配下のモジュール全てを、サーバー環境:CentOS8)のDocumentRootである/var/www/html配下に転送します。
[root@centos8 ~]# ls /var/www/html
css  favicon.ico  index.html  js
[root@centos8 ~]# ls /var/www/html/css
app.9bdcf330.css
[root@centos8 ~]# ls /var/www/html/js
about.6f460a62.js      app.2560bf3b.js      chunk-vendors.ca179411.js
about.6f460a62.js.map  app.2560bf3b.js.map  chunk-vendors.ca179411.js.map
[root@centos8 ~]#
9. Apacheの再起動(サーバー環境:CentOS8)
Apache HTTP Serverを再起動します。
systemctl restart httpd
[root@centos8 ~]# systemctl restart httpd
[root@centos8 ~]#
10. 接続確認(開発環境:Windows10)
開発環境:Windows10のブラウザから、サーバー環境:CentOS8のapacheへ以下のURLで接続します。
http://<サーバーIPアドレス>/
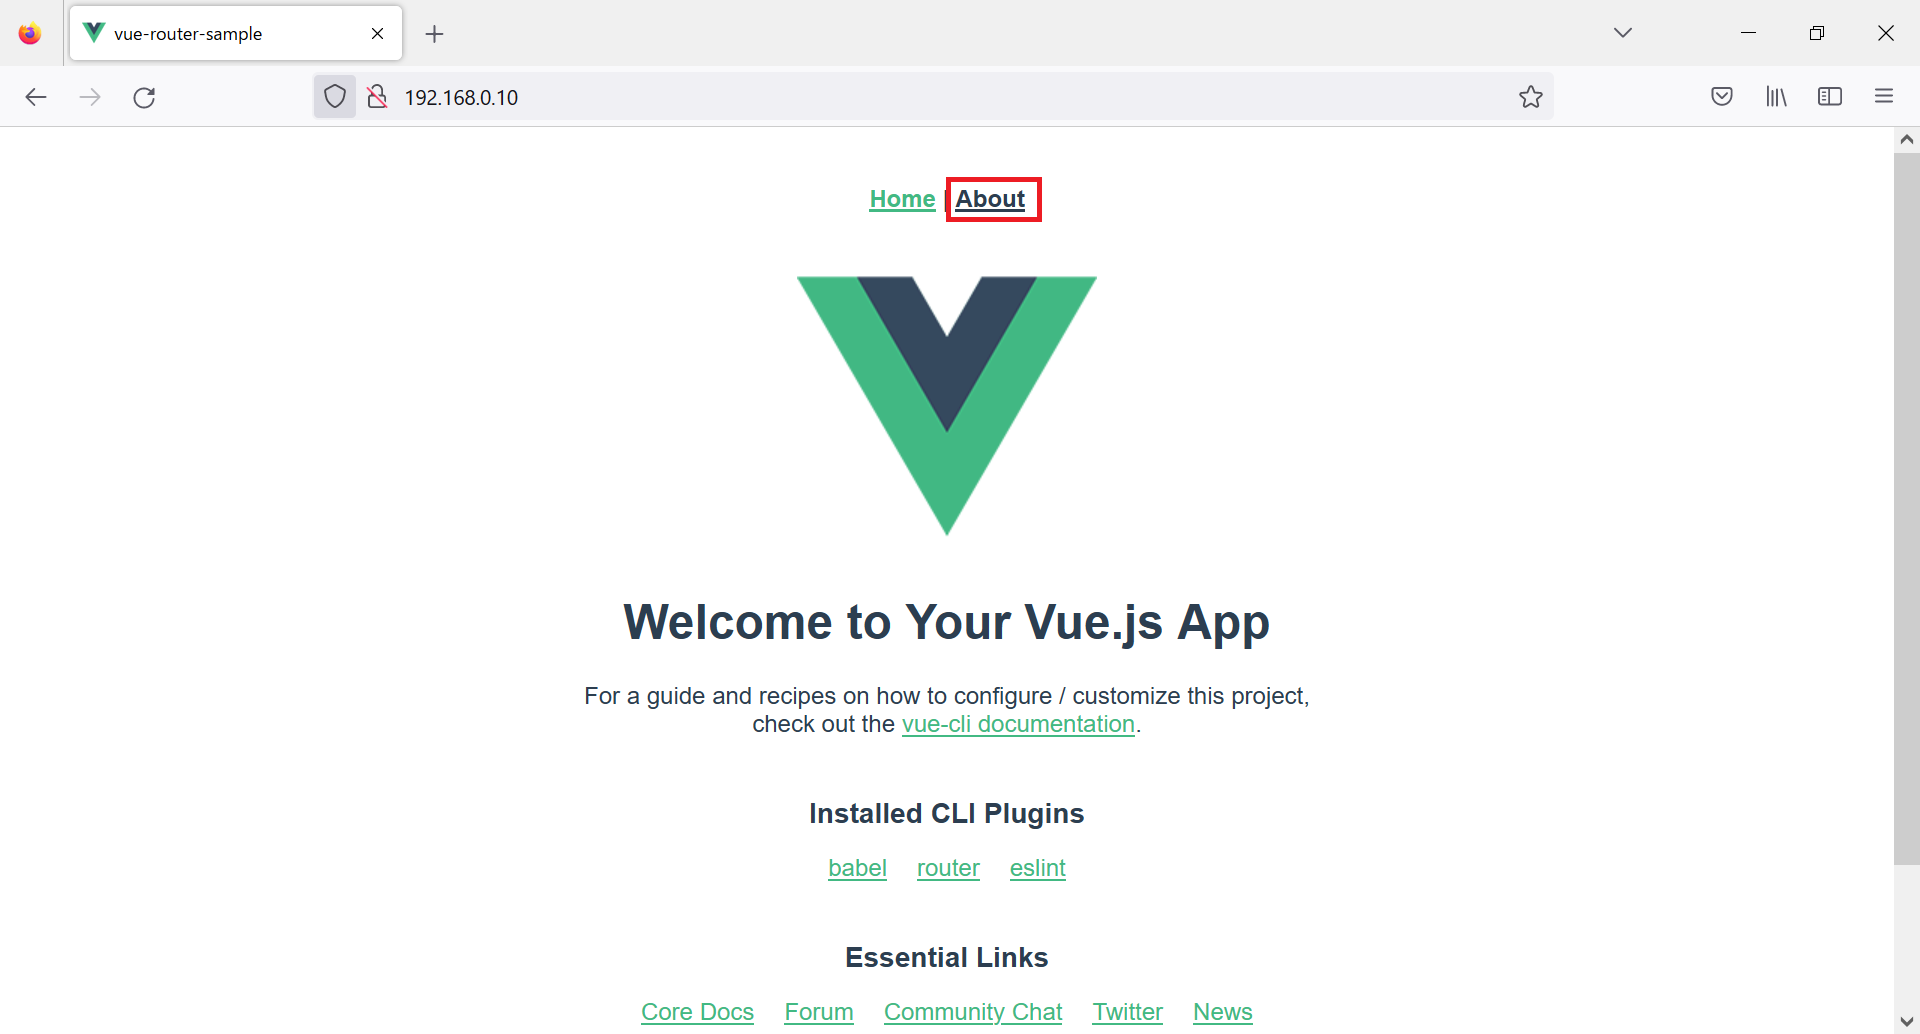
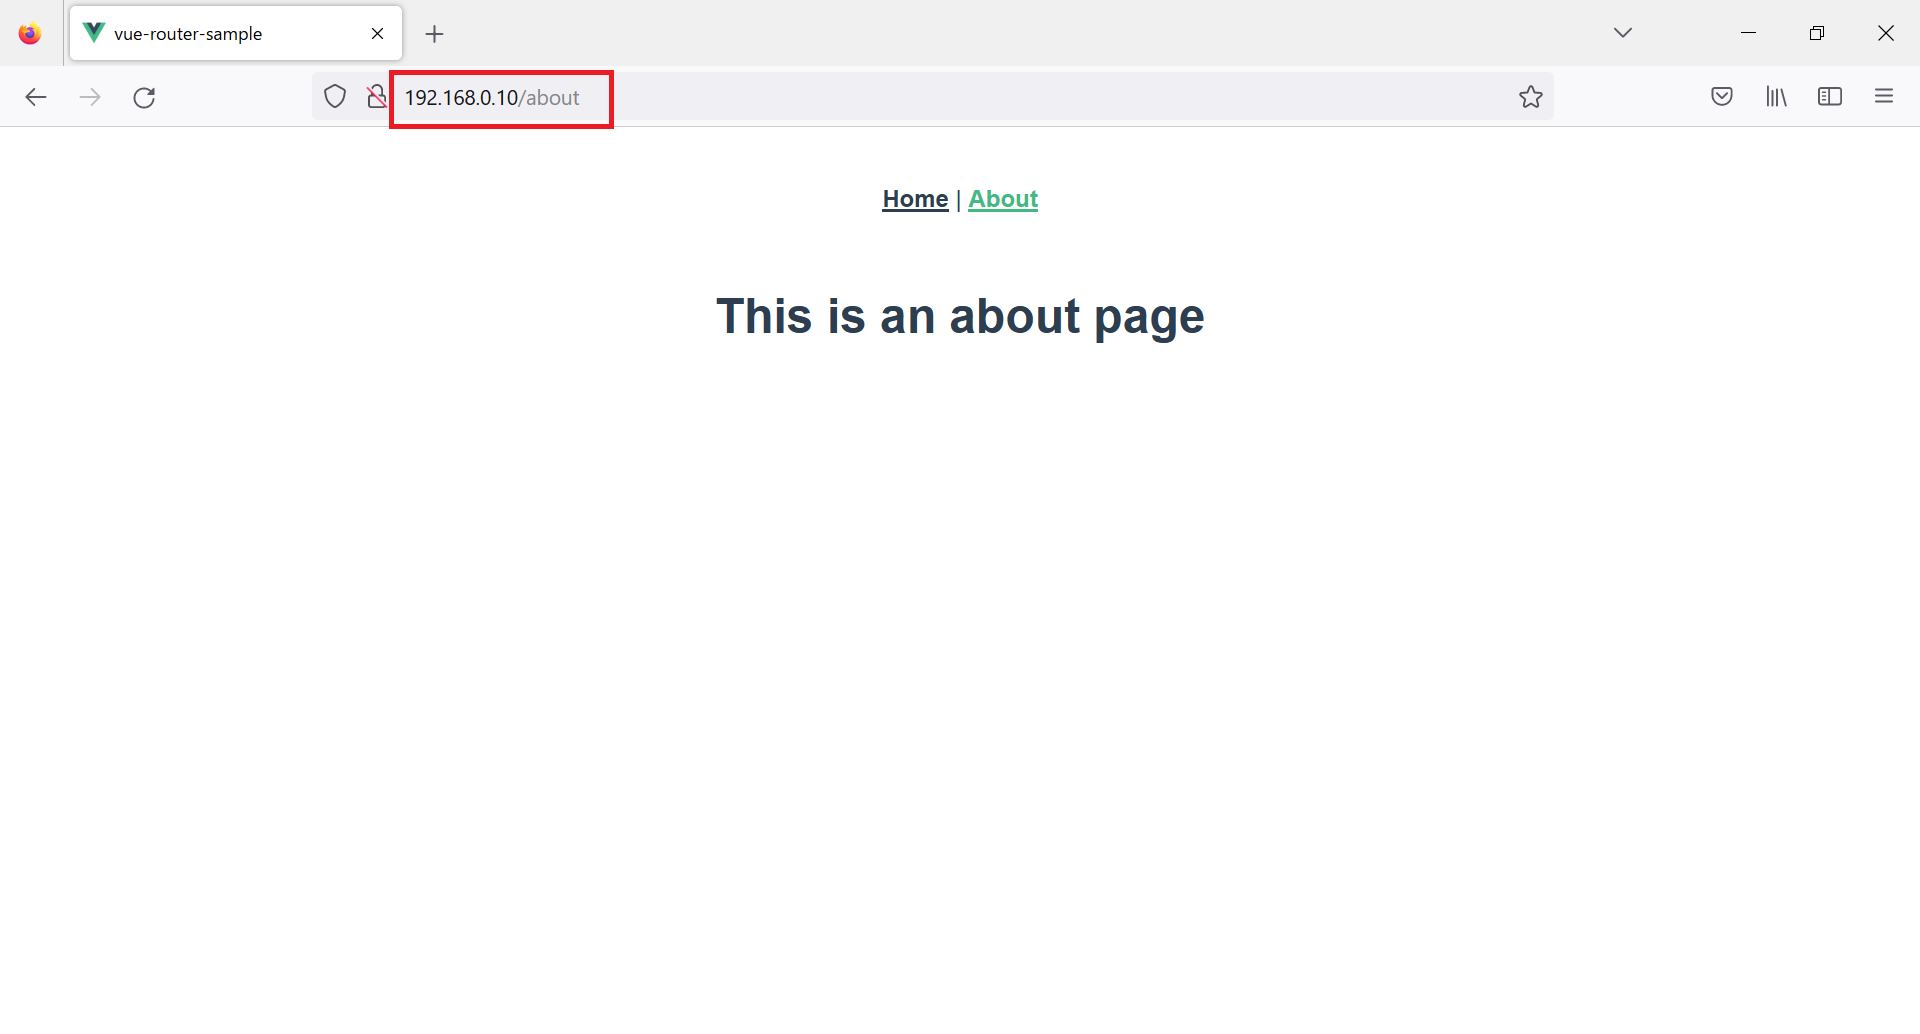
「About」をクリックすると「About」のページが表示されます。
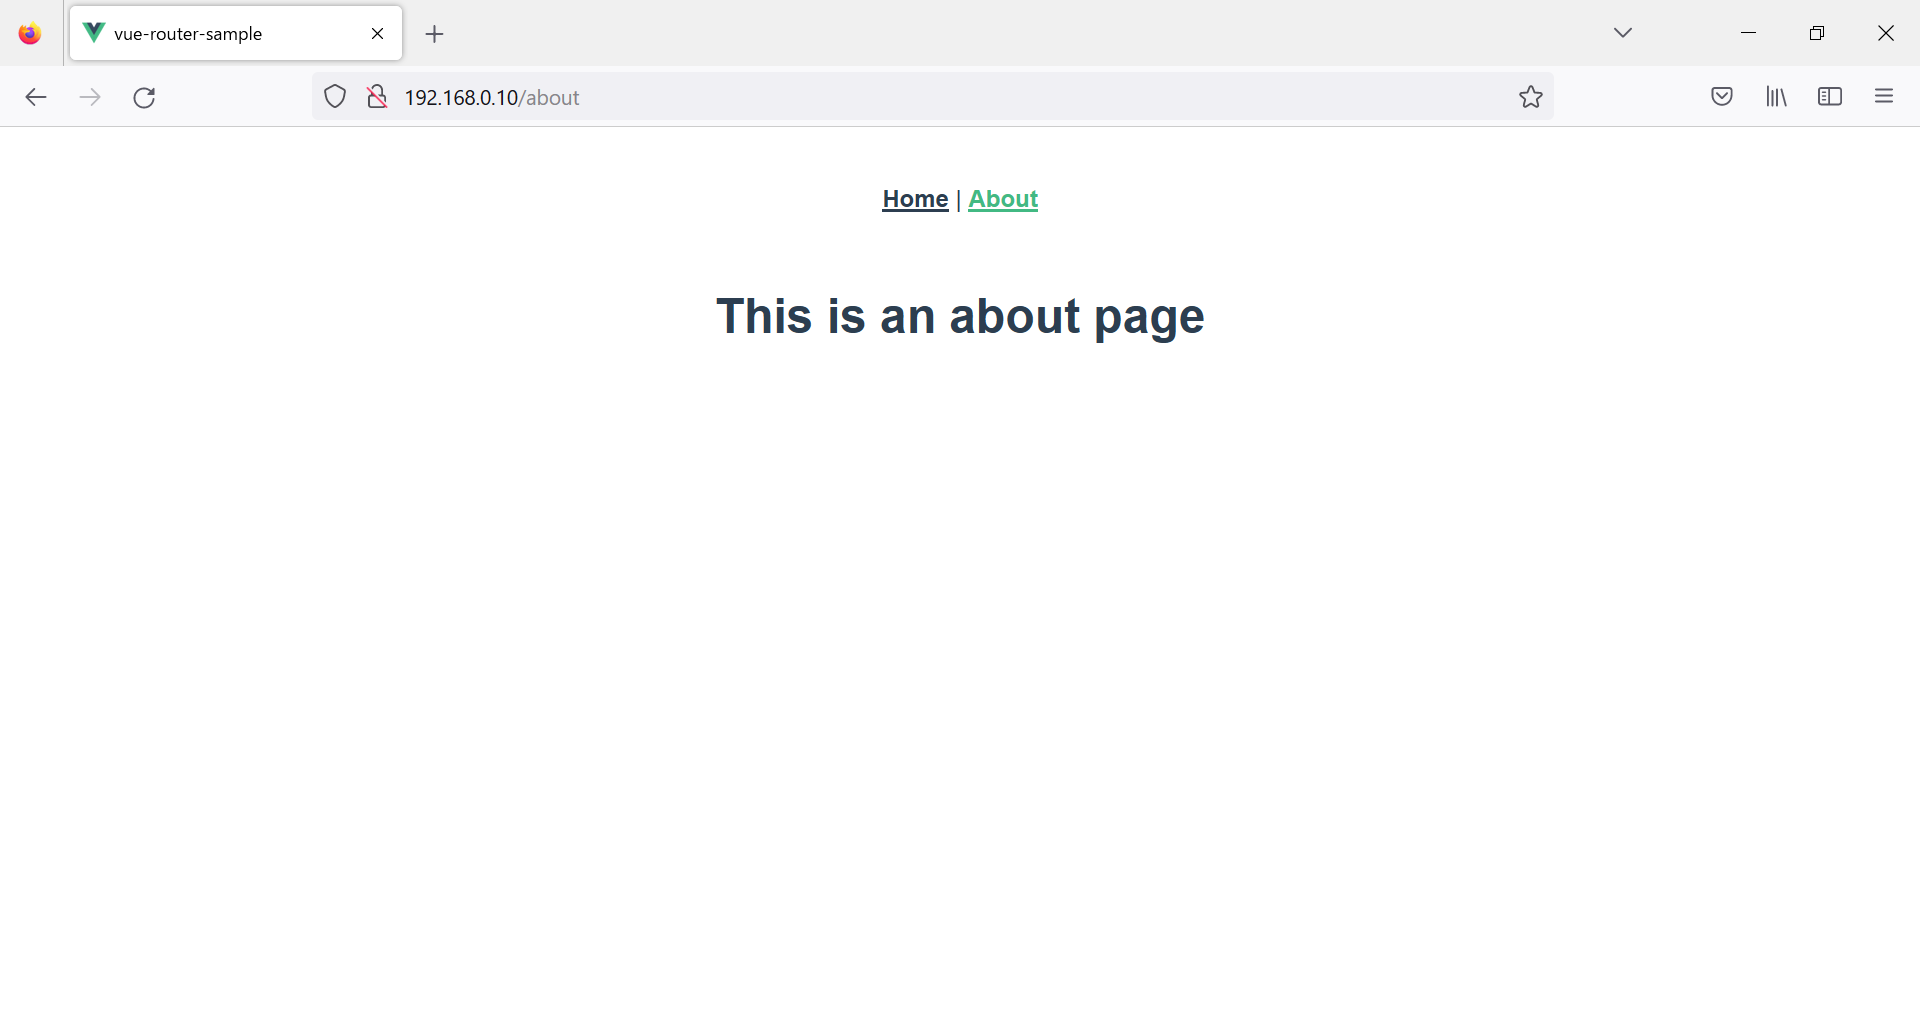
直接http://<サーバーIPアドレス>/aboutを入力しても「About」のページが表示されます。
参考
Node.jsとnpmをWindowsにインストールする方法
Vue.jsのVueCLIをWindowsにインストールする手順
CentOS8にApache(httpd)をインストールする方法
Different History modes | Vue Router
以上