手っ取り早くEclipseとpring Tool Suiteのプラグインをインストールする方法を紹介します。
1. Eclipseのインストール
1.1. Eclipseのダウンロード
「Pleiades - Eclipse 日本語化プラグイン」のページを開き、「Eclipse 2021(最新版)」をクリックします。

自分の環境に合うものを選択し、ダウンロードします。
ここでは、「Java」-「Windows 64bit」-「Full Edition」の「Download」をクリックします。

1.2. ファイルの解凍
ダウンロードしたファイル(ここでは「pleiades-2021-03-java-win-64bit-jre_20210328.zip」)をインストールしたいフォルダ(ここでは「C:\DK\pleiades-2021-03-java」)に解凍します。
※「Windows では 7-Zip で解凍してください。それ以外で解凍した場合、パス長 260 文字制限により正常動作しません。」とあるので、ここでは7-Zipを使用して解凍します。
以上で、Eclipseのインストールは完了です。
2. Eclipseを起動
「pleiades\eclipse」配下の「eclipse.exe」をダブルクリックし起動します。

ワークスペースは「../workspace」のままで、「起動」をクリックします。

3. Spring Tool Suiteプラグインをインストール
メニューの「ヘルプ」から「Eclipse マーケットプレース」を選択します。

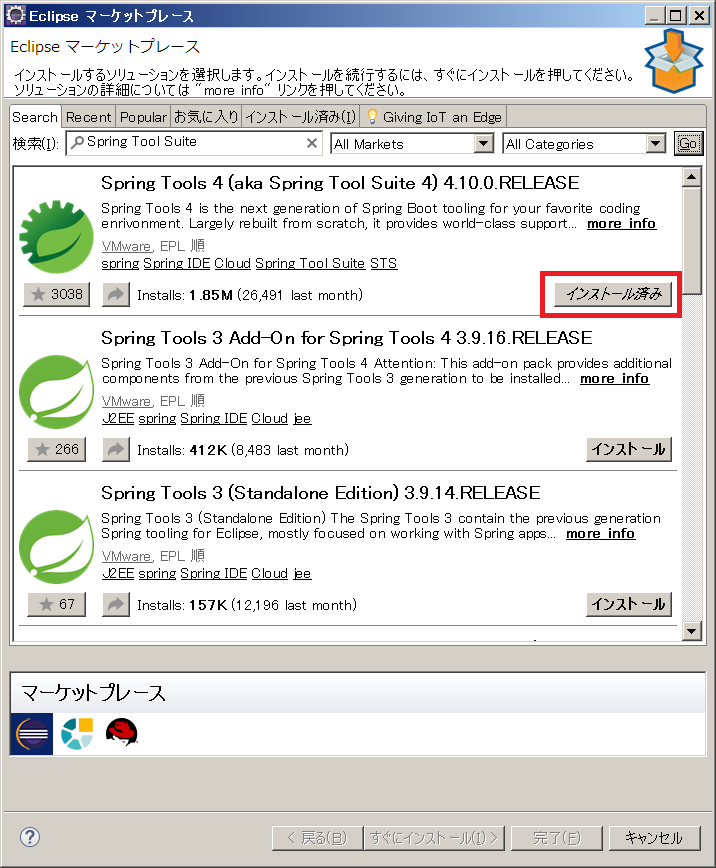
検索の欄に「Spring Tool Suite」と入力し、「Go」をクリックします。

「Spring Tools 4 (aka Spring Tool Suite 4) 4.10.0.RELEASE」の「インストール」をクリックします。

と思ったら、既に「インストール済み」となっています。
「Pleiades All in One Eclipse ダウンロード」のページに
Full Edition には Eclipse 実行用の Java が付属しているため、Java のインストールや環境変数の設定は不要です。また、Java Full Edition は STS と Lombok が設定済みのため、すぐに Spring Boot での開発ができます。 (Spring Boot 入門)
と記載がありますね。
「Pleiades All in One Eclipse」のページを見ると、確かに設定済みのようです。

以上


