今まで凝ったデザインとか、アニメーションとか何も使わないで生きてきた人生だったので、最近レイアウト周りで苦労しています。なので、きちんとレイアウトの勉強をしようと思って公式Android developerのレイアウトの章を読み始めました。ConstraintLayoutの章を読んでいて、ConstraintSetを使ってキーフレームアニメーションができる!と言うことが書いてあったので実際に触ってみました。
今回実際に作ってみたやつがこれです。こう言うのをキーフレームアニメーションって言うんですね🎨

このアニメーションは、ConstraintLayout内の各要素の制約である、layout:app:layout_constraintEnd_toEndOf などや各要素のサイズ、表示非表示を切り替えて実現しています。その時に使うのが ConstraintSet です。
ConstraintSetとは
ConstraintLayout内の要素をコードからいじる時に使うものです。例えば、コードからConstraintLayout内にボタンを追加したりだとか、位置を変更したりだとかするときに使います。ConstraintSet を使って app:layout_constraintEnd_toEndOf などをコードからいじれるようになると思えば良さそうです。
ConstraintSet().apply {
    // 対象の既存のConstraintLayoutをクローンする
    this.clone(fragment_main_root)
    // R.id.fragment_main_username(TextView)を app:layout_constraintStart_toBottomOf="parent" にする
    this.connect(R.id.fragment_main_username, ConstraintSet.START, ConstraintSet.PARENT_ID, ConstraintSet.BOTTOM)
    // 対象のConstraintLayoutに定義を反映させる
    this.applyTo(fragment_main_root)
}
これ、直接ConstraintLayoutに対して制約を変更すればいいのでは?とも思いますが、ConstraintSetの場合は既存のConstraintLayoutをcloneしてからゴニョゴニョ操作して、最後に applyTo した時に反映されると言う違いがあります。
この最後の applyTo のタイミングで、TransitionManager.beginDelayedTransition() を使うことでアニメーションをさせることができるようです。制約による要素の移動や、サイズの変更などをまとめてよしなにトランジションしてくれる、と言うわけですね。
さらに、 clone() ではなく load() を使えばXMLレイアウトファイルを読み込んで反映させることもできます。
今回使うのはこの load() の方です。
やってみた
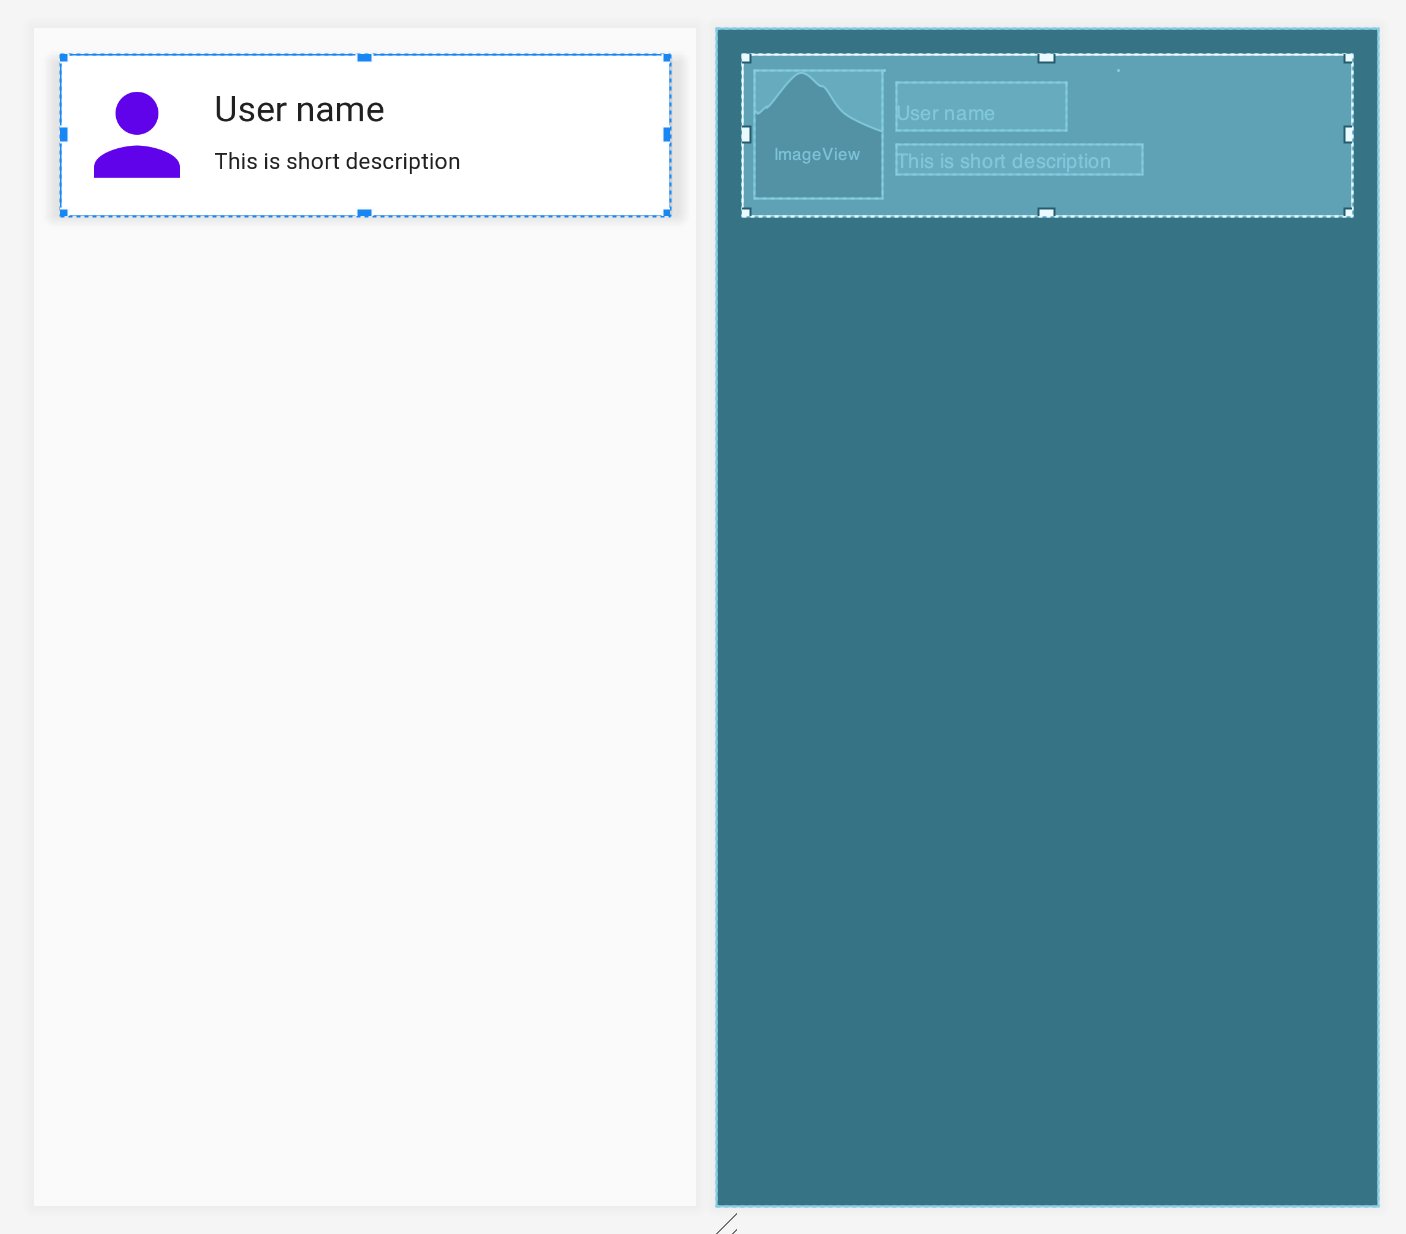
まずは1つレイアウトを作ります。fragmentに表示するレイアウトで、今回のキーフレームアニメーション的にはカードが未展開の状態のレイアウトです。このカードをタップしたら詳細情報が出てきてアニメーションされながらカードが大きくなると言うものを作っていきます。

**fragment_main.xml**
<?xml version="1.0" encoding="utf-8"?>
<layout xmlns:android="http://schemas.android.com/apk/res/android"
    xmlns:app="http://schemas.android.com/apk/res-auto"
    xmlns:tools="http://schemas.android.com/tools">

    <data>

        <variable
            name="viewModel"
            type="com.github.yasukotelin.ui_main.MainViewModel" />
    </data>

    <androidx.constraintlayout.widget.ConstraintLayout
        android:id="@+id/fragment_main_root"
        android:layout_width="match_parent"
        android:layout_height="match_parent">

        <androidx.cardview.widget.CardView
            android:id="@+id/fragment_main_card_view"
            android:layout_width="match_parent"
            android:layout_height="100dp"
            android:layout_marginStart="16dp"
            android:layout_marginTop="16dp"
            android:layout_marginEnd="16dp"
            android:onClick="@{() -> viewModel.onClickUserCard()}"
            app:layout_constraintEnd_toEndOf="parent"
            app:layout_constraintStart_toStartOf="parent"
            app:layout_constraintTop_toTopOf="parent">

            <androidx.constraintlayout.widget.ConstraintLayout
                android:id="@+id/fragment_main_constraint_in_card"
                android:layout_width="match_parent"
                android:layout_height="match_parent">

                <ImageView
                    android:id="@+id/fragment_main_image_view"
                    android:layout_width="80dp"
                    android:layout_height="80dp"
                    android:layout_marginStart="8dp"
                    android:contentDescription="@string/account_icon_image"
                    android:src="@drawable/ic_person_24dp"
                    app:layout_constraintBottom_toBottomOf="parent"
                    app:layout_constraintStart_toStartOf="parent"
                    app:layout_constraintTop_toTopOf="parent" />

                <TextView
                    android:id="@+id/fragment_main_username"
                    style="@style/TextAppearance.AppCompat.Large"
                    android:layout_width="wrap_content"
                    android:layout_height="wrap_content"
                    android:layout_marginStart="8dp"
                    android:layout_marginTop="8dp"
                    android:text="@string/user_name"
                    app:layout_constraintStart_toEndOf="@+id/fragment_main_image_view"
                    app:layout_constraintTop_toTopOf="@+id/fragment_main_image_view" />

                <TextView
                    android:id="@+id/fragment_main_userfullname"
                    style="@style/TextAppearance.AppCompat.Caption"
                    android:layout_width="wrap_content"
                    android:layout_height="wrap_content"
                    android:layout_marginStart="8dp"
                    android:layout_marginTop="8dp"
                    android:text="@string/full_name"
                    android:visibility="gone"
                    app:layout_constraintStart_toEndOf="@+id/fragment_main_image_view"
                    app:layout_constraintTop_toTopOf="@+id/fragment_main_image_view" />

                <TextView
                    android:id="@+id/fragment_main_short_description"
                    style="@style/TextAppearance.AppCompat.Body1"
                    android:layout_width="wrap_content"
                    android:layout_height="wrap_content"
                    android:layout_marginTop="8dp"
                    android:text="@string/short_description"
                    android:textStyle="normal"
                    android:visibility="visible"
                    app:layout_constraintStart_toStartOf="@+id/fragment_main_username"
                    app:layout_constraintTop_toBottomOf="@+id/fragment_main_username" />

                <ImageView
                    android:id="@+id/fragment_main_back_allow"
                    android:layout_width="wrap_content"
                    android:layout_height="wrap_content"
                    android:layout_marginStart="8dp"
                    android:layout_marginTop="8dp"
                    android:contentDescription="@string/back_allow"
                    android:onClick="@{() -> viewModel.onClickBackAllow()}"
                    android:src="@drawable/ic_arrow_back_24dp"
                    android:visibility="gone"
                    app:layout_constraintStart_toStartOf="parent"
                    app:layout_constraintTop_toTopOf="parent"
                    tools:visibility="gone" />

                <TextView
                    android:id="@+id/fragment_main_long_description"
                    style="@style/TextAppearance.AppCompat.Body1"
                    android:layout_width="wrap_content"
                    android:layout_height="wrap_content"
                    android:layout_marginStart="8dp"
                    android:layout_marginTop="8dp"
                    android:layout_marginEnd="8dp"
                    android:text="@string/long_description"
                    android:visibility="gone"
                    app:layout_constraintEnd_toEndOf="parent"
                    app:layout_constraintStart_toStartOf="@+id/fragment_main_userfullname"
                    app:layout_constraintTop_toBottomOf="@+id/fragment_main_userfullname" />

            </androidx.constraintlayout.widget.ConstraintLayout>

        </androidx.cardview.widget.CardView>
    </androidx.constraintlayout.widget.ConstraintLayout>
</layout>
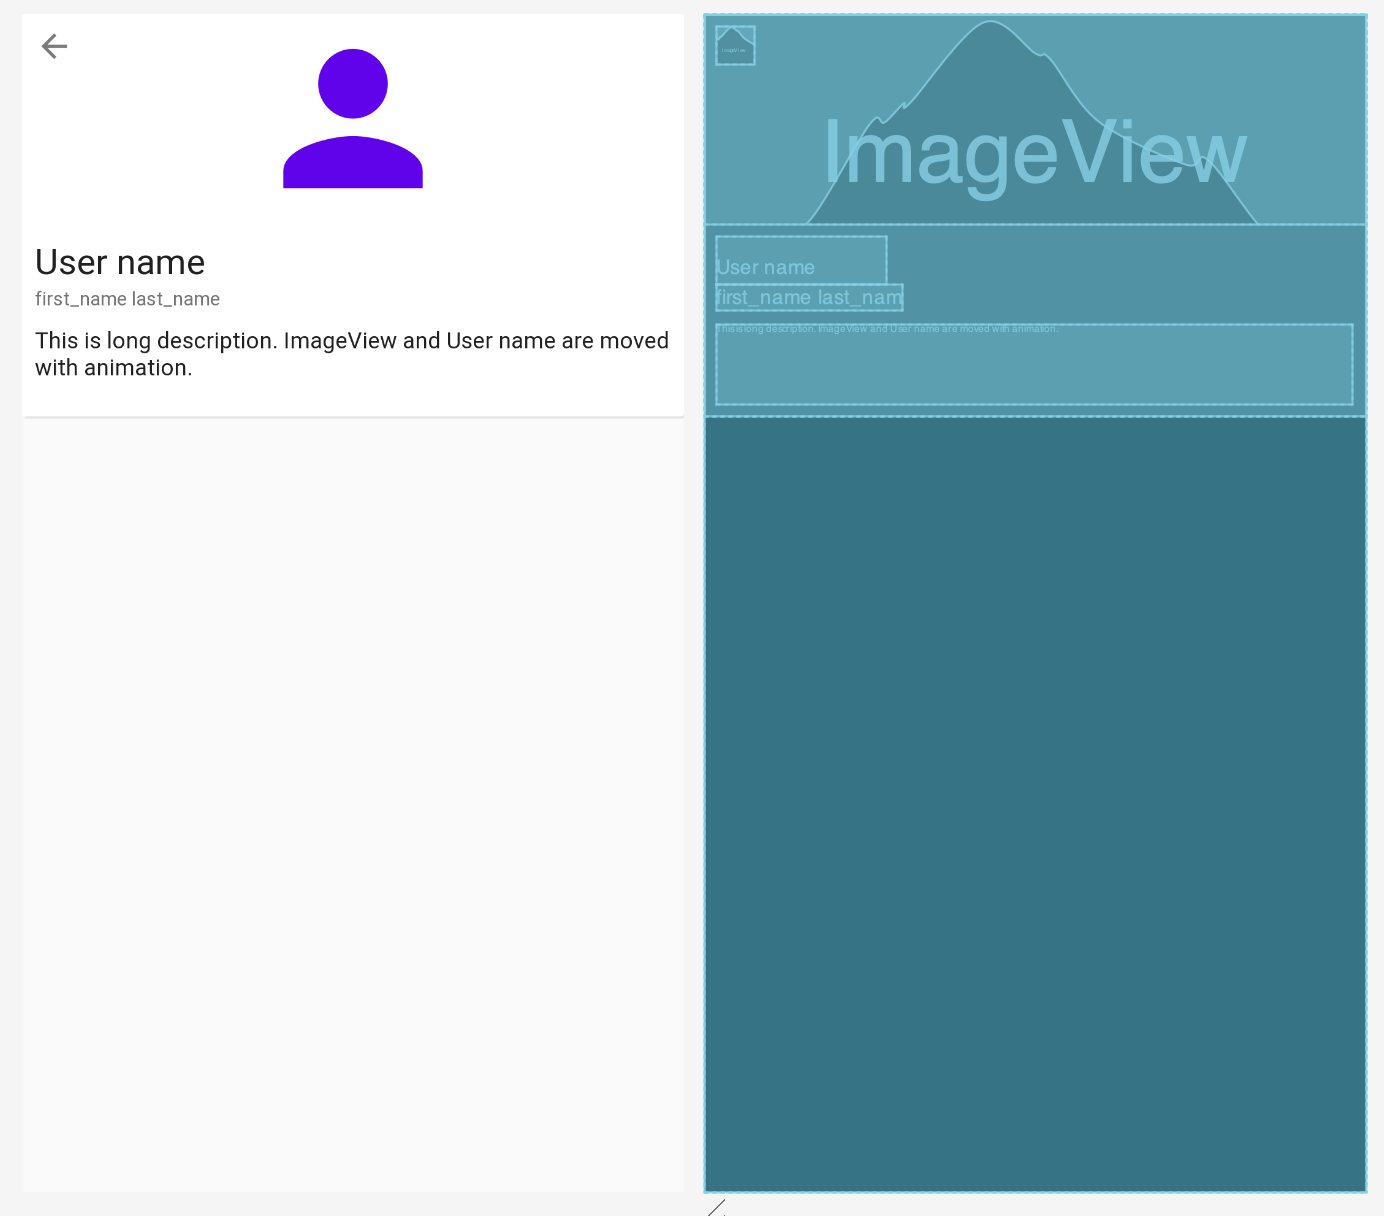
そしてもう一つレイアウトを作ります。こちらがカードをタップした後にアニメーションされて表示されるレイアウトです。

**constset_user_card.xml**
<?xml version="1.0" encoding="utf-8"?>
<layout xmlns:android="http://schemas.android.com/apk/res/android"
    xmlns:app="http://schemas.android.com/apk/res-auto"
    xmlns:tools="http://schemas.android.com/tools">

    <data>

        <variable
            name="viewModel"
            type="com.github.yasukotelin.ui_main.MainViewModel" />
    </data>

    <androidx.constraintlayout.widget.ConstraintLayout
        android:layout_width="match_parent"
        android:layout_height="match_parent">

        <androidx.cardview.widget.CardView
            android:id="@+id/fragment_main_card_view"
            android:layout_width="match_parent"
            android:layout_height="250dp"
            app:layout_constraintEnd_toEndOf="parent"
            app:layout_constraintStart_toStartOf="parent"
            app:layout_constraintTop_toTopOf="parent">

            <androidx.constraintlayout.widget.ConstraintLayout
                android:id="@+id/fragment_main_constraint_in_card"
                android:layout_width="match_parent"
                android:layout_height="match_parent">

                <ImageView
                    android:id="@+id/fragment_main_image_view"
                    android:layout_width="match_parent"
                    android:layout_height="130dp"
                    android:contentDescription="@string/account_icon_image"
                    app:layout_constraintEnd_toEndOf="parent"
                    app:layout_constraintStart_toStartOf="parent"
                    app:layout_constraintTop_toTopOf="parent"
                    app:srcCompat="@drawable/ic_person_24dp" />

                <TextView
                    android:id="@+id/fragment_main_username"
                    style="@style/TextAppearance.AppCompat.Large"
                    android:layout_width="wrap_content"
                    android:layout_height="wrap_content"
                    android:layout_marginStart="8dp"
                    android:layout_marginTop="8dp"
                    android:text="@string/user_name"
                    app:layout_constraintStart_toStartOf="parent"
                    app:layout_constraintTop_toBottomOf="@id/fragment_main_image_view" />

                <TextView
                    android:id="@+id/fragment_main_userfullname"
                    style="@style/TextAppearance.AppCompat.Caption"
                    android:layout_width="wrap_content"
                    android:layout_height="wrap_content"
                    android:text="@string/full_name"
                    android:visibility="visible"
                    app:layout_constraintStart_toStartOf="@id/fragment_main_username"
                    app:layout_constraintTop_toBottomOf="@id/fragment_main_username" />

                <TextView
                    android:id="@+id/fragment_main_short_description"
                    style="@style/TextAppearance.AppCompat.Body1"
                    android:layout_width="wrap_content"
                    android:layout_height="wrap_content"
                    android:layout_marginTop="8dp"
                    android:text="@string/short_description"
                    android:textStyle="normal"
                    android:visibility="gone"
                    app:layout_constraintStart_toStartOf="@+id/fragment_main_username"
                    app:layout_constraintTop_toBottomOf="@+id/fragment_main_username"
                    tools:text="This is fragment_main_description" />

                <ImageView
                    android:id="@+id/fragment_main_back_allow"
                    android:layout_width="wrap_content"
                    android:layout_height="wrap_content"
                    android:layout_marginStart="8dp"
                    android:layout_marginTop="8dp"
                    android:contentDescription="@string/back_allow"
                    android:onClick="@{() -> viewModel.onClickBackAllow()}"
                    android:visibility="visible"
                    app:layout_constraintStart_toStartOf="parent"
                    app:layout_constraintTop_toTopOf="parent"
                    app:srcCompat="@drawable/ic_arrow_back_24dp" />

                <TextView
                    android:id="@+id/fragment_main_long_description"
                    style="@style/TextAppearance.AppCompat.Body1"
                    android:layout_width="match_parent"
                    android:layout_height="0dp"
                    android:layout_marginStart="8dp"
                    android:layout_marginTop="8dp"
                    android:layout_marginEnd="8dp"
                    android:layout_marginBottom="8dp"
                    android:text="@string/long_description"
                    android:visibility="visible"
                    app:layout_constraintBottom_toBottomOf="parent"
                    app:layout_constraintEnd_toEndOf="parent"
                    app:layout_constraintStart_toStartOf="@+id/fragment_main_userfullname"
                    app:layout_constraintTop_toBottomOf="@+id/fragment_main_userfullname" />

            </androidx.constraintlayout.widget.ConstraintLayout>
        </androidx.cardview.widget.CardView>
    </androidx.constraintlayout.widget.ConstraintLayout>
</layout>
この2つのレイアウト、特に2つ目のレイアウトなのですが、このレイアウトはあくまで制約を定義しているレイアウトだと言うことに注意してください。ConstraintSetで反映させるのは、元々あるConstraintLayout内の制約を更新するのみです。なので、2つ目のレイアウトで記載するのは、元々あるConstraintLayoutの各要素が変化される制約を書く必要があります。
。。。と言うと意味わからないですよね。
カードの中のプロフィールアイコンのImageViewで説明します。最初左側にあって、展開するとちょっと大きくなって真ん中に移動してきてる部分です。

ImageViewのところだけ抜粋してるのですが、注目すべきは android:id の部分ですかね。同じIDがついていると思います。
同じIDで宣言した要素の制約や属性の変化を使ってConstraintLayoutがアニメーションしてくれるような仕組みになっています。
<ImageView
    android:id="@+id/fragment_main_image_view"
    android:layout_width="80dp"
    android:layout_height="80dp"
    android:layout_marginStart="8dp"
    android:contentDescription="@string/account_icon_image"
    android:src="@drawable/ic_person_24dp"
    app:layout_constraintBottom_toBottomOf="parent"
    app:layout_constraintStart_toStartOf="parent"
    app:layout_constraintTop_toTopOf="parent" />
<ImageView
    android:id="@+id/fragment_main_image_view"
    android:layout_width="match_parent"
    android:layout_height="130dp"
    android:contentDescription="@string/account_icon_image"
    app:layout_constraintEnd_toEndOf="parent"
    app:layout_constraintStart_toStartOf="parent"
    app:layout_constraintTop_toTopOf="parent"
    app:srcCompat="@drawable/ic_person_24dp" />
つまり、このConstraintLayoutとConstraintSetのアニメーションと言うのは、別のレイアウトを差し替えてアニメーションさせていると言うことではなくて、対象のレイアウトをそのまま動かして、アニメーションさせている、といったことをしています。
ちなみに、「戻る」用のBackキーImageViewや、first_name、last_nameの部分は元々無かった要素なのにアニメーション後は現れています。これは要素を追加しているのではなく、元々両方に宣言しておいて、visibilityを変化させているだけです。
例えば矢印キーの戻るの部分はこんな感じになっています。
<ImageView
    android:id="@+id/fragment_main_back_allow"
    android:layout_width="wrap_content"
    android:layout_height="wrap_content"
    android:layout_marginStart="8dp"
    android:layout_marginTop="8dp"
    android:contentDescription="@string/back_allow"
    android:onClick="@{() -> viewModel.onClickBackAllow()}"
    android:src="@drawable/ic_arrow_back_24dp"
    android:visibility="gone"
    app:layout_constraintStart_toStartOf="parent"
    app:layout_constraintTop_toTopOf="parent" />
visibilityをgoneにしておいて適当なところに置いておきます。横からフェードイン的なことをしたい時は、表示されない範囲外に表示状態で置いておいて、見えるところに制約をつけることで実現できるようです。
<ImageView
    android:id="@+id/fragment_main_back_allow"
    android:layout_width="wrap_content"
    android:layout_height="wrap_content"
    android:layout_marginStart="8dp"
    android:layout_marginTop="8dp"
    android:contentDescription="@string/back_allow"
    android:onClick="@{() -> viewModel.onClickBackAllow()}"
    android:visibility="visible"
    app:layout_constraintStart_toStartOf="parent"
    app:layout_constraintTop_toTopOf="parent"
    app:srcCompat="@drawable/ic_arrow_back_24dp" />
visibilityをvisibleにして、適切なところに配置してあげればOKです。こうすることで、元々のConstrainLayoutでは非表示だったものが、いい感じに要素が追加されるような動きになってくれます。
ちなみに、2つ目のレイアウトのほうに元々のレイアウトにはない要素を追加しても画面上に追加はされません。例えば、2つ目の方にTextViewを新規においても、ConstlaintSetでは追加してくれないのです。あくまでも制約の変更、と言うことみたいですね。
こんな感じで2つのレイアウトを用意できたら、あとはコード上でConstlaintSetを使って画面に反映してみます。
CardにonClickとかで下のコードを呼んであげるだけで、よしなにアニメーションがされた上でConstraintLayout内の各要素が動いてくれます!素敵!
ConstraintSet().apply {
    // 制約を定義した2つ目のレイアウトファイルをloadする
    this.load(context, R.layout.constset_user_card
    // このTransitionManagerを使ってアニメーションを有効化(カスタマイズもできる
    TransitionManager.beginDelayedTransition(binding.root as ViewGroup)
    // applyToで読み込んだ制約を対象のConstraintLayoutに反映!
    this.applyTo(fragment_main_root)
    this.applyTo(fragment_main_constraint_in_card)
}
とても簡単ですね!
ちょっと注意なのですが、ConstraintLayoutが入れ子になっている場合はそれぞれに対してapplyToするみたいです。今回の僕の例だと、Cardの外側のConstraintLayoutとCardの内側のConstraintLayoutの2つがあったので2箇所に対してapplyToしています。
あとは、アニメーション部分もカスタマイズ可能で、公式のyoutube動画でも紹介していますが、横からフェードインさせてちょっとバウンドさせる、みたいなこともできるみたいです。
ちょっとリッチな動きが、比較的簡単に実装できました!
ただ、実際にコードを書いてみないとニュアンスが掴めない機能だと思うので、公式ドキュメント眺めつつ書いて動かしてみるのが一番だと思います。
