概要
Azure Custom Vision Serviceは誰でも画像認識のモデルが作成できるお手軽なツールになります。DeepLearningの世界で転移学習にしても自分で実行するのはかなり手間ですが、少ないデータで手間なく画像認識を行うことができるのは大きなメリットではないでしょうか?
作成したモデルに関してはこちらの記事を参照ください
Azure Custom Vision ServiceからONNXモデルのExport
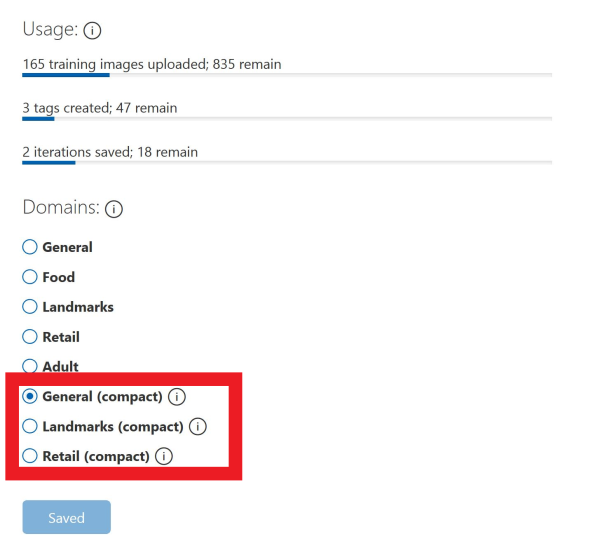
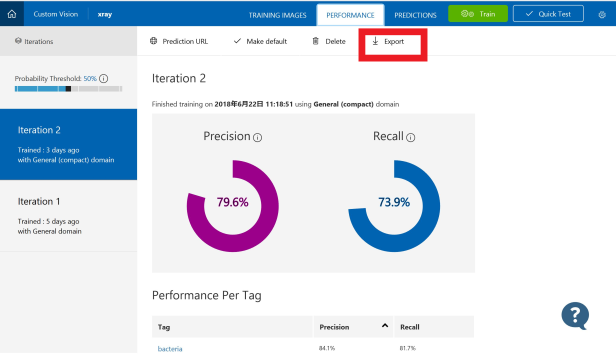
Cusotom Vision Serviceで作成したモデルをExportします。肺炎患者のレントゲン写真であり、ウイルス性、細菌性の肺炎の判定を行います。Compactモデルで作成しなければExportできないのでCompactモデルを選択して一度学習させます。
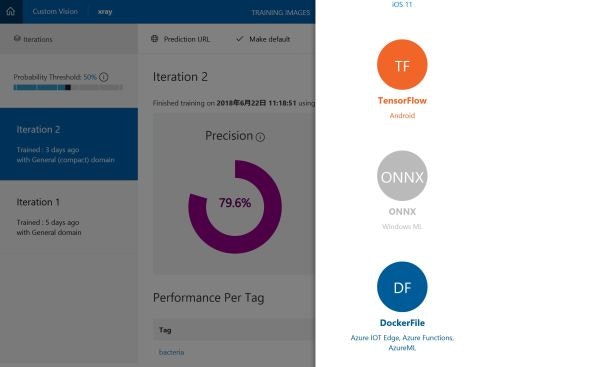
Exportをクリックするとダウンロドする形式が選べるので、ONNXを選びダウンロードします。
Netronでモデルを見ることができます。
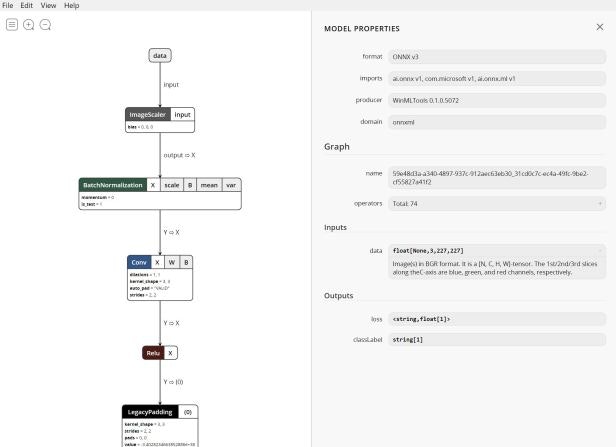
normal.onnxとして保存しています。
ONNXモデルをWindows Machine Learningで実行する簡単な方法
AzureのサンプルにCustom Visionで出力されたONNXモデルを使用するものがあります。
Windows10のビルド1803にまずアップデートする必要があります。その上で、Visual Studio 2017をインストールし、対応するSDKを導入します。こちらを参考にしてください
normal.onnxをVisual StudioのAssetに追加します。その場合、非常に長いクラス名のラッパーコードが生成されますが、使わないので削除します。
git clone https://github.com/Azure-Samples/cognitive-services-onnx-customvision-sample
上記でサンプルを同期できます。
修正箇所は多くなく、2か所の修正で動作させることができます
MainPage.xaml.csを編集します。
namespace SampleOnnxEvaluationApp
{
    /// <summary>
    /// An empty page that can be used on its own or navigated to within a Frame.
    /// </summary>
    public sealed partial class MainPage : Page
    {
        private Stopwatch _stopwatch = new Stopwatch();
        private OnnxModel _model = null;
        private string _ourOnnxFileName = "normal.onnx";<---この部分を出力されたファイル名にする。
それから、CustomVisionはラベル名がONNXモデルに組み込まれているので、ラベルの数を変えるだけになります。
 public sealed class OnnxModelOutput
        {
            public IList<string> classLabel { get; set; }
            public IDictionary<string, float> loss { get; set; }
            public OnnxModelOutput()
            {
                this.classLabel = new List<string>();
                int _nLabels = 3;<------この部分を追加する
                // For dictionary(map) fields onnx needs the variable to be pre-allocatd such that the
                // length is equal to the number of labels defined in the model. The names are not
                // required to match what is in the model.
                this.loss = new Dictionary<string, float>();
                for (int x = 0; x < _nLabels; ++x)<-----ラベル数をセットする
                    this.loss.Add("Label_" + x.ToString(), 0.0f);
            }
以上で修正できました。というかほとんど何もしていない状態です。
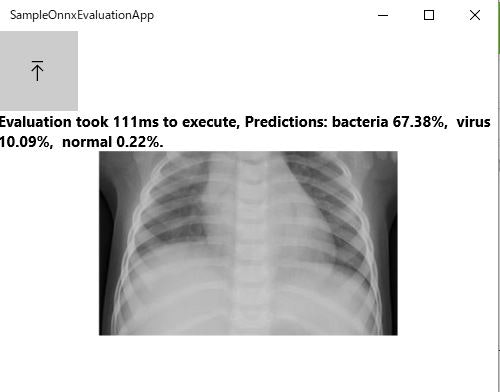
上記をビルドして実行すると以下のようになります。
恐らくこれが一番簡単な方法ではないかと考えています。
