開発お疲れ様です。モアイです
今回はMMDモデルをUnityに導入するところから、その導入したMMDモデルにアニメーションをつけるところまでをご紹介したいと思います。
なぜそうなるのかなどはまた別記事にまとめますので、知りたい方はこの記事の一番下から飛んでください。
それでは少しの間ですがよろしくお願いします。
1.MMDモデルをUnityに導入する(準備)
まずは自分が好きなMMDモデルをダウンロードしましょう。
今回僕はこちらのモデルをお借りました。可愛いのでおすすめです。
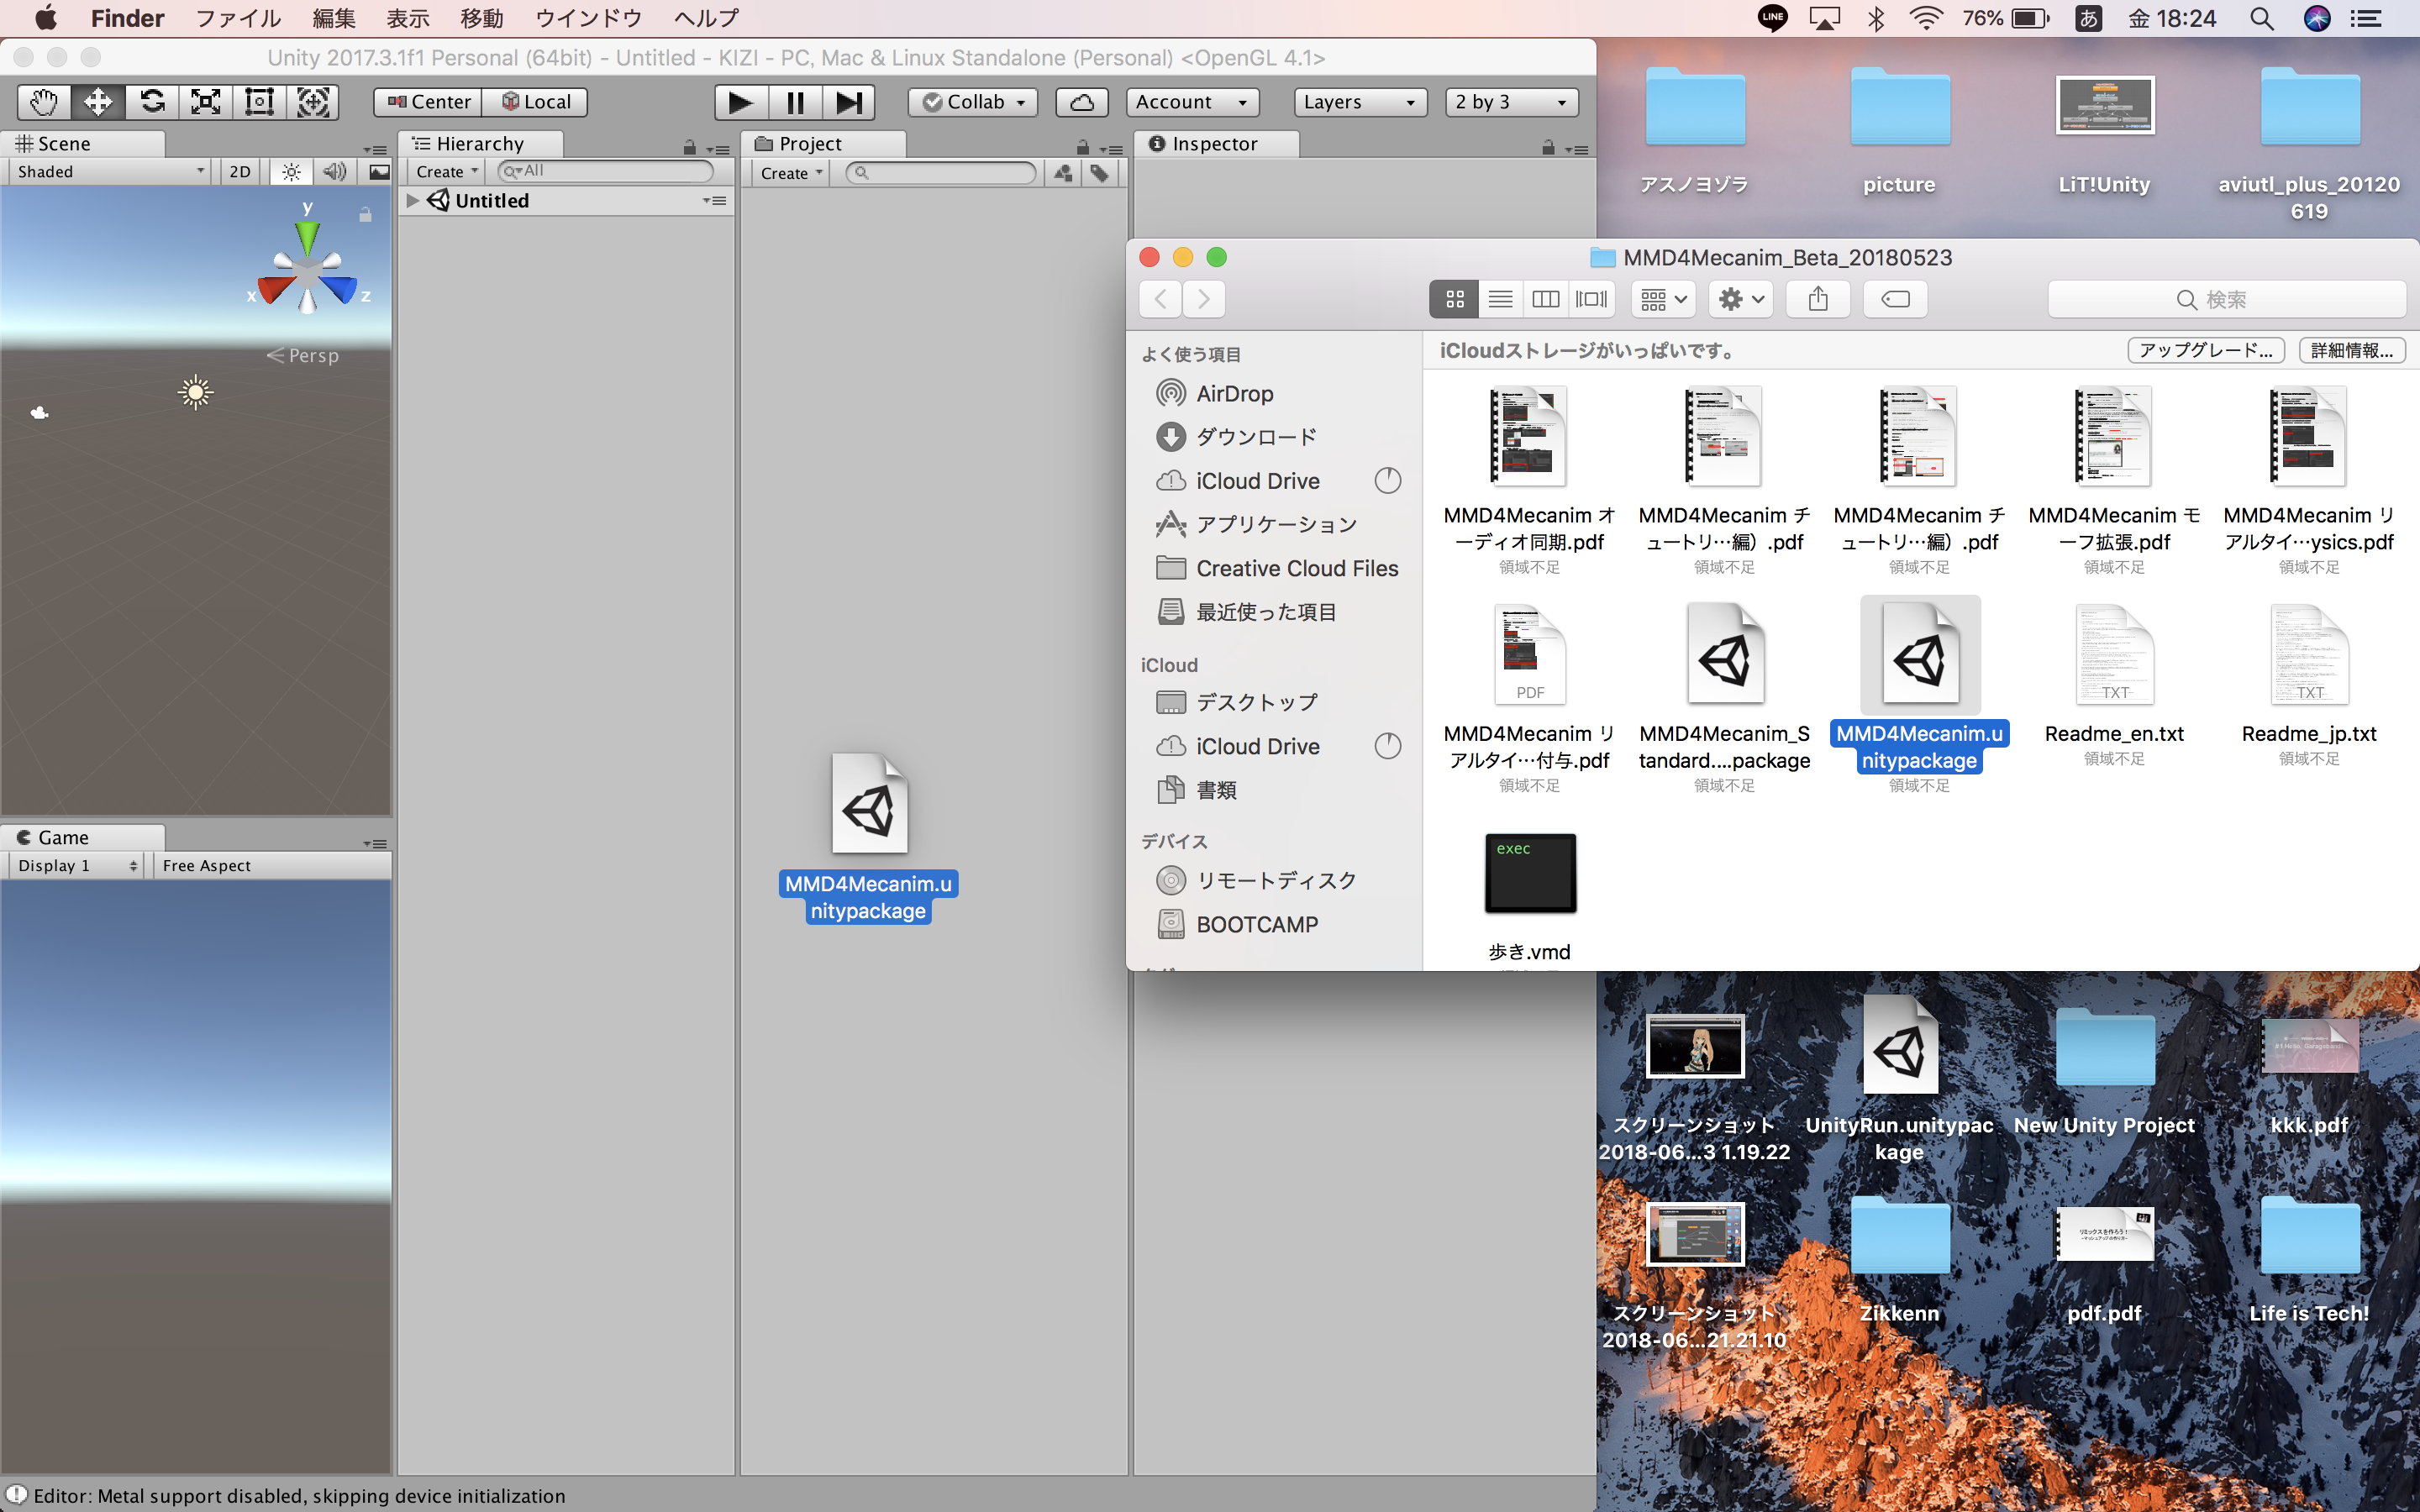
次にここのサイトから MMD4Mecanimというものをダウンロードします。これがUnityでMMDを動かすための基盤になります。
Windowsの方はここで準備は終了です。Macの方はもうワンステップあります。
ここのサイトから"MMD4Mecanim_Beta_20160815.zip"というファイルをダウンロードしてください。
2.MMDモデルをUnityに導入する(実践)
先ほど落としたファイルを全て解凍して、Unityで3Dのプロジェクトを作りましょう。
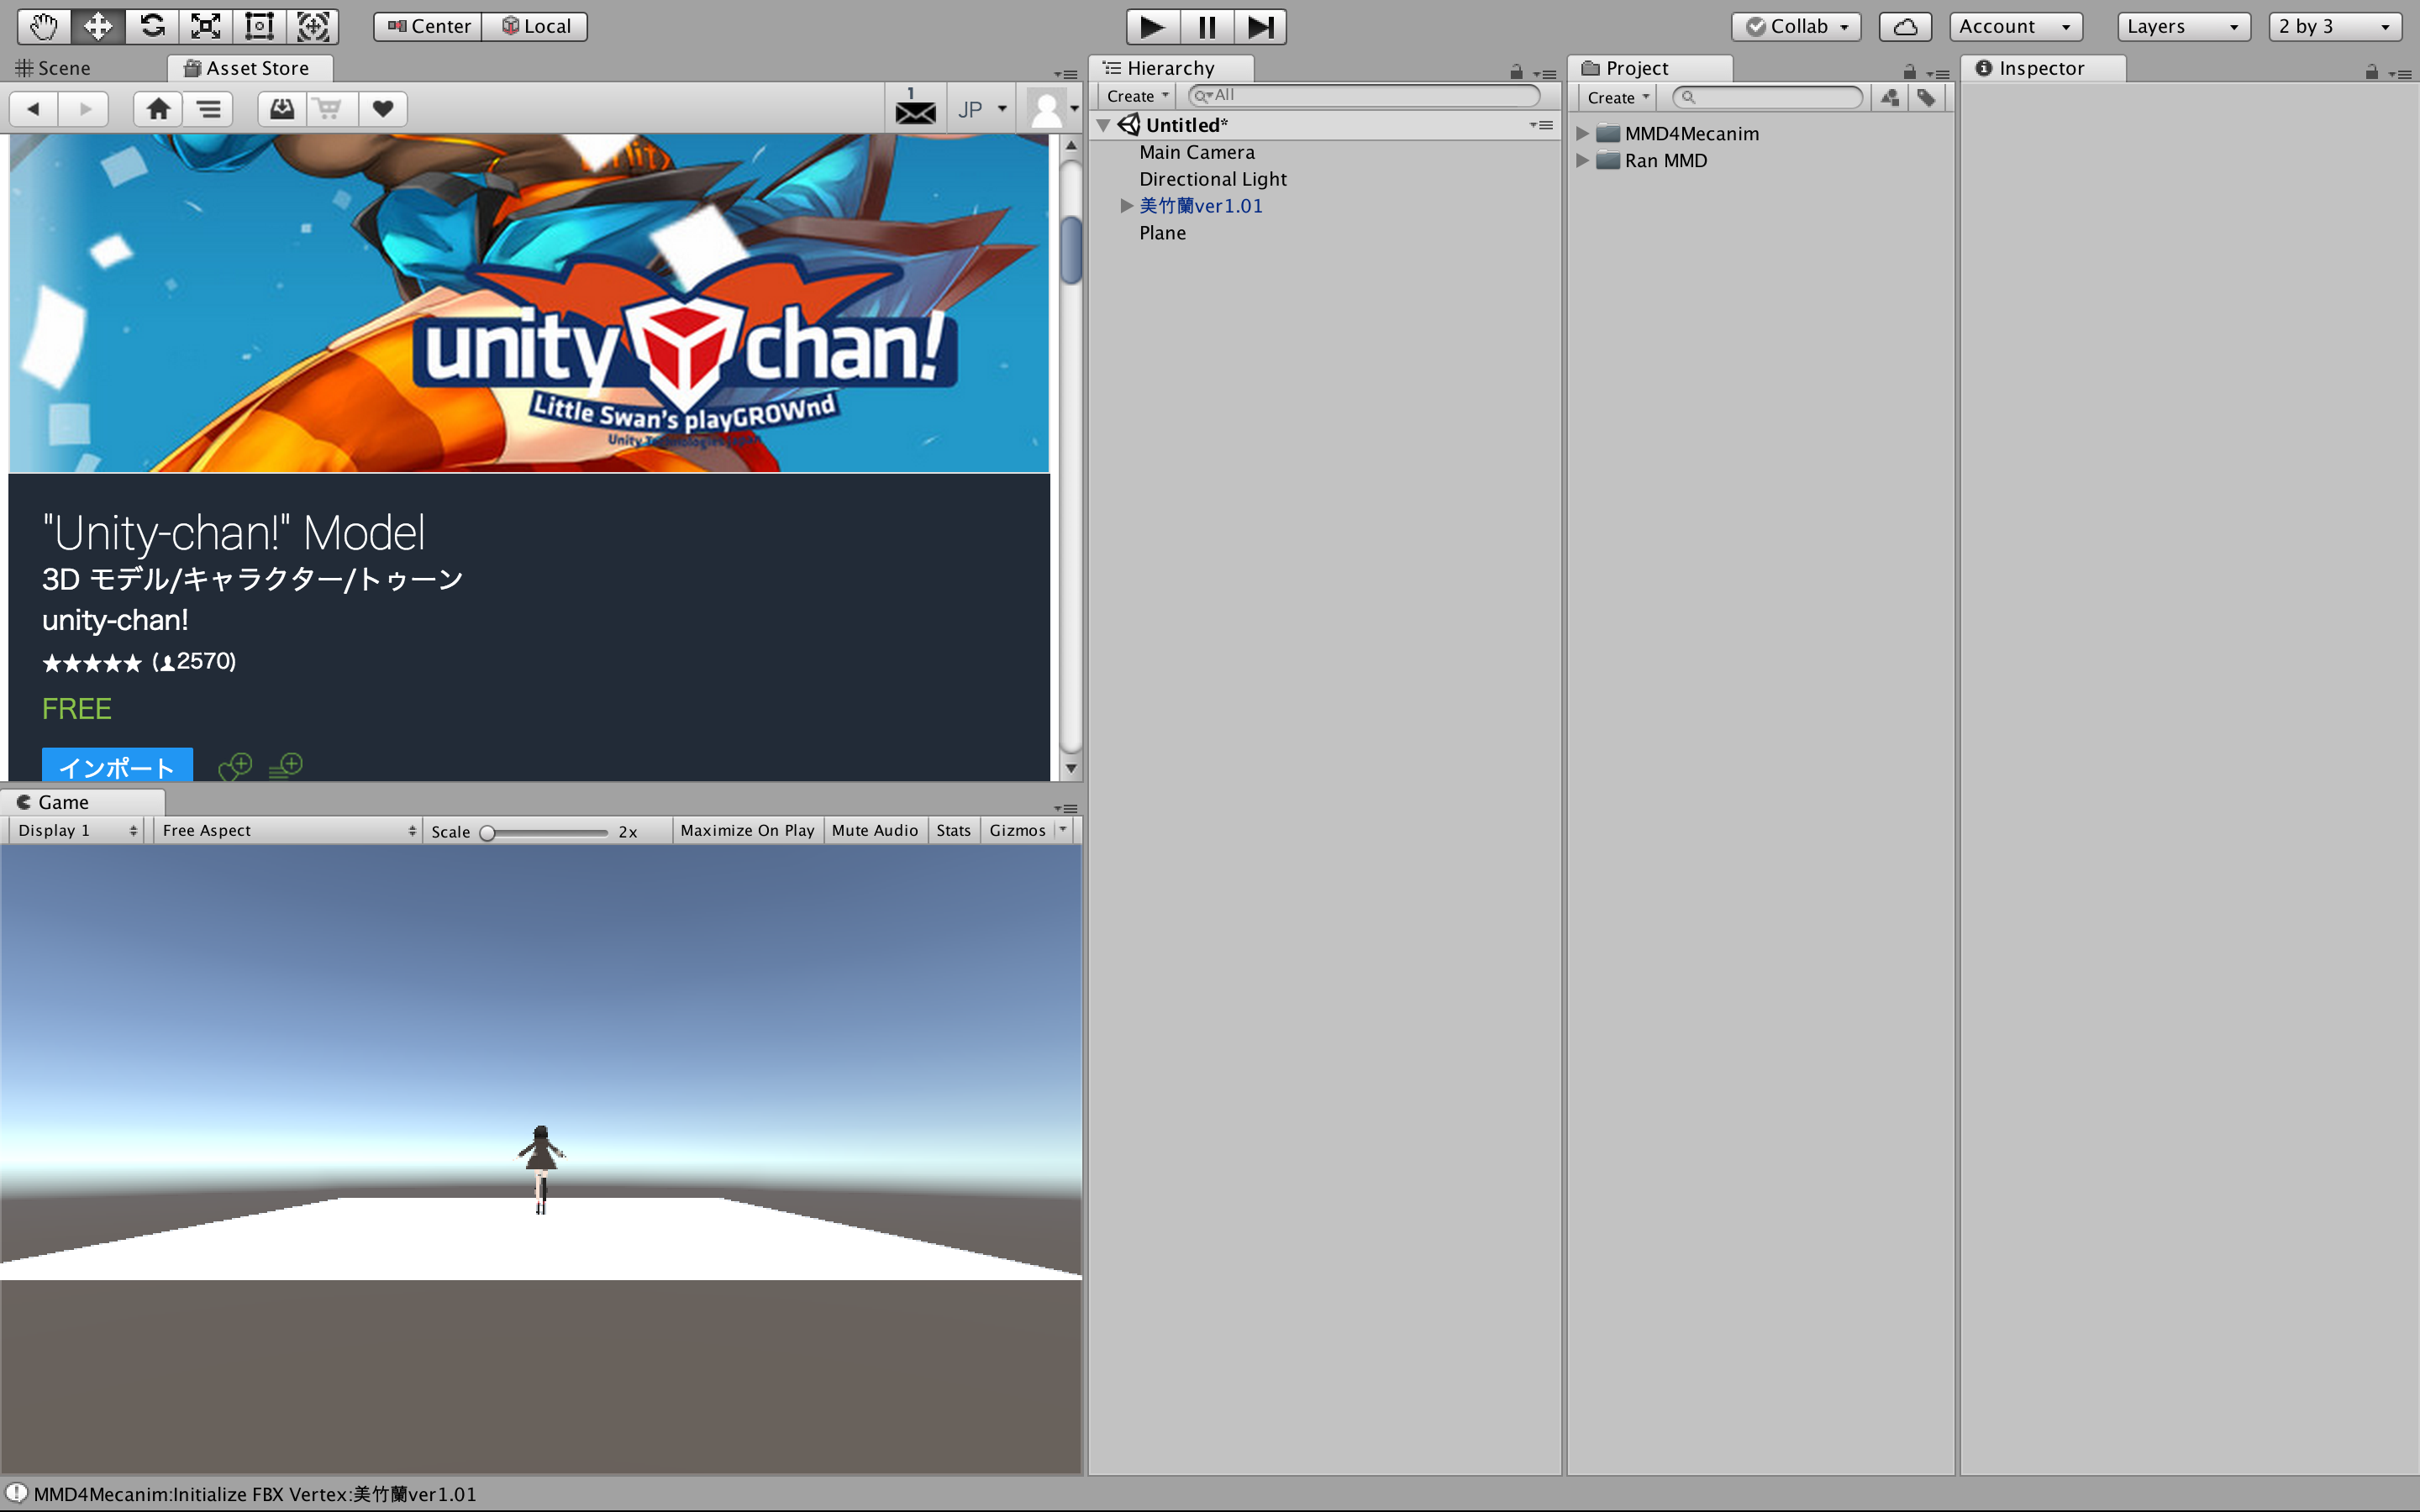
そして作ったファイルに"http://stereoarts.jp" でダウンロードしたunitypackageをインポートしてください。
※unitypackageがふたつあるのできちんと画像の方をインポートしてください。
インポート途中で下のような感じの画面が出るんですが気にせずGO Aheadしてください。

Macの方はここでもうワンステップあります。
"http://www.shuwasystem.co.jp/support/7980html/4276.html" でダウンロードしたunitypackageの中で「PMX2FBX」のみ選択してインポートしてください。


次に解凍したMMDモデルをファイルごとUnityにインポートしてください。

次に今インポートしたフォルダーの中から「○○○.MMD4Mecanim」というファイルを選択し、全てにチェックを入れ同意するを押してください。

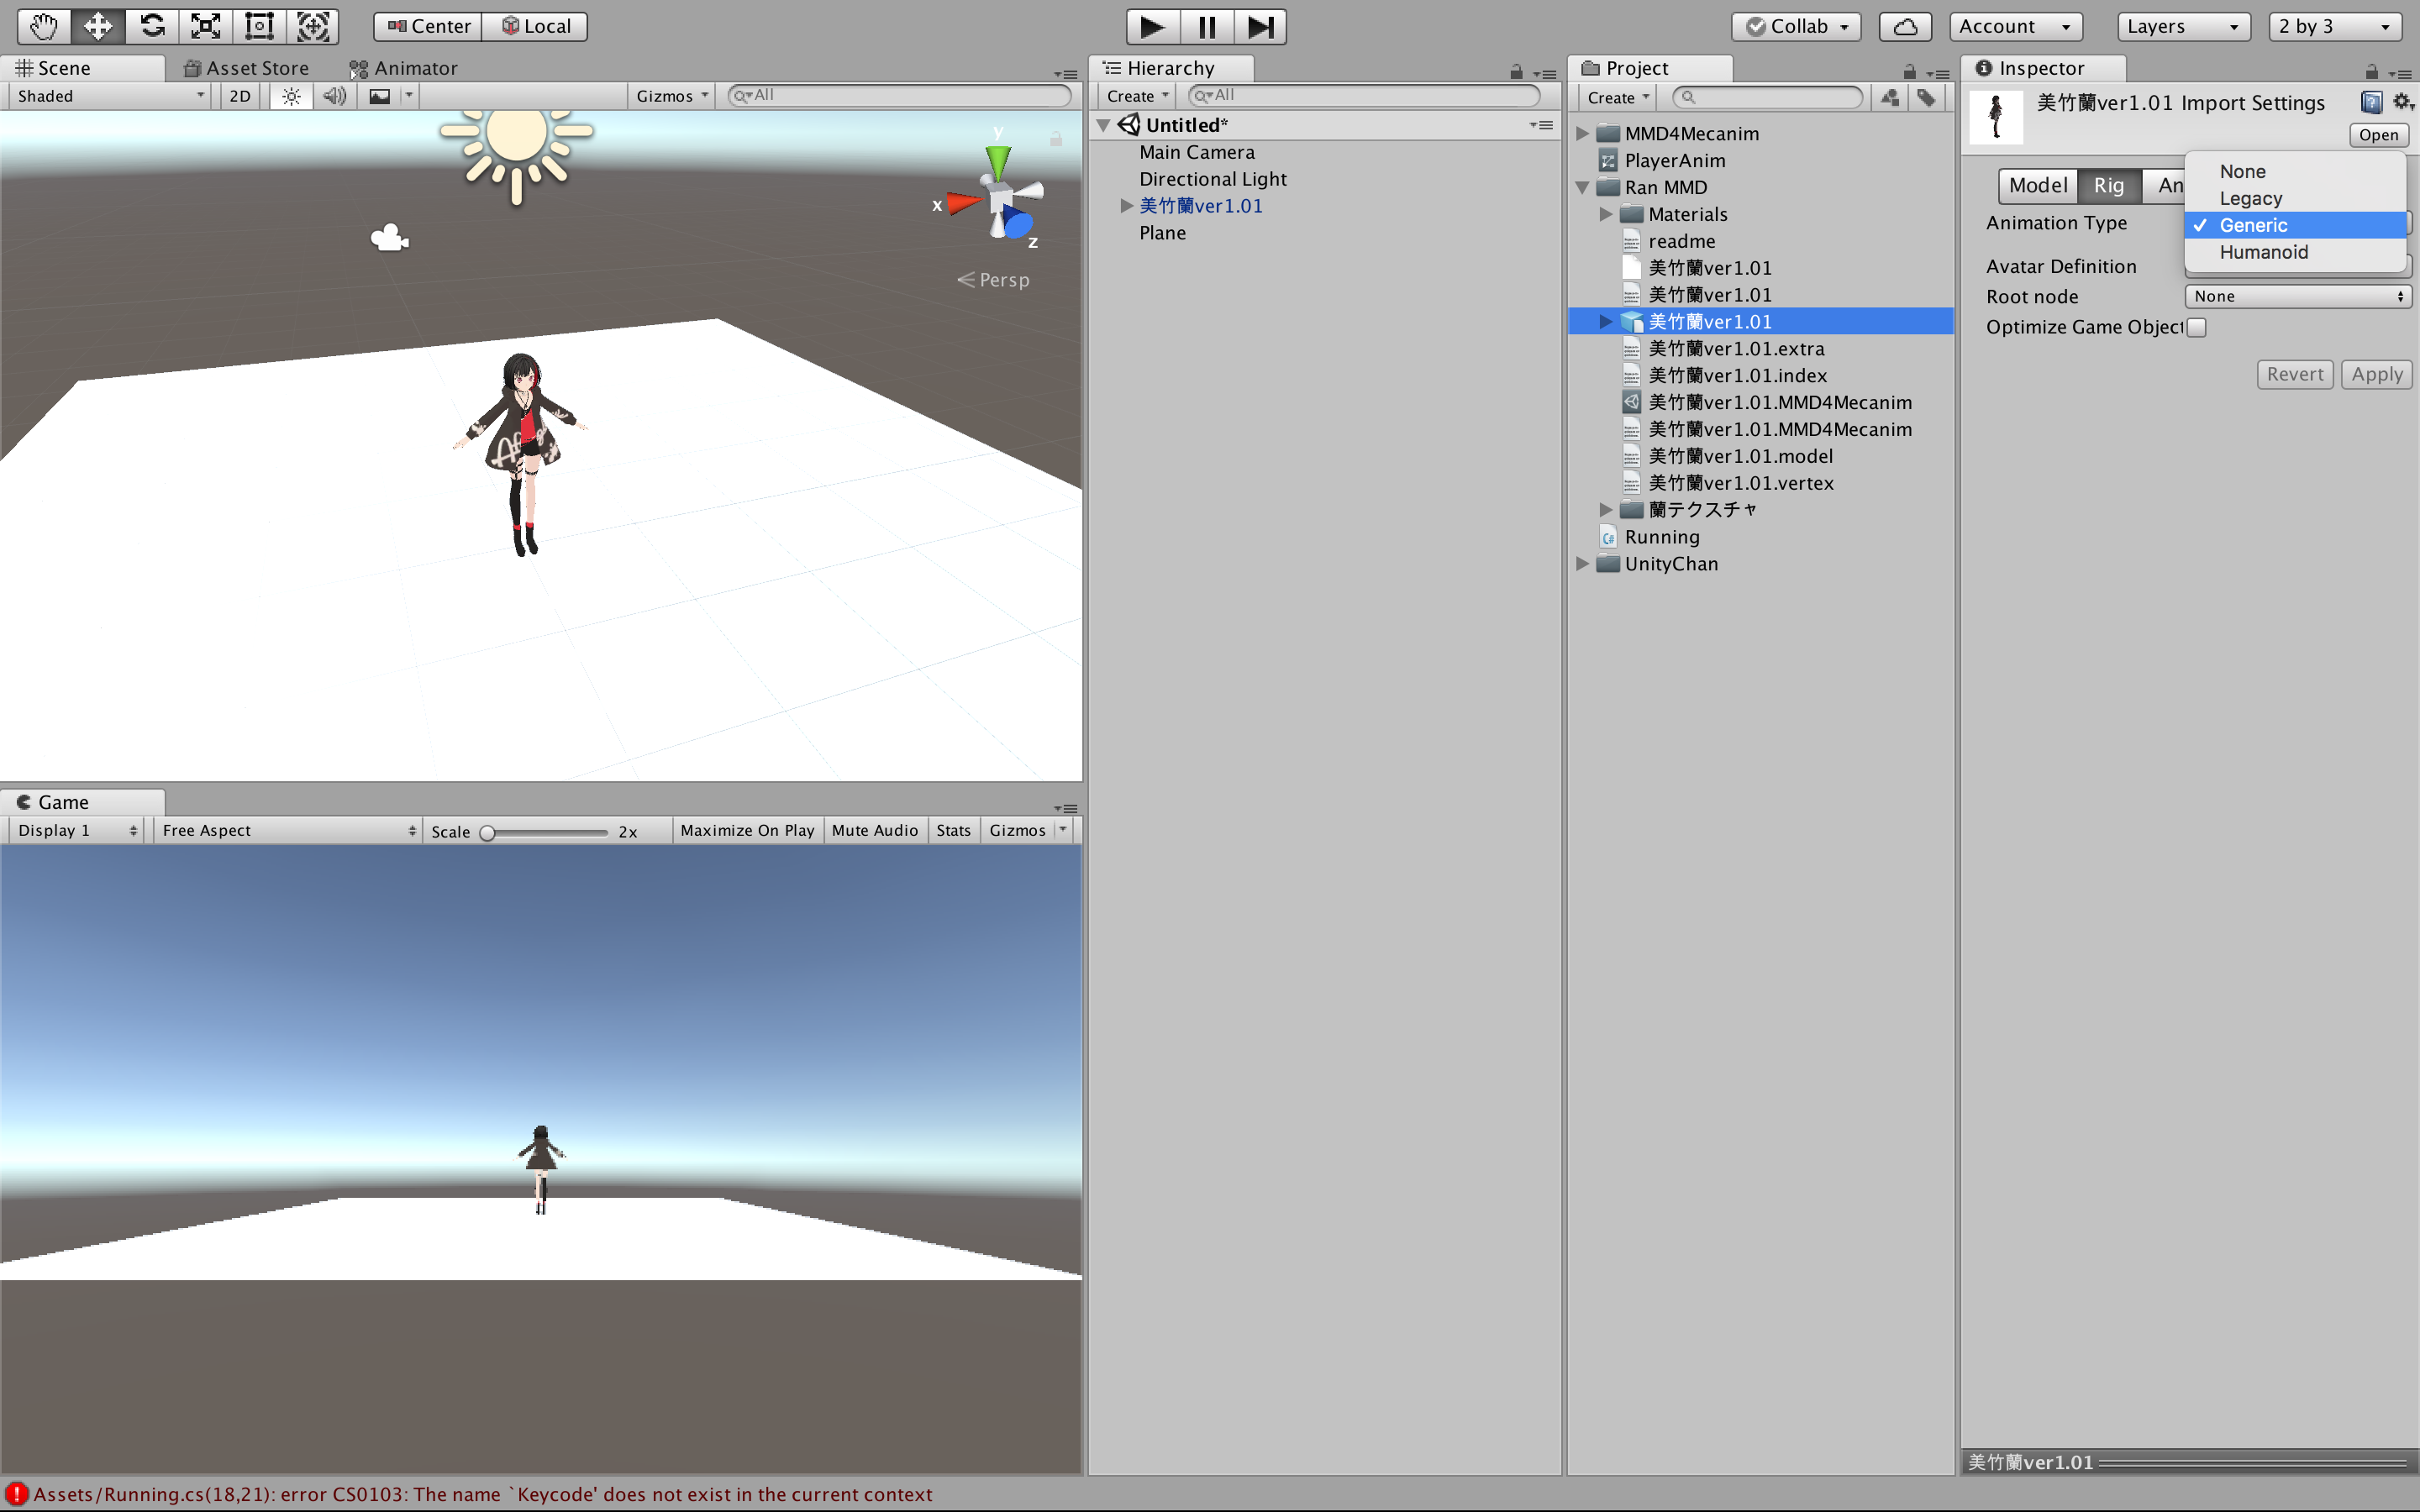
すると、下の画像のような画面になると思います。

あとはProcessを押してprefabが作られたら導入終了です。

3.MMDモデルを走らせようぜ
今回はAssetStoreにあるユニティちゃんのアニメーションを使おうと思うのでAssetStoreから一式をダウンロードしてきます。
そしてアニメーションコントローラーと動かすためのスクリプトをちゃちゃっと作ります。(今回はあまり関係のない内容なので省略します)

using System.Collections;
using System.Collections.Generic;
using UnityEngine;

public class Running : MonoBehaviour
{

	Rigidbody rb;
	//Animatorを入れる変数
	private Animator animator;

	void Start()
	{
		rb = GetComponent<Rigidbody>();
		animator = GetComponent<Animator>();
	}

	void Update()
	{
	if (Input.GetKey (KeyCode.UpArrow)) {
				rb.velocity = new Vector3 (0, 0, 0);
				animator.SetBool ("Running", true);
			}else {
				animator.SetBool ("Running", false);
			}
		}
	}
そしてMMDモデルのPrefabからRigを見て、「Animation Type」をGeneric→Humanoidに変更してApplyをクリック
あとはHierarchyからMMDモデルを画像のように設定すると完成です。お疲れ様でした。


なにか質問等あればコメントで受け付けますので気軽に質問してください。
原理解説→https://qiita.com/yasuimi6601/items/2193fff99f83b24def58