はじめに
今回はthe UC Irvine Machine Learning Repositoryから、アワビのデータを取得し、アワビの年齢予測をするモデルの作成までの道のりを書いていこうと思います。
Jupyter notebookでの実装の確認を行なっていますので、環境によっては違った挙動をするかもしれませんので、注意してください。
データの準備
とりあえず、使用するmoduleを読み込んでおきます。
import pandas as pd
import sklearn
from pandas import Series,DataFrame
from sklearn import linear_mode
from sklearn.preprocessing import StandardScaler
from sklearn.ensemble import RandomForestRegressor
今回の使用するデータはこちらでダウンロードし、abalone.dataというファイルが得られます。
取得したファイルを開きます。
with open('abalone.data') as f:
    abalone_file = f.read()
中身を確認して、
abalone_file
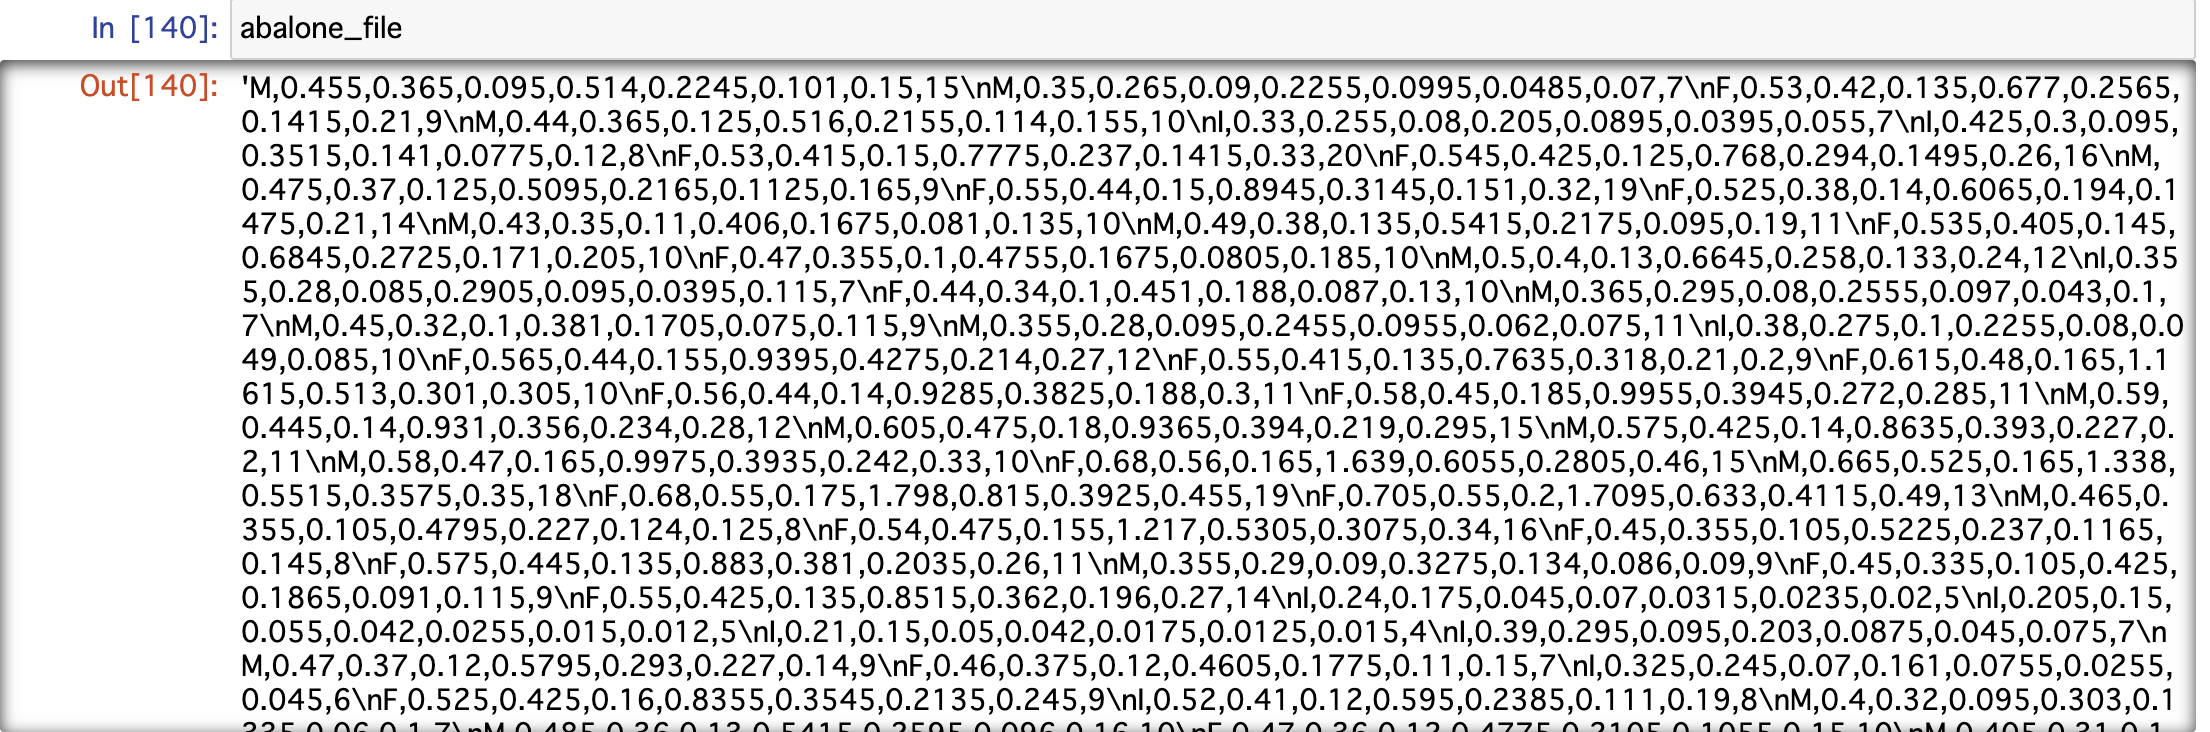
このような出力になりました。
\nで区切られていそうだったので、以下のようにしてDataFrameの型にして、中身を確認してみました。
abalone_data = []
for line in abalone_file.split('\n'):
    abalone_data.append(line.split(','))

abalone_df = DataFrame(abalone_data)

abalone_df.head()

カラムが数値になっていて何の値かがよくわからなかったので、データを取得したthe UC Irvine Machine Learning Repositoryの説明欄を見て、カラムの設定をしました。
# 列名の設定
abalone_df.columns = ['Sex', 'Length', 'Diameter', 'Height', 'Whole weight', 'Shucked weight', 'Shell weight', 'Viscera weight', 'Rings']
次に、データの中身の型の確認をします。
abalone_df.info()
出力結果↓
<class 'pandas.core.frame.DataFrame'>
RangeIndex: 4178 entries, 0 to 4177
Data columns (total 9 columns):
 #   Column          Non-Null Count  Dtype
---  ------          --------------  -----
 0   Sex             4178 non-null   object
 1   Length          4177 non-null   object
 2   Diameter        4177 non-null   object
 3   Height          4177 non-null   object
 4   Whole weight    4177 non-null   object
 5   Shucked weight  4177 non-null   object
 6   Shell weight    4177 non-null   object
 7   Viscera weight  4177 non-null   object
 8   Rings           4177 non-null   object
dtypes: object(9)
memory usage: 293.9+ KB
全てのDtypeがobjectとなってしまっていたので、適したものに変換します。
この時の変換が少し周りくどい感じがしたので、もっと良い方法があれば教えていただけると嬉しいです。
# abalone_dfのSex列以外を取得し、float型に変換した新しいdataframeを作成
abalone_dframe = abalone_df.iloc[:, 1:9].astype('float')
# 新しく作成したabalone_dframeに元のabalone_dfのSex列のデータを代入
abalone_dframe['Sex'] = abalone_df['Sex']
変換が完了しているかどうかの確認をします。
abalone_dframe.info()
出力結果↓
<class 'pandas.core.frame.DataFrame'>
RangeIndex: 4178 entries, 0 to 4177
Data columns (total 9 columns):
 #   Column          Non-Null Count  Dtype
---  ------          --------------  -----
 0   Length          4177 non-null   float64
 1   Diameter        4177 non-null   float64
 2   Height          4177 non-null   float64
 3   Whole weight    4177 non-null   float64
 4   Shucked weight  4177 non-null   float64
 5   Shell weight    4177 non-null   float64
 6   Viscera weight  4177 non-null   float64
 7   Rings           4177 non-null   float64
 8   Sex             4178 non-null   object
dtypes: float64(8), object(1)
memory usage: 293.9+ KB
型の変換は完了しました。
しかし、Non-Null Countの部分の値で、Sexのみ4178と表示されており、違和感を感じたので、データの後ろ5つを確認してみました。
abalone_dframe.tail()

なるほど、最終行はSex列だけ空白になっています。
最終行は必要なさそうなので削除します。
abalone_dframe = abalone_dframe.drop(4177)
確認
abalone_dframe.info()
出力結果↓
<class 'pandas.core.frame.DataFrame'>
Int64Index: 4177 entries, 0 to 4176
Data columns (total 9 columns):
 #   Column          Non-Null Count  Dtype
---  ------          --------------  -----
 0   Length          4177 non-null   float64
 1   Diameter        4177 non-null   float64
 2   Height          4177 non-null   float64
 3   Whole weight    4177 non-null   float64
 4   Shucked weight  4177 non-null   float64
 5   Shell weight    4177 non-null   float64
 6   Viscera weight  4177 non-null   float64
 7   Rings           4177 non-null   float64
 8   Sex             4177 non-null   object
dtypes: float64(8), object(1)
memory usage: 326.3+ KB
よさそうです。
Ringsのデータは年齢の識別のみに使用するので、削除しておきます。
abalone_dframe = abalone_dframe.drop('Rings', axis=1)
今回、性別のデータがM,F,Iというようにカテゴリになっているので、説明変数として使用できるようにダミー変数に変換します。
abalone_dframe = pd.get_dummies(abalone_dframe, drop_first=True, columns=['Sex'])
確認
abalone_dframe.head()

Ringsが消え、Sex_IとSex_Mのダミーデータが作成されているのが確認できました。
とりあえずデータの準備は完了、ということにします。
モデルの作成
今回は重回帰分析とランダムフォレスト回帰を行ってみます。
重回帰分析
X = abalone_dframe.drop('Age', axis=1)
Y = abalone_dframe['Age']

l_model = linear_model.LinearRegression()

# 学習データとしてデータの70%を使用
X_train, X_test, y_train, y_test = train_test_split(X, Y, test_size=0.3, random_state=0)

clf = l_model.fit(X_train, y_train)

print('重回帰分析:', clf.score(X_test, y_test))
出力結果↓
重回帰分析: 0.5253868694528048
各列のデータの値が統一性に欠けるため、学習データを標準化してみました。
sc = StandardScaler()
sc.fit(X_train)
X_train_std = sc.transform(X_train)
X_test_std = sc.transform(X_test)

clf = l_model.fit(X_train_std, y_train)

print('重回帰分析:', clf.score(X_test_std, y_test))
出力結果↓
重回帰分析: 0.5253868694528043
あれ、結果は変わらないんだ、、
ここでの標準化した場合としなかった場合の違いを教えていただけると嬉しいです、、、
ランダムフォレスト回帰
estimator = RandomForestRegressor()

clf = estimator.fit(X_train_std, y_train)
print('ランダムフォレスト回帰:', clf.score(X_test_std, y_test))
出力結果↓
ランダムフォレスト回帰: 0.5437448805034208
ランダムフォレスト回帰の方が重回帰分析よりも精度の高い結果となりました。
おまけ
グリッドサーチを使ってみる
param_grid = {'criterion':['mse','friedman_mse','mae'],
              'max_depth': [2,3,4,5,6,7,8,9],
              'n_estimators': [1,10,50,100]}

# グリッドサーチ
gs = GridSearchCV(estimator=estimator, param_grid=param_grid, scoring='r2', n_jobs=-1)
gs = gs.fit(X_train, y_train)

# score、ベストパラメータを表示
print('ランダムフォレスト回帰:',gs.score(X_test,y_test))
print('ベストパラメータ:',gs.best_params_)
出力結果↓
ランダムフォレスト回帰: 0.5438998974098809
ベストパラメータ: {'criterion': 'friedman_mse', 'max_depth': 7, 'n_estimators': 100}
少しだけ精度が高くなりました。
おわりに
まだまだ知識が乏しいなりに、頑張って実装してみました。
改善点や精度を高める方法など、どんなことでも構いませんので、ご指摘していただけると嬉しいです。
最後まで読んでいただきありがとうございます。