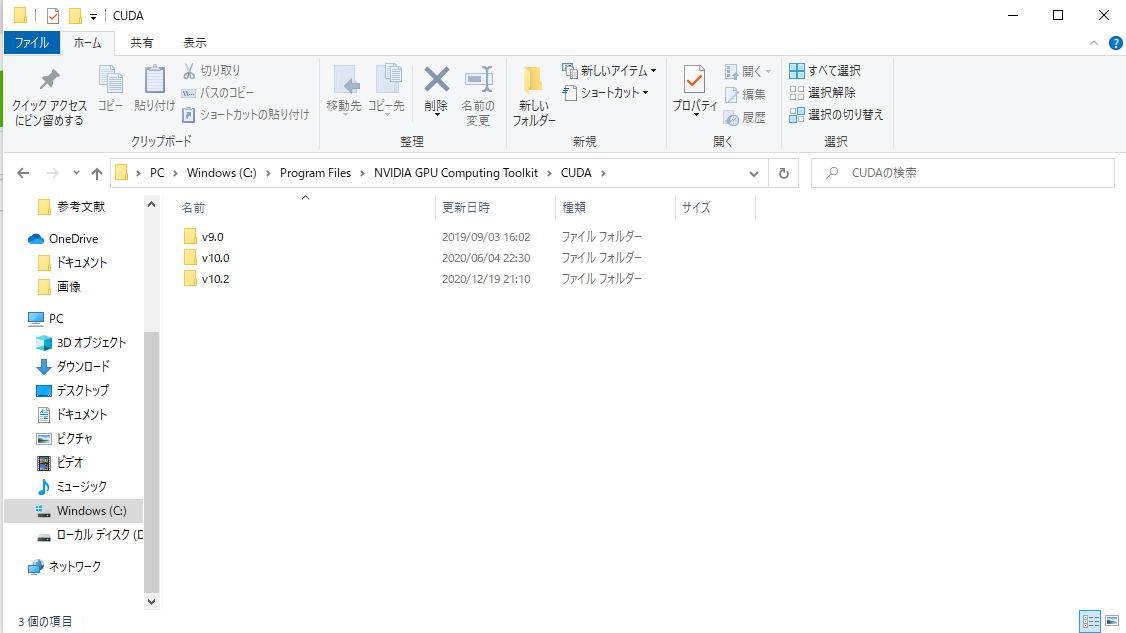
大学の研究で機械学習をやっていて、同一環境で複数のバージョンのCUDAを扱うにはどうすればよいのか困ったことがあったのでそれについて書いていく。
前提
Windows10環境においてPyTorchをGPUで動かす。
PyTorchのバージョンによって必要なCUDAのバージョンが異なる。
これに伴って、複数のバージョンのCUDAをインストールした。
対象者
PyTorchをGPUで動かしたことがあり、cuDNNやCUDAのインストール方法やパスの通し方は大体知っているが、複数のバージョンの扱い方がわからない方。
方法
結論から言うと、ユーザーは何もしなくてよい。
パスさえ通っていれば、PyTorchのどのバージョンを動かすかによって必要なCUDAを自動で認識してくれる。
where nvccとコマンドプロンプトに入力した時に
C:\Program Files\NVIDIA GPU Computing Toolkit\CUDA\v10.2\bin\nvcc.exe
C:\Program Files\NVIDIA GPU Computing Toolkit\CUDA\v10.0\bin\nvcc.exe
C:\Program Files\NVIDIA GPU Computing Toolkit\CUDA\v9.0\bin\nvcc.exe
というように、使うバージョンのCUDAのパスがあれば問題ない。
もしない場合は、(こんなことはまずないはずだが、もし自分でわからずつついている内に消してしまうことはあるかも?)システム環境変数のPathに以下のようなパスを追加すればよい。(バージョン10.2の場合)
C:\Program Files\NVIDIA GPU Computing Toolkit\CUDA\v10.2\bin
C:\Program Files\NVIDIA GPU Computing Toolkit\CUDA\v10.2\libnvvp
