はじめに
人物の顔をぼかす記事の続きです。
今回は人ではなく車をぼかします。
今回もChatGPTの力を借りながら初めて画像処理に挑戦してみたので、その結果を備忘録として残しておきます。
やりたいこと
画像に車が映っていた場合、車全体をぼかす
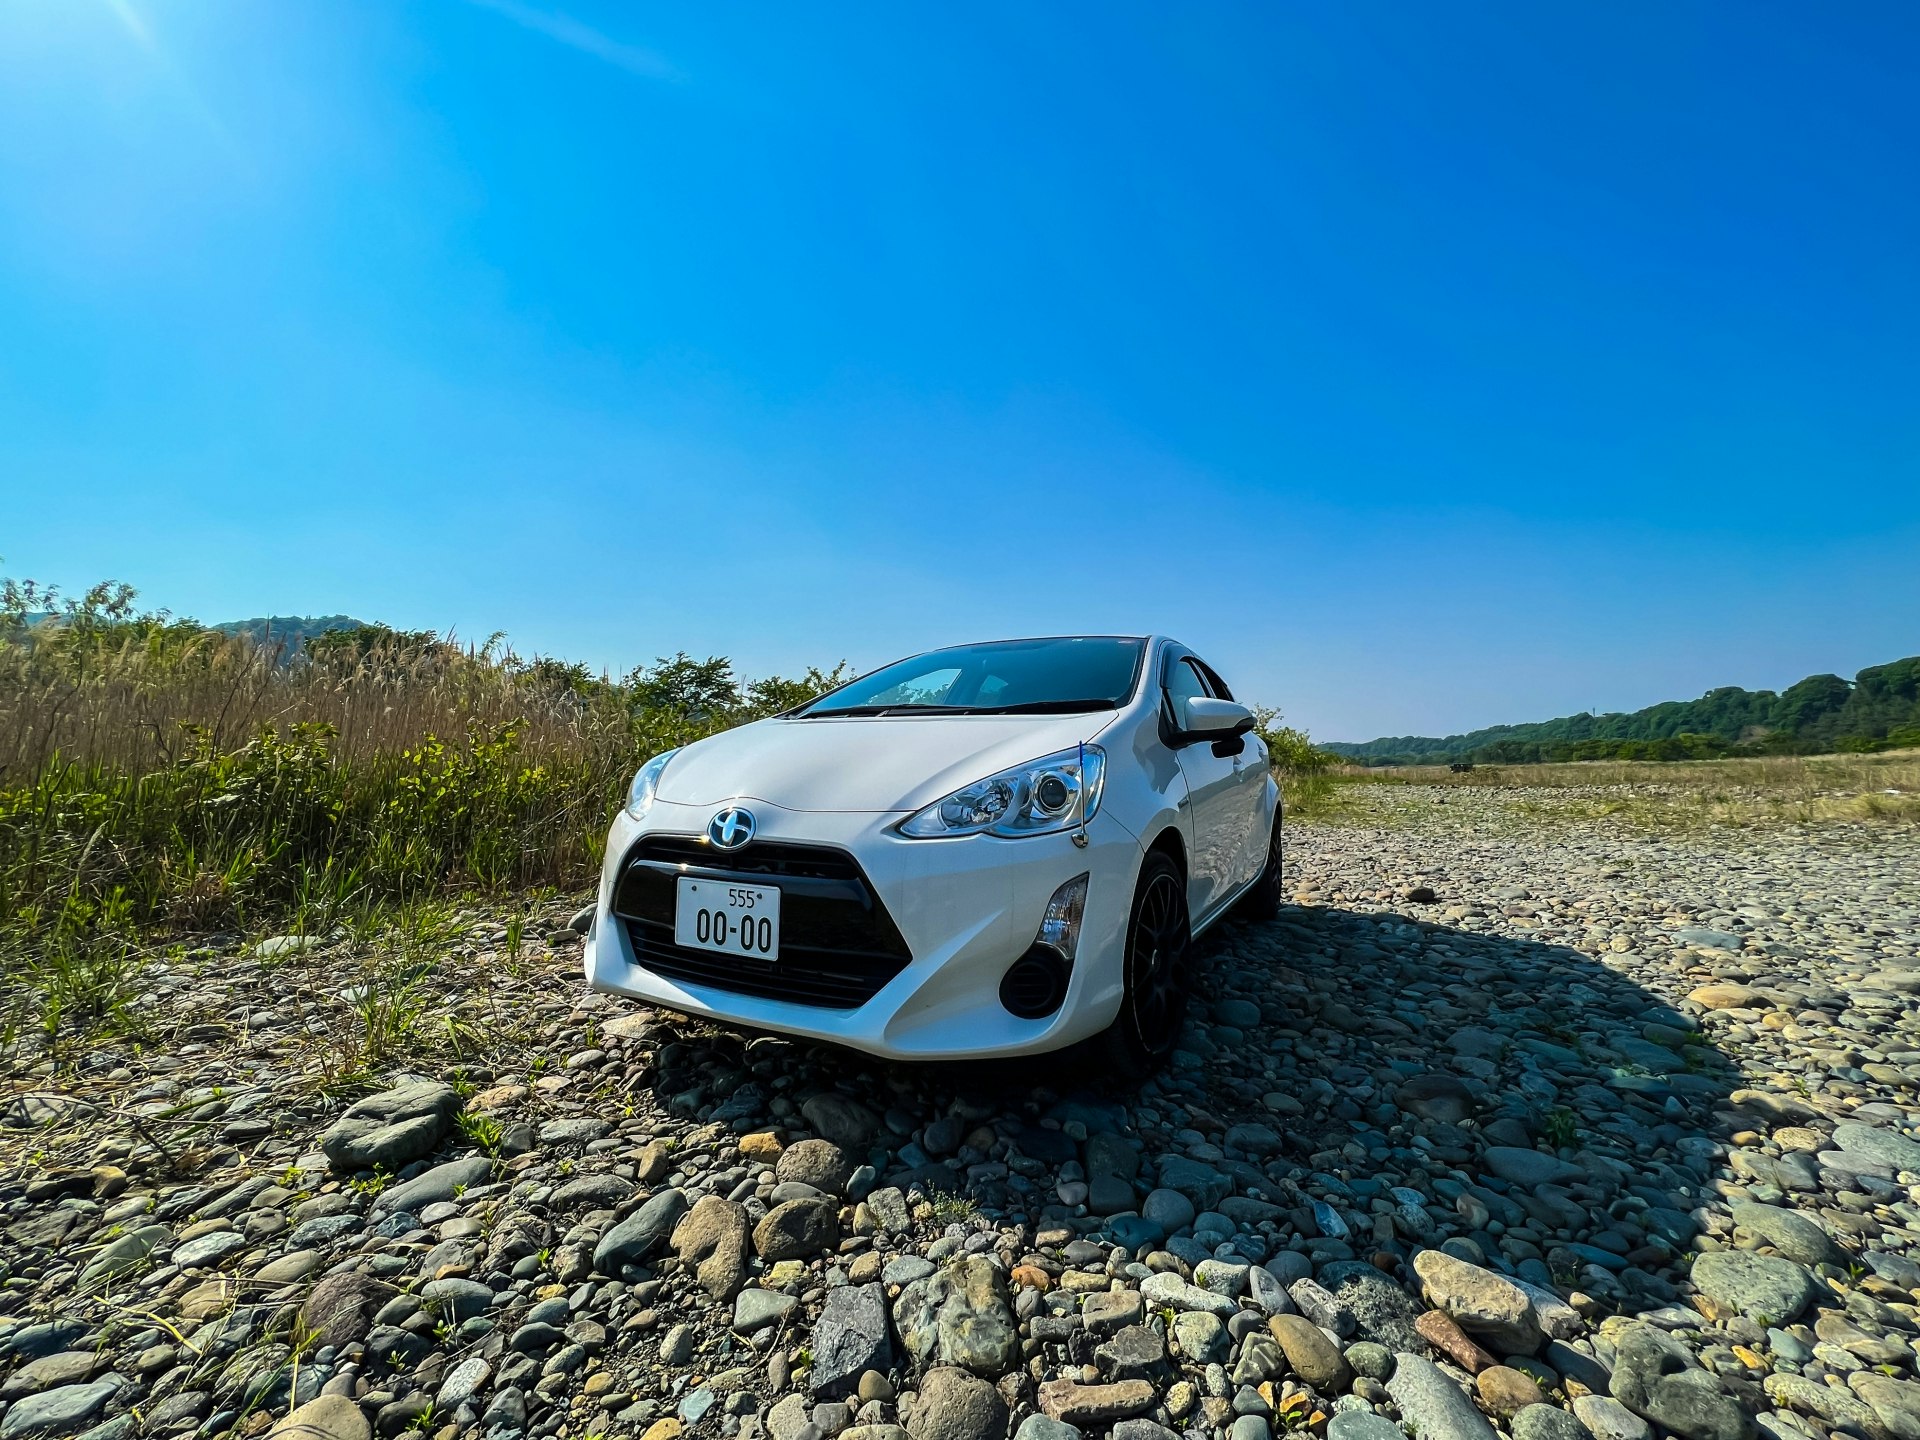
テストで使用する画像
今回は、写真ACのフリー画像を使用します。
環境
Google Colaboratoryを使用します。
YOLOのセットアップ
YOLO(You Only Look Once)とは、2016年に発表された物体検出手法です。画像全体をグリッド分割し、各セルが物体を持つか及びその物体のカテゴリと位置を一度の処理で判定します。 (Wikipediaより)
まず、YOLOを動かすための環境をセットアップします。以下のコードを実行することで、必要なライブラリと重みファイルを取得できます。
!git clone https://github.com/AlexeyAB/darknet.git
%cd darknet
!sed -i 's/OPENCV=0/OPENCV=1/' Makefile
!sed -i 's/GPU=0/GPU=1/' Makefile
!sed -i 's/CUDNN=0/CUDNN=1/' Makefile
!make
!wget https://pjreddie.com/media/files/yolov3.weights
画像をアップロード
次に、検出対象の写真をアップロードします。
from google.colab import files
uploaded = files.upload()
for fn in uploaded.keys():
    image_path = fn
ぼかし処理
import cv2
import numpy as np
from matplotlib import pyplot as plt

"""
    非最大抑制 (NMS) を適用して、重複するバウンディングボックスを統合または除去する
    @param boxes (list): バウンディングボックスのリスト
    @param confidences (list): 各バウンディングボックスの信頼度のリスト
    @param threshold (float): NMSのしきい値
    @return list: 重複を除去した後のバウンディングボックスのインデックス
"""
def apply_nms(boxes, confidences, threshold=0.5):
    indices = cv2.dnn.NMSBoxes(boxes, confidences, score_threshold=0.5, nms_threshold=threshold)

    return indices


"""
    YOLOを使用して画像のナンバープレートを検出し、ぼかし処理を行う
    @param image_path (str): 画像のパス
    @param configPath (str): YOLOの設定ファイルへのパス
    @param weightPath (str): YOLOの重みファイルへのパス
    @return ndarray: ぼかし処理を施した画像
"""
def detect_and_blur_plate(image_path, configPath, weightPath):
    # Load YOLO model
    net = cv2.dnn.readNetFromDarknet(configPath, weightPath)

    # Load the image
    image = cv2.imread(image_path)
    height, width = image.shape[:2]

    # Preprocess the image
    blob = cv2.dnn.blobFromImage(image, 1/255.0, (416, 416), swapRB=True, crop=False)
    net.setInput(blob)

    # Get names of YOLO output layers
    layer_names = net.getLayerNames()
    output_layer_indices = net.getUnconnectedOutLayers().flatten().tolist()
    output_layers = [layer_names[i - 1] for i in output_layer_indices]

    detections = net.forward(output_layers)

    boxes = []
    confidences = []

    # Analyze detection results
    for detection in detections[0]:
        scores = detection[5:]
        class_id = np.argmax(scores)
        confidence = scores[class_id]
        if confidence > 0.5:
            center_x = int(detection[0] * width)
            center_y = int(detection[1] * height)
            w = int(detection[2] * width)
            h = int(detection[3] * height)
            x = int(center_x - w / 2)
            y = int(center_y - h / 2)

            boxes.append([x, y, w, h])
            confidences.append(float(confidence))

    # Apply Non-Maximum Suppression
    indices = apply_nms(boxes, confidences)

    # Apply blur and draw rectangles
    for idx in indices:
        if isinstance(idx, (np.ndarray, list)) and len(idx) > 0:
            i = idx[0]
        else:
            i = idx
        box = boxes[i]
        x, y, w, h = box[0], box[1], box[2], box[3]

        roi = image[y:y+h, x:x+w]
        blurred = cv2.GaussianBlur(roi, (15, 15), 0)
        image[y:y+h, x:x+w] = blurred

        # Draw a rectangle around the blurred region
        cv2.rectangle(image, (x, y), (x+w, y+h), (0, 0, 255), 2)

    return image


# Set paths for the configuration and weights
configPath = "./cfg/yolov3.cfg"
weightPath = "./yolov3.weights"

blurred_image = detect_and_blur_plate(image_path, configPath, weightPath)
plt.imshow(cv2.cvtColor(blurred_image, cv2.COLOR_BGR2RGB))
plt.axis('off')
plt.show()
こんな感じにぼかすことができました。
ちなみに、ぼかした位置が分からない時があったので、分かりやすいようにぼかした範囲を赤枠で囲むようにしました。

ぼかしを強くする
ぼかしの強さは、cv2.GaussianBlur() 関数の第2引数であるカーネルサイズに応じて制御していて、カーネルサイズが大きいほど、ぼかしは強くなります。ただし、カーネルサイズは奇数である必要があります。
試しに、カーネルサイズを35にしてみるとこんな感じです。
cv2.GaussianBlur(roi, (35, 35), 0)

若干、ぼかしが強くなりました。
| カーネルサイズ:15 | カーネルサイズ:35 |
|---|---|
|
|
ちなみに
cv2.GaussianBlur() 関数の第3引数は横方向の標準偏差を指しています。
値が小さいほど、よりカーネルの中心(≠画像の中心)に強くぼかしがかかり、逆に、値が大きいほど、より均一にカーネル全体にぼかしがかかるようになります。
おわりに
今回はこちらの企画の一環で、写真をアップロードする際にプライバシーな情報が映っていたらぼかしたい!と思い、挑戦してみました。
当初、ナンバープレートのみぼかそうと考えていましたががうまくできず、、
車を検出し、車自体をぼかすようにしてみたところ、思うようにぼかすことができました。
余談ですが、企画自体は一旦クローズとなりました、、経緯などはこちらのブログに載せています。気になったかたは是非ご覧ください。