はじめに
コマンドラインベースでNode.jsを学習できるNodeSchoolという素晴らしいサービスがあります。
https://nodeschool.io/
すでにメイン?のlearnyounodeコースは終了したのですが、ほかにも面白そうなコースがあるので今回はelementary-electronをやってみます。
Electronでデスクトップアプリを作る方法を学べるようです。
やってみる
適当な場所で
npm install -g elementary-electron
として、学習用のライブラリをインストールします。
またまた適当な場所で
mkdir elementary-electron
cd elementary-electron
として、ここを作業ディレクトリにすることにします。
学習をする際は
elementary-electron
と叩けば、コースの選択画面を表示することが出来ます。
今回のコースには以下の5つの章があるようです。早速やっていきましょう。
- Installing
- Hello World
- Cat Picture
- Cat Annotation
- Save PDF
Installing
インストールするだけですね。既にインストール済みの人であれば何もしなくてもクリアです。
npm install -g electron
elementary-electron verify
Hello World
いつものHello Worldを出すだけのアプリを作ります。
index.html
<!DOCTYPE html>
<html>

<head>
</head>

<body>
  <h1>Hello World</h1>
</body>

</html>
app.js
const electron = require('electron')

electron.app.on('ready', () => {
  const mainWindow = new electron.BrowserWindow({ width: 600, height: 800 })
  mainWindow.loadURL(`file://${__dirname}/index.html`)
})
実行してみます。
electron app.js
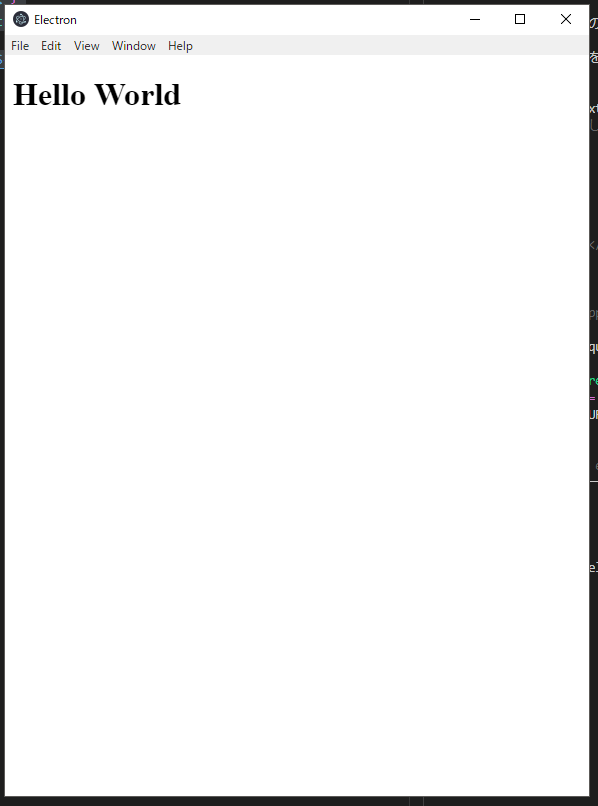
アプリが表示されました!
Cat Picture
猫の写真を表示するアプリを作るようですね。
まずは
npm init
でpackage.jsonを生成しつつ、cat-pictureモジュールをインストールします。
npm install --save cat-picture
cat-pictureを読み込むindex.jsを作りつつ、それをindex.htmlで読み込むように設定します。
index.html
<!DOCTYPE html>
<html>

<head>
</head>

<body>
  <h1>Hello World</h1>
  <script type="text/javascript" src="index.js"></script>
</body>

</html>
index.js
require('cat-picture')
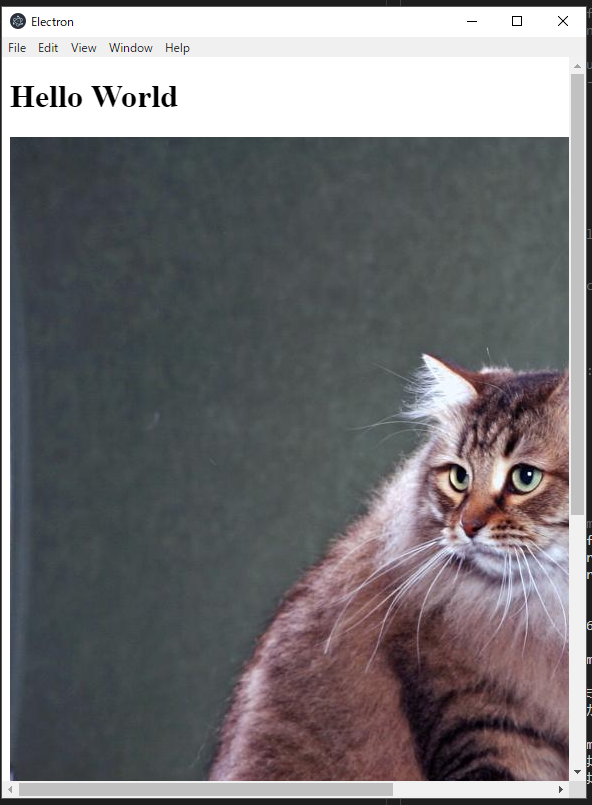
猫の画像がちゃんと出ました。
Cat Annotation
先ほどのアプリをさらに改造していきます。
まずは必要なモジュールを追加でインストールしつつ
npm install --save lightning-image-poly
index.html
<!DOCTYPE html>
<html>

<head>
</head>

<body>
  <h1>Hello World</h1>
  <div id="visualization"></div>
  <script type="text/javascript" src="index.js"></script>
</body>

</html>
index.js
const picture = require('cat-picture')
const image = require('lightning-image-poly')

const src = picture.src
picture.remove()

const viz = new image('#visualization', null, [src], { hullAlgorithm: 'convex' })
謎にポリゴンが描けますね(動画を撮っていたのですが消えてしまいました)。
とりあえずこれでクリアです。
Save PDF
先ほどのポリゴンをPDFに保存できるようにするそうです。
index.js
const picture = require('cat-picture')
const image = require('lightning-image-poly')
const { remote } = require('electron')
const fs = require('fs')

const src = picture.src
picture.remove()

const viz = new image('#visualization', null, [src], { hullAlgorithm: 'convex' })

const save = () => {
  remote.getCurrentWebContents().printToPDF({
    portrait: true
  }, (err, data) => {
    fs.writeFile('annotation.pdf', data, err => {
      if (err) alert(`error generating pdf! ${err.message}`)
      else alert('pdf saved!')
    })
  })
}

window.addEventListener('keydown', e => {
  if (e.keyCode == 80) save()
})
アプリを開いてPキーを押すとelementary-electronのディレクトリにannotation.pdfがちゃんと保存されました。
これでコースは修了です。
おわりに
learnyounodeコースはお題とヒントだけが与えられて、自分で考えて試行錯誤しながら解いていく形式だったので結構やりがいがあったのですが、今回のコースは説明文に書いてある内容ですべてクリアできてしまいました。
コースをこなしながら同時に本記事を書いていたのですが、20分そこらでElectronの導入を触れるのは良い感じですね。次回はもう少し難易度の高いコースをやってみたいと思います。