Locust とは何か
Locust とは Python で書かれた分散負荷試験ツールです。
以下の特徴があります。
- シナリオを Python で記述
- 分散&スケーラブル
- Web ベース管理画面
- 高いカスタマイズ性
インストール
現状 python3系には対応していないので python2.7系を使用します。
インストールは pip から行えます。
$ pip install locustio pyzmq
geventというライブラリを使う関係で libevent が必要です。
OSXであれば macports か homebrew でインストールしてください。
使い方
locustfile.py というファイルを作り、シナリオを書きます。
試しに、最初にログインURLを叩き、その後 /info を 5秒に一度叩くシナリオを書いてみます。
# -*- coding: utf-8 -*-
from __future__ import absolute_import
from __future__ import unicode_literals

from locust import HttpLocust, TaskSet, task


class UserTaskSet(TaskSet):
    def on_start(self):
        """
        タスクセットの開始時に1回のみ呼ばれます。
        """
        self.client.post("/login", {"username": "ellen_key", "password": "education"})

    @task
    def index(self):
        self.client.get("/info")


class WebsiteUser(HttpLocust):
    task_set = UserTaskSet

    # task実行の最短待ち時間
    min_wait = 1000
    # task実行の最大待ち時間
    max_wait = 1000
実行してみましょう。
-H で負荷をかける先のURLを指定します。
$ locust -H http://localhost:5000
[2015-12-07 18:26:45,533] locust.main: Starting web monitor at *:8089
[2015-12-07 18:26:45,534] locust.main: Starting Locust 0.7.3
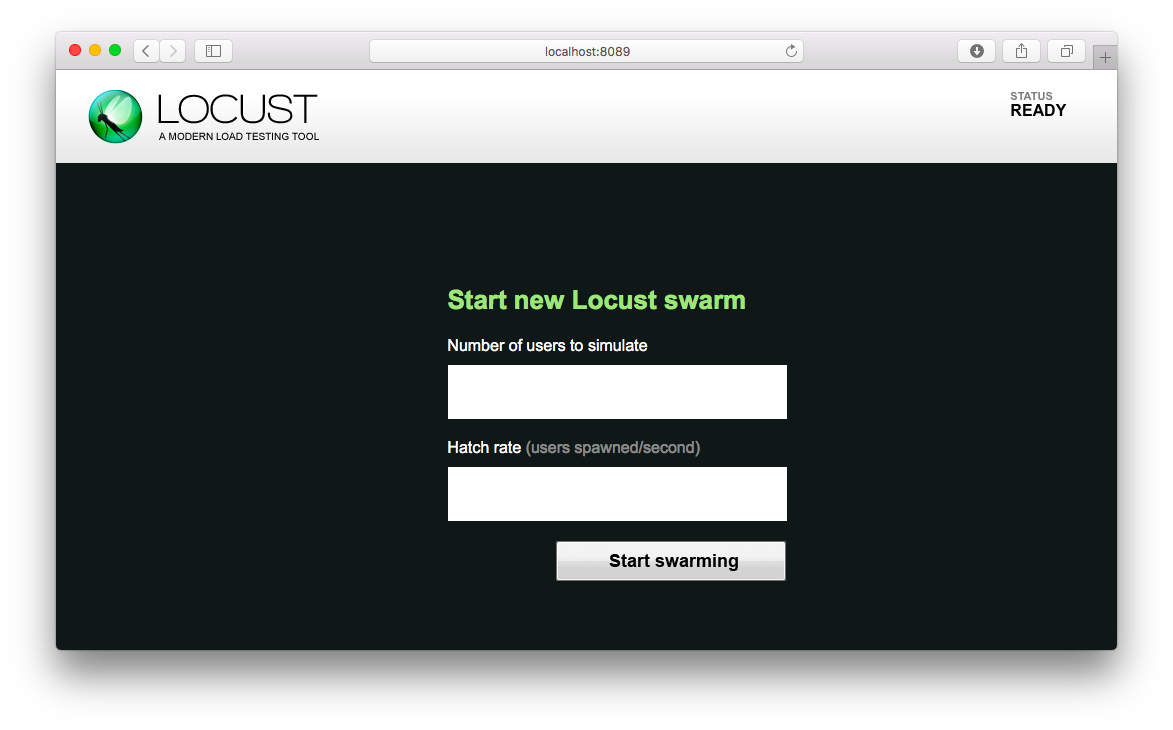
ブラウザで http://localhost:8089 にアクセスします。
2つ設定項目があるので、"Number of users to simulate" に10、 "Hatch rate" に 1 と入れましょう。
意味は以下の通りです。
- Number of users to simulate:
- 何クライアント作成するか
- Hatch rate:
- クライアントの作成スピード(毎秒)
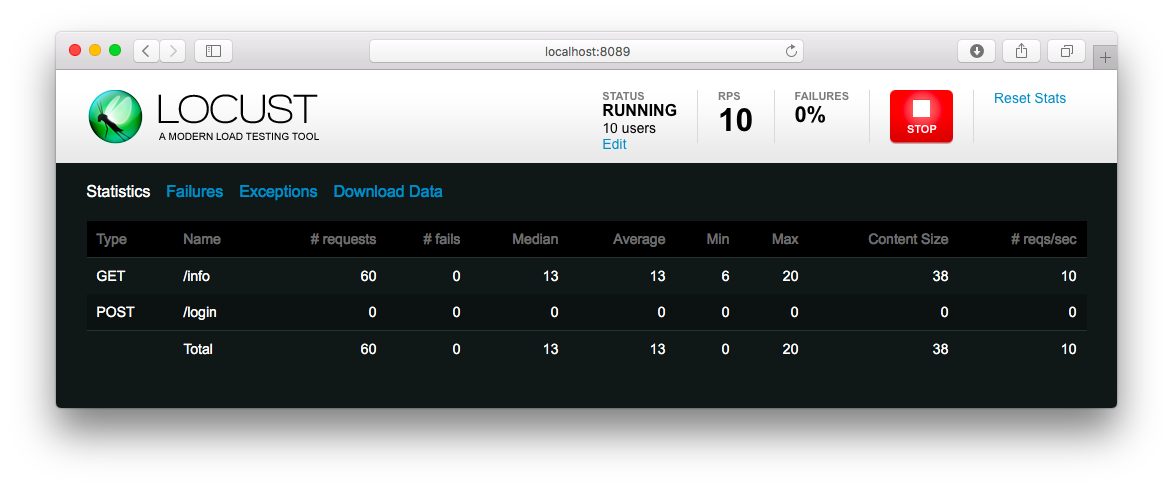
単位は ms です。/info は平均13msでレスポンスがあるのがわかります。
順調にリクエストが流れています。
上のStopを押すとリクエストが終了します。
locustの動作として、 "Number of users to simulate" で指定したクライアントが生成されると、それまでの結果を破棄してカウントし直すという動作をとります。そのため、loginのパフォーマスなども計測したい場合はきちんとtaskとして再ログインなどを組んでおく必要があります。
コマンドラインから
負荷シナリオ自体のテストや、簡単なものであればコマンドラインで
できた方が色々便利ですよね。そういう時は --no-web オプションを使います。
$ locust -H http://localhost:5000 --no-web
先ほどのクライアント数は -c オプションと -r オプションで指定できます。
(デフォルト 1)
$ locust -H http://localhost:5000 --no-web -c 10 -r 3
全体で何リクエスト送りたいかを指定する場合は -n で指定します。
終了すると以下のような形で結果を出してくれます。
[2015-12-07 18:52:45,907] INFO/locust.runners: All locusts dead

[2015-12-07 18:52:45,907] INFO/locust.main: Shutting down (exit code 0), bye.
 Name                                                          # reqs      # fails     Avg     Min     Max  |  Median   req/s
--------------------------------------------------------------------------------------------------------------------------------------------
 POST /gacha                                                      328     0(0.00%)      10       6      15  |      11   12.90
 GET /info                                                        172     0(0.00%)      10       5      15  |      10    6.70
 POST /login                                                        0     0(0.00%)       0       0       0  |       0    0.00
--------------------------------------------------------------------------------------------------------------------------------------------
 Total                                                            500     0(0.00%)                                      19.60

Percentage of the requests completed within given times
 Name                                                           # reqs    50%    66%    75%    80%    90%    95%    98%    99%   100%
--------------------------------------------------------------------------------------------------------------------------------------------
 POST /gacha                                                       328     11     11     12     12     13     14     14     15     15
 GET /info                                                         172     11     11     12     12     13     14     14     14     15
--------------------------------------------------------------------------------------------------------------------------------------------
分散
locustは複数のホストから分散して負荷をかける事もできます。
分散して負荷をかける場合、タスクの割り振りや開始/終了、結果集計などを担当する master となるプロセスと、とタスク実行を担当する slave に分かれます。
まず master を立ち上げましょう。
$ locust -H http://localhost:5000 --master
次に slave を立ち上げます。
$ locust -H http://localhos:5000 --slave --master-host=127.0.0.1
無事に slave が master に接続できれば、ブラウザの画面で以下のように slave が増えている事が確認できます。
あとはシングル時と同じように動作します。
カスタマイズ
Locustの本領は、そのシンプルな機構からもたらされる高いカスタマイズ性です。
以下の記事にも書きましたが、単純なHTTPによる負荷試験以外にも、Websocketの負荷試験や、普通のTCPベースの通信にも使えます。
例えば MQTT Broker の PubSub に locust から負荷をかけるのは以下のようにかけます。
# -*- coding:utf-8 -*-
from __future__ import absolute_import
from __future__ import unicode_literals

import time

import gevent
import paho.mqtt.client as mqtt
from locust import TaskSet, task, Locust
from locust.events import request_success

HOST = 'localhost'
PORT = 5555


def on_receive_publish(c, u, m):
    elapsed = time.time() - float(m.payload)
    request_success.fire(
        request_type='Recv Publish',
        name=m.topic,
        response_time=int((elapsed if elapsed >= 0 else 0) * 1000),
        response_length=len(m.payload),
    )


class MQTTTaskSet(TaskSet):
    bufsize = 5000

    def on_start(self):
        # connecting to mqtt broker

        self.topic = b'sample/abc'

        self.mqtt = mqtt.Client(protocol=mqtt.MQTTv311)
        self.mqtt.on_message = on_receive_publish
        self.mqtt.connect(HOST, port=PORT, keepalive=5)
        self.mqtt.subscribe(self.topic)

        def _recv():
            while not self.mqtt.loop():
                pass

        gevent.spawn(_recv)

    @task
    def pub(self):
        start_at = time.time()
        self.mqtt.publish(self.topic, str(start_at), qos=0)


class MQTTUser(Locust):
    task_set = MQTTTaskSet
    min_wait = 100
    max_wait = 100
Locust自体はただの分散実行と簡易な結果集計の仕組みしか持たないので、事実上、pythonでかける通信であればなんでも簡単に同時実行させる事ができるのが強みです。
各 TaskSet 間の協調動作等も MySQL や Redis を立ててしまえば、認証情報を順番に払い出したりも簡単に実装できます。
今回は扱いませんでしたが、集計結果の表示も普通の flask による Webアプリケーションなので割とどうにでも変更可能です。
負荷試験ツールというと敷居が高いと感じる人も Locust で負荷試験を始めてみませんか?


