概要
Spring securityを用いたユーザ認証の実装方法を紹介します。
まず、パスワードをハッシュ化して新規会員登録を行う方法を紹介した後に、
Spring securityを使用してユーザ認証を行う方法を紹介します。
- 想定読者
- Springとmybatisを使ってDB操作を行ったことがある人。
- javaの基本的な文法を知っている人。
今回は以下の環境で動作確認しています。
- 環境
- OS: macOS Mojave 10.14.2
- Spring Boot version: 2.1.1.RELEASE
- mybatis version: 1.3.2
- JDK version: 1.8
- ブラウザ: safari version 12.0.2
DB
ユーザ名とパスワードを保存するテーブルの作成
まず、ユーザ名とパスワードを保存するためのテーブルを作成します。
今回は、ユーザ名(NAME)とパスワード(PASSWORD)とIDをカラムとしてもつUSERテーブルを作成します。
以下のSQL文を実行して、USERテーブルを作成します。
CREATE TABLE USER(ID INT PRIMARY KEY AUTO_INCREMENT, NAME VARCHAR(64) NOT NULL, PASSWORD VARCHAR(64) NOT NULL);
ここで大事なのは、PASSWORDの文字数を60文字以上に設定することです。パスワードはハッシュ化してDBに登録しますが、今回のハッシュ化で用いるBCryptPasswordEncoderでパスワードをハッシュ化すると文字数が60文字になるため、今回はパスワードのカラムには最低でも60文字必要です。
Spring security準備
Spring securityの依存性を追加
まず、Spring securityを使用するために、Spring securityの依存性を注入します。
Pom.xmlに以下のdependencyを追記します。
    <dependency>
        <groupId>org.springframework.boot</groupId>
        <artifactId>spring-boot-starter-security</artifactId>
    </dependency>
Spring securityの依存性を注入すると、アプリケーションを起動した際にSpring securityのデフォルトのログイン画面が表示されるようになります。
現段階では以下のデフォルトのログイン画面が表示されます。
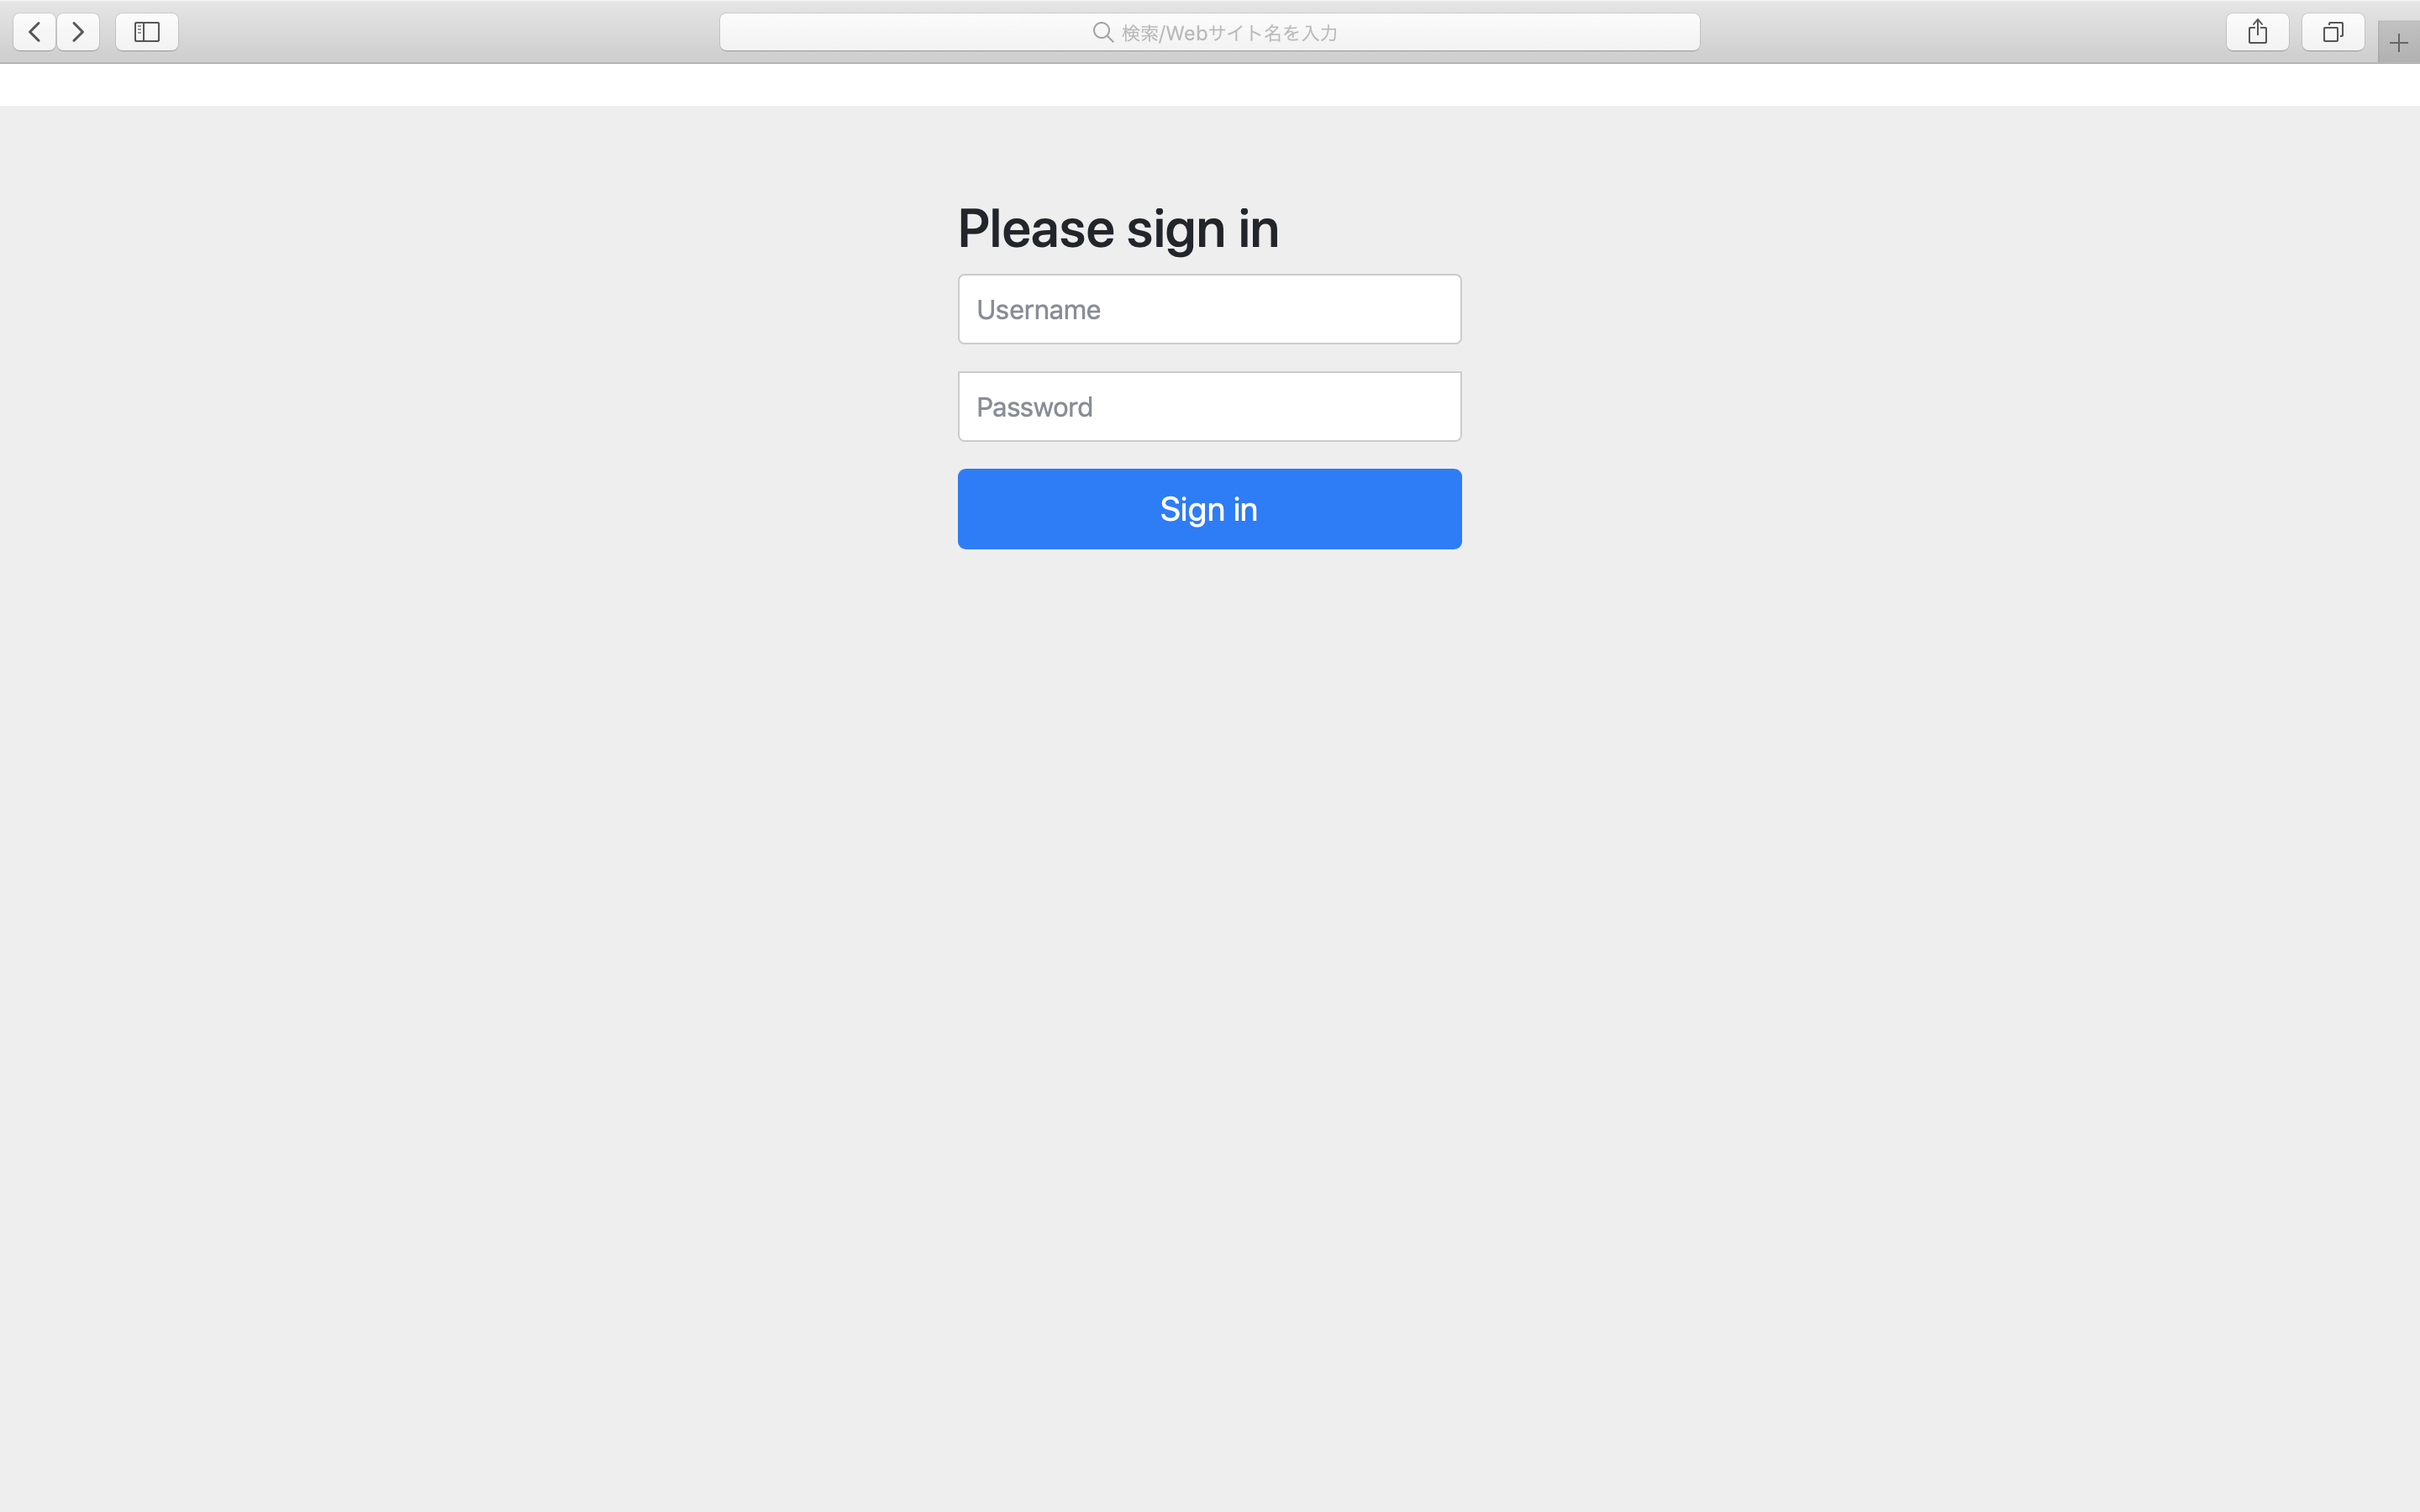
では、次節で自分が作成したログイン画面が表示されるようにしましょう。
自分が作成したログイン画面が表示されるようにする
ここでは、ログイン画面の作成、Controllerの作成、WebSecurityConfig.javaの作成を行います。
まず、ログイン画面を作成します。
<!DOCTYPE html>
<html xmlns="http://www.w3.org/1999/xhtml"
      xmlns:th="http://www.thymeleaf.org">
<head>
<meta charset="UTF-8">
<title>ログイン</title>
</head>
<body>
<form th:action="/" method="POST">

    <table align="center">
        <tr>
            <td>
                ユーザ名:
            </td>
            <td>
                <input type="text" id="user" name="user"/>
            </td>
        </tr>
        <tr>
            <td>
                パスワード:
            </td>
            <td>
                <input type="password" id="password" name="password"/>
            </td>
        </tr>
        <tr>
            <td>
            </td>
            <td align="right">
                <button type="submit">ログイン</button>
            </td>
        </tr>
        <tr>
            <td>
            </td>
            <td align="right">
                <a href="/RegistrationForm">新規登録</a>
            </td>
        </tr>
    </table>
</form>
</body>
</html>
次にControllerを作成します。
import org.springframework.stereotype.Controller;
import org.springframework.ui.Model;
import org.springframework.web.bind.annotation.RequestMapping;

@Controller
public class LoginController {

	@RequestMapping("/login")
	public String showLoginForm(Model model) {

		//ログイン画面へ遷移。
		return "Login";
	}
}
次に、java configで設定を行います。
設定を行うためのWebSecurityConfigクラスを作成します。このクラスは、WebSecurityConfigurerAdapterを継承します。
import org.springframework.context.annotation.Configuration;
import org.springframework.security.config.annotation.web.builders.HttpSecurity;
import org.springframework.security.config.annotation.web.configuration.EnableWebSecurity;
import org.springframework.security.config.annotation.web.configuration.WebSecurityConfigurerAdapter;

@Configuration
@EnableWebSecurity
public class WebSecurityConfig extends WebSecurityConfigurerAdapter {

	@Override
	protected void configure(HttpSecurity http) throws Exception {
		//ログインページを指定。
		//ログインページへのアクセスは全員許可する。
		http.formLogin()
	        .loginPage("/login")
		    .permitAll();

		http.authorizeRequests()
			.anyRequest().authenticated();
	}
}
loginPage()では、LoginControllerクラスのshowLoginForm()メソッドのRequestMappingで指定したパスを指定します。permitAll()を呼び出すことで、認証が通っていなくてもログインページにアクセスできるようにします。
anyRequest().authenticated()を呼び出すことで、全てのリクエストに対して認証をかけるようにします。
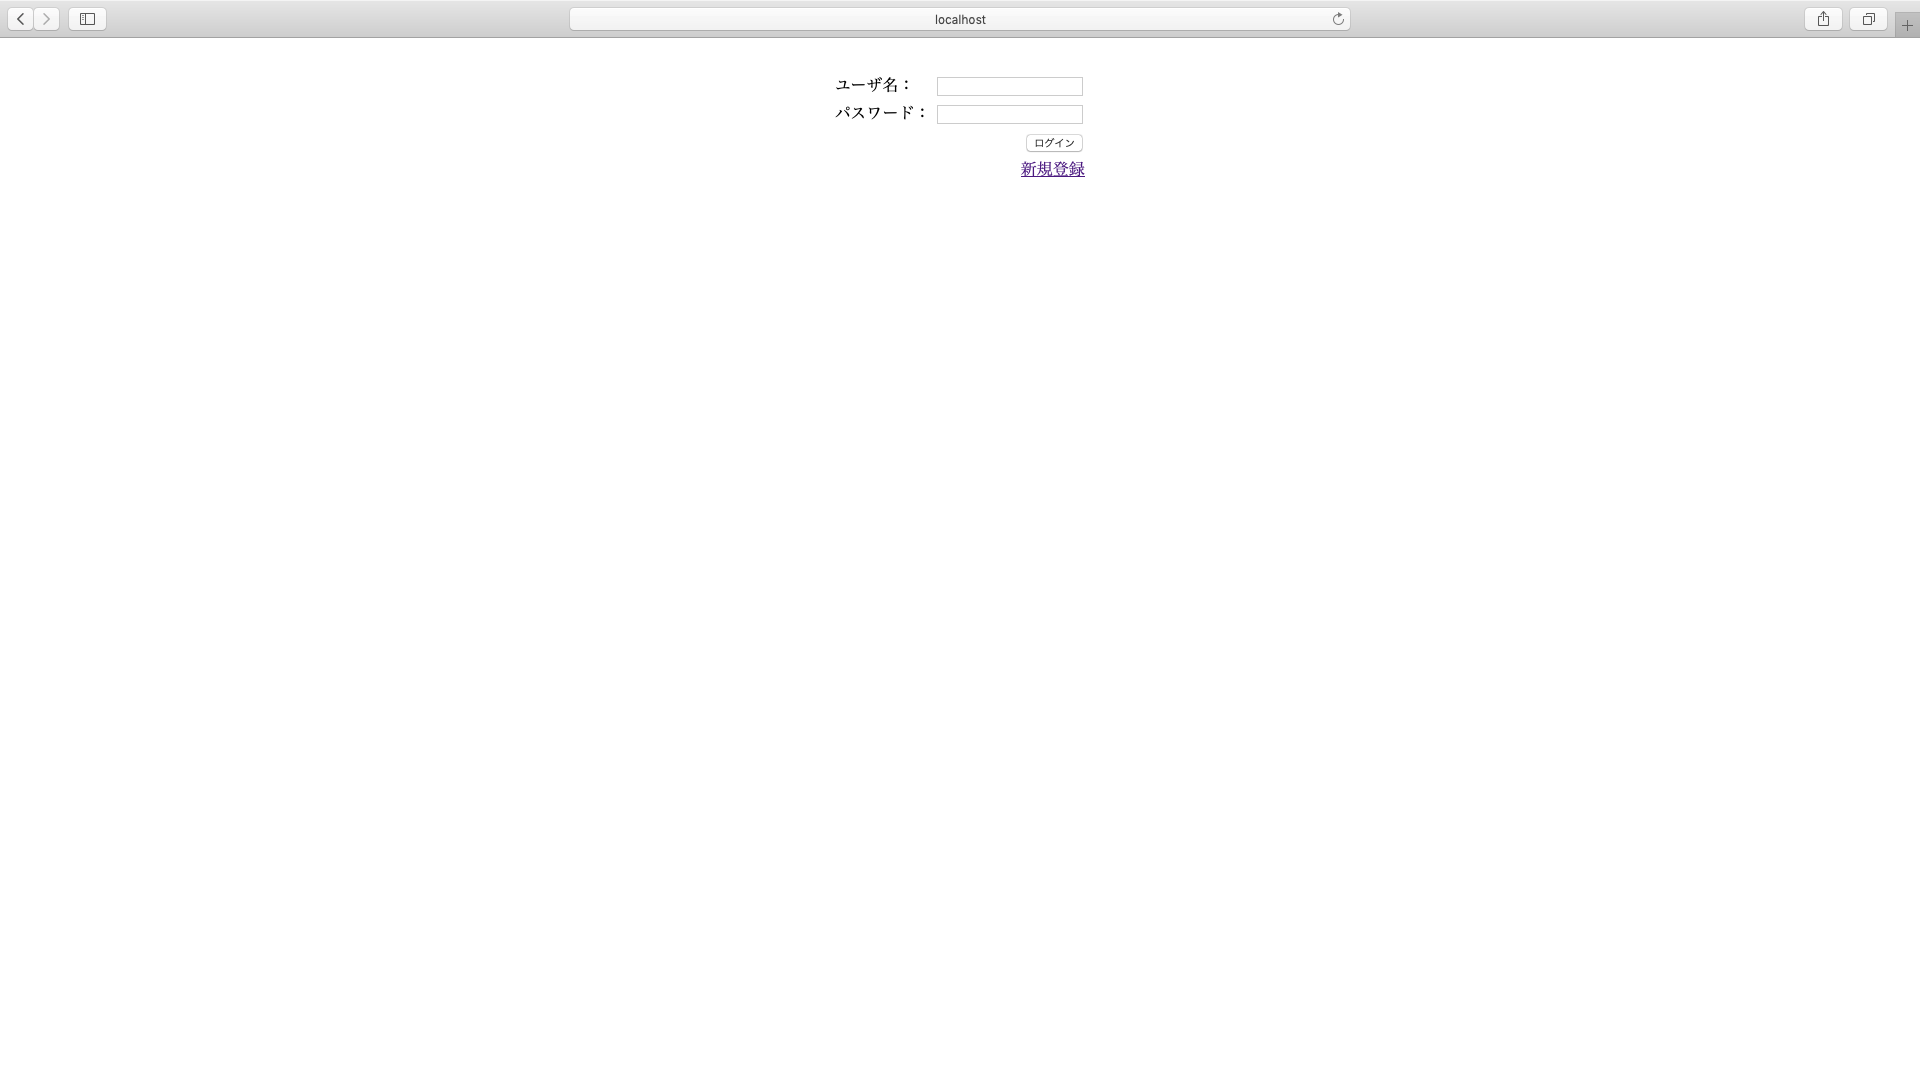
ここまで完了すると、以下のように自分で作成したログイン画面が表示されるようになります。

次は、会員登録機能を実装します。
会員登録機能を実装する
パスワードをハッシュ化してDBに登録する。
本章では、パスワードをハッシュ化してDBに登録する方法を説明します。
しかし、会員登録フォームの作り方や、フォームの入力値の受け取り方などは、パスワードをハッシュ化しない場合と同じなので、省略します。ここでは、パスワードをハッシュ化する方法に焦点を当てて説明します。
全てのソースコードが見たい方は、github にソースコードをあげたのでそちらを見てください。
今回は、ハッシュ化の方式に、BCryptPasswordEncoderを用います。
ここで、PassswordEncoderクラスは、org.springframework.security.crypto.passwordとorg.springframework.security.authentiction.encodingの2つのパッケージに含まれていますが、後者の方は非推奨になっているため、前者の方を使用します。
まず、BCryptPasswordEncoderをjava configでbeanに追加します。
import org.springframework.context.annotation.Bean;
import org.springframework.context.annotation.Configuration;
import org.springframework.security.config.annotation.web.builders.HttpSecurity;
import org.springframework.security.config.annotation.web.configuration.EnableWebSecurity;
import org.springframework.security.config.annotation.web.configuration.WebSecurityConfigurerAdapter;
import org.springframework.security.crypto.bcrypt.BCryptPasswordEncoder;
import org.springframework.security.crypto.password.PasswordEncoder;

@Configuration
@EnableWebSecurity
public class WebSecurityConfig extends WebSecurityConfigurerAdapter {

	@Override
	protected void configure(HttpSecurity http) throws Exception {
		//ログインページを指定。
		//ログインページへのアクセスは全員許可する。
		http.formLogin()
			.loginPage("/login")
			.permitAll();

		http.authorizeRequests()
			.anyRequest().authenticated();
	}

	@Bean
	PasswordEncoder passwordEncoder() {
		return new BCryptPasswordEncoder();
	}
}
今回は、作成したmapperインターフェースのinsertMemberInfo()メソッドの引数にパスワードとユーザ名を設定して呼び出すことで、DBに会員情報をinsertします。insertMemberInfo()メソッドを呼び出す前に、フォームに入力されたパスワードをハッシュ化します。
import org.springframework.beans.factory.annotation.Autowired;
import org.springframework.security.crypto.password.PasswordEncoder;
import org.springframework.stereotype.Service;
import org.springframework.transaction.annotation.Transactional;

import com.webapp.certificationtest.mapper.RegisterMemberMapper;

@Service
@Transactional
public class RegisterMemberService {

	@Autowired
	RegisterMemberMapper registerMemberMapper;

	@Autowired
	PasswordEncoder passwordEncoder;

	/**
	 * 会員情報をDBに登録。
	 */
	public void registerMember(MemberRegistrationEntity entity) {

		//パスワードをハッシュ化して、insertMemberInfo()に渡すオブジェクトにセット。
		entity.setPassword(passwordEncoder.encode(entity.getPassword()));

		registMemberMapper.insertMemberInfo(entity);
	}
}
ここでは、まずPasswordEncoderを@Autowiredを付けて宣言します。そして、PasswordEncoderのencode()を呼び出してパスワードをハッシュ化した後に、パスワードをDBにinsertします。
Spring securityを用いてユーザの認証を行う
WebSecurityConfigで設定を追加する
まず、WebSecurityConfig.javaに追記します。
import org.springframework.context.annotation.Bean;
import org.springframework.context.annotation.Configuration;
import org.springframework.security.config.annotation.web.builders.HttpSecurity;
import org.springframework.security.config.annotation.web.configuration.EnableWebSecurity;
import org.springframework.security.config.annotation.web.configuration.WebSecurityConfigurerAdapter;
import org.springframework.security.crypto.bcrypt.BCryptPasswordEncoder;
import org.springframework.security.crypto.password.PasswordEncoder;

@Configuration
@EnableWebSecurity
public class WebSecurityConfig extends WebSecurityConfigurerAdapter {

	@Override
	protected void configure(HttpSecurity http) throws Exception {
		//ログインページを指定。
		//ログインページへのアクセスは全員許可する。
		http.formLogin()
			.loginPage("/login")
			.loginProcessingUrl("/authenticate")
			.usernameParameter("userName")
			.passwordParameter("password")
			.defaultSuccessUrl("/")
			.permitAll();

        //会員登録機能実装時に追加
		http.authorizeRequests()
			.antMatchers("/RegistrationForm").permitAll()
			.antMatchers("/Register").permitAll()
			.antMatchers("/Result").permitAll()
			.anyRequest().authenticated();
	}

	@Bean
	PasswordEncoder passwordEncoder() {
		return new BCryptPasswordEncoder();
	}
}
loginProcessingUrl()で認証処理に移るためのURLを指定します。このURLとログインフォームのformタグのaction属性の値が一致するようにします。usernameParameter()では、htmlでユーザ名を入れるinputタグのname属性の値を指定します。passwordParameter()では、htmlでパスワードを入れるinputタグのname属性の値を指定します。defaultSuccessUrl()でログインに成功した場合に移動するページのURLを指定します。
次に、Login.htmlのformのactionとinputのnameを変更します。
<!DOCTYPE html>
<html xmlns="http://www.w3.org/1999/xhtml"
      xmlns:th="http://www.thymeleaf.org">
<head>
<meta charset="UTF-8">
<title>ログイン</title>
</head>
<body>
<form th:action="/authenticate" method="POST">

    <table align="center">
        <tr>
            <td>
                ユーザ名:
            </td>
            <td>
                <input type="text" id="user" name="userName"/>
            </td>
        </tr>
        <tr>
            <td>
                パスワード:
            </td>
            <td>
                <input type="password" id="password" name="password"/>
            </td>
        </tr>
        <tr>
            <td>
            </td>
            <td align="right">
                <button type="submit">ログイン</button>
            </td>
        </tr>
        <tr>
            <td>
            </td>
            <td align="right">
                <a href="/RegistrationForm">新規登録</a>
            </td>
        </tr>
    </table>
</form>
</body>
</html>
次に、USERテーブルから取得したユーザ名とパスワードを入れるクラスを作成します。
/**
 * ログインに必要な会員情報を格納するクラス。
 */
public class Account {

	private String name;

	private String password;

	public String getName() {
		return name;
	}

	public void setName(String name) {
		this.name = name;
	}

	public String getPassword() {
		return password;
	}

	public void setPassword(String password) {
		this.password = password;
	}

}
次にUSERテーブルからユーザ名とパスワードを取得するmapperを書きます。
import com.webapp.certificationtest.Account;

public interface LoginMapper {

	public Account findAccount(String name);
}
<?xml version="1.0" encoding="UTF-8"?>
<!DOCTYPE mapper PUBLIC "-//mybatis.org//DTD Mapper 3.0//EN"
    "http://mybatis.org/dtd/mybatis-3-mapper.dtd">
<mapper namespace="com.webapp.certificationtest.mapper.LoginMapper">

    <select id="findAccount" resultType="com.webapp.certificationtest.Account"
                             parameterType="String">
        SELECT
           NAME,
           PASSWORD
        FROM
           USER
        WHERE
           NAME = #{userName}

    </select>

</mapper>
次にユーザ情報を格納するクラスを作成します。これはUserクラスを継承します。
import java.util.Collection;

import org.springframework.security.core.GrantedAuthority;
import org.springframework.security.core.userdetails.User;

public class DbUserDetails extends User {
	//ユーザ情報。
	private final Account account;

	public DbUserDetails(Account account,
			Collection<GrantedAuthority> authorities) {

		super(account.getName(), account.getPassword(),
				true, true, true, true, authorities);

		this.account = account;
	}

	public Account getAccount() {
		return account;
	}

}
DbUserDetailsクラスのコンストラクタの第二引数では、ユーザに付与する権限のリストを与えます。
次にServiceクラスを作成します。
このServiceクラスでUserテーブルから値を取得してUserDetailsを生成します。
ユーザがログインフォーム に入力した情報とここで生成されるUserDetailsを照合することによって認証が行われます。
import java.util.Collection;
import java.util.Optional;

import org.springframework.beans.factory.annotation.Autowired;
import org.springframework.security.core.GrantedAuthority;
import org.springframework.security.core.authority.AuthorityUtils;
import org.springframework.security.core.userdetails.UserDetails;
import org.springframework.security.core.userdetails.UserDetailsService;
import org.springframework.security.core.userdetails.UsernameNotFoundException;
import org.springframework.stereotype.Service;
import org.springframework.transaction.annotation.Transactional;

import com.webapp.certificationtest.mapper.LoginMapper;

@Service
public class DbUserDetailsService implements UserDetailsService {

	@Autowired
	LoginMapper loginMapper;

	@Override
	@Transactional(readOnly = true)
	public UserDetails loadUserByUsername(String mailAddress)
			throws UsernameNotFoundException {
		//DBからユーザ情報を取得。
		Account account = Optional.ofNullable(loginMapper.findOne(mailAddress))
				.orElseThrow(() -> new UsernameNotFoundException("User not found."));

		return new DbUserDetails(account, getAuthorities(account));
	}

	/**
	 * 認証が通った時にこのユーザに与える権限の範囲を設定する。
	 * @param account DBから取得したユーザ情報。
	 * @return 権限の範囲のリスト。
	 */
	private Collection<GrantedAuthority> getAuthorities(Account account) {
		//認証が通った時にユーザに与える権限の範囲を設定する。
		return AuthorityUtils.createAuthorityList("ROLE_USER");
	}

}
Userテーブルから何も取得できなかった場合は、UsernameNotFoundExceptionwをthrowします。UsernameNotFoundExceptionの引数で、ユーザ名がUserテーブルに存在しなかった場合のメッセージを指定します。
getAuthorities()では、Userテーブルから取得したユーザに与える権限を設定します。このメソッドは必要に応じて変えます。複数権限を与えたい場合は、createAuthorityList()の引数にカンマ区切りで追加します。
次に、認証を行うためにWebSecurityConfig.javaに追記します。
import org.springframework.beans.factory.annotation.Autowired;
import org.springframework.context.annotation.Bean;
import org.springframework.context.annotation.Configuration;
import org.springframework.security.config.annotation.authentication.builders.AuthenticationManagerBuilder;
import org.springframework.security.config.annotation.web.builders.HttpSecurity;
import org.springframework.security.config.annotation.web.configuration.EnableWebSecurity;
import org.springframework.security.config.annotation.web.configuration.WebSecurityConfigurerAdapter;
import org.springframework.security.core.userdetails.UserDetailsService;
import org.springframework.security.crypto.bcrypt.BCryptPasswordEncoder;
import org.springframework.security.crypto.password.PasswordEncoder;

@Configuration
@EnableWebSecurity
public class WebSecurityConfig extends WebSecurityConfigurerAdapter {

	@Autowired
	UserDetailsService userDetailsService;

	@Override
	protected void configure(HttpSecurity http) throws Exception {
		//ログインページを指定。
		//ログインページへのアクセスは全員許可する。
		http.formLogin()
			.loginPage("/login")
			.loginProcessingUrl("/authenticate")
			.usernameParameter("userName")
			.passwordParameter("password")
			.defaultSuccessUrl("/")
			.permitAll();

		http.csrf().disable().authorizeRequests()
			.antMatchers("/RegistrationForm").permitAll()
			.antMatchers("/Register").permitAll()
			.antMatchers("/Result").permitAll()
			.anyRequest().authenticated();
	}

	@Bean
	PasswordEncoder passwordEncoder() {
		return new BCryptPasswordEncoder();
	}

	@Autowired
	void configureAuthenticationManager(AuthenticationManagerBuilder auth) throws Exception {
		auth.userDetailsService(userDetailsService)
			.passwordEncoder(passwordEncoder());
	}
}
最後にLoginController.javaに追記します。
import org.springframework.stereotype.Controller;
import org.springframework.ui.Model;
import org.springframework.web.bind.annotation.RequestMapping;

@Controller
public class LoginController {

	/**
	 * ログインフォーム に遷移する。
	 */
	@RequestMapping("/login")
	public String showLoginForm(Model model) {

		//ログイン画面へ遷移。
		return "Login";
	}

	/**
	 * メインページに遷移する。
	 * ログインが成功した場合、このメソッドが呼び出される。
	 */
	@RequestMapping("/")
	public String login(Model model) {

		//メインページ。
		return "index";
	}

}
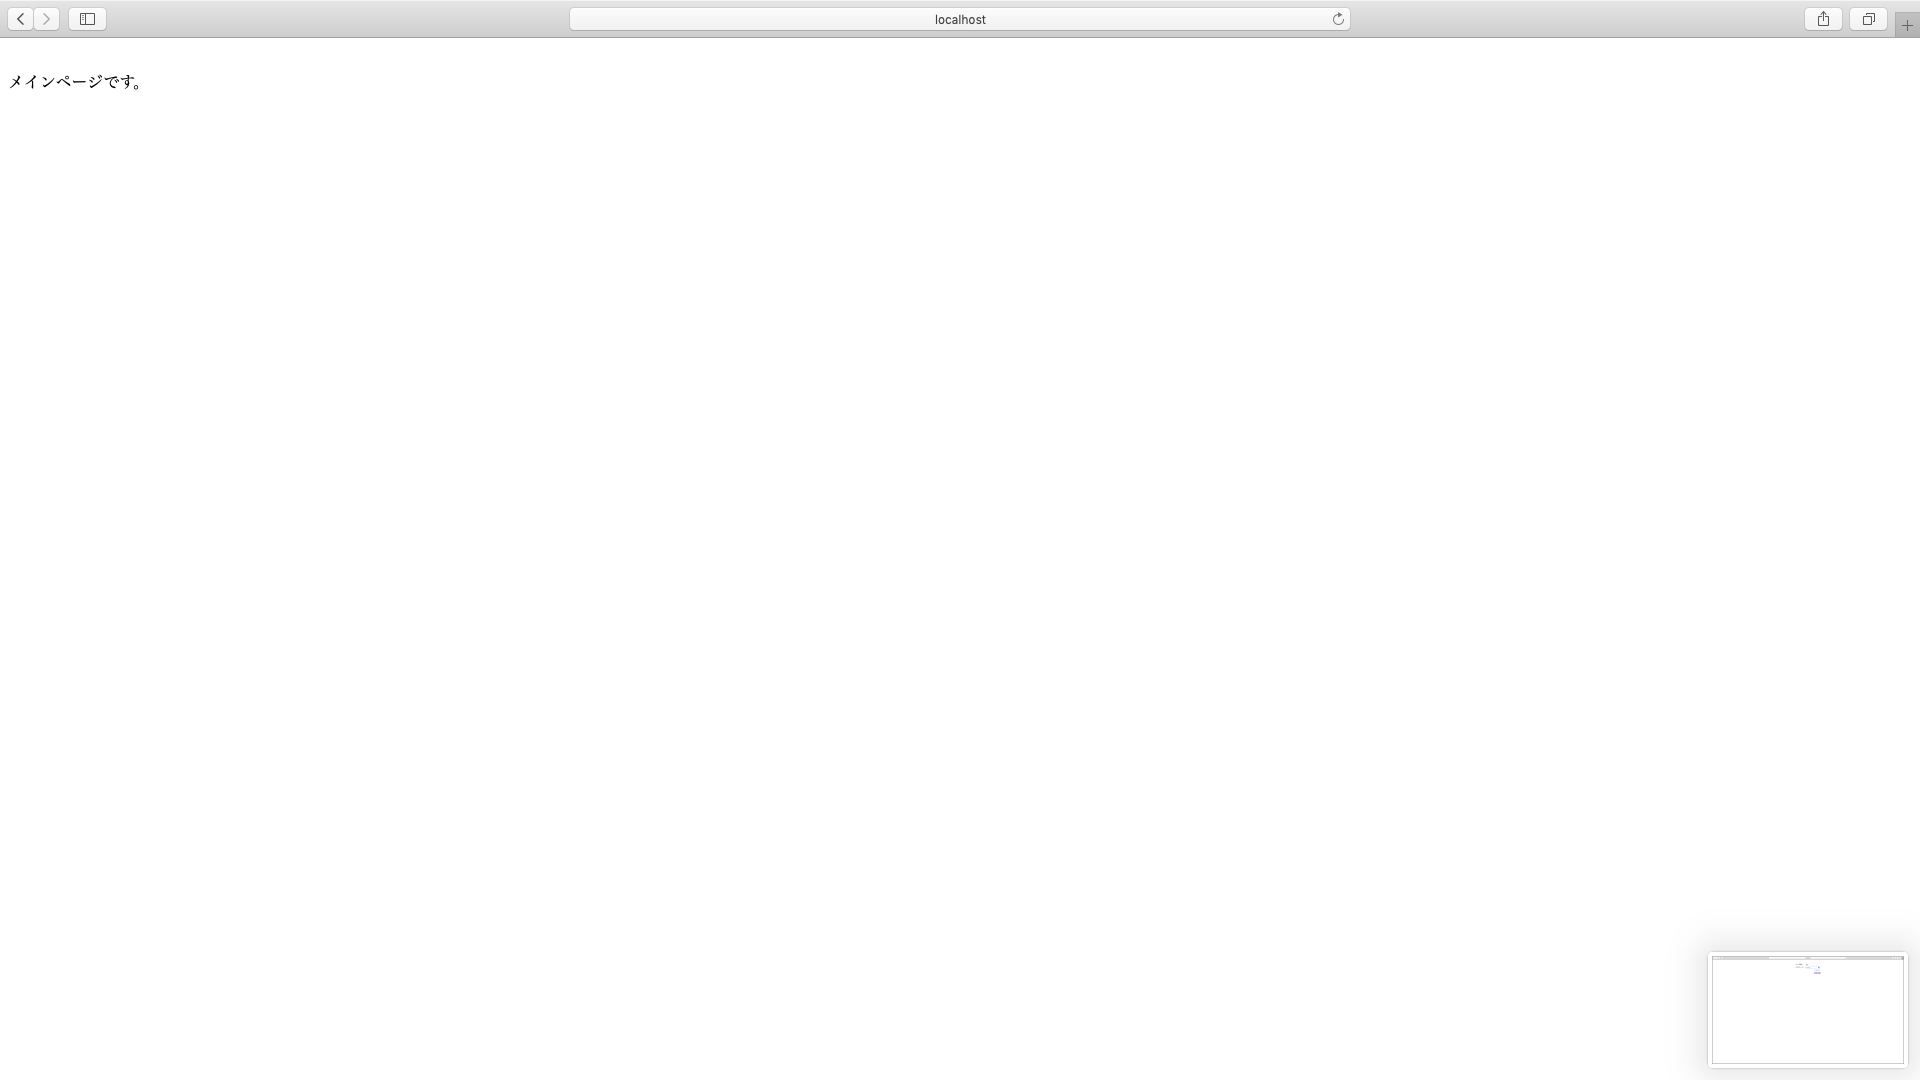
ログイン後に表示する画面を作成します。
<!DOCTYPE html>
<html>
<head>
<meta charset="UTF-8">
<title>メインページ</title>
</head>
<body>
メインページです。
</body>
</html>
動作確認
動作確認します。
会員登録
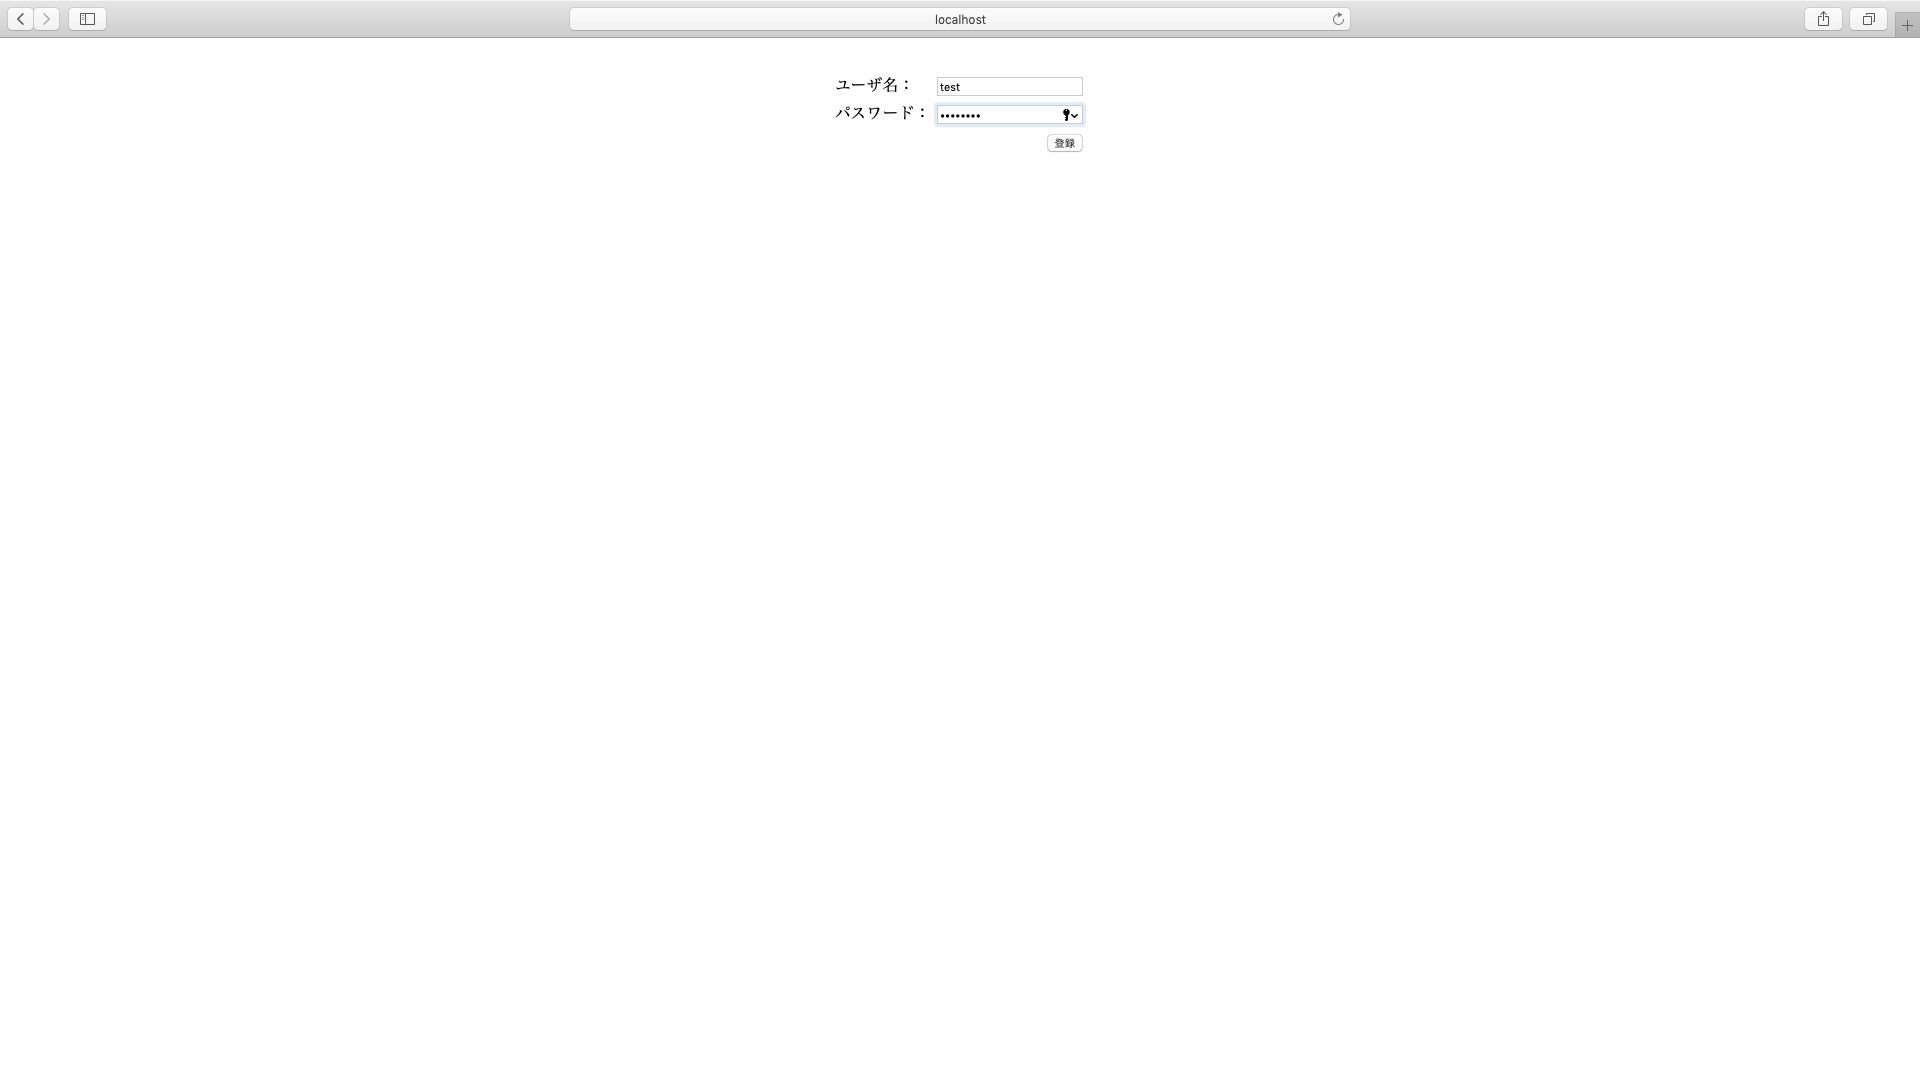
まず会員登録です。
ユーザ名とパスワードを入力して登録します。
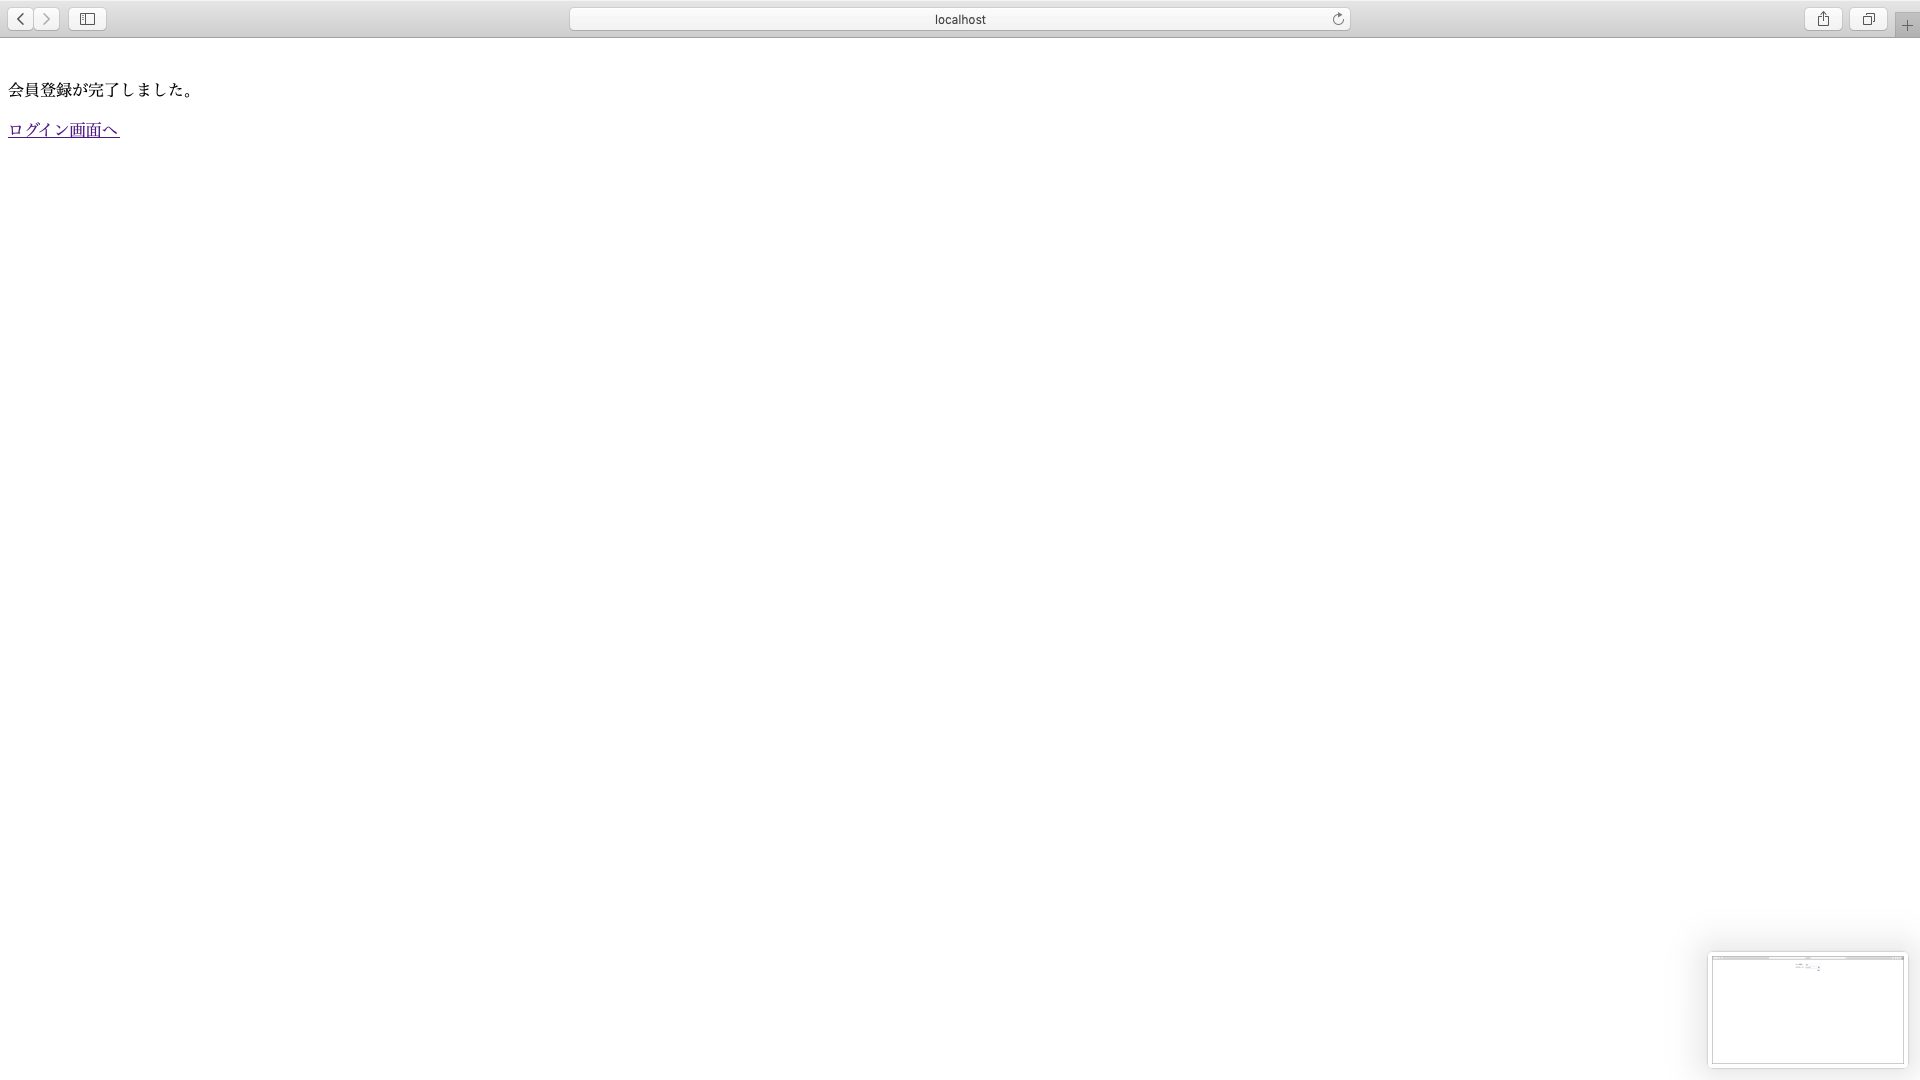
会員登録が完了すると、このようにパスワードがハッシュ化されてDBにinsertされています。

ログイン
次はログインです。
先ほど登録したユーザ名とパスワードを入力します。
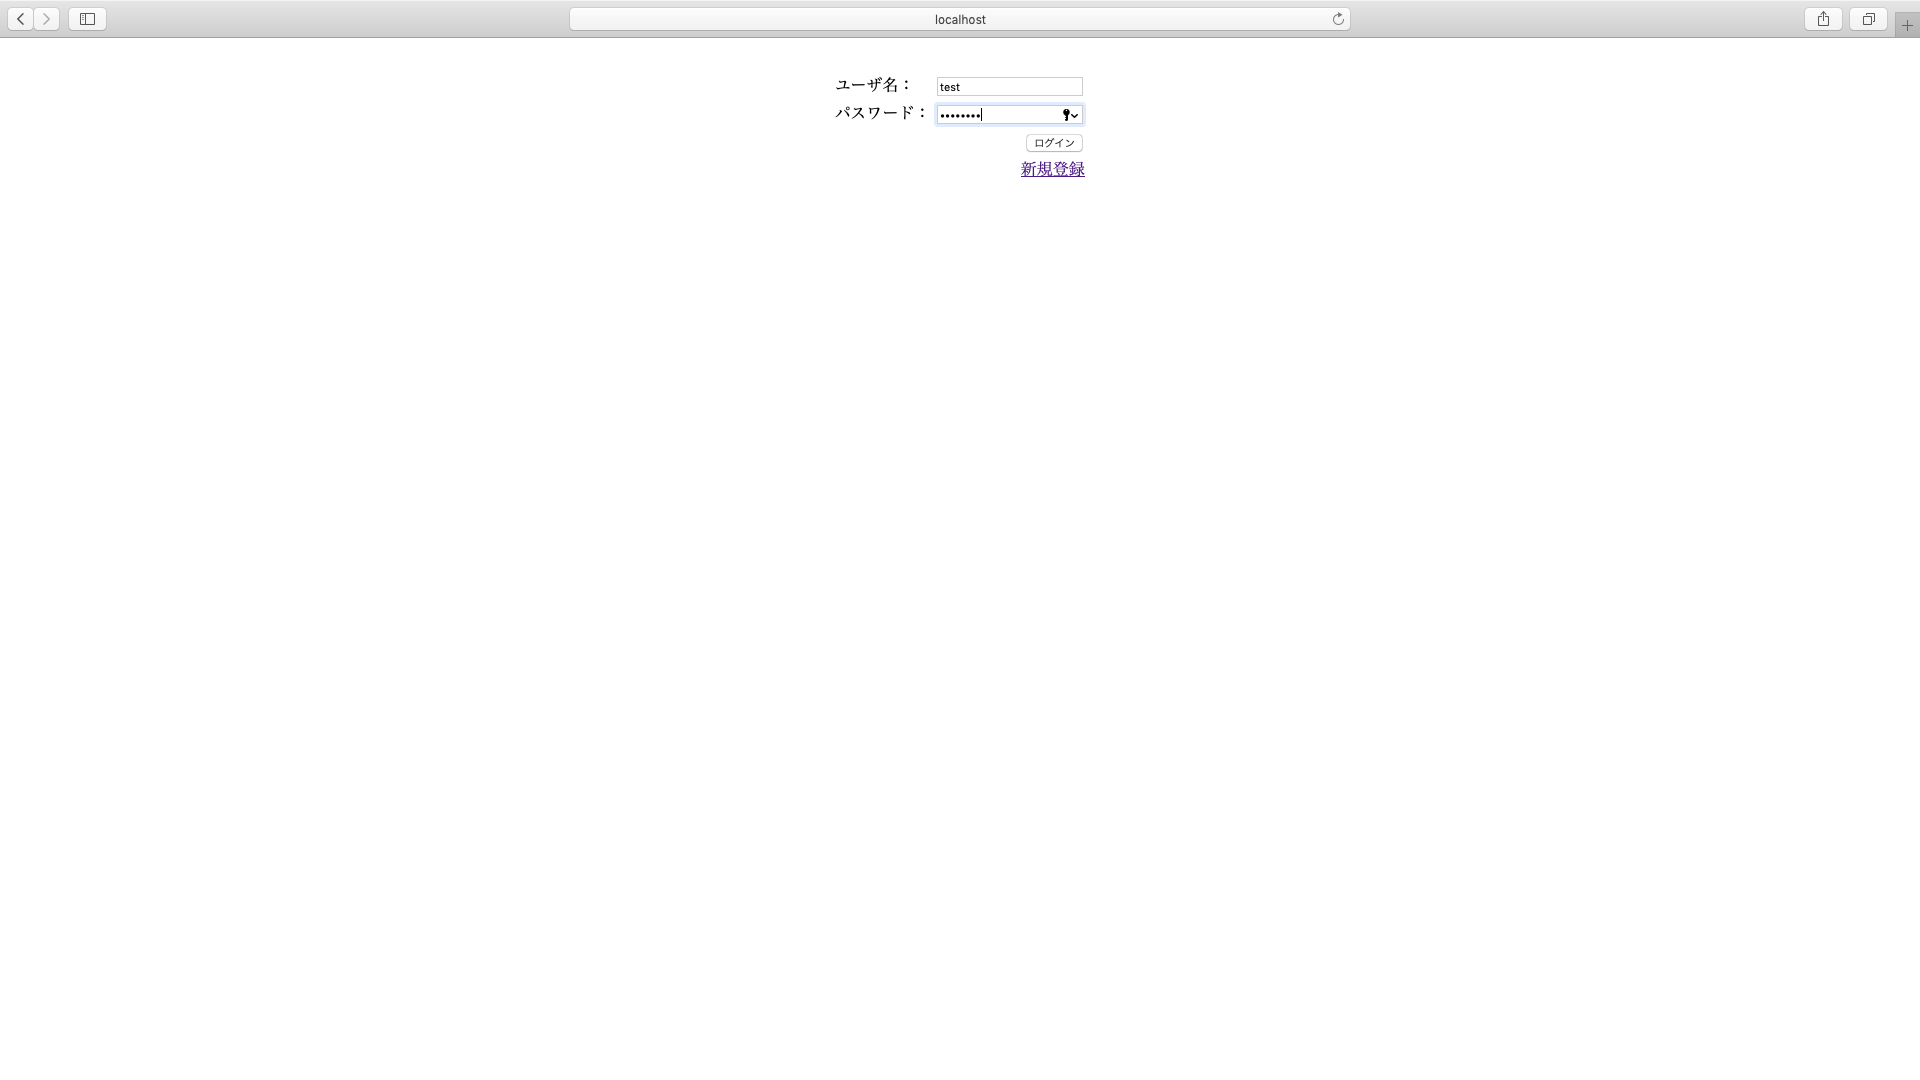
ログインできて、メインページへ移動しました。
ここまでのソースコードはgithub にあげてあるので、全て見たい方はそちらをご覧ください。
質問があれば、僕のtwitterまでどうぞ。