どうも。筋肉エンジニアのtakuyama29です。
最近はマッチングアプリとARKitに心踊らせております。
今日は先日リリースされたARKitについての学習のために簡単なサンプルアプリを作成したので、その実装内容について振り返りながら書いていきます。
できたもの
作成したサンプルアプリは下記で公開しているので、興味のある方は見てみてください。
Github: takuyama29/WorldTracking
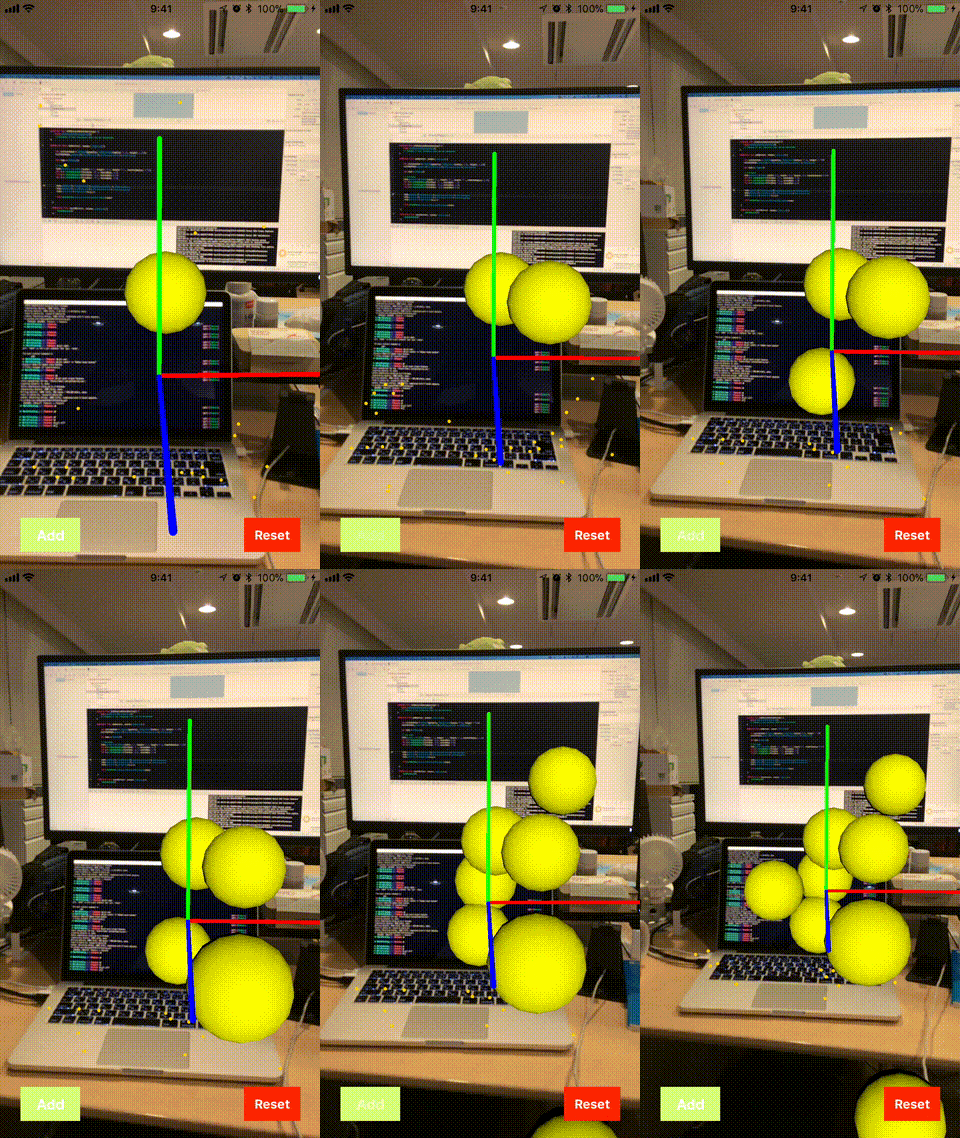
完成品はこんな感じです
環境
このサンプルアプリを使うために必要な環境は以下のとおりです。
- iOS11
swift3- Swift4
- Xcode9
個人的には、Xcode9からアプリのビルドがワイヤレスになったのがとても嬉しかったです。
特にARアプリのビルドとかをするとスマホを持って歩き回る必要があるので、正直これのためにコードレスにしたんだろうなと思ってます←え
実装
今回はARKitの概念を理解するためのサンプルアプリのため、実装はとてもシンプルです。
自分の理解できた範囲でまとめを書いていくので、間違っている点などはコメントで押していただけるとありがたいです。
まずはソース全体を転記します。
import UIKit
import ARKit

class ViewController: UIViewController {

    @IBOutlet weak var sceneView: ARSCNView!
    let configration = ARWorldTrackingConfiguration()

    override func viewDidLoad() {
        super.viewDidLoad()

        self.sceneView.debugOptions = [ARSCNDebugOptions.showFeaturePoints, ARSCNDebugOptions.showWorldOrigin]
        self.sceneView.session.run(configration)
        self.sceneView.autoenablesDefaultLighting = true

    }

    override func didReceiveMemoryWarning() {
        super.didReceiveMemoryWarning()
        // Dispose of any resources that can be recreated.
    }

    @IBAction func addButton(_ sender: UIButton) {

        let node = SCNNode()

        // Box Node
        node.geometry = SCNBox(width: 0.1, height: 0.1, length: 0.1, chamferRadius: 0.05)
        let x = randomNumbers(firstNum: -0.3, secondNum: 0.3)
        let y = randomNumbers(firstNum: -0.3, secondNum: 0.3)
        let z = randomNumbers(firstNum: -0.3, secondNum: 0.3)


        node.geometry?.firstMaterial?.specular.contents = UIColor.black
        node.geometry?.firstMaterial?.diffuse.contents = UIColor.yellow
        node.position = SCNVector3(x,y,z)

        self.sceneView.scene.rootNode.addChildNode(node)

    }

    @IBAction func resetButton(_ sender: UIButton) {
        resetSession()
    }

    func resetSession(){
        self.sceneView.session.pause()
        self.sceneView.scene.rootNode.enumerateChildNodes {(node, _) in
            node.removeFromParentNode()
        }

        self.sceneView.session.run(configration, options: [.resetTracking, .removeExistingAnchors])
    }

    func randomNumbers(firstNum: CGFloat, secondNum: CGFloat) -> CGFloat {
        return CGFloat(arc4random()) / CGFloat(UINT32_MAX) * abs(firstNum - secondNum) + min(firstNum, secondNum)
    }
}
今回のサンプルで編集した内容はこのViewControllerのみです。
1. ARの基本的な準備
AR機能を活用する上で必ず必要な実装があります。
1. ARKitのimport
ARKitフレームワークAR機能を使う上で必須なので忘れずimportをしてください。
2. ARSCNViewの配置
ARSCNViewはUIViewのサブクラスで、端末のカメラで写された景色をレンダリングするためのViewのことです。

このViewをViewController上にフルサイズで配置して、そのViewの中でSceneを描画することで様々な表現をすることができます。
3. ARWorldTrackingConfigurationのインスタンス化
ARWorldTrackingConfigurationは、AR機能(session)が開始した際に、端末のモーショントラッキングとカメラの画像処理を行うための設定クラスのようなものです。
import ARKit

class ViewController: UIViewController {

    @IBOutlet weak var sceneView: ARSCNView!
    let configration = ARWorldTrackingConfiguration()

    ...
}
2. デバック時に活用するオプションを追加
先ほどインスタンス化したARSCNViewには、デバックの用途で使うことでできるARSCNDebugOptionsというオプションストラクチャがあります。
このオプションには、2つのARデバックオーバーレイが含まれており、下記の様にARSCNViewの.debugOptionsプロパティにそれぞれ描画したいオーバーレイを指定することでARSCNView上で表現することができます。
self.sceneView.debugOptions = [ARSCNDebugOptions.showFeaturePoints, ARSCNDebugOptions.showWorldOrigin]
-
.showFeaturePointsはARKitがデバイス位置を追跡するためにscene解析した中間結果を示す点群をARSCNView上に描画するオプション(sceneView内の黄色い点群) -
.showWorldOriginはARKitで表現されるARSCNView内の世界の座標軸(X,Y,Z)を視覚的に表現するベクトルを描画するオプション(赤・青・緑の棒)

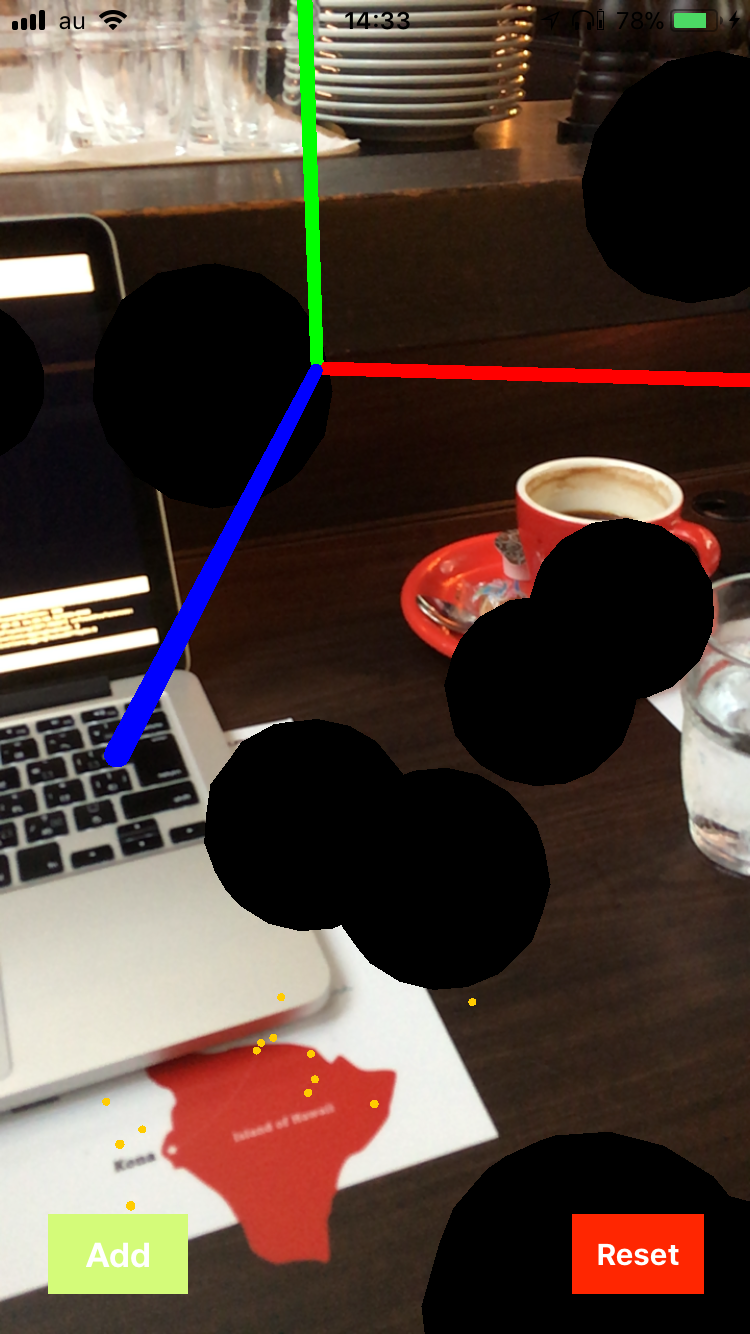
また、.autoenablesDefaultLightingはsceneView内に表示するNodeに無指向性の光を追加するオプションです。
defaultはfalseなので、ここにtrueを渡してあげると下記の様な感じになります。
true

false(default)

3. ARSCNViewのsessionを開始
ここまででsceneViewの設定が完了したのでsessionを開始するために下記をviewDidLoad()へ記述します。
self.sceneView.session.run(configration)
4. カメラを使用する際のパーミッション文言を追加
AR機能を使うためにはカメラを使用する必要があります。
先ほど説明したARSCNViewのsession開始をする.session.runを読み込むと、下記の様なアラートダイアログが表示されます。

このアラート内に任意の文言を追加したい場合は、Info.plist内にPrivacy - Camera Usage DescriptionというKeyがあるので、その値に文言を追加します。

追加したのはコレ→You need the camera to display cool ARKit content
そうすると標準の文字よりも小さいフォントサイズで文言が追加されます。

5. sceneView内にNodeを追加
ここまででsceneViewの準備が整いました。
ですが、これだけだと見た目はただのカメラと違いがないので、sceneView内にNodeを追加していきます。
1. SCNNodeをインスタンス化
本来SCNBoxは箱型のオブジェクトなのですが、形の変化させること体感するために球体に変形させています。
let node = SCNNode()
node.geometry = SCNBox(width: 0.1, height: 0.1, length: 0.1, chamferRadius: 0.05)
chamferRadiusはNodeオブジェクトの角の丸みを指定するプロパティで、値を0に近づけるほど丸くなっていきます。
また、SCNBoxを生成する際のwidthやheightは、全てメートル単位となっています。
2. Nodeの配色指定と座標決定
インスタンス化したNodeの配色は下記の様に設定できます。
// Node自体の配色
node.geometry?.firstMaterial?.diffuse.contents = UIColor.black
// Nodeの光の配色
node.geometry?.firstMaterial?.specular.contents = UIColor.yellow
.specularは、先述したNodeの光の配色を指定するプロパティとなります。
次にNodeを描画するsceneView内の座標を指定します。
今回は下記の様に、指定範囲の中で乱数を出力する変数を作成し、NodeのX・Y・Zの座標をランダムに指定します。
// 任意の範囲で乱数を出力する
func randomNumbers(firstNum: CGFloat, secondNum: CGFloat) -> CGFloat {
    return CGFloat(arc4random()) / CGFloat(UINT32_MAX) * abs(firstNum - secondNum) + min(firstNum, secondNum)
}
// Nodeの座標を決定
let x = randomNumbers(firstNum: -0.3, secondNum: 0.3)
let y = randomNumbers(firstNum: -0.3, secondNum: 0.3)
let z = randomNumbers(firstNum: -0.3, secondNum: 0.3)
node.position = SCNVector3(x,y,z)
3. インスタンス化したNodeをsceneViewに追加
最後に、sessionが走っているsceneViewの中にNodeを追加します。
self.sceneView.scene.rootNode.addChildNode(node)
これでAddボタンを押した時に新しいNodeがランダムな位置で配置されるようになります。
6. sceneViewのsessionをリセット
追加したNodeを全て削除してsceneView内をリセットします。
func resetSession(){
    // sessionを停止
    self.sceneView.session.pause()
    // 全てのNodeに対して処理を行う
    self.sceneView.scene.rootNode.enumerateChildNodes {(node, _) in
        // Nodeを削除
        node.removeFromParentNode()
    }
    // sessionを再開
    self.sceneView.session.run(configration, options: [.resetTracking, .removeExistingAnchors])
}
これで簡単なARアプリの完成です。
