はじめに
Streamlitを使って可視化したデータををAzure Web Appsで公開する方法をまとめました。
ユースケース
以下の場面で使えます。
- ちょっとした分析したデータを社内、チームへ公開したいとき
- 簡単な検索画面を社内、チームへ公開したいとき
逆に外部へ公開するようなアプリケーションとしてはセキュリティ面を考慮し切れていない
ので__今回は想定外のケース__となります。別途セキュリティ面での考慮が必要かなと思います。
構成図
バージョン周り
- Python 3.8.1
- Streamlit 0.72.0
- plotly 4.13.0
手順
今回利用するソースファイルはGitHubに置いてあります。
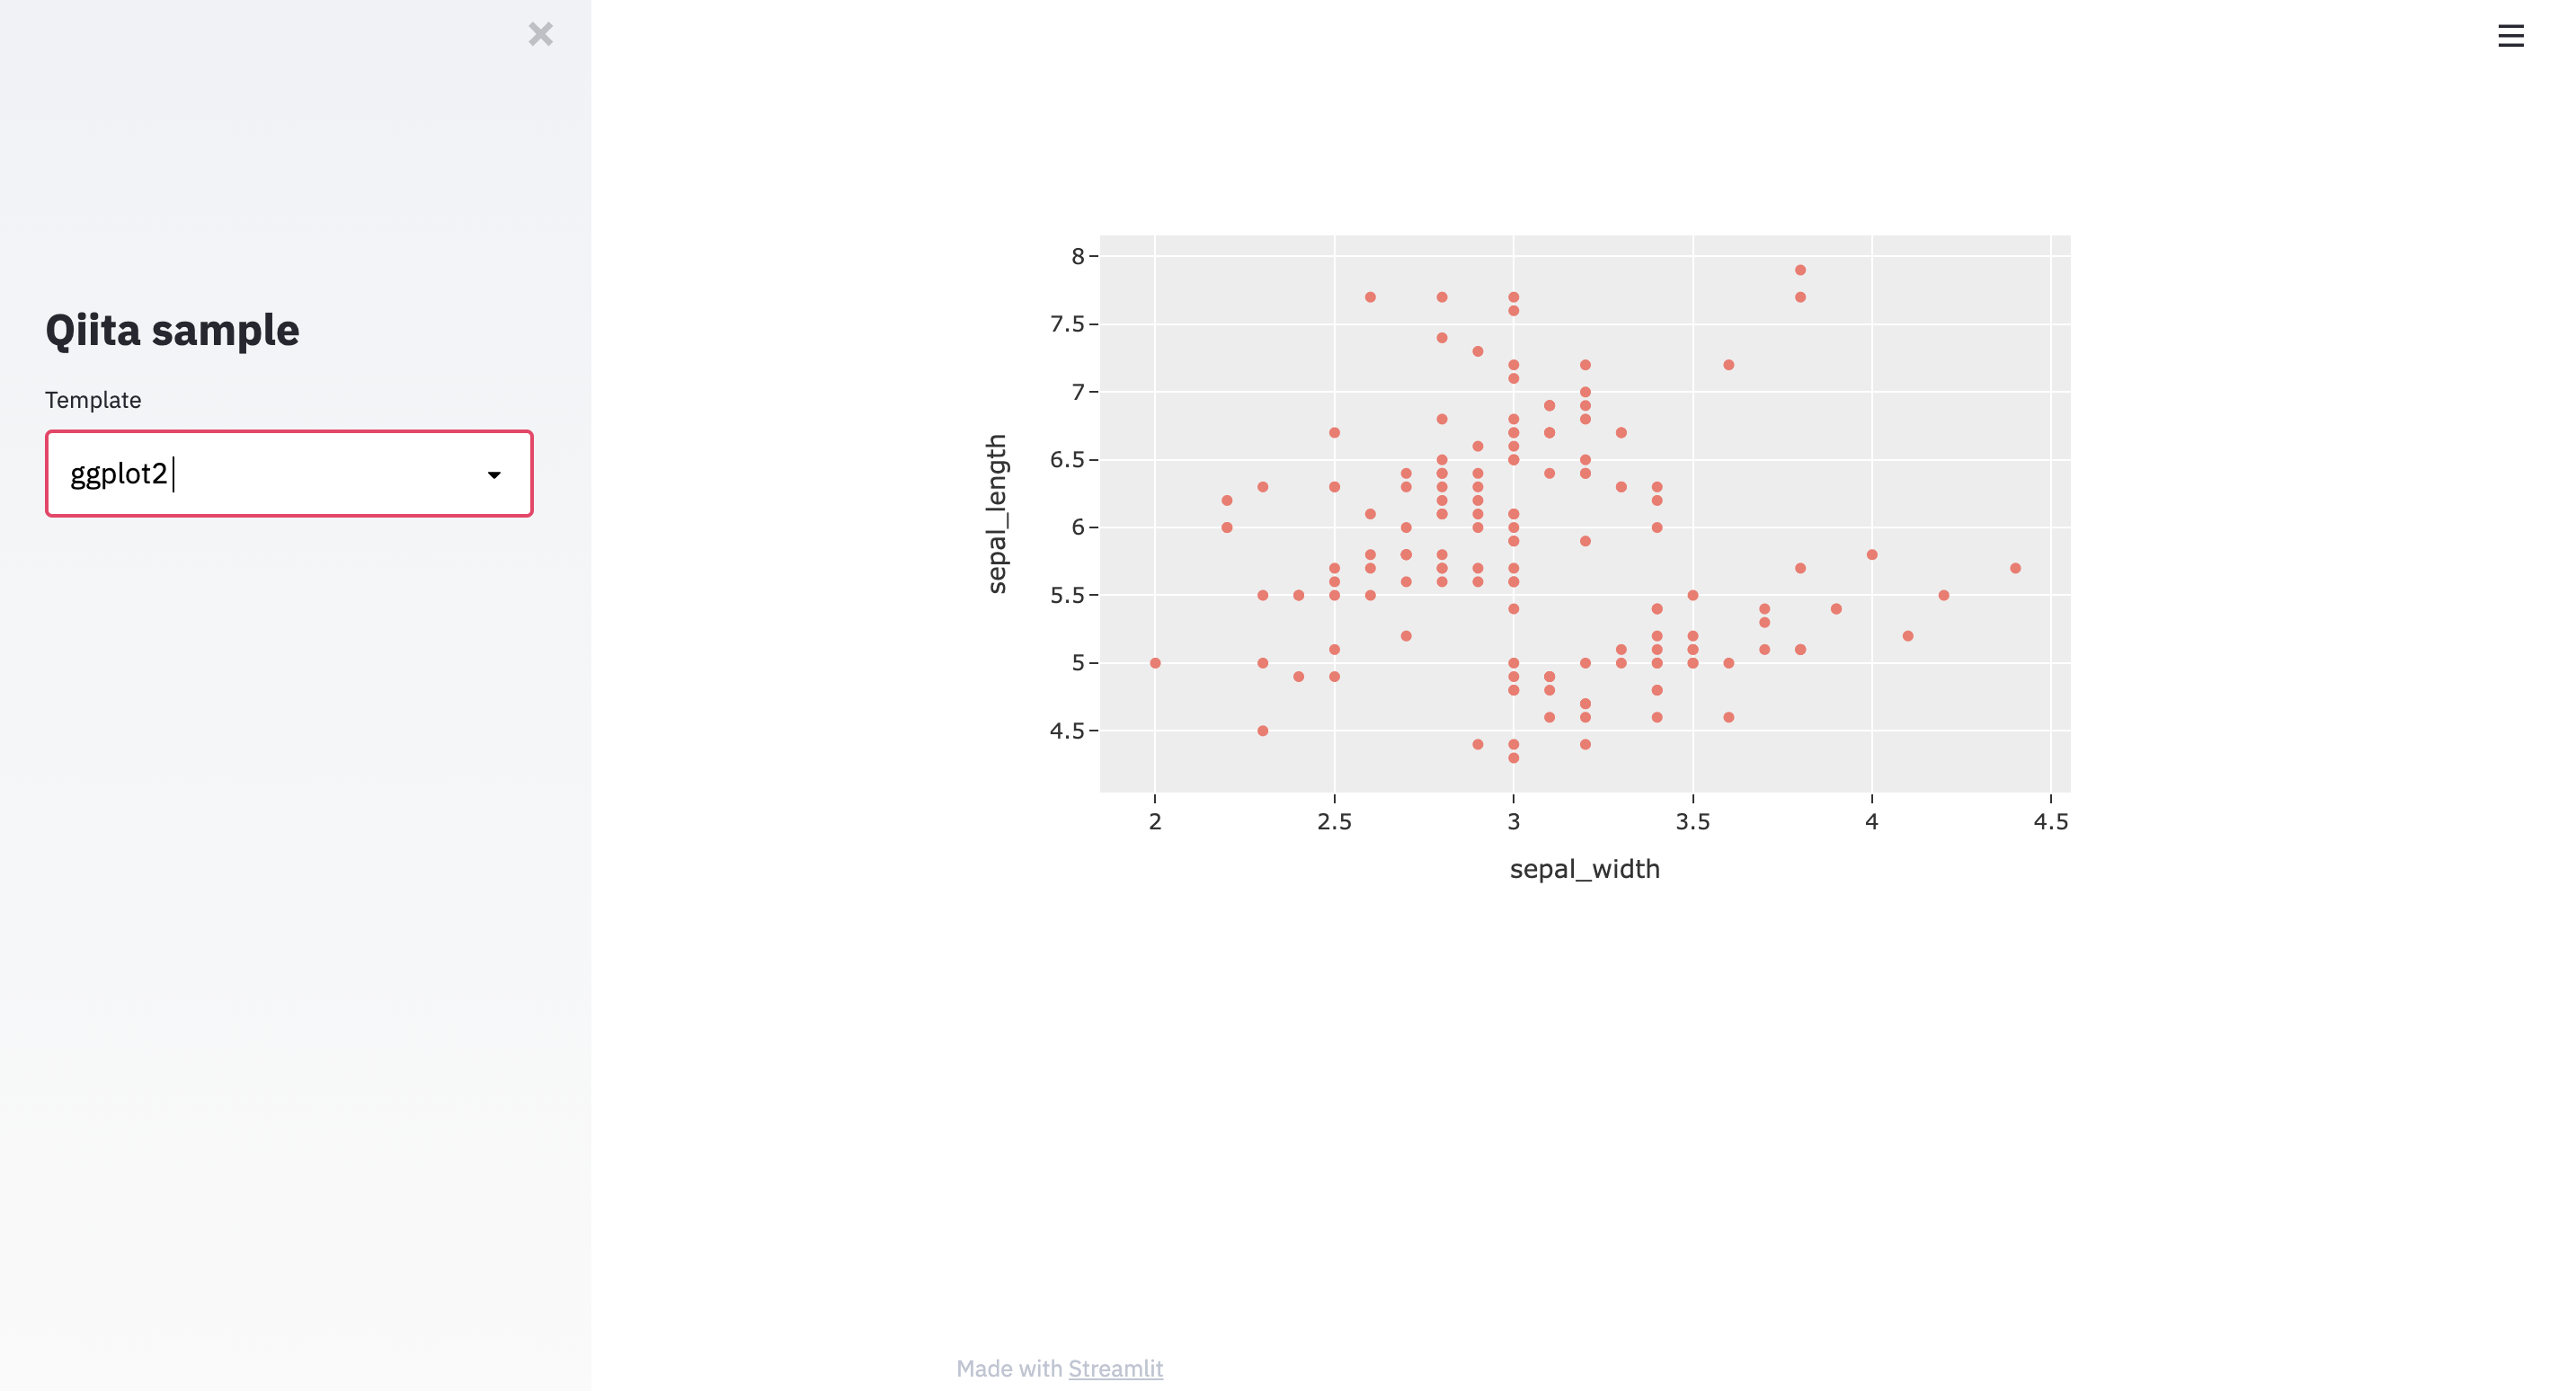
1. ローカルで動かしてみる
↓のQiitaを参考に動かしてみます。
[Python]簡単に可視化アプリケーションが作れる"Streamlit"をテスト書きした
2. Dockerfileの作成
次はAzure Web Appsで動かすコンテナイメージの作成のため、Dockerfileを作成します。
FROM python:3.8

COPY . /opt/app
WORKDIR /opt/app

RUN pip3 install -r requirements.txt
RUN mkdir ~/.streamlit
RUN cp config.toml ~/.streamlit/config.toml
RUN cp credentials.toml ~/.streamlit/credentials.toml

EXPOSE 80
USER root

ENTRYPOINT ["streamlit", "run"]
CMD ["main/demo.py"]
以下の2つはstreamlitの設定ファイルです。
- config.toml
- credentials.toml
詳細はこちらを参照してください。
3. コンテナイメージをAzure Container Registry(ACR)にプッシュ
前提としてAzure CLIが利用できるようにしておく必要があります。
Azue CLIインストール方法
リソースグループとACRを作成します。
まずはmakefileを用意して
RESOURCE_GROUP := streamlit-demo
ACR_NAME := streamlitdemowebapps

create-resourcegroup: ## create resource group ## make create-resourcegroup
	az group create --location japaneast --name $(RESOURCE_GROUP)


create-acr: ## create azure container registry ## create-acr
	az acr create --name $(ACR_NAME) --resource-group $(RESOURCE_GROUP) --sku Standard --admin-enabled true
実行します。
make create-resourcegroup && make create-acr
次はDockerfileを使ってイメージをビルド&ACRにプッシュします。
IMAGE_NAME := sample/demo

push-image: ## build and push image to ACR ## make push-image
	az acr build --image $(IMAGE_NAME) --registry $(ACR_NAME) .
4. Azure Web Appsをデプロイ
同様にMakefileを使ったデプロイをします。
APP_SERVICE_PLANE := demoappserviceplan

create-appserviceplan: ## create app service plan ## make create-appserviceplan
	az appservice plan create --resource-group $(RESOURCE_GROUP) --name $(APP_SERVICE_PLANE) \
	    --is-linux --number-of-workers 1 --sku P1V2


create-webapps: ## create web apps from custom image ## make create-appserviceplan
	az webapp create --name streamlitdemowebapps --plan $(APP_SERVICE_PLANE) --resource-group $(RESOURCE_GROUP) \
		--deployment-container-image-name $(ACR_NAME).azurecr.io/$(IMAGE_NAME)
実行
make create-appserviceplan && make create-webapps
以上で画面にアクセスできるようになります!
URL:https://[Web Appsの名前].azurewebsites.net/
5. Firewallとログインの設定
Firewallでの接続元のIPアドレス制限とデプロイ先のAADによる認証を必須にすることで最低限のセキュリティを担保します。残念ながらこれらの設定はAzureCLIでの方法を調べてもすぐには見つからなかったため、コンソールからの設定をします。
- FireWall
コンソール > 作成したweb appに移動 > ネットワーク > アクセス制御を構成する > 規則の追加
で許可するIPアドレスを追加します。 - AAD認証
コンソール > 作成したweb appに移動 > 認証/承認 で以下を設定 - App Service認証:ON
- 要求が認証されない場合に実行するオプション:Azure Active Directoryでのログイン
- 認証プロバイダー:Azure Active Directory
- 管理モード:簡易
最後に「保存」で作成したWebアプリへのアクセス時にAAD認証が必須になります。
7.削除
このままだと継続的に課金されるので今回はリソースグループごと削除します。
clear: ## clear Azure resource # make clear
	az group delete --name $(RESOURCE_GROUP)
make clear
最後に
以上でStreamlit&Azure Web Appsを使ったアプリの公開ができました。
途中で作成した
- Azure Container Registory
- Azure Service Plane
は他のアプリでも共有できるリソースなのでアプリを追加したい場合は
- コンテナイメージ
- Azure Web Apps
の作成で完結します。
Pythonスクリプトさえ作成すれば画面を公開できるので効率よくチームや社内に展開することができます。

