Docker,Rails,MySQLの環境構築手順の記録
Railsのデフォルトホーム画面を表示させるところまで。
環境
- Windows10
- Ruby2.7.1
- Rails6.0.3.1
- MySQL8.0
1.Docker for Windowsをインストール
https://hub.docker.com/editions/community/docker-ce-desktop-windows/
上記リンクにアクセスしてインストールする。
インストールが出来たら一度再起動してから、Dockerを起動させる。
2.必要ファイルの作成
任意の場所にディレクトリを作成する。
次にVScodeで作成したディレクトリを開く。
インストールがまだの場合は以下リンクからインストール
https://azure.microsoft.com/ja-jp/products/visual-studio-code/
- Dockerfileの作成
VScodeでディレクトリを開けたらディレクトリ内にDockerfileを作成し、
以下のように記述する。
FROM ruby:2.7
RUN apt-get update -qq && apt-get install -y nodejs yarnpkg
RUN ln -s /usr/bin/yarnpkg /usr/bin/yarn
RUN mkdir /app
WORKDIR /app
COPY Gemfile /app/Gemfile
COPY Gemfile.lock /app/Gemfile.lock
RUN bundle install
COPY . /app

# Add a script to be executed every time the container starts.
COPY entrypoint.sh /usr/bin/
RUN chmod +x /usr/bin/entrypoint.sh
ENTRYPOINT ["entrypoint.sh"]
EXPOSE 3000

# Start the main process.
CMD ["rails", "server", "-b", "0.0.0.0"]
- Gemfileの作成
次に同じ階層にGemfileを作成し、以下のように記述する。
source 'https://rubygems.org'
gem 'rails', '~>6'
もう一つGemfile.lockというファイルを作成する。
中身は空でOK。
- entrypoint.shの作成
次にDockerfileの中でENTRYPOINTとして定義しているentrypoint.shの作成する。
# !/bin/bash
set -e

# Remove a potentially pre-existing server.pid for Rails.
rm -f /app/tmp/pids/server.pid

# Then exec the container's main process (what's set as CMD in the Dockerfile).
exec "$@"
- docker-compose.ymlの作成
最後にdocker-compose.ymlというファイルを同階層に作成し、以下を記述。
version: '3'
services:
  db:
    image: mysql:8.0
    volumes:
      - ./tmp/db:/var/lib/mysql
    environment:
      - MYSQL_ALLOW_EMPTY_PASSWORD=1
  web:
    build: .
    command: bash -c "rm -f tmp/pids/server.pid && bundle exec rails s -p 3000 -b '0.0.0.0'"
    volumes:
      - .:/app
    ports:
      - "3000:3000"
    depends_on:
      - db
MYSQL_ALLOW_EMPTY_PASSWORDを設定することでpasswordが空でもrootで接続できるようにしておく。
3.Rails new / docker-compose buildを行う
VScodeのターミナルを開き、作成したディレクトリの階層にいる事を確認したら、
以下を実行する。
$ docker-compose run web bundle exec rails new . --force --database=mysql
--forceは既存のファイルを上書き、--databaseでMySQLを指定しています。
実行完了したらビルドを行います。
$ docker-compose build
4、DBのホスト名の変更 / docker-compose upを行う
現状だとデータベースへの接続が出来ないので、
最初に作成したディレクトリ内に出来たconfig/database.ymlのhostの値をdbという値に置き換える。
default: &default
  adapter: mysql2
  encoding: utf8mb4
  pool: <%= ENV.fetch("RAILS_MAX_THREADS") { 5 } %>
  username: root
  password:
  host: db
development:
  <<: *default
  database: app_development
test:
  <<: *default
  database: app_test
ここのdbがコンテナ名になります。
これが出来たら再度docker-compose buildを行ってからdocker-compose upを行う。
この状態でlocalhost:3000に接続するとおそらくエラーが出る。
Webコンテナがmysql8.0のcaching_sha2_password認証方式に対応していない為。
次の手順で認証方式をmysql_native_passwordに変更する。
5.MySQLの認証方式の変更
まずDBコンテナに入ります。
(VScodeでdocker-compose upを行っていると思うので、powershellを使って該当のディレクトリを開いてください。)
そこでbashを起動します。
docker-compose exec db bash
その後、mysqlコマンドで接続します。
mysql -u root
場所がmysql>になっている事を確認したら、
下記のクエリを実行する。
mysql> select User,Host,plugin from mysql.user;
すると以下のようなユーザ一覧と認証方式が出てくる。
+------------------+-----------+-----------------------+
| User             | Host      | plugin                |
+------------------+-----------+-----------------------+
| root             | %         | caching_sha2_password |
| mysql.infoschema | localhost | caching_sha2_password |
| mysql.session    | localhost | caching_sha2_password |
| mysql.sys        | localhost | caching_sha2_password |
| root             | localhost | caching_sha2_password |
+------------------+-----------+-----------------------+
5 rows in set (0.00 sec)
上記で出てきたrootのpluginにあるcaching_sha2_passwordをmysql_native_passwordに変更します。
今回対象のroot@%のユーザ設定をALTER USERを使って変更します。
下記のクエリを実行する。
ALTER USER 'root'@'%' IDENTIFIED WITH mysql_native_password BY '';
実行出来たら改めてselect User,Host,plugin from mysql.user;を実行すると、
+------------------+-----------+-----------------------+
| User             | Host      | plugin                |
+------------------+-----------+-----------------------+
| root             | %         | mysql_native_password |
| mysql.infoschema | localhost | caching_sha2_password |
| mysql.session    | localhost | caching_sha2_password |
| mysql.sys        | localhost | caching_sha2_password |
| root             | localhost | caching_sha2_password |
+------------------+-----------+-----------------------+
5 rows in set (0.00 sec)
上記のような表示に変わっている。
その後exitを2回実行して、元いた階層に戻る。
階層が作成したディレクトリなのを確認出来たら以下を実行。
$ docker-compose exec web bundle exec rails db:prepare
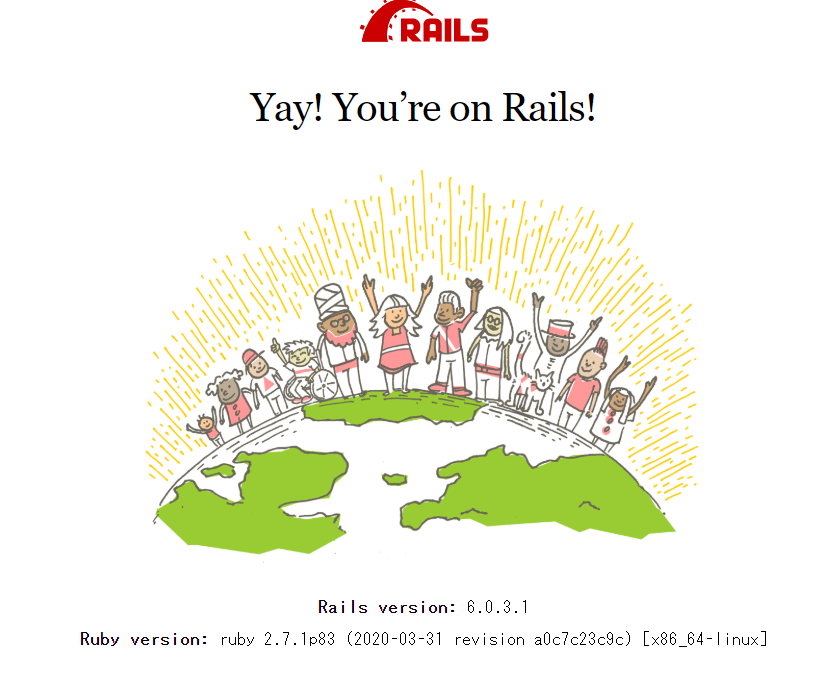
6.Railsのホーム画面にアクセス
DBを作成し、localhost:3000すると、Railsのホーム画面にアクセスできるようになる。
終了。