概要
HerokuにDjangoアプリケーションを導入する手順書です。
前提
・OSバージョン:Ubuntu 16.04 LTS
・Djangoバージョン:Django 1.9.2
・shell:bash
・カレントディレクトリ:/home/a
手順
1.Djangoプロジェクト用作業ディレクトリの作成
a@a:~$ mkdir -p project/sample
※/home/a/project/sampleにDjangoプロジェクトを作成します。
2.Djangoプロジェクト用作業ディレクトリへの移動
a@a:~$ cd project/sample
3.virtualenvの導入
以下のコマンドでvenvディレクトリが作成される
a@a:~project/sample$ virtualenv venv
4.導入したvirtualenvのpythonにパスを通す
4.1.以下のコマンドでpythonを仮想モードで動かせるようになる
a@a:~project/sample$ source venv/bin/activate
仮想モードで動いていることを示す(venv)がコマンドラインの先頭に表示されるようになる
(venv) a@a:~project/sample$
4.2.以下のコマンドでvirtualenvを終了することができる
(venv) a@a:~project/sample$ deactivate
a@a:~project/sample$
5.Procfileを作成する
Herokuで利用するforemanを動かすのに必要なProcfileを作成する
Procfileとは何なのかは、以下のページを参考に。
・foreman で アプリケーションを動かす。 - Qiita
Djangoプロジェクト名をsampleとした場合、以下のように入力する
(venv) a@a:~project/sample$ echo web: gunicorn --env DJANGO_SETTINGS_MODULE=sample.settings sample.wsgi --log-file - | tee Procfile
(venv) a@a:~project/sample$ echo web: gunicorn --env DJANGO_SETTINGS_MODULE=[Djangoプロジェクト名].settings [Djangoプロジェクト名].wsgi --log-file - | tee Procfile
6.requirements.txtを作成する
virtualenvに作成した環境にインストールするパッケージをrequirements.txtにまとめる。
requirements.txtを作成後、以下の内容を貼り付ける。
decorator==4.0.9
dj-database-url==0.4.0
Django==1.9.2
django-filter==0.12.0
djangorestframework==3.3.2
gunicorn==19.4.5
pickleshare==0.6
psycopg2
wheel==0.29.0
whitenoise==2.0.6
python-dateutil==1.5
<補足>
以下のコマンドでHerokuで必要となるパッケージをまとめているので、以下のコマンドでインストールするのもよいです。
現在2017/04/16時点で実行すると、Djangoのバージョンが1.11となるため、今回は使っていません。
Django1.9.2に拘らないくても良いと思いますが。。。
(venv) a@a:~project/sample$ pip install django-toolbelt
7.requirements.txtで定義したパッケージをインストールする
(venv) a@a:~project/sample$ pip install -r requirements.txt
8.Djangoプロジェクトを作成する
(venv) a@a:~project/sample$ django-admin startproject sample .
(venv) a@a:~project/sample$ django-admin startproject [Djangoのプロジェクト名] .
9.作成したDjangoプロジェクトのsettings.py、wsgi.pyを修正する
gitにあるサンプルプログラムのsettings.py、wsgi.pyをローカルにコピーして、今回作成したDjangoプロジェクト用に修正をして利用する。
9.1.事前にsettings.py、wsgi.pyのバックアップを作成する
(venv) a@a:~project/sample$ cp sample/settings.py sample/settings.py.default
(venv) a@a:~project/sample$ cp sample/wsgi.py sample/wsgi.py.default
(venv) a@a:~project/sample$ cp [プロジェクト名]/settings.py [プロジェクト名]/settings.py.default
(venv) a@a:~project/sample$ cp [プロジェクト名]/wsgi.py [プロジェクト名]/wsgi.py.default
9.2.settings.py、wsgi.pyを修正する
(venv) a@a:~project/sample$ git clone https://github.com/yamanoura/django_sample.git
(venv) a@a:~project/sample$ cd django_sample/sample
(venv) a@a:~project/sample/django_sample/sample$ sed -e 's/sample/sample/g' settings.py > settings.py.copy
(venv) a@a:~project/sample/django_sample/sample$ sed -e 's/sample/sample/g' wsgi.py > wsgi.py.copy
(venv) a@a:~project/sample/django_sample/sample$ cp settings.py.copy ../../sample/settings.py
(venv) a@a:~project/sample/django_sample/sample$ cp wsgi.py.copy ../../sample/wsgi.py
(venv) a@a:~project/sample/django_sample/sample$ cd ../..
(venv) a@a:~project/sample$ rm -rf django_sample
(venv) a@a:~project/sample$ cd sample
※sed -e 's/sample/プロジェクト名/'gのプロジェクト名に作成したプロジェクト名を入力してください。
(venv) a@a:~project/sample$ git clone https://github.com/yamanoura/django_sample.git
(venv) a@a:~project/sample$ cd django_sample/sample
(venv) a@a:~project/sample/django_sample/sample$ sed -e 's/sample/[プロジェクト名]/g' settings.py > settings.py.copy
(venv) a@a:~project/sample/django_sample/sample$ sed -e 's/sample/[プロジェクト名]/g' wsgi.py > wsgi.py.copy
(venv) a@a:~project/sample/django_sample/sample$ cp settings.py.copy ../../sample/setttings.py
(venv) a@a:~project/sample/django_sample/sample$ cp wsgi.py.copy ../../sample/wsgi.py
(venv) a@a:~project/sample/django_sample/sample$ cd ../..
(venv) a@a:~project/sample$ rm -rf django_sample
(venv) a@a:~project/sample$ cd [プロジェクト名]
9.3.settings.py.defaultのSECRET_KEYを、settings.pyに反映する
エディタでsettings.py.defaultのSECRET_KEYの値を、
settings.pyのSECRET_KEYに設定する。
9.2のやり方でsettings.pyを修正すると、
SECRET_KEYがsampleプロジェクトのもので上書きしてしまいます。 修正する前のsettings.pyのSECRET_KEYの値を、修正後の
settings.pyに設定する。
10.ローカル環境でDjangoが動くかを検証する
10.1.データベースにDjangoで使用する情報を反映させる
manage.pyが格納された場所に移動し、「python manage.py migrate」を実行する。
(venv) a@a:~project/sample/sample$ cd ..
(venv) a@a:~project/sample$ python manage.py migrate
System check identified some issues:

WARNINGS:
?: (1_8.W001) The standalone TEMPLATE_* settings were deprecated in Django 1.8 and the TEMPLATES dictionary takes precedence. You must put the values of the following settings into your default TEMPLATES dict: TEMPLATE_DEBUG.
Operations to perform:
  Apply all migrations: admin, contenttypes, auth, sessions
Running migrations:
  Rendering model states... DONE
  Applying contenttypes.0001_initial... OK
  Applying auth.0001_initial... OK
  Applying admin.0001_initial... OK
  Applying admin.0002_logentry_remove_auto_add... OK
  Applying contenttypes.0002_remove_content_type_name... OK
  Applying auth.0002_alter_permission_name_max_length... OK
  Applying auth.0003_alter_user_email_max_length... OK
  Applying auth.0004_alter_user_username_opts... OK
  Applying auth.0005_alter_user_last_login_null... OK
  Applying auth.0006_require_contenttypes_0002... OK
  Applying auth.0007_alter_validators_add_error_messages... OK
  Applying sessions.0001_initial... OK
エラーがでなければOK!
10.2.以下のコマンドでDjangoを動かせるようにする
(venv) a@a:~project/sample$ foreman start
foremanコマンド実行後に、ブラウザでDjangoプロジェクトにアクセスする。
ブラウザに「うまくいった!」、または英語でSuccessみたいな文言が表示されればOK!
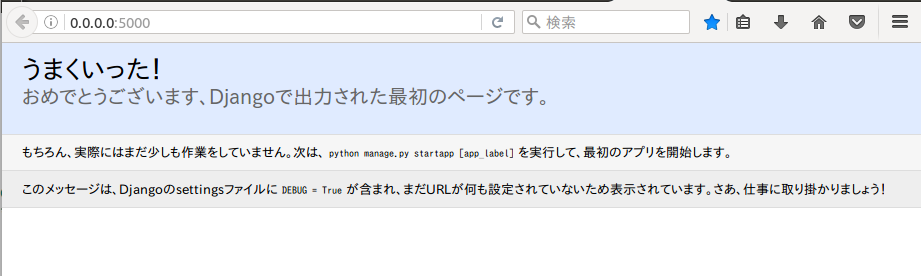
※foremanを終了するには[Ctrl + c]で終了できます
11.作成したDjangoプロジェクトをgitに登録、コミットする
11.1.除外ファイルの作成
余計無いものをコミットしないようにする
(venv) a@a:~project/sample$ echo -e venv'\n'*.pyc'\n'*.*~'\n'*.sqlite3 | tee .gitignore
11.2.gitに登録、コミット
(venv) a@a:~project/sample$ git init
(venv) a@a:~project/sample$ git add .
(venv) a@a:~project/sample$ git commit -m "init" .
12.Herokuアプリケーションを作成する
(venv) a@a:~project/sample$ heroku create d-sample
(venv) a@a:~project/sample$ heroku create [herokuのアプリ名]
13.Herokuデータベースを利用できる準備を行う
13.1.作成したHerokuアプリにpostgresqlをインストールする
(venv) a@a:~project/sample$ heroku addons:add heroku-postgresql
13.2.作成したHerokuアプリのデータベースの設定を行う
(venv) a@a:~project/sample$ heroku config:get DATABASE_URL
14.作成したDjangoプロジェクトをHerokuアプリにデプロイする
14.1.gitにコミットした資産を、Herokuに反映させることでデプロイをする
(venv) a@a:~project/sample$ git push heroku master
14.2.HerokuのデータベースにDjangoで使用する情報を反映させる
(venv) a@a:~project/sample$ heroku run python manage.py migrate
Running python manage.py migrate on ⬢ d-sample... up, run.5492 (Free)
System check identified some issues:

WARNINGS:
?: (1_8.W001) The standalone TEMPLATE_* settings were deprecated in Django 1.8 and the TEMPLATES dictionary takes precedence. You must put the values of the following settings into your default TEMPLATES dict: TEMPLATE_DEBUG.
Operations to perform:
  Apply all migrations: sessions, contenttypes, admin, auth
Running migrations:
  Rendering model states... DONE
  Applying contenttypes.0001_initial... OK
  Applying auth.0001_initial... OK
  Applying admin.0001_initial... OK
  Applying admin.0002_logentry_remove_auto_add... OK
  Applying contenttypes.0002_remove_content_type_name... OK
  Applying auth.0002_alter_permission_name_max_length... OK
  Applying auth.0003_alter_user_email_max_length... OK
  Applying auth.0004_alter_user_username_opts... OK
  Applying auth.0005_alter_user_last_login_null... OK
  Applying auth.0006_require_contenttypes_0002... OK
  Applying auth.0007_alter_validators_add_error_messages... OK
  Applying sessions.0001_initial... OK
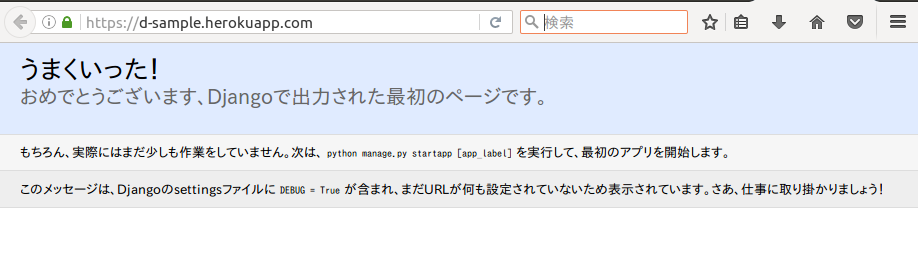
15.Herokuアプリにデプロイしたアプリを見る
(venv) a@a:~project/sample$ heroku open
上記コマンドを入力すると、デプロイしたHerokuアプリをブラウザがアクセスを行う。
ローカル環境と同じように、ブラウザに「うまくいった!」、または英語でSuccessみたいな文言が表示されればOK!