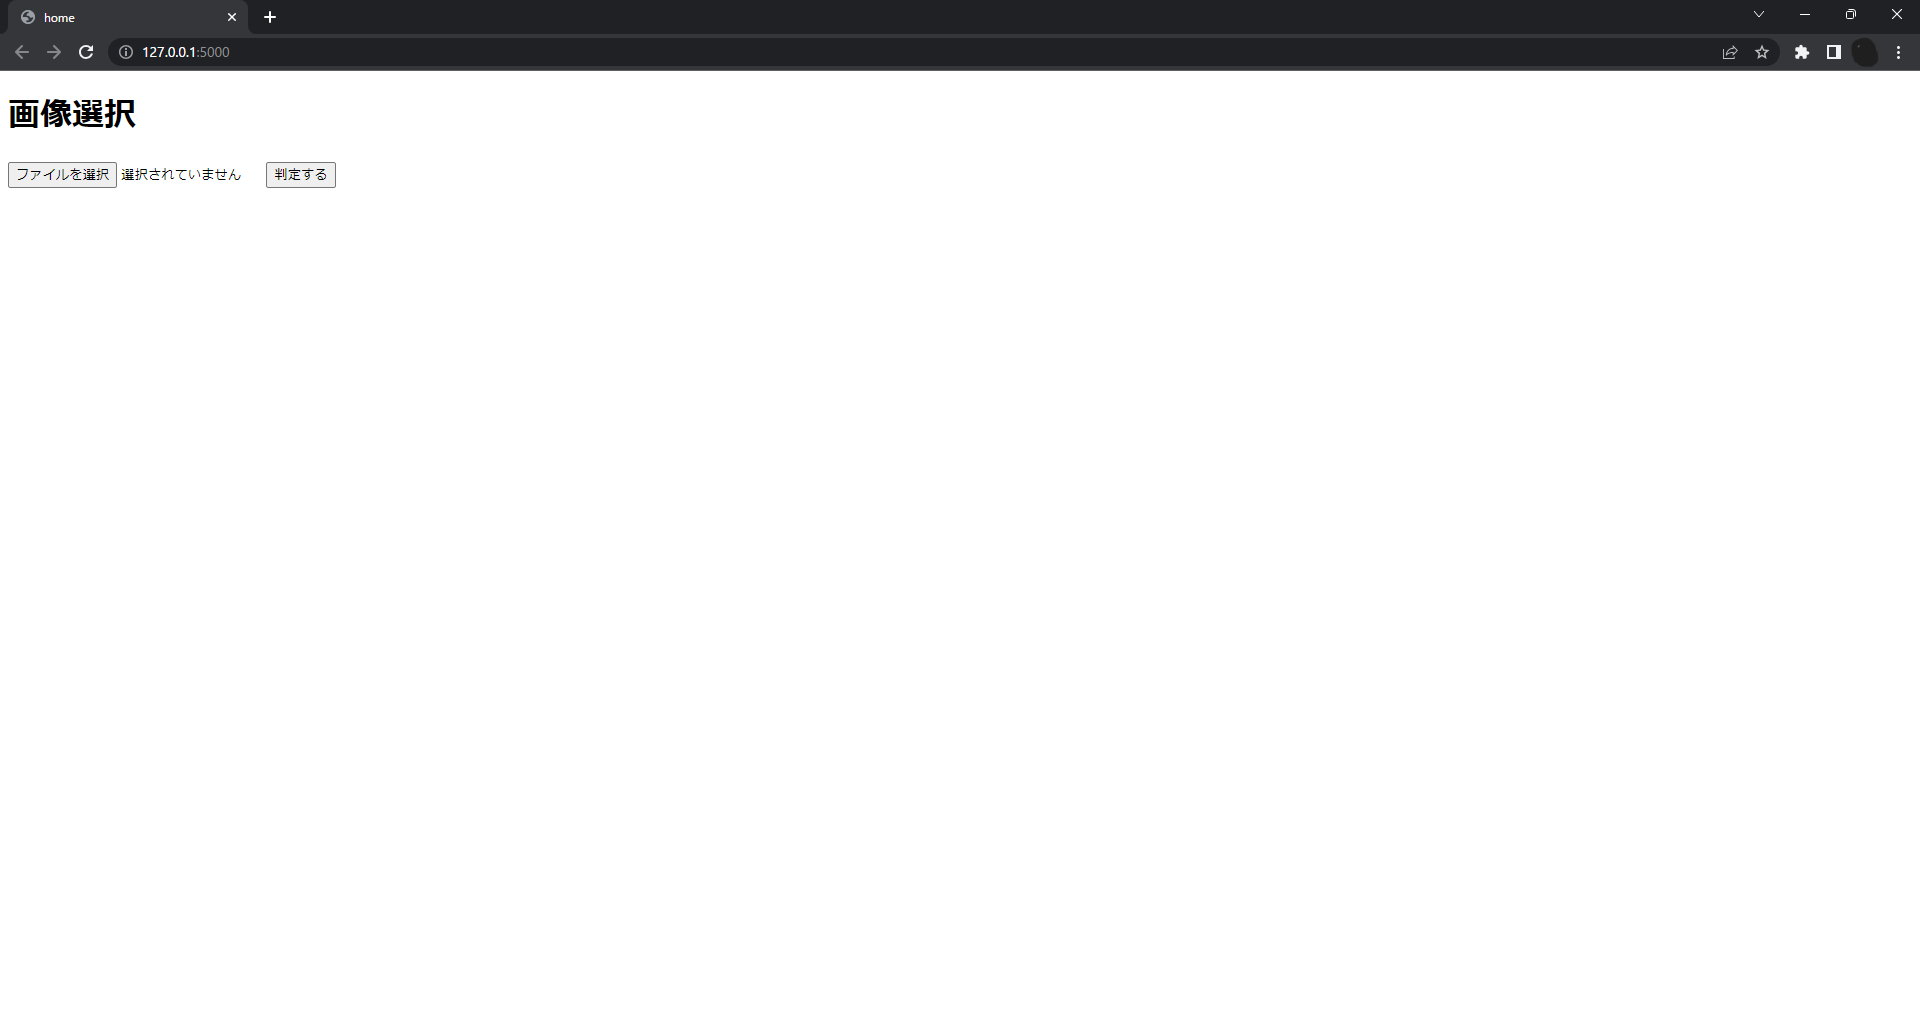
FlaskとGoogleCloudStorageを使って画像を表示する簡単なWebアプリを作成しました。
GoogleCloudStorageとは
GoogleCloudStorageとは動画や画像などのオブジェクトを保存することができるサービスのことです。
GoogleCloudStorageの使用方法
- GCPのコンソールでプロジェクトを作成します。
- 左上のナビゲーションメニュー>IAMと管理>サービスアカウントを開きます。上部にある「+CREATE SERVICE ACCOUNT」でサービスアカウントを作成します。
- サービスアカウントを作成したら開いて上部の「キー」を開いて「鍵を追加」の所で鍵を作成します。この鍵はあとで使用します。この鍵はwebアプリのプロジェクトと同じ場所に保存します。
- ナビゲーションメニュー>Cloud Storage>バケットを開きます。上部の「+作成」でバケットを作成します。このバケットに画像や動画などのオブジェクトが保存されます。※公開アクセスの所が「インターネットに公開」になってないと、あとでFlaskで画像を表示することができません。
Webアプリ作成
ここからはFlaskを使ってwebアプリを作っていきます。
始めに、HTMLで画像をアップロードできるようにします。
<!DOCTYPE html>
<html lang="ja">
<head>
  <meta charset="UTF-8">
  <link rel="stylesheet" href="../static/css/style.css">
  <title>home</title>
</head>
<body>
  <h1>画像選択</h1>
  <form action="/upload" method="POST" enctype="multipart/form-data">
    <input type="file" name="image">
    <input type="submit" value="アップロード">
  </form>
</body>
</html>
次に、画像を表示できるようにします。
<!DOCTYPE html>
<html lang="ja">
<head>
  <meta charset="UTF-8">
  <link rel="stylesheet" href="../static/css/style.css">
  <title>upload</title>
</head>
<body>
  <img class="image" src="{{image}}" alt="Image">
</body>
</html>
最後にpythonでバックエンドの部分を書いていきます。
import os
from flask import Flask, render_template, request
from datetime import datetime
from google.cloud import storage

app = Flask(__name__)

service_account_key = 'key'
bucket_name = 'bucket'

key = os.path.join(app.root_path, service_account_key)
client = storage.Client.from_service_account_json(key)
bucket = client.get_bucket(bucket_name)

@app.route('/', methods=['GET'])
def index():
    return render_template('index.html')

@app.route('/upload', methods=['POST'])
def upload():
    if 'image' in request.files:
        file = request.files['image']
        if file.filename != '':

            blob = bucket.blob(file.filename)
            blob.upload_from_string(file.read(), content_type=file.content_type)

    objects = list(bucket.list_blobs())

    new_file = max(objects, key=lambda x: x.time_created)

    image_url = f'https://storage.googleapis.com/{bucket_name}/{new_file.name}'

    return render_template('upload.html', image=image_url, name='-')

if __name__ == '__main__':
    app.run(debug=True)
- service_account_keyには先ほど作成、保存しておいたサービスアカウントの鍵のパスを書きます。
- bucket_nameには先ほど作成したバケットの名前を書きます。
service_account_key = './path/鍵のpath'
bucket_name = 'バケットの名前'
大変だったこと
GoogleCloudPlatform(GCP)を使用したのは、このWebアプリを本番環境でもちゃんと使えるようにしたいと思ったからです。しかし、GCPを使うにしても、そもそも使い方が分からなかったのでそこを理解するのが一番大変でした。

