こんなオーダーが。
「いい感じで記事をかける機能導入して!」
「ヘッドレスCMS使えばすぐできるから!」
ほほう。では軽く調査しよう。
〜数日後〜
いや、簡単にはできないですぜ。少なくとも使用するメリットないっすね。
そもそも、ランニングコストかかりますぜ。
「じゃあいい感じに導入して!」
「できるだけ早くね!」
そんなこんなで、超爆速でWYSIWYGエディターを組み込んだ話を。
初めに
既存システムは割とレガシー。
- PHP 7.2
- Laravel Framework 7.25.0
- MySQL 5.7
- jQuery 3.5.1
- Bootstrap
そもそもWYSIWYGエディターとは?
WYSIWYG(アクロニム: ウィジウィグ)とは、コンピュータのユーザインタフェースに関する用語で、ディスプレイに現れるものと処理内容(特に印刷結果)が一致するように表現する技術。What You See Is What You Get(見たままが得られる)の頭文字をとったものであり、「is」を外したWYSWYG(ウィズウィグ)と呼ばれることもある。
近年では、コンテンツ管理システムでも使われるようになり、この場合は、入力画面と出力画面が一致するよう表現する技術を指す。
引用: https://ja.wikipedia.org/wiki/WYSIWYG
なるほど。Qiitaの記事作成画面見たいなものね。
※ Qiitaから記事の作成画面を抜き出そうと一瞬努力したのは秘密。
どれを使用する?
quilljs、SunEditor、CKEditor 5、MediumEditorなど、多数のライブラリーを触ったが、
を使用することに決定。
理由は、jQueryと親和性があって、カスタマイズが容易にできそうだったので。
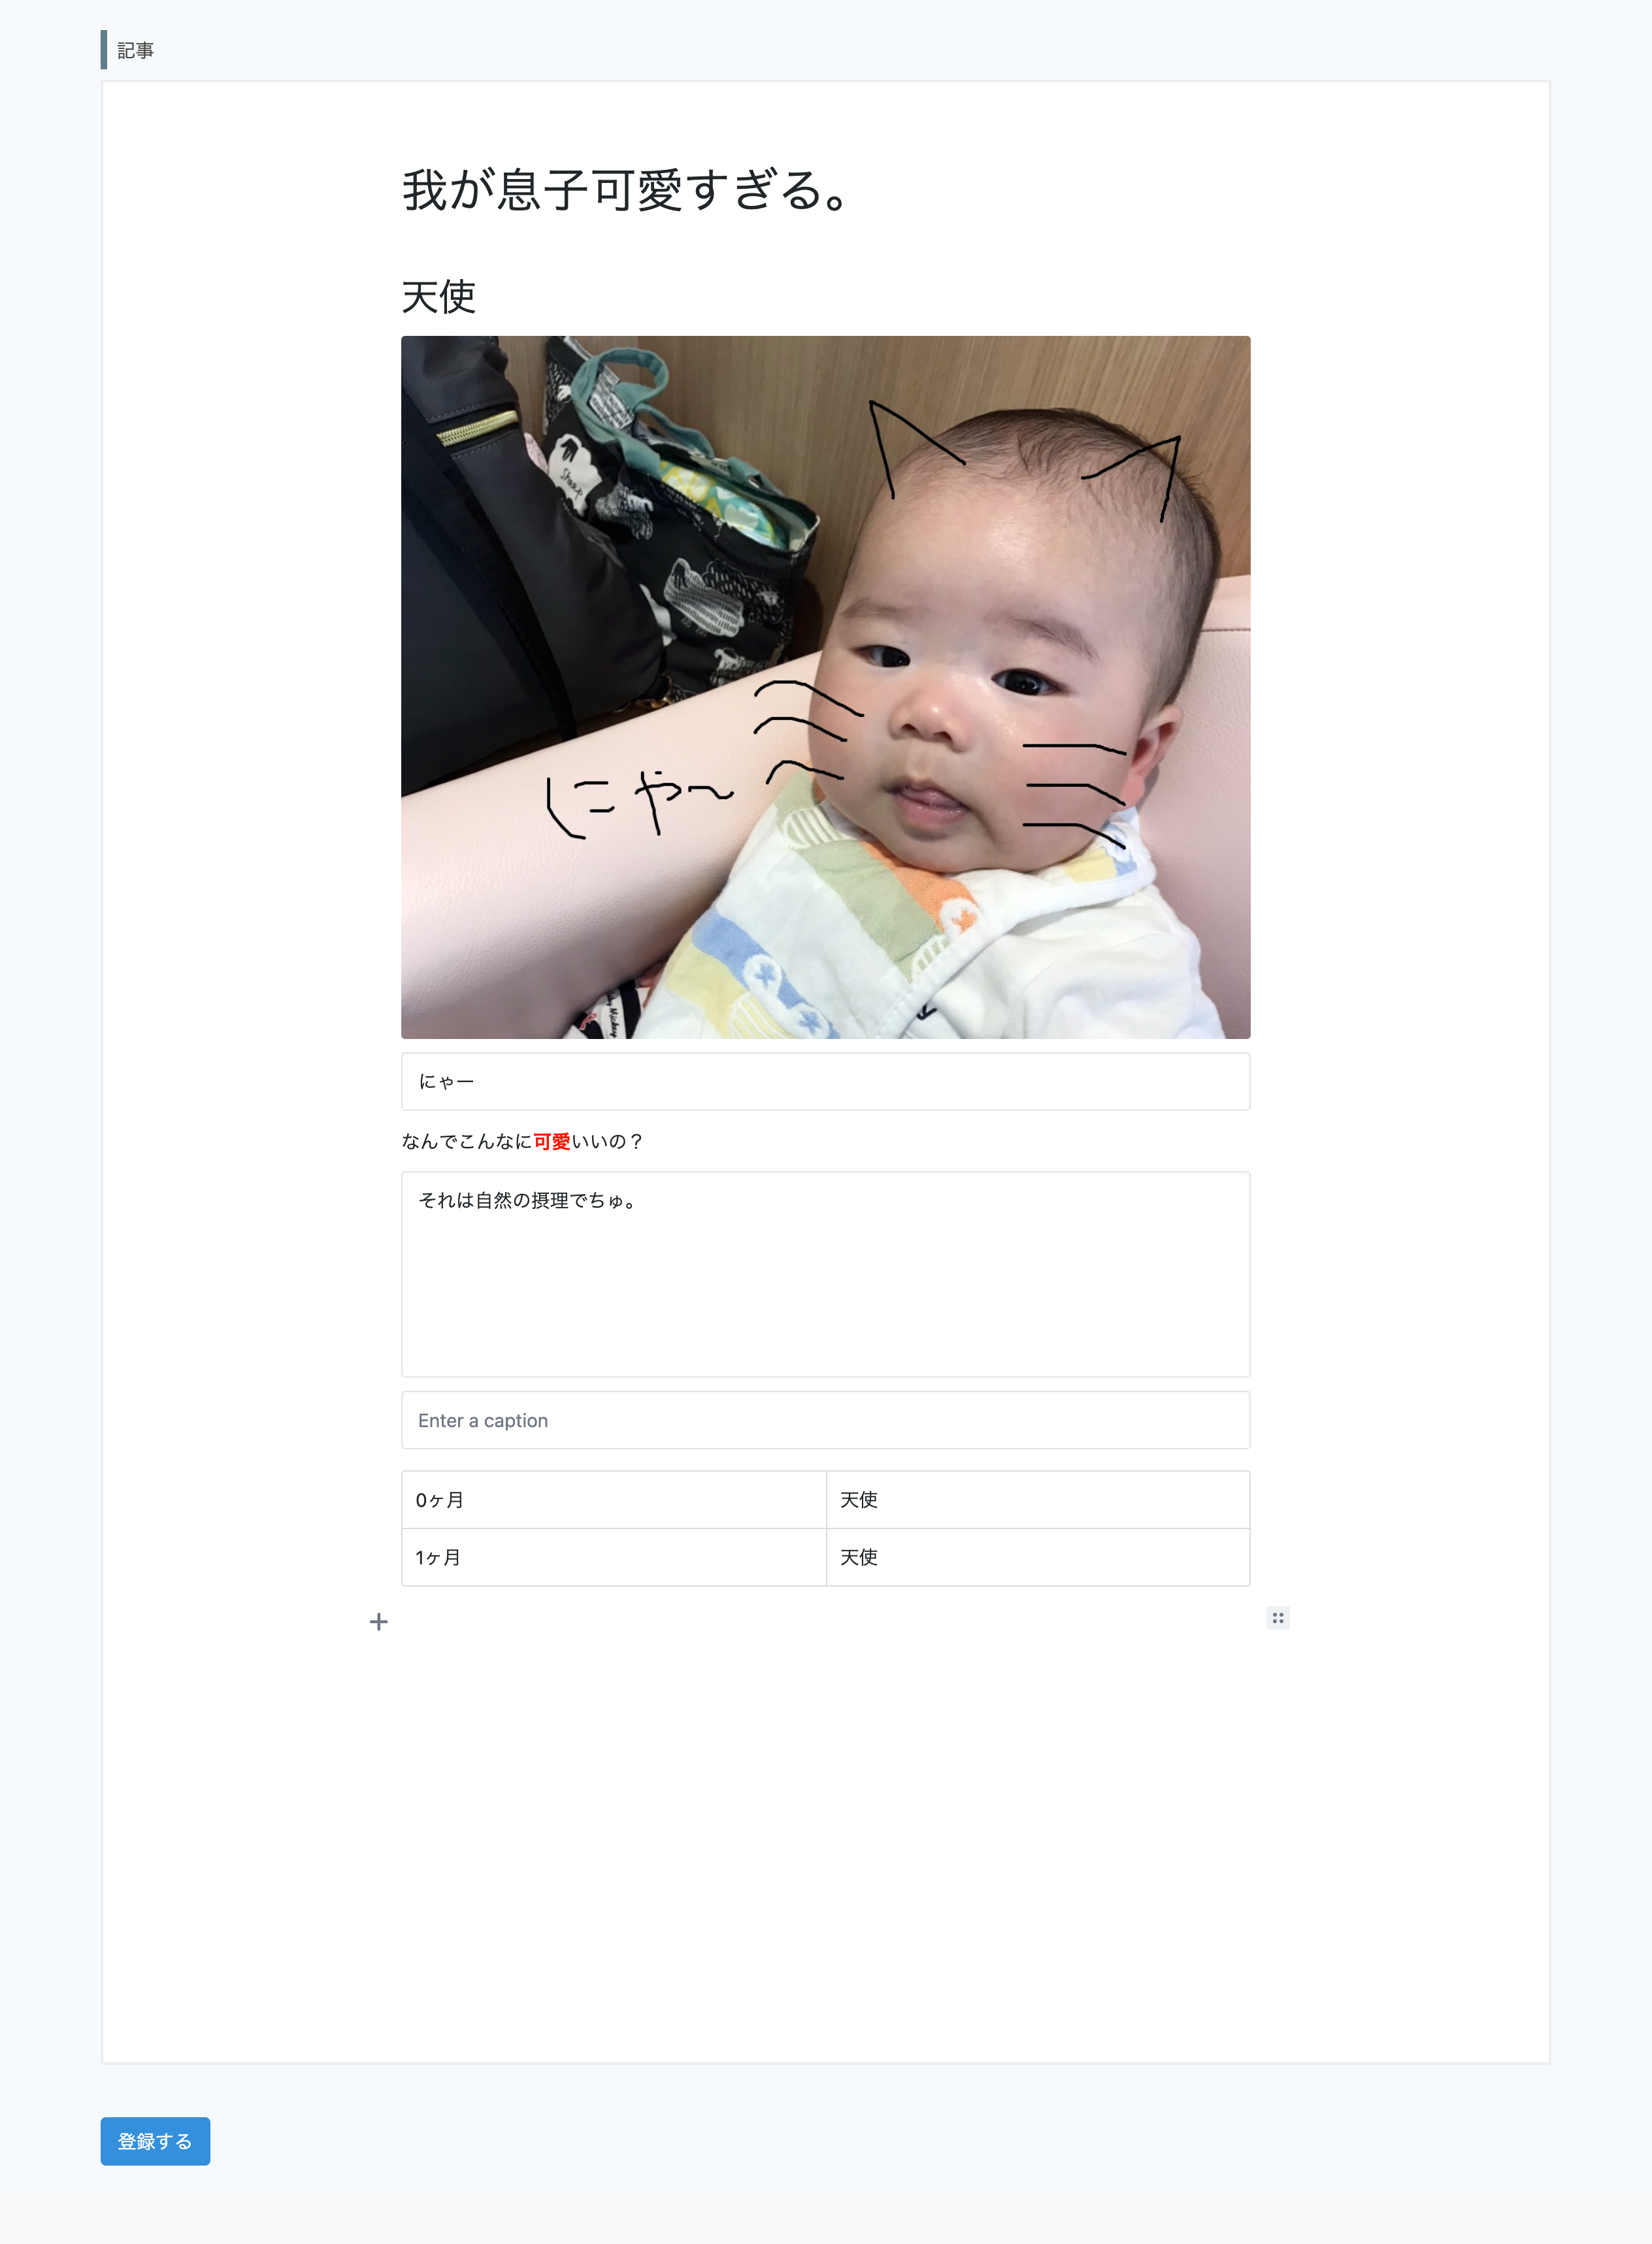
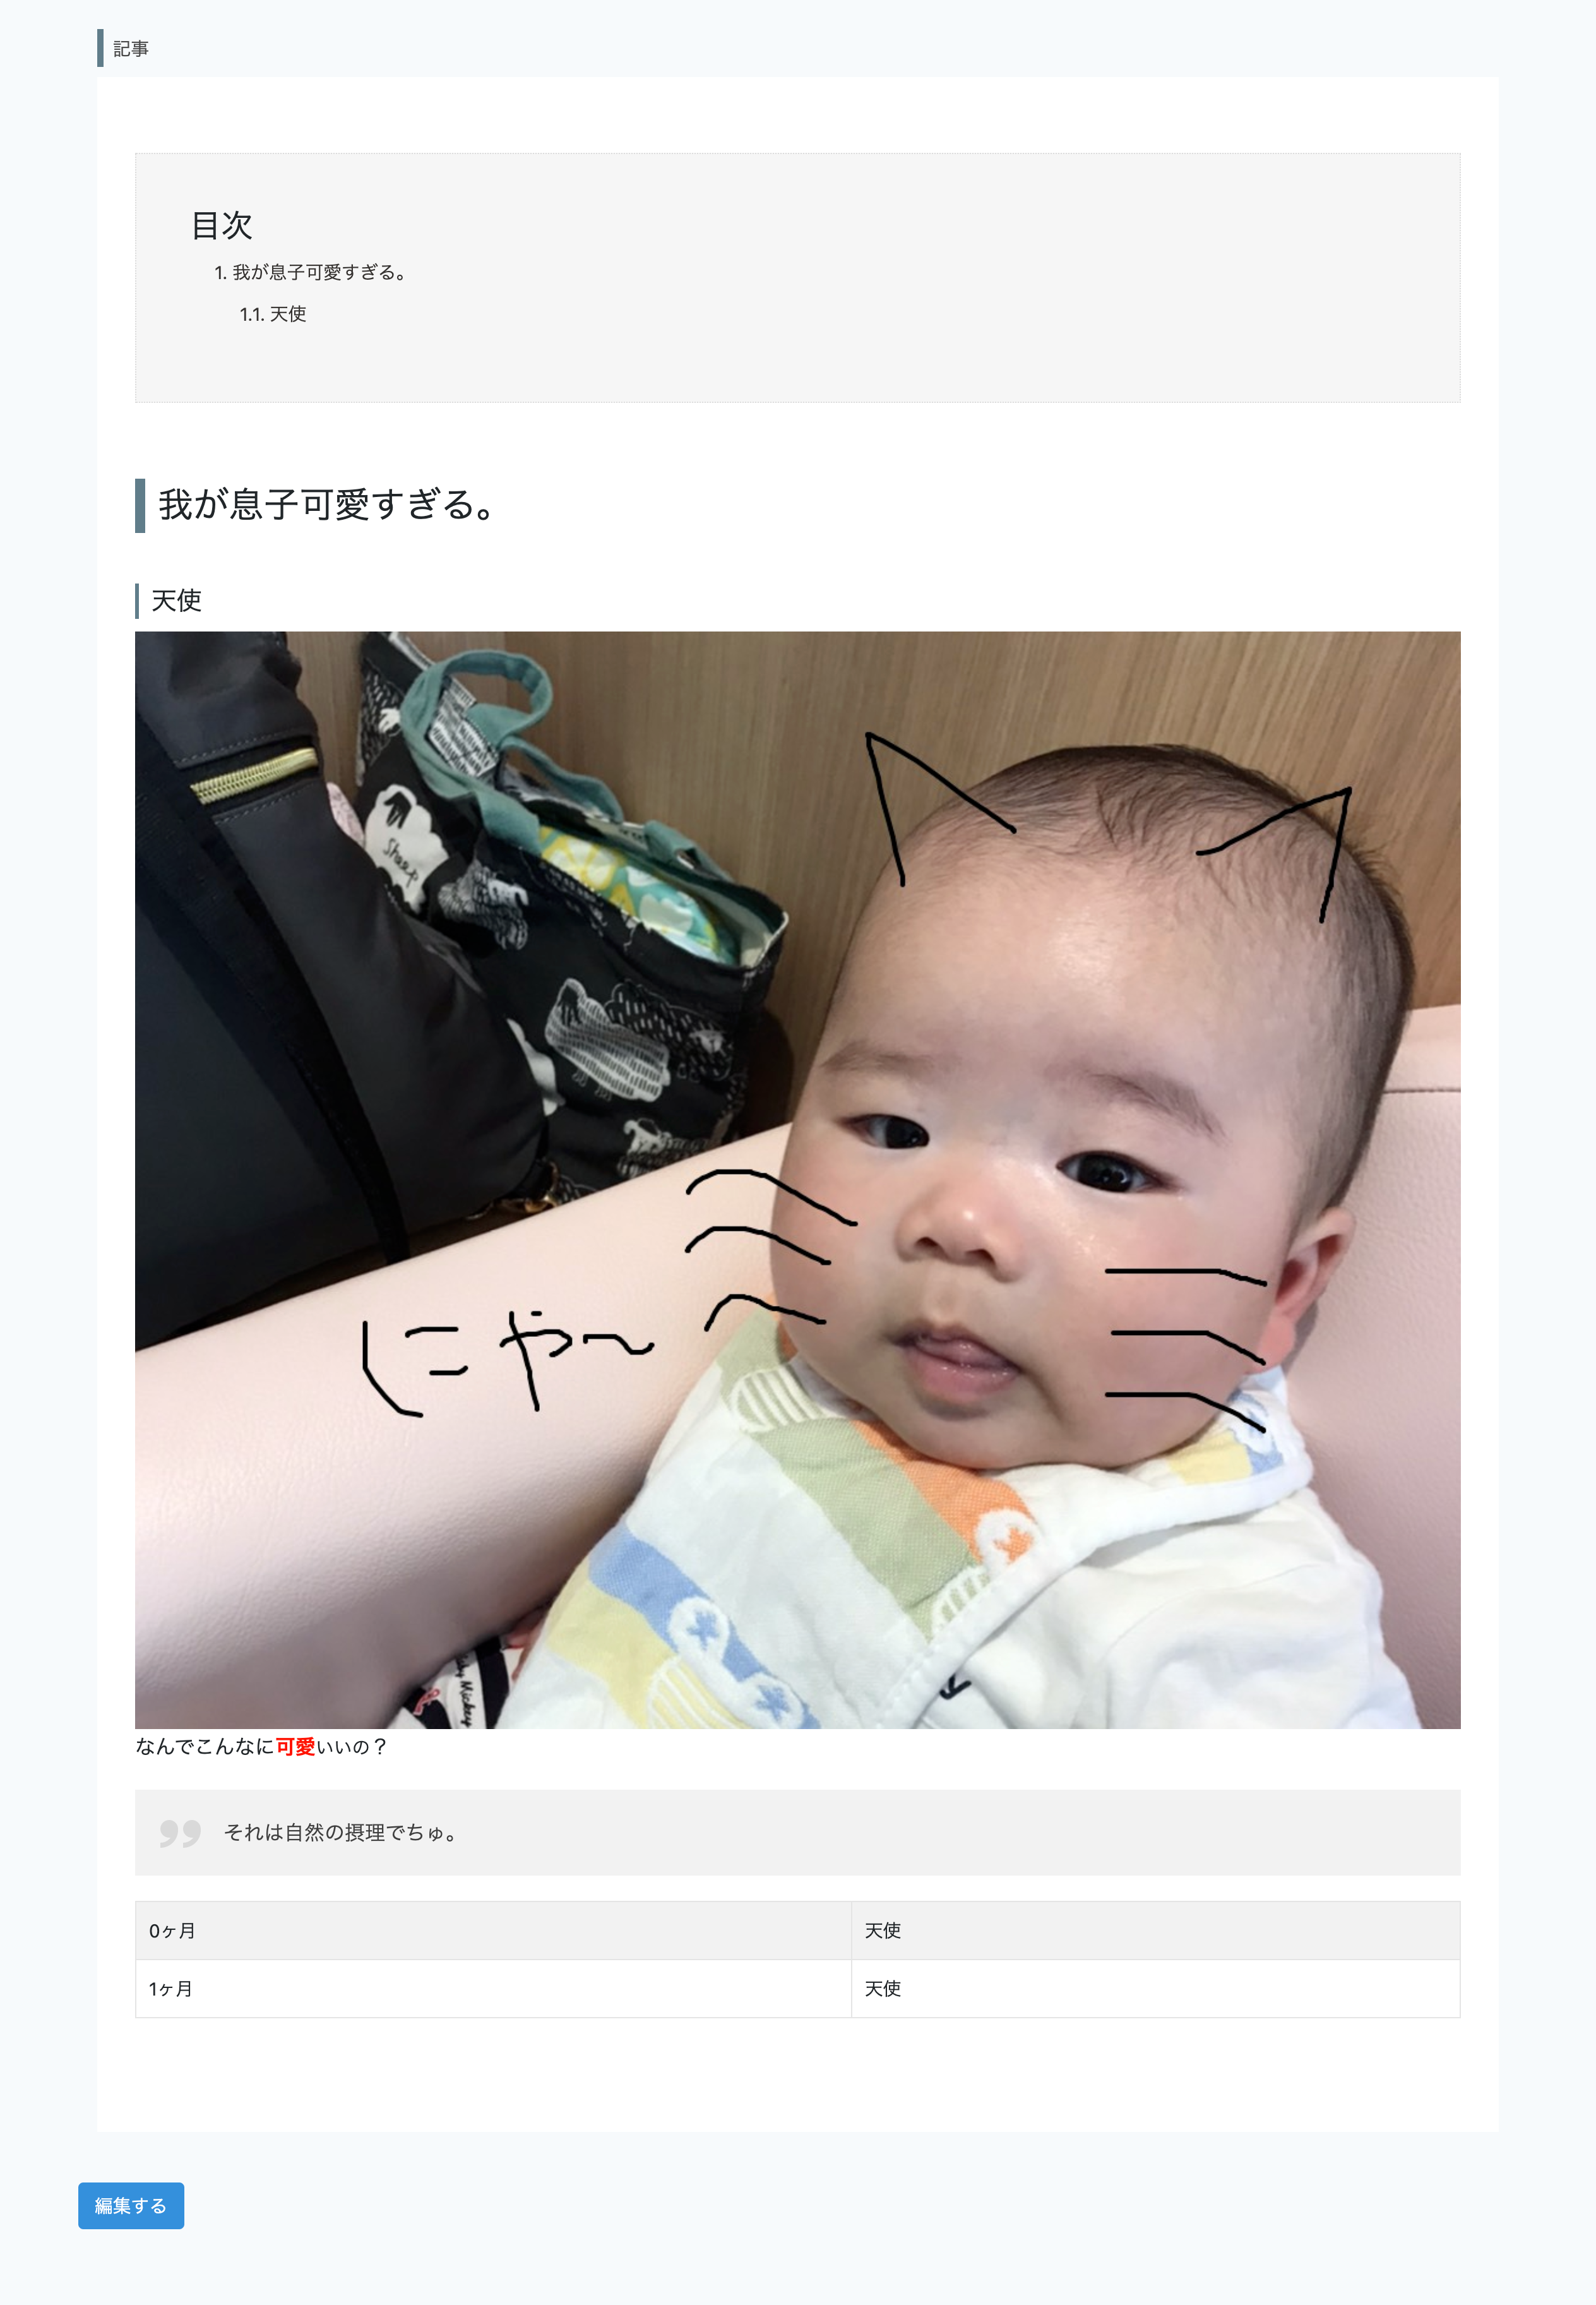
実際の画面
入力
プレビュー
目次は自動生成、その他必要そうなタグを導入。
実装
フロント
<form id="form" method="POST" enctype="multipart/form-data">
  @csrf
  <div class="form-group">
    <label class="form-label">記事</label>
    <meta name="csrf-token" content="{{ csrf_token() }}">
    <div id="editor"></div>
    <input id="content" type="hidden" name="content"
      value="{{ $article->content ?? ""}}">
  </div>
  <div class="form-group">
    <button id="submit-btn" class="btn btn-primary" type="button">登録する</button>
  </div>
</form>
ほとんどドキュメントの通りですな。
hidden要素はloadする時に使用。
プラグインは脳死でinclude。(良い子のみんなはちゃんと選定するんだよ。)
$(function () {
  // 別タイプの引用ボックス
  // Quoteを継承することで使用可
  class Box extends Quote {
    static get toolbox() {
      return {
        title: 'Box',
        icon: 'Box'
      };
    }
  }

  const editor = new EditorJS({
    holder: 'editor',
    autofocus: false,
    tools: {
      header: {
        class: Header,
        config: {
          levels: [1, 2, 3],
          defaultLevel: 1,
        }
      },
      quote: Quote,
      box: Box,
      table: Table,
      image: {
        class: ImageTool,
        config: {
          endpoints: {
            byFile: '/byFile',
            byUrl: '/byUrl',
          },
          additionalRequestHeaders: {
            'X-CSRF-TOKEN': $('meta[name="csrf-token"]').attr('content')
          },
        }
      },
      Color: {
        class: ColorPlugin,
        config: {
          colorCollections: ['#000', '#FF1300', '#EC7878', '#9C27B0', '#673AB7', '#3F51B5', '#0070FF', '#03A9F4', '#00BCD4', '#4CAF50', '#8BC34A', '#CDDC39', '#FFF'],
          defaultColor: '#FF1300',
          type: 'text',
        }
      },
    },
    data: function () {
      // 初期表示時の処理
      const v = $('#content').val();
      return v ? JSON.parse(v) : ''
    }(),
    onReady: function () {
      // トラッキング
    },
    onChange: function () {
      // トラッキング
    }
  });

  $('#submit-btn').on('click', function () {
    editor.save().then((data) => {
      $('#content').val(JSON.stringify(data));
      $('#form').submit();
    });
  });
});
あまり大したことをやってはいない。ほぼ公式ドキュメントの通り。
要素を継承することで、カスタマイズが容易にできるポイントはGood.
初期表示時の処理が美しく無いのはBad.
※ 途中離脱の処理は抜粋するのが面倒だったので割愛。
サーバーサイド
超爆速脳死で実装。
<?php
class EditorController extends Controller
{
    // 初期表示
    public function index(Request $request)
    {
        $article = Article::find($request->id;);
        return view('index', compact('article'));
    }

    // 登録
    public function regist(EditorRequest $request)
    {
        Article::create([
            'content' => $request->input('content'),
        ]);
        return redirect()->route('index');
    }

    // 画像ファイルを選択した場合
    public function byFile(Request $request)
    {
        $editor_image = new EditorImage();
        $editor_image->put('editor', $request->file('image'));
        $image_path = $editor_image->getCdnPath();
        return ['success' => '1', 'file' => ['url' => $image_path]];
    }

    // ファイルのURLをペーストした場合
    public function byUrl(Request $request)
    {
        // URLの場合は特に何もしなくて良い。
        // 例えば、ファイルをロードして、自分管理のファイルサーバーなどにUPし直す場合はゴリゴリ実装が必要
        // でも爆速だからね。動けばいいからね。
        return ['success' => '1', 'file' => ['url' => $request->input('url')]];
    }
}
Controllerは特に面白みなし。
<?php
class Article extends Model
{
    protected $table = 'article';
    protected $fillable = [
        'content',
    ];

    public function getContentHtmlAttribute()
    {
        $editor_content = new EditorContent($this->content);
        return $editor_content->convert();
    }
}
ModelではEditor.jsの内容をhtmlにconvertして返却する感じにしてみた。
<?php
class EditorImage
{
    private $path;
    public function __construct()
    {
    }
    public function put(String $prefix, String $file)
    {
        $this->path = Storage::disk('s3')->putFile($prefix, $file, 'public');
    }
    public function getCdnPath()
    {
        return Storage::disk('s3')->url($this->path);
    }
}
S3にアップロードしているだけ。
<?php
class EditorContent
{
    private $blocks;

    public function __construct(String $data)
    {
        $data = $data;
        $array = json_decode($this->data, true);
        $this->blocks = $array['blocks'];
    }

    public function convert()
    {
        $index = array();
        $no1 = 0;
        $no2 = 0;
        $no3 = 0;
        $map = array_map(function($o) use (&$index, &$no1, &$no2, &$no3) {
            $type = $o['type'];
            $data = $o['data'];
            $res = '';

            switch ($type) {
                // 普通のテキスト系。aタグとかもここへくる。
                case 'paragraph':
                    $text = $data['text'];
                    $res = "<p>$text</p>";
                    break;

                // ヘッダーなんだが...怪しい処理が。
                case 'header':
                    $text = $data['text'];
                    $level = $data['level'];
                    $res = "<h$level class=\"h${level}_type01\"><span id=\"$text\">$text</span></h$level>";
                    $link = "<a href=\"#$text\">$text</a>";

                    // 目次を生成するための前準備
                    // とても汚いねぇ。要リファクタリングエリア
                    // 一旦目を瞑ります。
                    if ($level == 1) {
                        $no1 = $no1 + 1;
                        $no2 = 0;
                        $no3 = 0;
                        $link = "<a href=\"#$text\">$no1. $text</a>";
                    } elseif($level == 2) {
                        $no2 = $no2 + 1;
                        $no3 = 0;
                        $link = "<a href=\"#$text\">$no1.$no2. $text</a>";
                    } else {
                        $no3 = $no3 + 1;
                        $link = "<a href=\"#$text\">$no1.$no2.$no3. $text</a>";
                    }

                    array_push($index,
                        array(
                            'link' => $link,
                            'level' => $level,
                        )
                    );
                    break;

                // ol ul系。特に言うことなし。
                case 'list':
                    $items = $data['items'];
                    $li = join('', array_map(function($item){ return "<li>$item</li>";}, $items));
                    $style = $data['style'];
                    switch ($style) {
                        case 'ordered':
                            $res = "<ol>$li</ol>";
                            break;

                        case 'unordered':
                            $res = "<ul>$li</ul>";
                            break;

                        default:
                            $res = $li;
                            break;
                    }
                    break;

                // 引用ブロック
                case 'quote':
                    $text = $data['text'];
                    $caption = $data['caption'];
                    $alignment = $data['alignment'];
                    $res = "<blockquote data-caption=\"$caption\"><p>$text</p></blockquote>";
                    break;

                // 引用ブロックにClassをふよ。
                // カスタマイズできるポイントはやっぱりGood.
                case 'box':
                    $text = $data['text'];
                    $caption = $data['caption'];
                    $alignment = $data['alignment'];
                    $res = "<blockquote class=\"box\" data-caption=\"$caption\"><p>$text</p></blockquote>";
                    break;

                // テーブルレイアウト...
                case 'table':
                    $content = $data['content'];
                    // 深夜テンションの実装だ。恥ずかしい...
                    $td = join('', array_map(function($item){
                        return '<tr>'.join('', array_map(function($cont){
                            return "<td>$cont</td>";
                        }, $item)).'</tr>';
                    }, $content));
                    $tbody = "<tbody>$td</tbody>";

                    $res = "<table>$tbody</table>";
                    break;

                // 画像挿入。ただ、最低限すぎる。
                case 'image':
                    $file = $data['file']['url'] ?? '';
                    if (!empty($file)) {
                        $caption = $data['caption'];

                        $res = "<img src=\"$file\" alt=\"caption\" style=\"max-width:100%;height:auto;\">";
                    }
                    break;

                default:
                    break;
            }
            return $res;
        }, $this->blocks);

        // 地獄wwww
        // 本当にこういった実装はよくない。
        // でもデリバリー優先。許して。
        $bef = '';
        $imap = array_map(function($o) use (&$bef) {
            $link = $o['link'];
            $level = $o['level'];
            $res = '';

            if ($level == '1' && $bef == '') {
                $res = "<li>${link}";
            }
            if ($bef == $level) {
                $res = "</li><li>${link}";
            }

            if ($level == '1' && $bef == '2') {
                $res = "</ul></li><li>${link}";
            }
            if ($level == '1' && $bef == '3') {
                $res = "</ul></ul></li><li>${link}";
            }
            if ($level == '2' && $bef == '1') {
                $res = "<ul><li>${link}";
            }
            if ($level == '2' && $bef == '3') {
                $res = "</ul></li><li>${link}";
            }
            if ($level == '3' && $bef == '1') {
                $res = "<ul><li><ul><li>${link}";
            }
            if ($level == '3' && $bef == '2') {
                $res = "<ul><li>${link}";
            }

            $bef = $level;
            return $res;
        }, $index);

        array_unshift($map, '<div class=""><h3>目次</h3><ol>'.join('', $imap).'</li></ol></div><div class="">');

        return join('', $map).'</div>';
    }
}
Editor.jsの登録値から、htmlにconvertする部分がとても汚い。
ただ、下手に綺麗にしても、制約が厳しくなりデリバリーが遅れるリスクがあるので泣く泣く。。。
一応、type毎にリフレクションするような構成も考えたが、なるはやというオーダーがあったので。。。
いつかgithubにあげれたらええなぁ。
まとめ
- 色々ググってみたけど、フロント/サーバー一気通貫でまとめている記事がなかったので、備忘録を兼ねて残してみた。
- 実業務ではBFFなどのアーキテクチャパターンをしっかり落とし込んで、テスタビリティの高い構成にしているが、
今回のように緊急な要件に対しては技術負債覚悟の突貫実装も大事。
リリースが大事なのでね。※ 負債は返済しないとダメだよ。 - ウチの子可愛いわぁ
- PHP嫌い

