環境
Xcode 13.2.1
Swift 5.5.2
Listとは
SwiftUIでは、これまでのUIKitのUITableViewやUICollectionViewを用いたリスト表示を実装したい場合は、Listを使うことで再現ができます。
Listも表示が画面からはみ出た範囲をスクロールできるようになっています。
一番シンプルにListを用いた静的リストの実装は以下になります。Listも表示が画面からはみ出た範囲をスクロールできるようになっています。
var body: some View {
    List {
        Text("First Item")
        Text("Second Item")
        Text("Third Item")
    }
}

動的リストを作成する
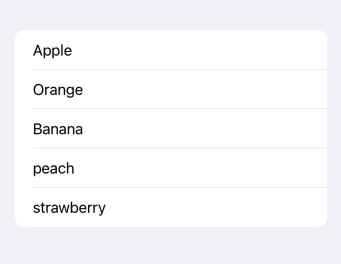
動的にリストを作成した場合は以下のように実装することができます。Identifiableに準拠したFruitの配列からListを作成しています。
FruitListItemViewは、Listの1つのデータを表示するためのViewです。
struct Fruit: Identifiable {
    let id = UUID()
    let name: String
}

struct FruitListItemView: View {
    var fruit: Fruit

    var body: some View {
        Text(fruit.name)
    }
}

struct ContentView: View {
    private var fruits = [
        Fruit(name: "Apple"),
        Fruit(name: "Orange"),
        Fruit(name: "Banana"),
        Fruit(name: "peach"),
        Fruit(name: "strawberry")
    ]

    var body: some View {
        List(fruits) {
            FruitListItemView(fruit: fruit)
        }
    }
}
ForEachを用いても同じようにリストを作成することができます。
List {
    ForEach(fruits) { fruit in
        FruitListItemView(fruit: fruit)
    }
}
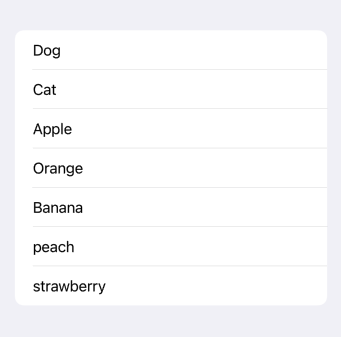
動的と静的両方をListに含ませることもできます。このように自由なリストを作成することができるのでForEachの方が使う場面は多いと思います。
List {
    Text("Dog")
    Text("Cat")
    ForEach(fruits) { fruit in
        FruitListItemView(fruit: fruit)
    }
}
Identifiableに準拠していないデータを用いる場合はidを指定する必要があります。
private var fruits = [
    "Apple",
    "Orange",
    "Banana",
    "peach",
    "strawberry",
]

var body: some View {
    List {
        ForEach(fruits, id: \.self) { fruit in
            FruitListItemView(fruit: fruit)
        }
    }
}
画面遷移をさせる
リスト表示したデータから画面遷移を実装したい場合はNavigationLinkを使用します。
NavigationView {
    List {
        ForEach(fruits) { fruit in
            NavigationLink(destination: SecondView()) {
                FruitListItemView(fruit: fruit)
            }
        }
    }
}

NavigationViewの中にListを置いていないと、タップができず画面遷移がされないので注意が必要です。
選択可能なリストにする
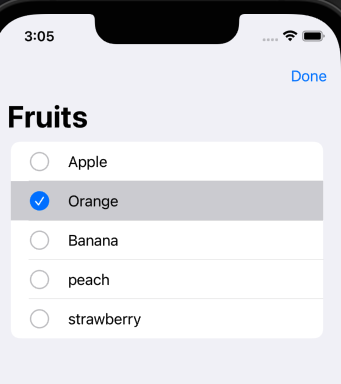
単一選択や複数選択ができるようにするにはselectionを設定します。
単一選択
選択した値を格納するためのidと同じ型のState変数をListの引数selectionに指定します。
@State private var selectedFruit: UUID?

var body: some View {
    NavigationView {
        List(selection: $selectedFruit) {
            ForEach(fruits) { fruit in
                FruitListItemView(fruit: fruit)
            }
        }
        .navigationTitle("Fruits")
        .toolbar { EditButton() }
    }
}
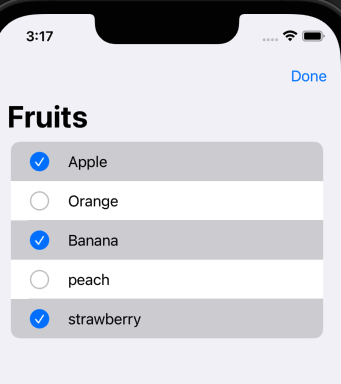
複数選択
Listの引数selectionに指定する変数をSetにすることで複数選択ができるようになります。
@State private var selectedFruit = Set<UUID>()
セクションを追加する
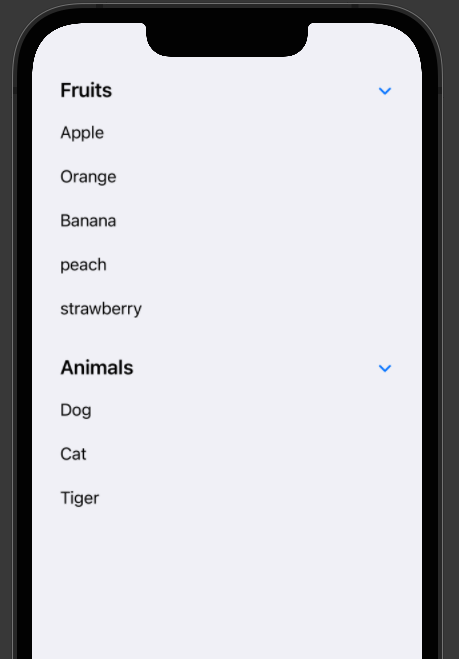
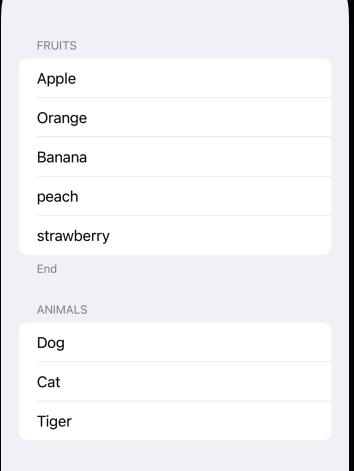
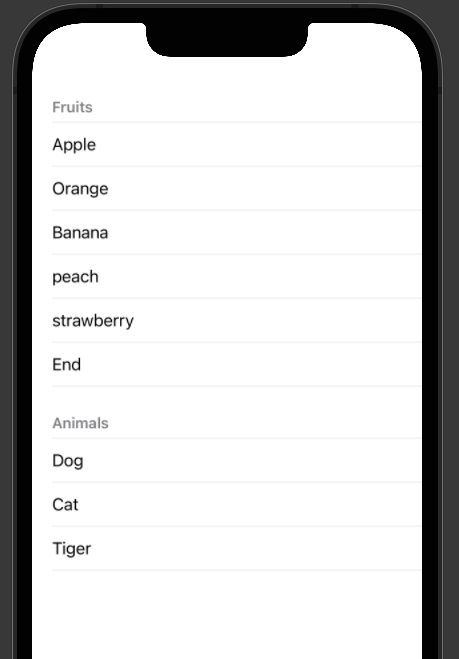
表示するViewをSectionで囲むことでセクションを追加できます。headerとfooterはViewを返すのでTextである必要はありません。ヘッダーのテキストは大文字になるようです。
List {
    Section {
        ForEach(fruits) { fruit in
            FruitListItemView(fruit: fruit, selectedFruit: selectedFruit)
        }
    } header: {
        Text("Fruits")
    } footer: {
        Text("End")
    }

    Section {
        ForEach(animals, id: \.self) { animal in
            Text(animal)
        }
    } header: {
        Text("Animals")
    }
}
Listの表示スタイルを変更する
listStyle(_:)モディファイアを指定することでListの見た目を変更することができます。
List {
}
.listStyle(DefaultListStyle())
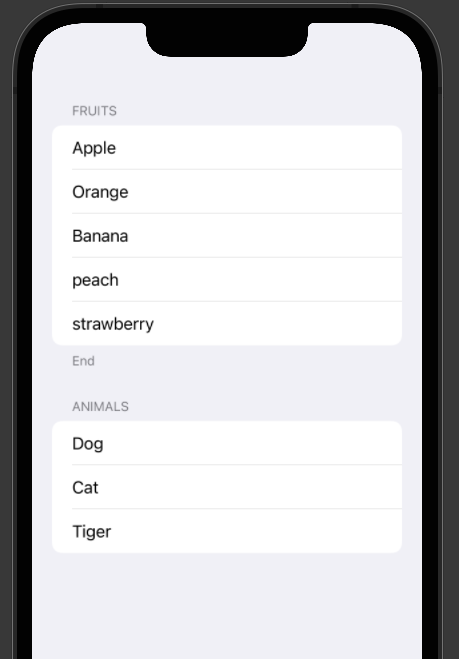
指定なし or DefaultListStyle
.listStyle(DefaultListStyle())
InsetListStyle
.listStyle(InsetListStyle())
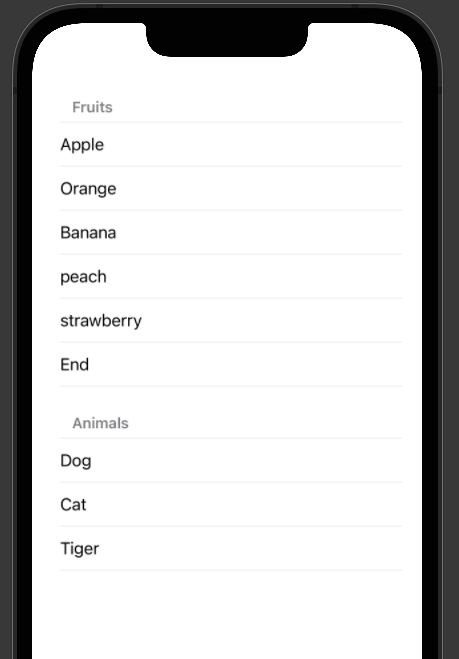
PlainListStyle
.listStyle(PlainListStyle())
GroupedListStyle
.listStyle(GroupedListStyle())

SidebarListStyle
.listStyle(SidebarListStyle())
