はじめに
この記事では、ホラーテイストの画像を生成するサイトをGo言語とHTMLで構築する方法を紹介します。
ユーザーがテキストを入力すると、その内容に基づいてホラー映画ポスター風の画像を生成し、レスポンスとして返します。
[Swift] ホラー画像生成アプリ のGo言語版です。
要件
- バックエンドはGo言語
- OpenAI APIを使う
- プロンプトを入力すると、ホラー画像を生成する
準備
環境構築
Go言語の開発環境は、公式サイトをご確認ください。
ライブラリのインストール
以下のライブラリをインストールします。
-
gin-gonic/gin: Webフレームワーク -
nfnt/resize: 画像リサイズ用ライブラリ
※実行時にエラーが出たら、該当するライブラリをインストールしてください。
ディレクトリ構成
horror-image-generator/
├── main.go
└── index.html
実装
-
main.go: APIの処理を実装します
main.go
package main

import (
	"encoding/json"
	"fmt"
	"image"
	"image/jpeg"
	"image/png"
	"net/http"
	"os"

	"bytes"

	"github.com/gin-gonic/gin"
	"github.com/nfnt/resize"
)

type ImageResponse struct {
	Data []struct {
		URL string `json:"url"`
	} `json:"data"`
}

func main() {
	r := gin.Default()

	// 画像生成APIエンドポイント
	r.POST("/generate", func(c *gin.Context) {
		var req struct {
			Text string `json:"text"`
		}
		if err := c.BindJSON(&req); err != nil {
			c.JSON(http.StatusBadRequest, gin.H{"error": err.Error()})
			return
		}

        // OPENAI_API_KEY は環境変数に登録しておく
		apiKey := os.Getenv("OPENAI_API_KEY")
		if apiKey == "" {
			c.JSON(http.StatusInternalServerError, gin.H{"error": "OPENAI_API_KEY environment variable is not set."})
			return
		}

		// プロンプトをホラーテイストに調整
		horrorPrompt := fmt.Sprintf("An eerie and unsettling scene with %s, in the style of a horror movie poster, dark and gruesome, high quality, digital art.", req.Text)

		url := "https://api.openai.com/v1/images/generations"

		// OpenAI APIへのリクエストを作成
		body, err := json.Marshal(map[string]interface{}{
			"model":  "dall-e-3",
			"prompt": horrorPrompt,
			"n":      1,
			"size":   "1024x1024",
		})
		if err != nil {
			c.JSON(http.StatusInternalServerError, gin.H{"error": err.Error()})
			return
		}

		// HTTPリクエストを作成
		httpRequest, err := http.NewRequest(http.MethodPost, url, bytes.NewReader(body))
		if err != nil {
			c.JSON(http.StatusInternalServerError, gin.H{"error": err.Error()})
			return
		}

		// ヘッダーを設定
		httpRequest.Header.Set("Authorization", fmt.Sprintf("Bearer %s", apiKey))
		httpRequest.Header.Set("Content-Type", "application/json")

		// OpenAI APIからレスポンスを取得
		client := &http.Client{}
		resp, err := client.Do(httpRequest)
		if err != nil {
			c.JSON(http.StatusInternalServerError, gin.H{"error": err.Error()})
			return
		}
		defer resp.Body.Close()

		// レスポンスをデコード
		var imageResponse ImageResponse
		if err := json.NewDecoder(resp.Body).Decode(&imageResponse); err != nil {
			c.JSON(http.StatusInternalServerError, gin.H{"error": err.Error()})
			return
		}

		// 画像URLから画像を取得
		imageUrl := imageResponse.Data[0].URL
		response, err := http.Get(imageUrl)
		if err != nil {
			c.JSON(http.StatusInternalServerError, gin.H{"error": err.Error()})
			return
		}
		defer response.Body.Close()

		// レスポンスヘッダーからコンテンツタイプを取得
		contentType := response.Header.Get("Content-Type")

		// 画像をリサイズ
		var resizedImage image.Image
		var decodeErr error

		// コンテンツタイプに基づいてデコード
		switch contentType {
		case "image/jpeg":
			resizedImage, decodeErr = jpeg.Decode(response.Body)
		case "image/png":
			resizedImage, decodeErr = png.Decode(response.Body)
		default:
			c.JSON(http.StatusInternalServerError, gin.H{"error": "Unsupported image format"})
			return
		}
		if decodeErr != nil {
			c.JSON(http.StatusInternalServerError, gin.H{"error": decodeErr.Error()})
			return
		}

		// 画像をリサイズ
		resizedImage = resize.Resize(300, 0, resizedImage, resize.Lanczos3)

		// レスポンスとして画像を返す
		c.Writer.Header().Set("Content-Type", contentType)

		// コンテンツタイプに基づいてエンコード
		switch contentType {
		case "image/jpeg":
			jpeg.Encode(c.Writer, resizedImage, nil)
		case "image/png":
			png.Encode(c.Writer, resizedImage)
		}
	})

	// HTMLファイルの配信
	r.Static("/", "./")

	r.Run(":8080")
}
-
index.html: フロントエンドのHTMLファイルです
index.html
<!DOCTYPE html>
<html lang="en">
<head>
  <meta charset="UTF-8">
  <meta name="viewport" content="width=device-width, initial-scale=1.0">
  <title>Horror Image Generator</title>
  <link rel="stylesheet" href="https://cdn.jsdelivr.net/npm/bootstrap@4.6.2/dist/css/bootstrap.min.css">
  <style>
    body {
      background-color: #181818; /* Dark Background */
      font-family: 'Arial', sans-serif;
      color: #fff;
    }

    .container {
      max-width: 600px;
      margin: 50px auto;
      padding: 30px;
      background-color: #282c34; /* Darker Grey */
      border-radius: 10px;
      box-shadow: 0 4px 8px rgba(0, 0, 0, 0.2);
    }

    .title {
      text-align: center;
      margin-bottom: 30px;
      font-size: 2.5rem;
      text-shadow: 0 2px 4px rgba(0, 0, 0, 0.5);
    }

    .form-group label {
      font-weight: bold;
    }

    .btn-generate {
      background-color: #dc3545; /* Red */
      border-color: #dc3545; /* Red */
      font-weight: bold;
    }

    .result-image {
      margin-top: 30px;
      text-align: center;
    }

    .loading {
      display: flex;
      justify-content: center;
      align-items: center;
      height: 300px;
    }

    .spinner {
      width: 50px;
      height: 50px;
      border: 4px solid #dc3545; /* Red */
      border-radius: 50%;
      border-top-color: transparent;
      animation: spin 1s linear infinite;
    }

    @keyframes spin {
      0% { transform: rotate(0deg); }
      100% { transform: rotate(360deg); }
    }
  </style>
</head>
<body>
  <div class="container">
    <h1 class="title mb-4">Horror Image Generator</h1>

    <form id="generate-form">
      <div class="form-group">
        <label for="text-input">Prompt:</label>
        <input type="text" class="form-control" id="text-input" placeholder="Enter image description...">
      </div>

      <button type="submit" class="btn btn-generate btn-block">Generate</button>

      <div id="loading" class="loading d-none">
        <div class="spinner"></div>
      </div>

      <div id="result-image" class="result-image d-none">
        <img src="" id="generated-image" class="img-fluid">
      </div>
    </form>
  </div>

  <script>
    const form = document.getElementById('generate-form');
    const loading = document.getElementById('loading');
    const resultImage = document.getElementById('result-image');
    const generatedImage = document.getElementById('generated-image');

    form.addEventListener('submit', async (event) => {
      event.preventDefault();

      // ローディング表示
      loading.classList.remove('d-none');
      resultImage.classList.add('d-none');

      // 入力値取得
      const textInput = document.getElementById('text-input').value;

      // 画像生成APIへのリクエスト
      try {
        const response = await fetch('/generate', {
          method: 'POST',
          headers: {
            'Content-Type': 'application/json'
          },
          body: JSON.stringify({ text: textInput })
        });

        if (!response.ok) {
          throw new Error('Failed to generate image.');
        }

        // 画像データの取得
        const blob = await response.blob();

        // 画像表示
        generatedImage.src = URL.createObjectURL(blob);
        resultImage.classList.remove('d-none');
      } catch (error) {
        alert(error);
      } finally {
        // ローディング非表示
        loading.classList.add('d-none');
      }
    });
  </script>

  <script src="https://cdn.jsdelivr.net/npm/jquery@3.5.1/dist/jquery.slim.min.js"></script>
  <script src="https://cdn.jsdelivr.net/npm/popper.js@1.16.1/dist/umd/popper.min.js"></script>
  <script src="https://cdn.jsdelivr.net/npm/bootstrap@4.6.2/dist/js/bootstrap.min.js"></script>
</body>
</html>
動作確認
ターミナルで以下のコマンドを実行してAPIを起動します。
go run main.go
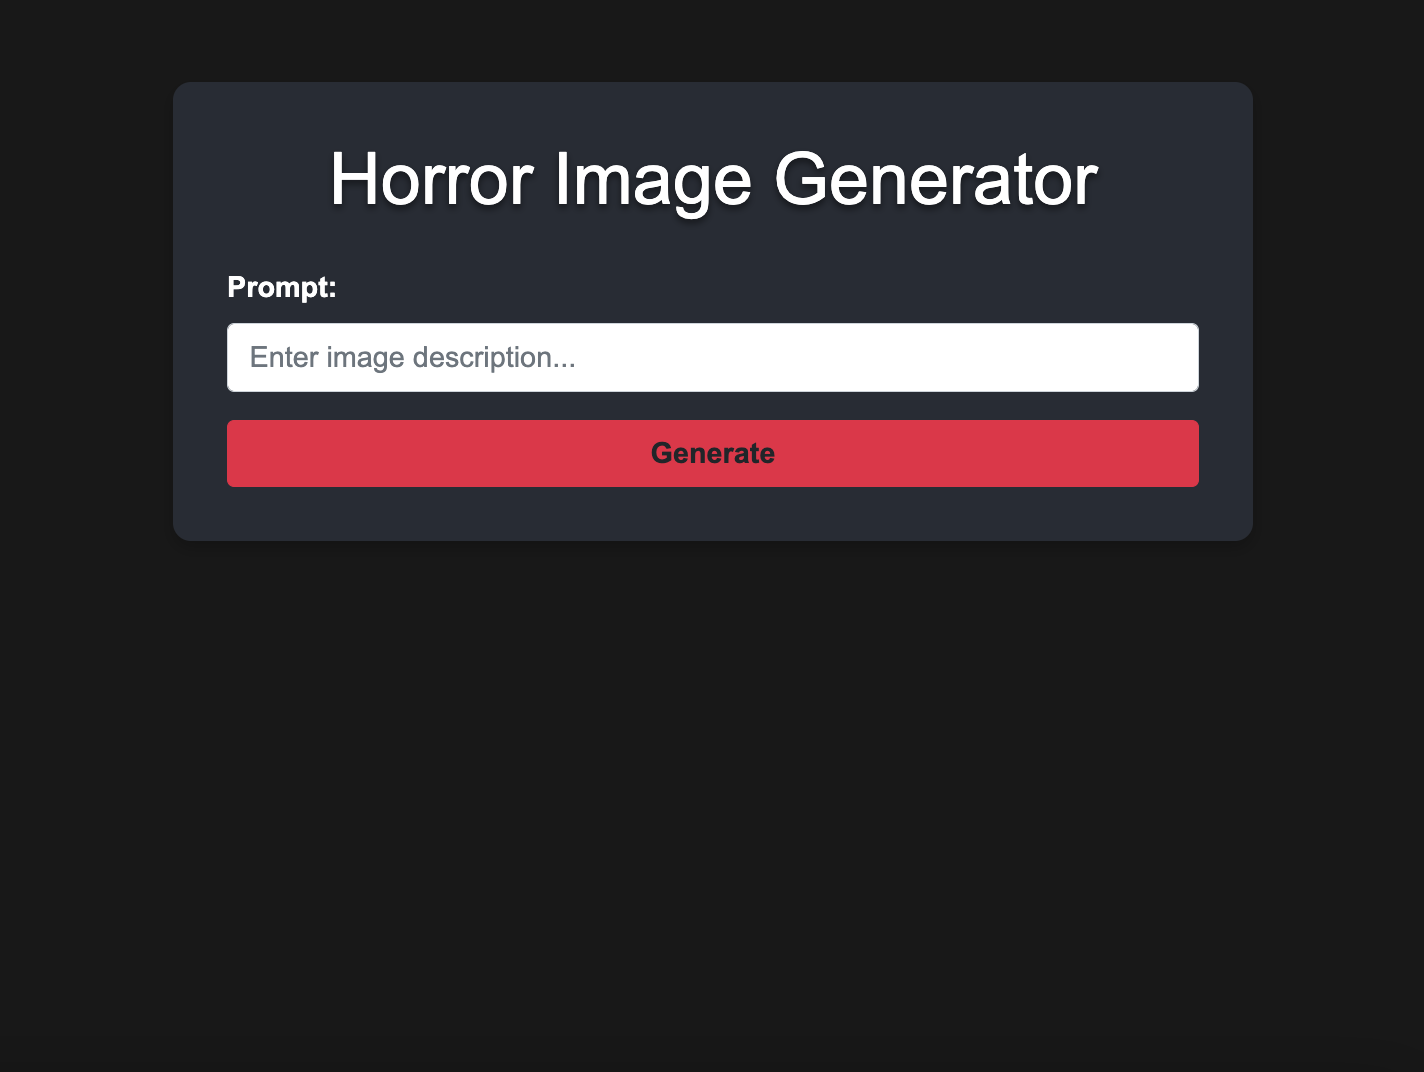
localhost:8080 でアクセスすると、このような画面に。
ちょっとだけホラーテイストにしてあります。
それでは、プロンプトを入力して画像を生成してみましょう!
プロンプトはチューリップにしました。雰囲気でてますね!

まとめ
この記事では、Go言語とOpenAIのDALL-E 3 APIを使って、ホラーテイストの画像を生成するAPIを構築しました。このAPIは、ユーザーのテキスト入力に基づいて、ホラー映画ポスター風の画像を生成します。
生成AIの発達によって、様々なことが可能になってきました。
根気があればアイデアが実現するので、可能性は無限大。
みなさんも一緒にがんばりましょう!