はじめに
前記事でプロパティ変更通知で変更する方法を記載したのですが、調べていくうちに、ReactiveProperty.Blazorがあることが分かりました。
ReactiveProperty の存在は知っていましたが、使用する機会がなかったので今回初めて使ってみることにしました。
ReactiveProperty とは
ReactivePropertyは、Cysharp 代表の neuecc さんが双方向にバインド可能な IObservable を拡張して作成された MVVM 拡張ライブラリです。MITライセンスになっております。
画面での変更をモデルに反映したり、逆にモデルの変更を検知して画面に反映するといった処理を簡単に記述できます。
ReactivePropertyに書き換え
前記事でプロパティ変更通知で変更する方法を ReactiveProperty.Blazor で書き換えてみます。
NuGetで「ReactiveProperty.Blazor」を検索して、インストールします。
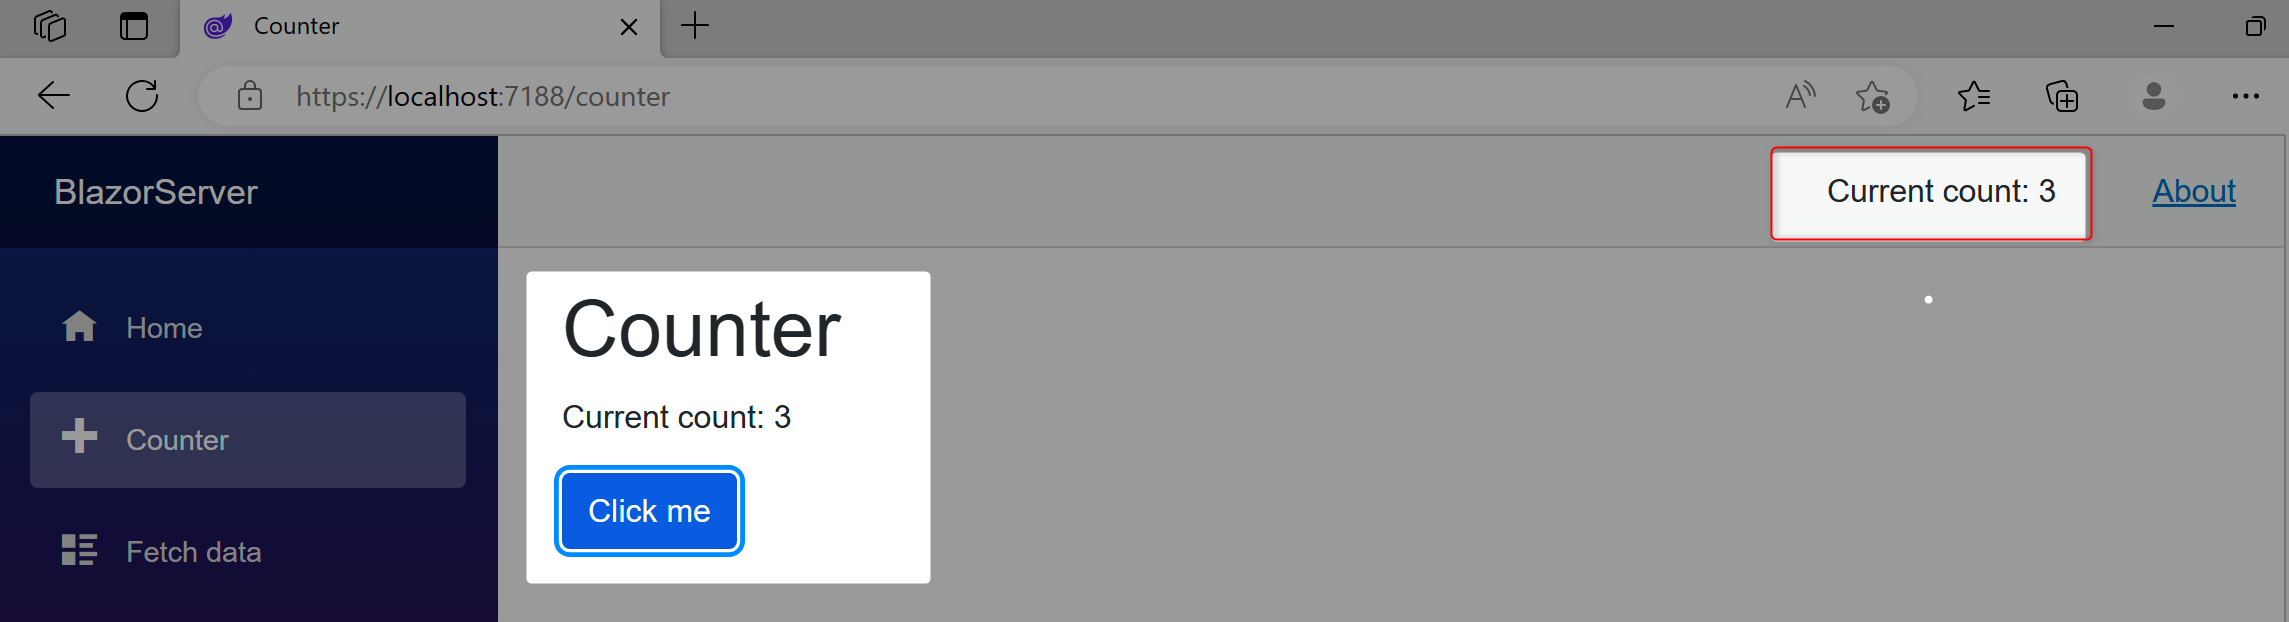
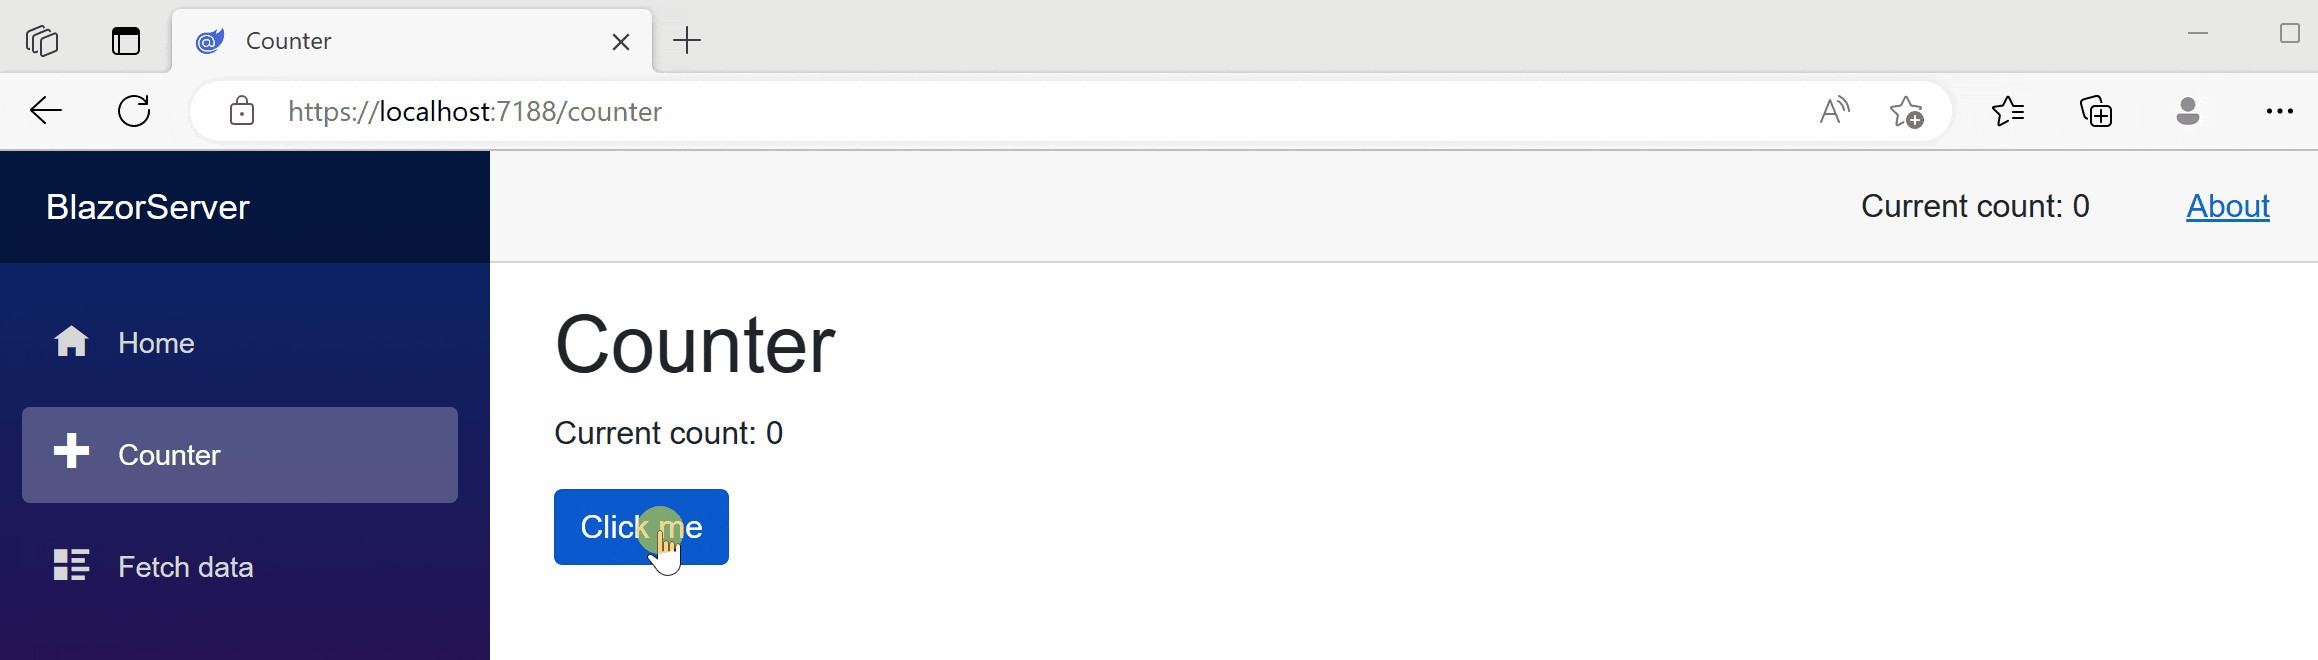
サンプル仕様
Counterページの[Click Me]ボタンでカウントした値を上部の[About]の左横のカウント値に反映させます。
StateServiceクラス
例では、int 型のみですが、もちろん他の型だって使用できます。
Class, Struct, Record で微妙な違いがあるようです。
変更前
using System.ComponentModel;

public class StateService : INotifyPropertyChanged
{
    public event PropertyChangedEventHandler? PropertyChanged;

    private int _currentCount;
    public int CurrentCount
    {
        get => _currentCount;
        set
        {
            if (value != _currentCount)
            {
                _currentCount = value;
                PropertyChanged?.Invoke(this, new PropertyChangedEventArgs(nameof(CurrentCount)));
            }
        }
    }
}
変更後
ReactiveProperty で定義したプロパティには Setter は不要になります。
ReactiveProperty は Value プロパティを読み書きするので ReactiveProperty 型の Setter は必要ありません。
using Reactive.Bindings;

public class StateService
{
    public ReactiveProperty<int> CurrentCount { get; } = new ReactiveProperty<int>();
}
MainLayout.razor
変更箇所は下記2点になります。
- Service.CurrentCount から Service.CurrentCount.Value と Value を付ける必要がある。
- コードブロックの OnInitialized にて、Subscribe メソッドを使用することで値変更時に実行する処理を追加できます。
変更前
@inherits LayoutComponentBase
@inject StateService Service

<PageTitle>BlazorServer</PageTitle>

<div class="page">
    <div class="sidebar">
        <NavMenu />
    </div>

    <main>
        <div class="top-row px-4">
            <span class="pe-4">Current count: @Service.CurrentCount</span>
            <a href="https://docs.microsoft.com/aspnet/" target="_blank">About</a>
        </div>
        <article class="content px-4">
            @Body
        </article>
    </main>

</div>

@code {
    protected override void OnInitialized()
        => this.Service.PropertyChanged += (o, e) => StateHasChanged();
}
変更後
@inherits LayoutComponentBase
@inject StateService Service

<PageTitle>BlazorServer</PageTitle>

<div class="page">
    <div class="sidebar">
        <NavMenu />
    </div>

    <main>
        <div class="top-row px-4">
            <span class="pe-4">Current count: @Service.CurrentCount.Value</span>
            <a href="https://docs.microsoft.com/aspnet/" target="_blank">About</a>
        </div>
        <article class="content px-4">
            @Body
        </article>
    </main>

</div>

@code {
    protected override void OnInitialized()
        => this.Service.CurrentCount.Subscribe(_ => InvokeAsync(StateHasChanged));
}
Counter.razor
変更箇所はありません。
@page "/counter"
@inject StateService Service

<PageTitle>Counter</PageTitle>

<h1>Counter</h1>

<p role="status">Current count: @currentCount</p>

<button class="btn btn-primary" @onclick="IncrementCount">Click me</button>

@code {
    private int currentCount = 0;

    protected override void OnInitialized()
    {
        Service.CurrentCount = currentCount;
    }

    private void IncrementCount()
    {
        currentCount++;
        Service.CurrentCount = currentCount;
    }
}
結果
最後に
思ってた以上に簡単に移行することが出来ました。
現在、作成しているアプリケーションでも、ReactiveProperty.Blazor を採用していこうと思います。