悩み
UITableViewを使っているとき、小手先のDelegate実装やらUITableViewControllerなどのおかげで、
いつも以下のようなことを考えもやもやしていた。
-
UITableViewDataSourceの実装をしたいのであって、UITableViewやUITableViewControllerを触りたいわけじゃない。 - そして
UITableViewDataSourceのコードしか実質書いてない。 - 分割したい
- これはおかしい。あるべきものはあるべきところへ収まらなければならない。
- 分割したい分割したい分割したい
- せっかく
UITableViewDataSourceをUIViewControllerから分離したのに、結局initでdataSourceのためにインスタンスを生成するだけのUIViewControllerカスタムクラスを書いている。 - こんな無駄なクラスは抹消しなくてはならない。
- 削除したい削除したい削除したい
ということでStoryboardできちんとOutletを貼って、必要十分なクラスでTableViewを使いましょう。
手順
プロジェクトの作成
- シングルビュープロジェクトを作成する
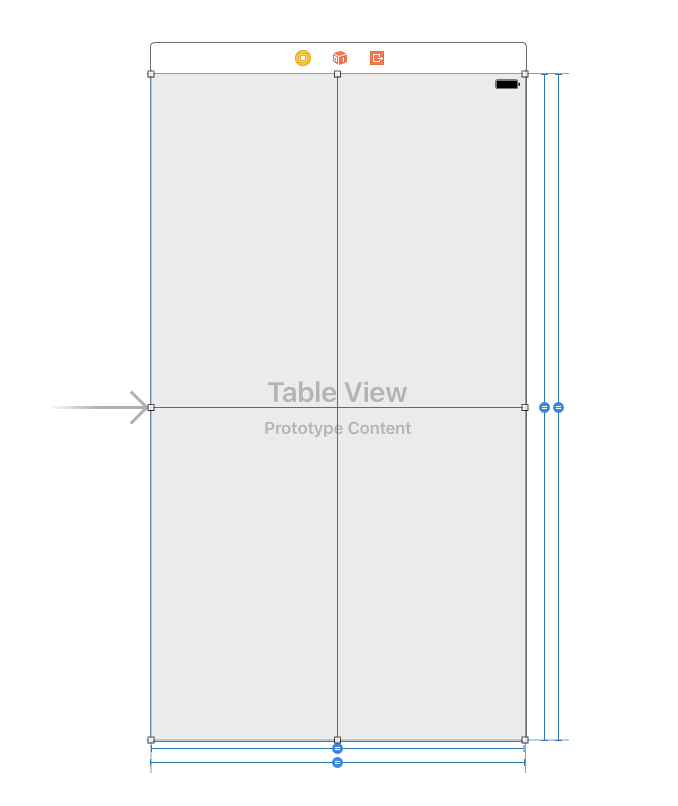
TableViewを配置する
-
Main.storyboardを開き、デフォルトで存在するViewControllerにTableViewを配置する
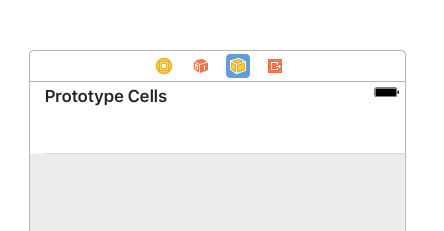
TableViewCellを配置する
-
TableViewにTableViewCellを追加する。 - cellの
Identifierにはcellをセットする

UITableViewDataSourceを実装する
-
UITableViewDataSourceを実装したNSObjectのカスタムクラスを作成する
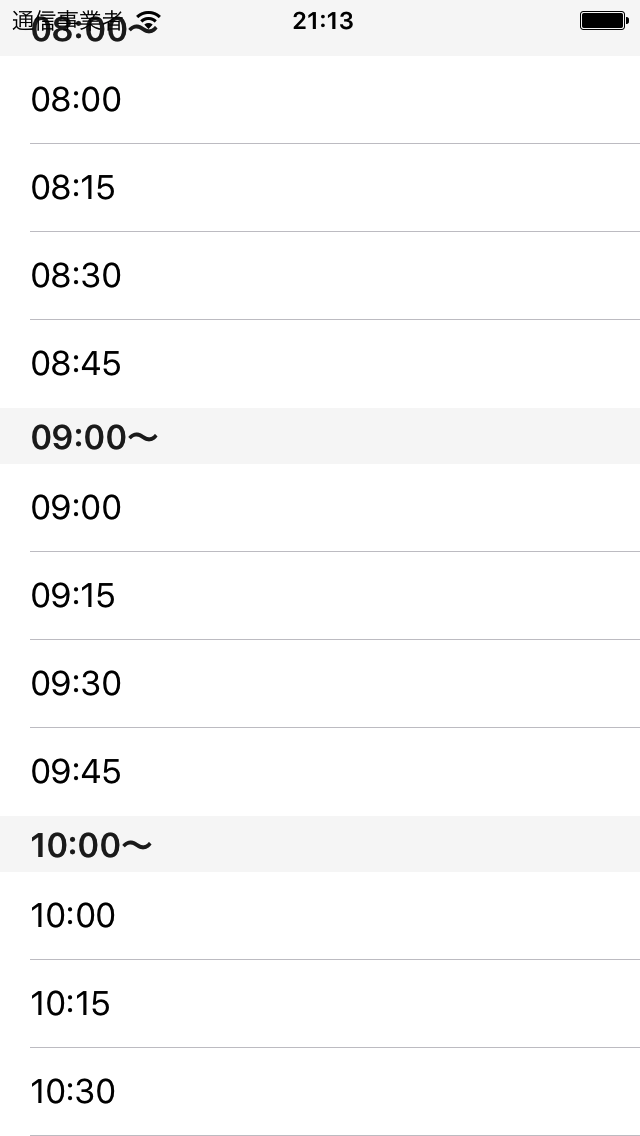
例として、8時、9時、10時をそれぞれ15分刻みにセルで出力する。
import UIKit

class DataSource: NSObject, UITableViewDataSource {
    let sections = [8, 9, 10]
    let rows = [0, 15, 30, 45]

    func numberOfSections(in tableView: UITableView) -> Int {
        return sections.count
    }
    func tableView(_ tableView: UITableView, titleForHeaderInSection section: Int) -> String? {
        let hour = sections[section]
        return String(format: "%02d:00〜", hour)
    }

    func tableView(_ tableView: UITableView, numberOfRowsInSection section: Int) -> Int {
        return rows.count
    }
    func tableView(_ tableView: UITableView, cellForRowAt indexPath: IndexPath) -> UITableViewCell {
        let cell = tableView.dequeueReusableCell(withIdentifier: "cell")!
        let hour = sections[indexPath.section]
        let minute = rows[indexPath.row]
        cell.textLabel?.text = String(format: "%02d:%02d", hour, minute)
        return cell
    }
}
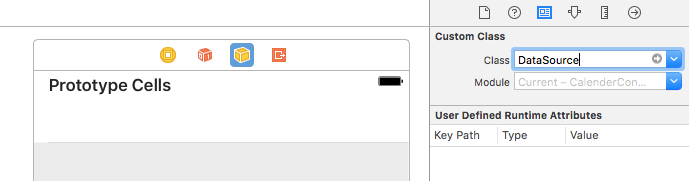
StoryboardにDataSourceを追加する
ObjectをViewControllerに追加する
そして、ObjectのカスタムクラスにDataSourceを指定する。
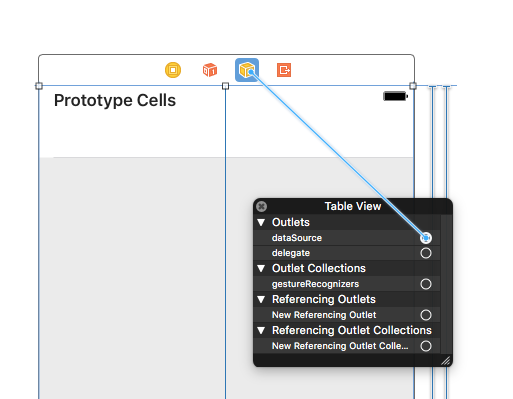
TableViewとDataSourceを繋ぐ
TableViewを右クリックしてメニューを開き、dataSourceのOutletをDataSourceオブジェクトを繋ぐ。
実行する
ビルドして動作が確認できれば完成。
UITableViewのカスタムクラスなんていらなかったのだ。
UITableViewDelegeteも同じ要領で実装できる。