この記事はOthloTech AdventCalender 2019(17日目)にて執筆したものです.
こんにちは,やぎじんです.
今回は,ブラウザ上で実装されていて簡単に使用できるAPIをいくつか紹介したいと思います.
ハッカソンなどでも簡単に使用できると思うのでおすすめです.
- VibrationAPI
- WebSpeechAPI
- WebSpeechRecognition(音声認識)
- WebSpeechSynthesis(音声合成)
今回使用するAPIは,Chromeブラウザを使って動作検証しています.他のブラウザで行う場合は,ここから対象のブラウザ上でAPIが実装されているか確認してから使用してください(ただ,各ブラウザでの実装方法により若干挙動が異なる場合があります).
VibrationAPI
名前の通りバイブレーションをするためのAPIです.
なのでもちろんほとんどのPCでは動きません.それどころかなんとiOSでも動きません.
みなさんAndroidスマホをお手元に用意してください.
デモ
僕はこれを知った日に,気でも狂ったのかブルブルするだけのサイトを作成してしまいました.
https://buruburu.yagijin.com/(Androidのみ対応)
わざわざドメインを取っているところも今見返すと気持ち悪いですね....
デモとして使える日が来たので良しとしましょう.
実装
早速実装してみましょう.
ボタンがあるだけのページですがボタンを押すと実際にブルブルします.
<!DOCTYPE html>
    <head>
        <meta charset="utf-8">
        <title>Vibration Demo</title>
        <meta name="description" content="Just BuruBuru.">
        <meta name="viewport" content="width=device-width, initial-scale=1">
        <script>
                function vibrate(){
                    window.navigator.vibrate(200);
                }
        </script>
    </head>
    <body>
        <div style="text-align:center;" >
            <button onclick="vibrate()">Vibrate</button>
        </div>
    </body>
</html>
コードを追っていきましょう
このjavascriptのコード一行だけでブルブルします.
window.navigator.vibrate(200); //レッツブルブル
引数の200を変えるとブルブルの長さが変わります.
引数をいじるとブルブルのパターンを作ることができます.
window.navigator.vibrate([200, 100, 200]); //200ms震えて100ms止まり200ms震える
上記のように設定すると200ms震えて100ms止まり200ms震えるというパターンになります.
これだけで以下のように簡単にバイブレーションが使えるページが作れるのはいいですよね.
個人的にはモールス信号で震えるサイトとか作ってみたいです.
WebSpeechRecognition
音声認識が簡単に行えるAPIです.
このAPIは2019年12月の時点ではデスクトップ版かAndroid版のChromeであれば実装されているので使用できます(他のブラウザはMDN参照).
処理はローカルで行われるので外部との通信なしに簡単に音声認識が利用できるのが魅力です.
またChromeで利用するとおそらく内部でGoogleのCloudSpeechAPIを実装しているので精度が結構良いです.
デモ
このAPIはGoogleがデモを用意してくれているのでそちらを参照してください.
https://www.google.com/chrome/demos/speech.html (iOSは未対応)
実装
実装してみましょう.
<!DOCTYPE html>
    <head>
        <meta charset="utf-8">
        <title>SpeechRecognition Demo</title>
        <meta name="description" content="音声認識">
        <meta name="viewport" content="width=device-width, initial-scale=1">
        <script>
            window.SpeechRecognition = window.webkitSpeechRecognition || window.SpeechRecognition;

            const recognition = new SpeechRecognition();

            recognition.lang = 'ja-JP';
            recognition.continuous = true;

            let counter = 0;

            recognition.onresult = function(event) {
                document.getElementById("speech").value = event.results[counter][0].transcript;
                counter++;
            }

            recognition.start();
        </script>
    </head>
    <body>
        <textarea textarea id="speech"></textarea>
    </body>
</html>
コードを追っていきましょう.
まず,ベンダープレフィックスが必要な場合を考慮します.
window.SpeechRecognition = window.webkitSpeechRecognition || window.SpeechRecognition;
インスタンスを生成して,使用する言語の設定と録音を途中で終了しないように設定します.
const recognition = new SpeechRecognition();

recognition.lang = 'ja-JP';
recognition.continuous = true;
音声認識結果のイベントが発火した際の処理を記述します.
今回はTextareaの値を認識結果で更新します.(なんでテキストエリアにしたんだろう←)
let counter = 0;

recognition.onresult = function(event) {
    document.getElementById("speech").value = event.results[counter][0].transcript;
    counter++;
}
最後に音声認識を開始します.
recognition.start();
実行するたびにマイクの使用許可を聞かれるのでうるさいですがHTTPSにすると最初の一回のみになります.
設定次第で結構色々できるのでMDNをみてみてください.
WebSpeechSynthesis
音声合成のAPIです.任意の文章をPCに喋らせることができます.
このAPIは大抵のブラウザで動きます(もちろんIEは除く).
デモ
合成音声を利用して僕(やぎじん)を褒めてくれるページです.
みんなも僕を褒めてください.
https://dekiruko.yagijin.com/
このAPIはMDNもデモを用意してくれています.
https://mdn.github.io/web-speech-api/speak-easy-synthesis/
実装
実装してみましょう.
<!DOCTYPE html>
    <head>
        <meta charset="utf-8">
        <title>SpeechSynthesis Demo</title>
        <meta name="description" content="褒めてくれるよ">
        <meta name="viewport" content="width=device-width, initial-scale=1">
        <script>
            const synth = window.speechSynthesis;

            const voices = synth.getVoices();
            let voice = voices[0];

            for(let i = 0; i < voices.length ; i++) {
                if(voices[i].lang === "ja-JP"){
                    voice = voices[i];
                    break;
                }
            }

            const utterThis = new SpeechSynthesisUtterance();
            utterThis.text = "君は頑張ったよ";
            utterThis.voice = voice;

            function speak() {
                if (synth.speaking) {
                    console.error('speechSynthesis.speaking');
                    return;
                }
                synth.speak(utterThis);
            }

        </script>
    </head>
    <body>
        <div style="text-align:center;" >
            <button onclick="speak()">褒めて</button>
        </div>
    </body>
</html>
コードを追っていきましょう.
今回はベンダープレフィックスはいりません.
const synth = window.speechSynthesis;
使用できる声の音声の一覧を持ってきてvoicesに入れます.
使用する声の初期値としてvoicesの一つ目の要素をvoiceに入れます.
const voices = synth.getVoices();
let voice = voices[0];
今回は日本語を喋らせたいのでvoicesの中から日本語の音声を見つけてvoiceに代入します.
for(let i = 0; i < voices.length ; i++) {
    if(voices[i].lang === "ja-JP"){
        voice = voices[i];
        break;
    }
}
インスタンスを作成し,喋らせる内容と音声を設定します.
他にも以下のような設定が可能です.
| 設定項目 | 設定するKey |
|---|---|
| ボリューム | volume |
| ピッチ | pitch |
| レート | rate |
const utterThis = new SpeechSynthesisUtterance();
utterThis.text = "君は頑張ったよ";
utterThis.voice = voice;
喋らせます.
しゃべっている間にもう一度ボタンが押された際にはスキップします.
function speak() {
    if(synth.speaking){
        console.error('speechSynthesis.speaking');
        return;
    }
    synth.speak(utterThis);
}
これで音声合成は終わりです.
最後に
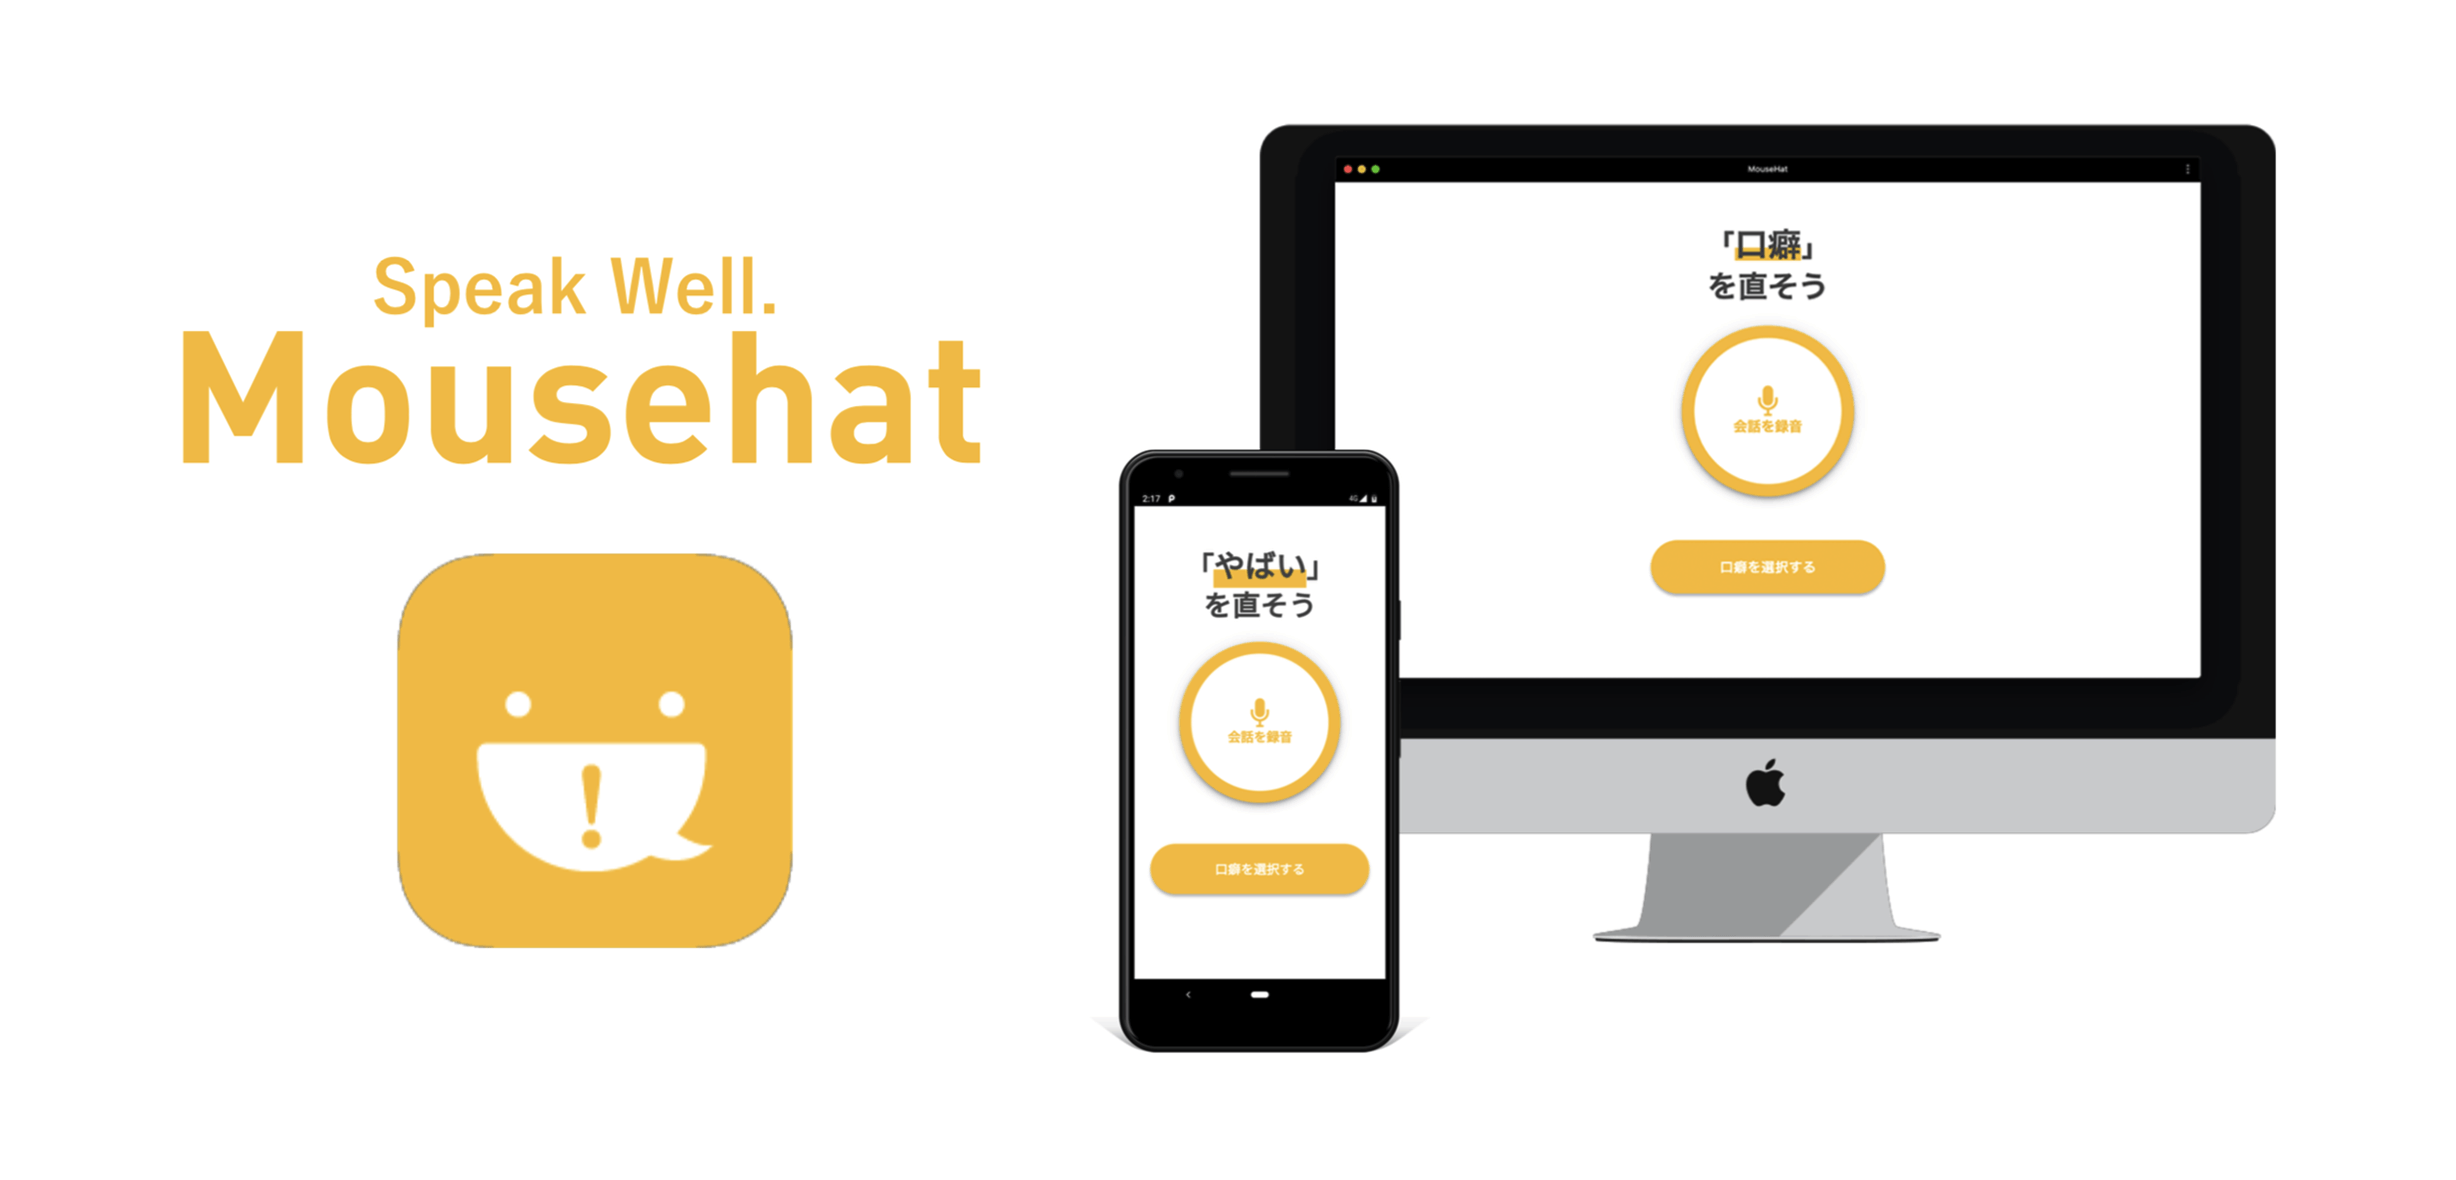
今回紹介したVibrationAPIとWebSpeechRecognitionを使用して口癖を直すWebアプリを作成しました.

以下の二つの機能があります.
- 録音した会話から口癖を分析する機能
- 登録した口癖を言った際にリアルタイムにフィードバックしてくれる機能
Android版ではブルブルして,Desktop版ではプッシュ通知でフィードバックしてくれます.
プレゼンの練習などで自分の口癖に困っている方がいたら使っていただけると嬉しいです.
https://mousehat.tokyo/ (対応端末:DesktopもしくはAndroid版のChrome)
使用してみた感想などコメント欄で教えていただけたら泣いて喜びます.
参考文献
MDN WebAPI:https://developer.mozilla.org/ja/docs/Web/API
MDN Github:https://github.com/mdn/web-speech-api
WebSpeechRecognitionデモ:https://www.google.com/chrome/demos/speech.html