はじめに
Vue.js で作成するアプリケーションのテンプレートを自動生成してくれる Vue CLI というコマンドラインツールのセットアップから、プロジェクトの生成、アプリケーションの実行までの手順を記載しています。
Vue.js 3.x を前提としています。
Node.js のインストール
Vue CLI を利用するには、Node.jsが必要です。
既にNode.jsをインストール済みの方は飛ばしてください。
インストーラーを起動
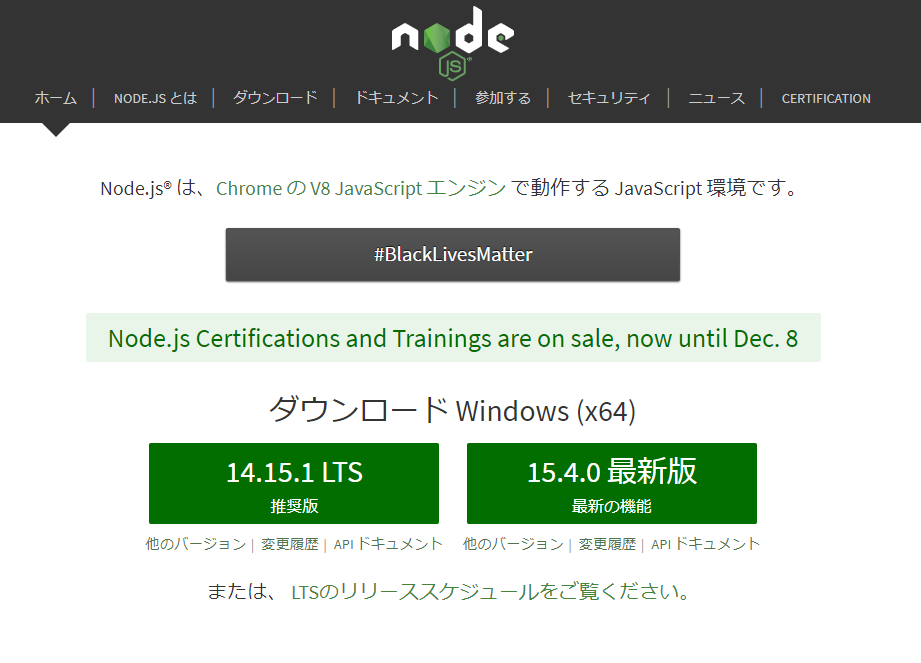
以下のリンクからNode.jsのインストーラーをダウンロードして実行します。
https://nodejs.org/ja/
「Next」をクリック
「I accept the terms in the License Agreement」にチェックを入れて「Next」をクリック
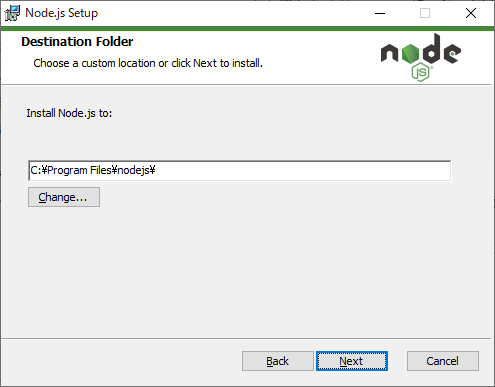
任意のインストール先を指定して「Next」をクリック
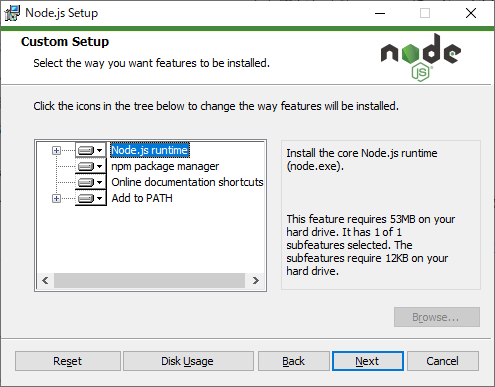
デフォルトのままで「Next」をクリック
チェックが外れた状態で「Next」をクリック
「Install」をクリック
Installが終わるまで待機
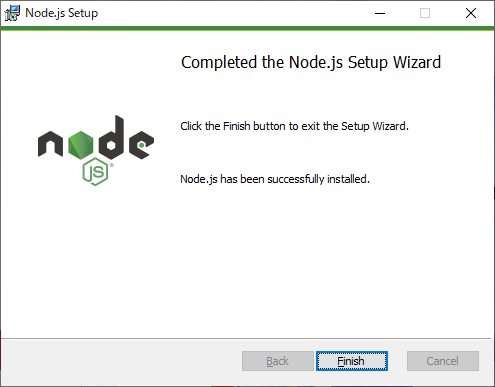
「Finish」をクリック
インストールが完了したことを確認する
コマンドプロンプト等で以下のコマンドを実行します。
Node.jsのバージョンが表示されればOKです!
node -v
一緒にnpmもインストールされているはずなので、同じく確認します。
コマンドプロンプト等で以下のコマンド実行します。
nmpのバージョンが表示されればOKです!
npm -v
Vue CLI のインストール
コマンドプロンプト等で以下のコマンドを実行します。
npm install -g @vue/cli
Vue CLI は、 バージョン 2.x から 3.x でパッケージ名が変更されています。
2.x ではvue-cliですが、3.x では@vue/cliとなります。
2.x の Vue CLI がインストールされている場合は、以下のようにアンインストールしてからインストールしてください。
npm uninstall -g vue-cli
npm install -g @vue/cli
プロジェクトの作成
Vue CLIでは、アプリを一つのフォルダで管理します。
このフォルダに含まれるファイル群のことをプロジェクトと呼びます。
早速作ってみます。
プロジェクトを作成するには、作成したいフォルダで以下のコマンドを実行します。
hello-worldはプロジェクト名です。任意のプロジェクト名を設定してください。
cd 任意のフォルダ
vue create hello-world
プリセットの選択
すると、以下のように利用するプリセット(プロジェクト設定)の選択を求められます。
まずは最低限の構成とするので「Manually select features」(手動で選択)を選択します。
versionはご自身のバージョンに読み替えてください。
Vue CLI v4.5.9
? Please pick a preset:
  Default ([Vue 2] babel, eslint)
  Default (Vue 3 Preview) ([Vue 3] babel, eslint)
> Manually select features
プロジェクトに組み込むモジュールを選択
プロジェクトに組み込むモジュールを選択します。
ここでは最低限、BabelとLinterを選択しておきます。
[Space]キーで選択することができ、[Enter]キーで確定となります。
Vue CLI v4.5.9
? Please pick a preset: Manually select features
? Check the features needed for your project:
 (*) Choose Vue version
 (*) Babel
 ( ) TypeScript
 ( ) Progressive Web App (PWA) Support
 ( ) Router
 ( ) Vuex
 ( ) CSS Pre-processors
>(*) Linter / Formatter
 ( ) Unit Testing
 ( ) E2E Testing
Vue.js のバージョンを選択
Vue.jsのバージョンを選択します。
本記事では 3.x を選択します。
Vue CLI v4.5.9
? Please pick a preset: Manually select features
? Check the features needed for your project: Choose Vue version, Babel, Linter
? Choose a version of Vue.js that you want to start the project with
  2.x
> 3.x (Preview)
Linter の設定を選択
Linterの設定を選択します。
今回は最低限のESLint with error prevention only(エラー防止のみ)を選択します。
Vue CLI v4.5.9
? Please pick a preset: Manually select features
? Check the features needed for your project: Choose Vue version, Babel, Linter
? Choose a version of Vue.js that you want to start the project with 3.x (Preview)
? Pick a linter / formatter config: (Use arrow keys)
> ESLint with error prevention only
  ESLint + Airbnb config
  ESLint + Standard config
  ESLint + Prettier
続けて、Lintの実行タイミングの選択を求められます。
Lint on save(保存時)を選択します。
Vue CLI v4.5.9
? Please pick a preset: Manually select features
? Check the features needed for your project: Choose Vue version, Babel, Linter
? Choose a version of Vue.js that you want to start the project with 3.x (Preview)
? Pick a linter / formatter config: Basic
? Pick additional lint features: (Press <space> to select, <a> to toggle all, <i> to invert selection)
>(*) Lint on save
 ( ) Lint and fix on commit
設定情報の格納先を選択
BableとESLintの設定情報を個別の設定ファイルとするか、package.jsonにまとめるかを選択します。
個別の設定ファイルとしたほうが綺麗なのでIn dedicated config filesを選択します。
Vue CLI v4.5.9
? Please pick a preset: Manually select features
? Check the features needed for your project: Choose Vue version, Babel, Linter
? Choose a version of Vue.js that you want to start the project with 3.x (Preview)
? Pick a linter / formatter config: Basic
? Pick additional lint features: Lint on save
? Where do you prefer placing config for Babel, ESLint, etc.? (Use arrow keys)
> In dedicated config files
  In package.json
今回の設定を保存しておくかを選択
今回の設定を保存しておくかを選択します。
今回はあくまでお試しなのでN(保存しない)とします。
Vue CLI v4.5.9
? Please pick a preset: Manually select features
? Check the features needed for your project: Choose Vue version, Babel, Linter
? Choose a version of Vue.js that you want to start the project with 3.x (Preview)
? Pick a linter / formatter config: Basic
? Pick additional lint features: Lint on save
? Where do you prefer placing config for Babel, ESLint, etc.? In dedicated config files
? Save this as a preset for future projects? (y/N) N
プロジェクトの生成開始
ここまでの設定内容を元に、プロジェクトの生成が開始されるので、完了するまで待機します。正常に完了すると、以下のような文言が表示されます。
Vue CLI v4.5.9
Creating project in 任意のフォルダ\hello-world.
Installing CLI plugins. This might take a while...

途中省略...

Running completion hooks...

Generating README.md...

Successfully created project hello-world.
Get started with the following commands:

 $ cd hello-world
 $ npm run serve
生成されたフォルダを確認
カレントフォルダに、指定したプロジェクト名のフォルダが生成されています。
アプリの実行
早速実行してみましょう。
上記のプロジェクト生成完了時の文言(Get started with the following commands:)にある通り、以下のコマンドを実行します。
プロジェクトルートに移動して、開発用のサーバーを実行するコマンドです。
cd hello-world
npm run serve
以下のような文言が表示されれば、開発用のサーバーが起動できています。
ブラウザを起動しhttp://localhost:8080にアクセスしてください。
  App running at:

途中省略...

  Note that the development build is not optimized.
  To create a production build, run npm run build.
ページの表示
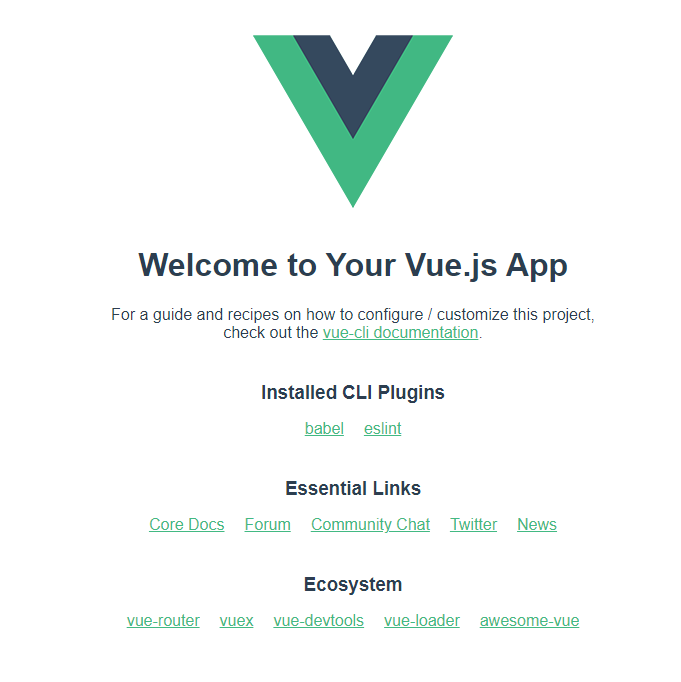
以下のような画面が表示されれば成功です!
開発用サーバーは[Ctrl] + [C]で終了することができます。
今回は以上となります。
