2021年7月31日更新
環境
Mac OS Catalina (バージョン 10.15.7)
MacBook Air (Retina, 13-inch, 2020)
プロセッサ 1.1 GHz クアッドコアIntel Core i5
メモリ 16GB
グラフィックス Intel Iris Plus Graphics 1536 MB
node version: v14.17.1
Gatsby version: 3.8.1
yarn version: 1.22.10
npm version: 7.19.0
完成形の表示例
完成形の表示を確認しておきましょう。
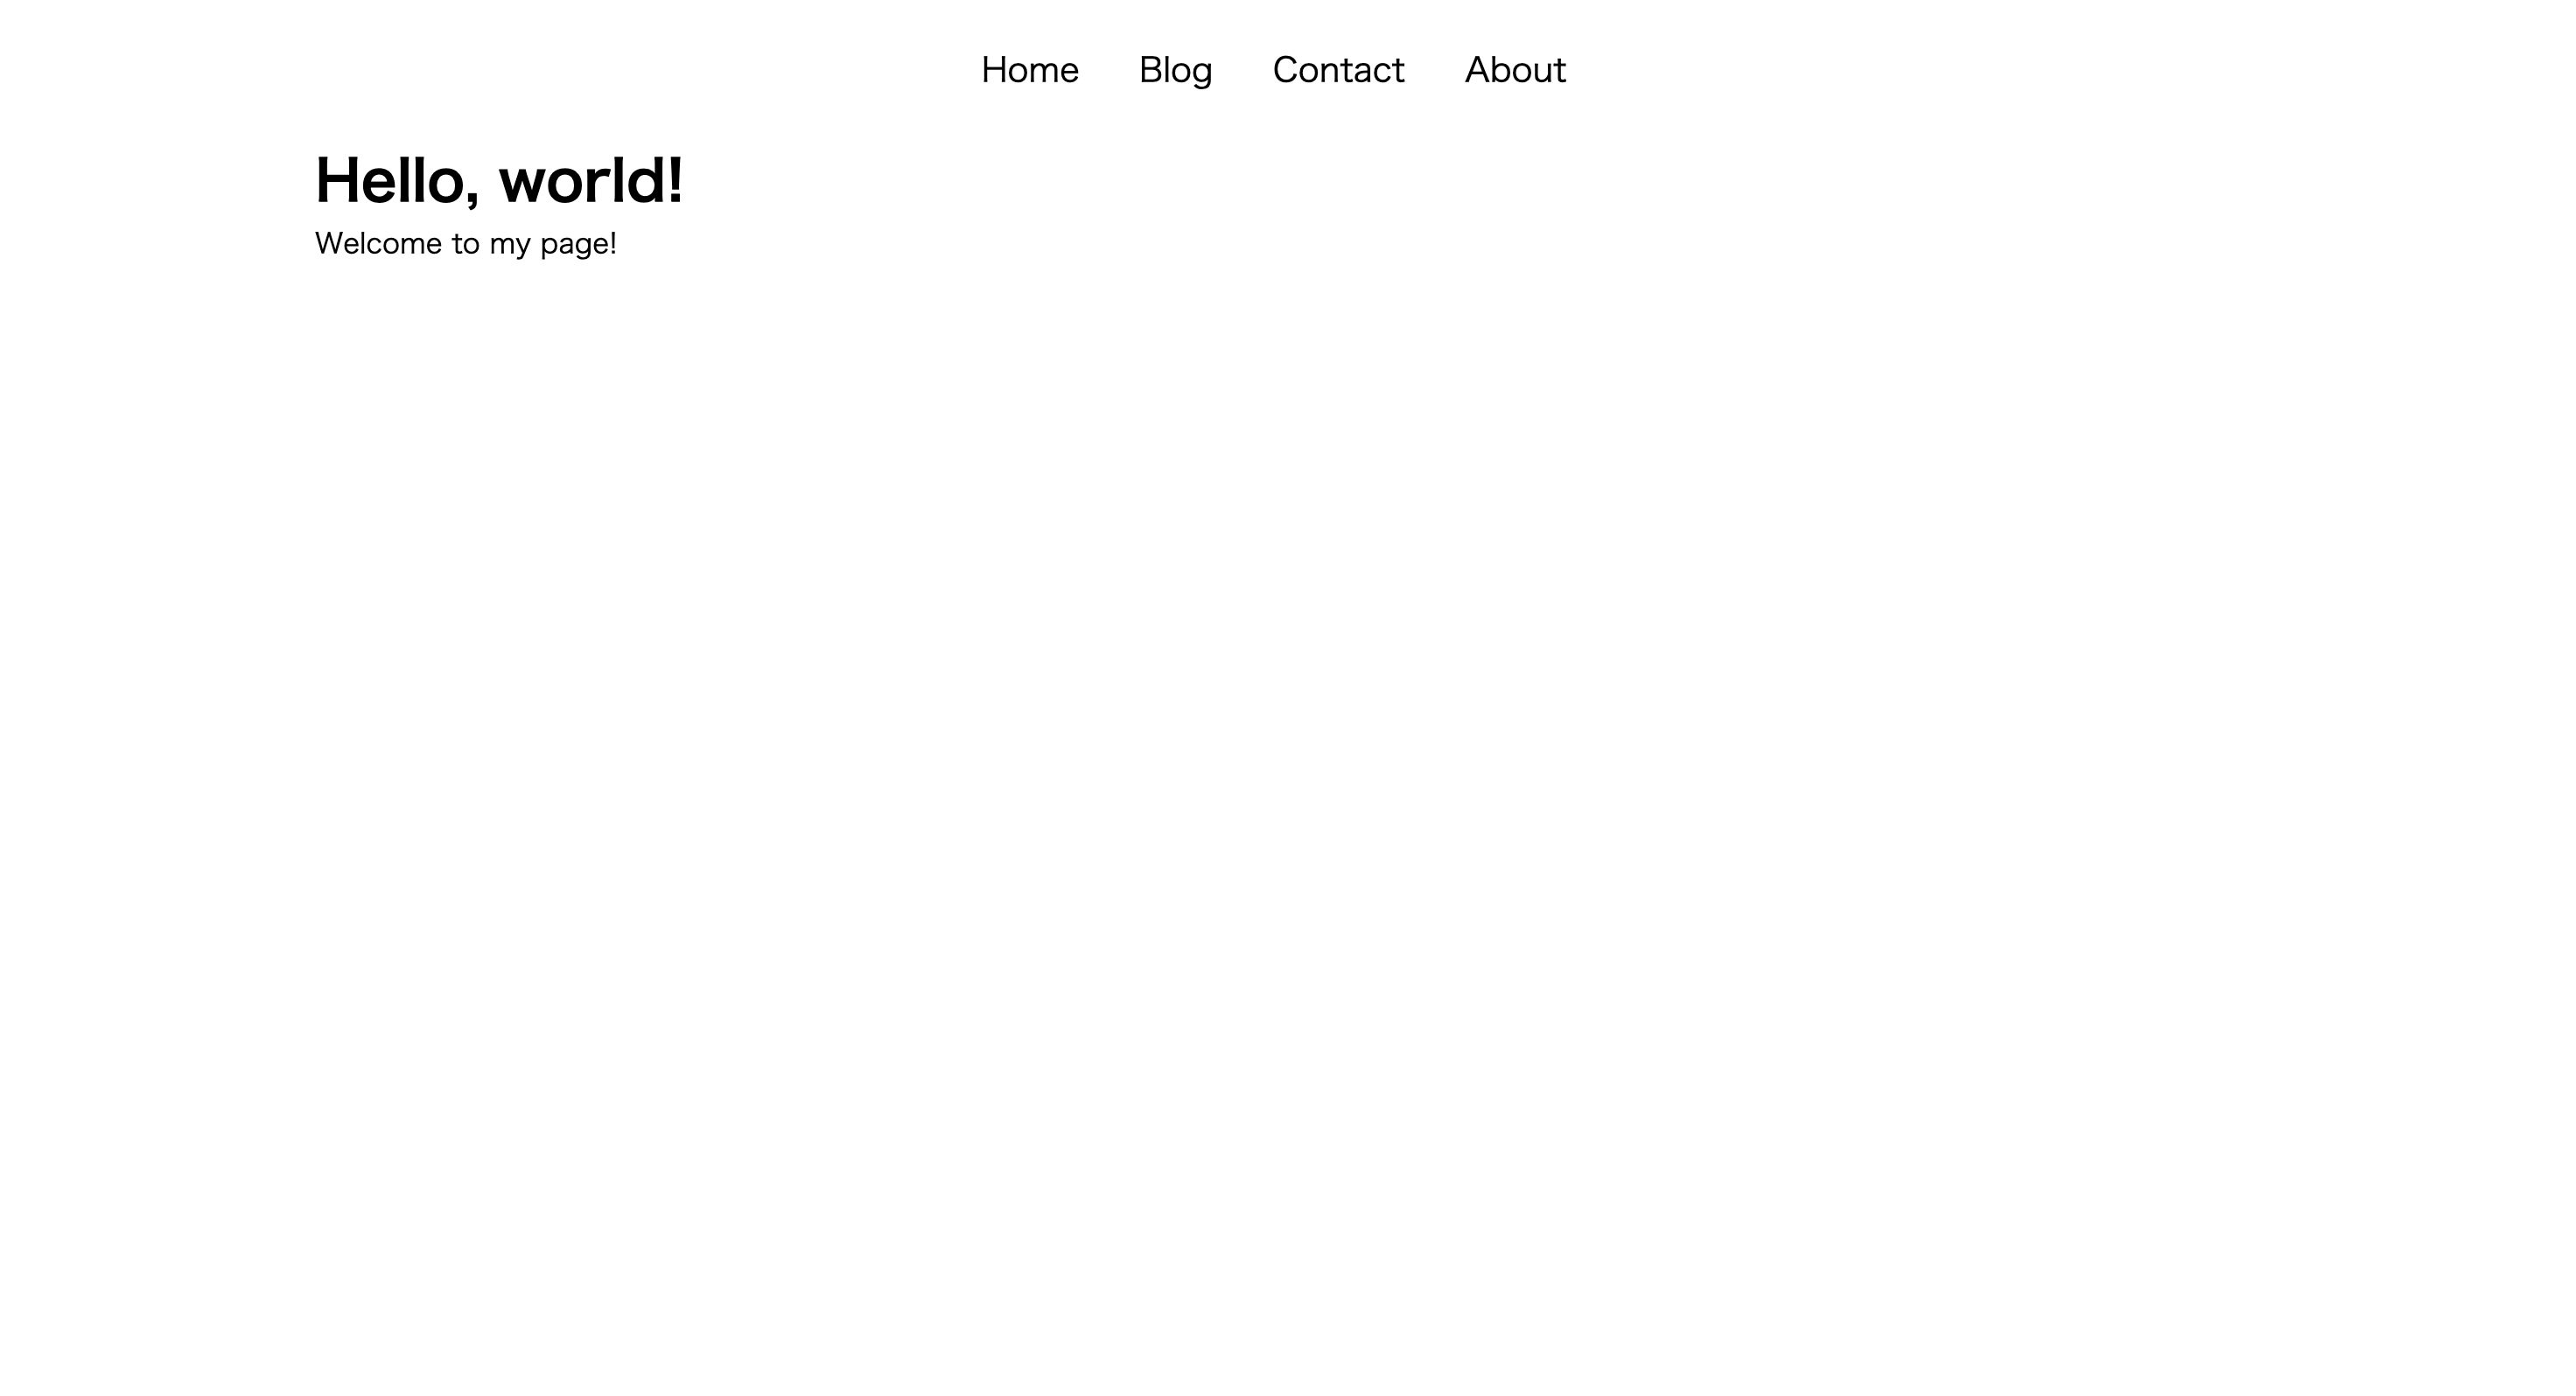
Home(トップページ)
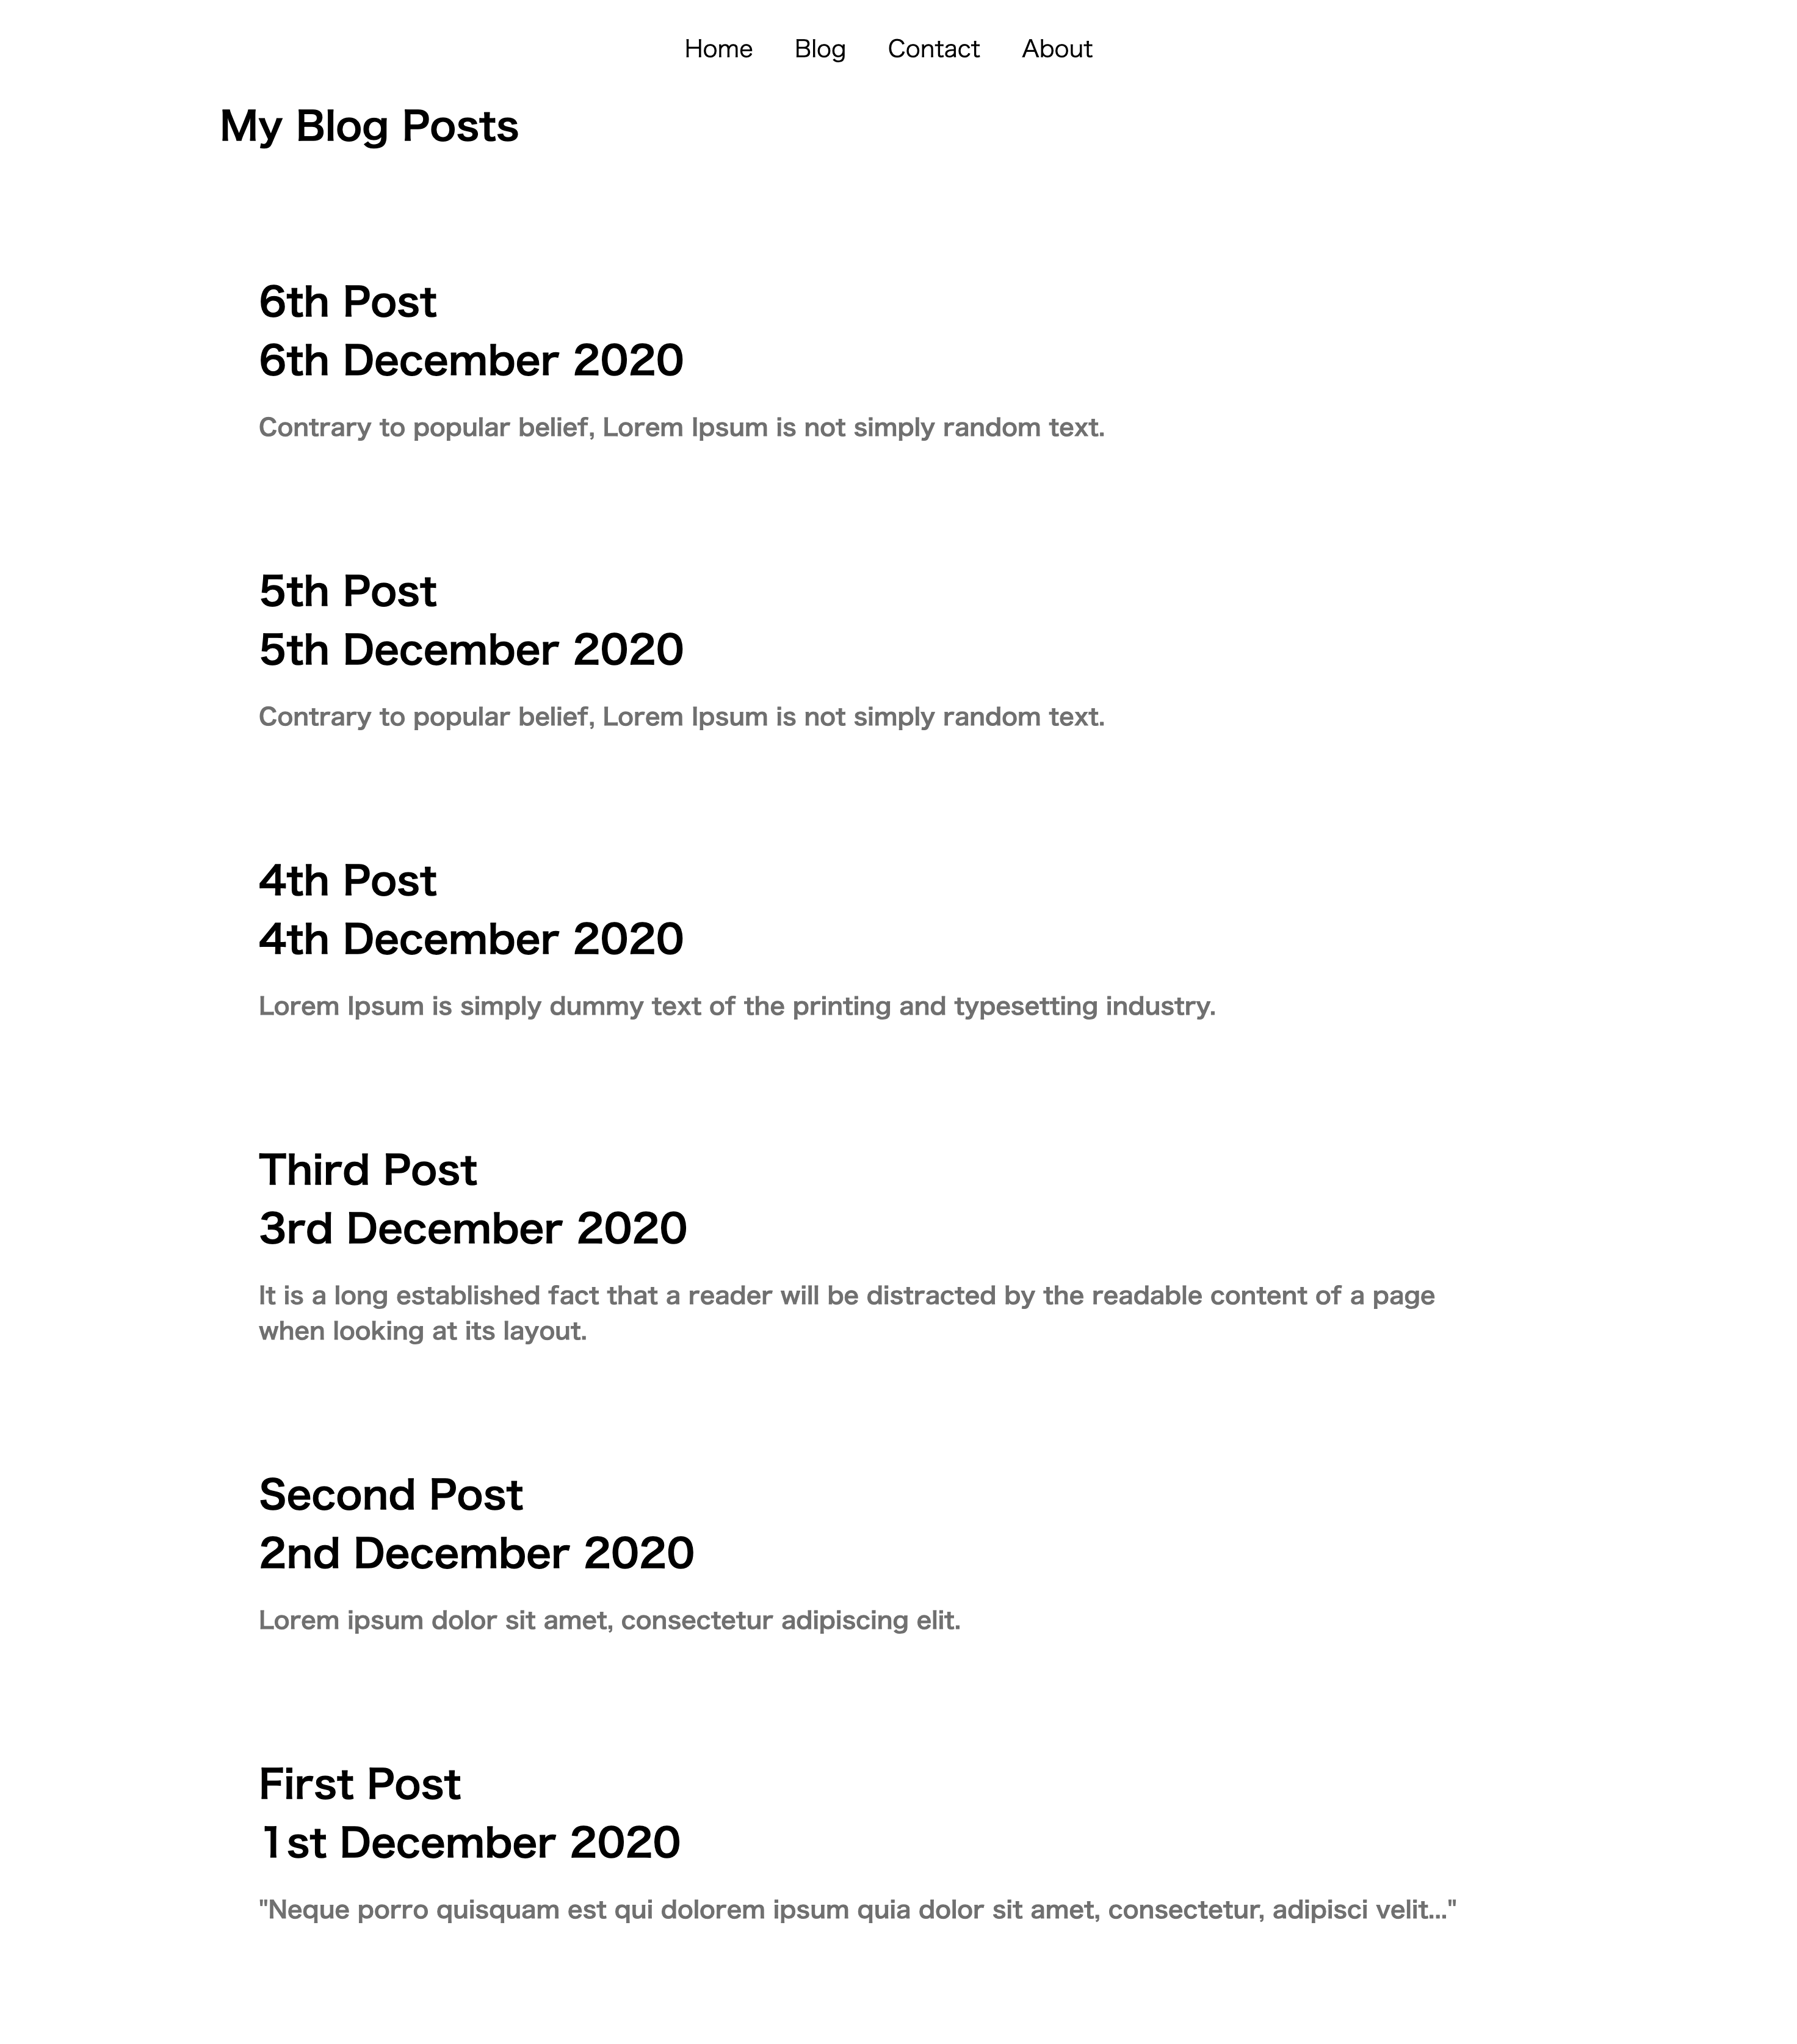
Blog(ブログ一覧)
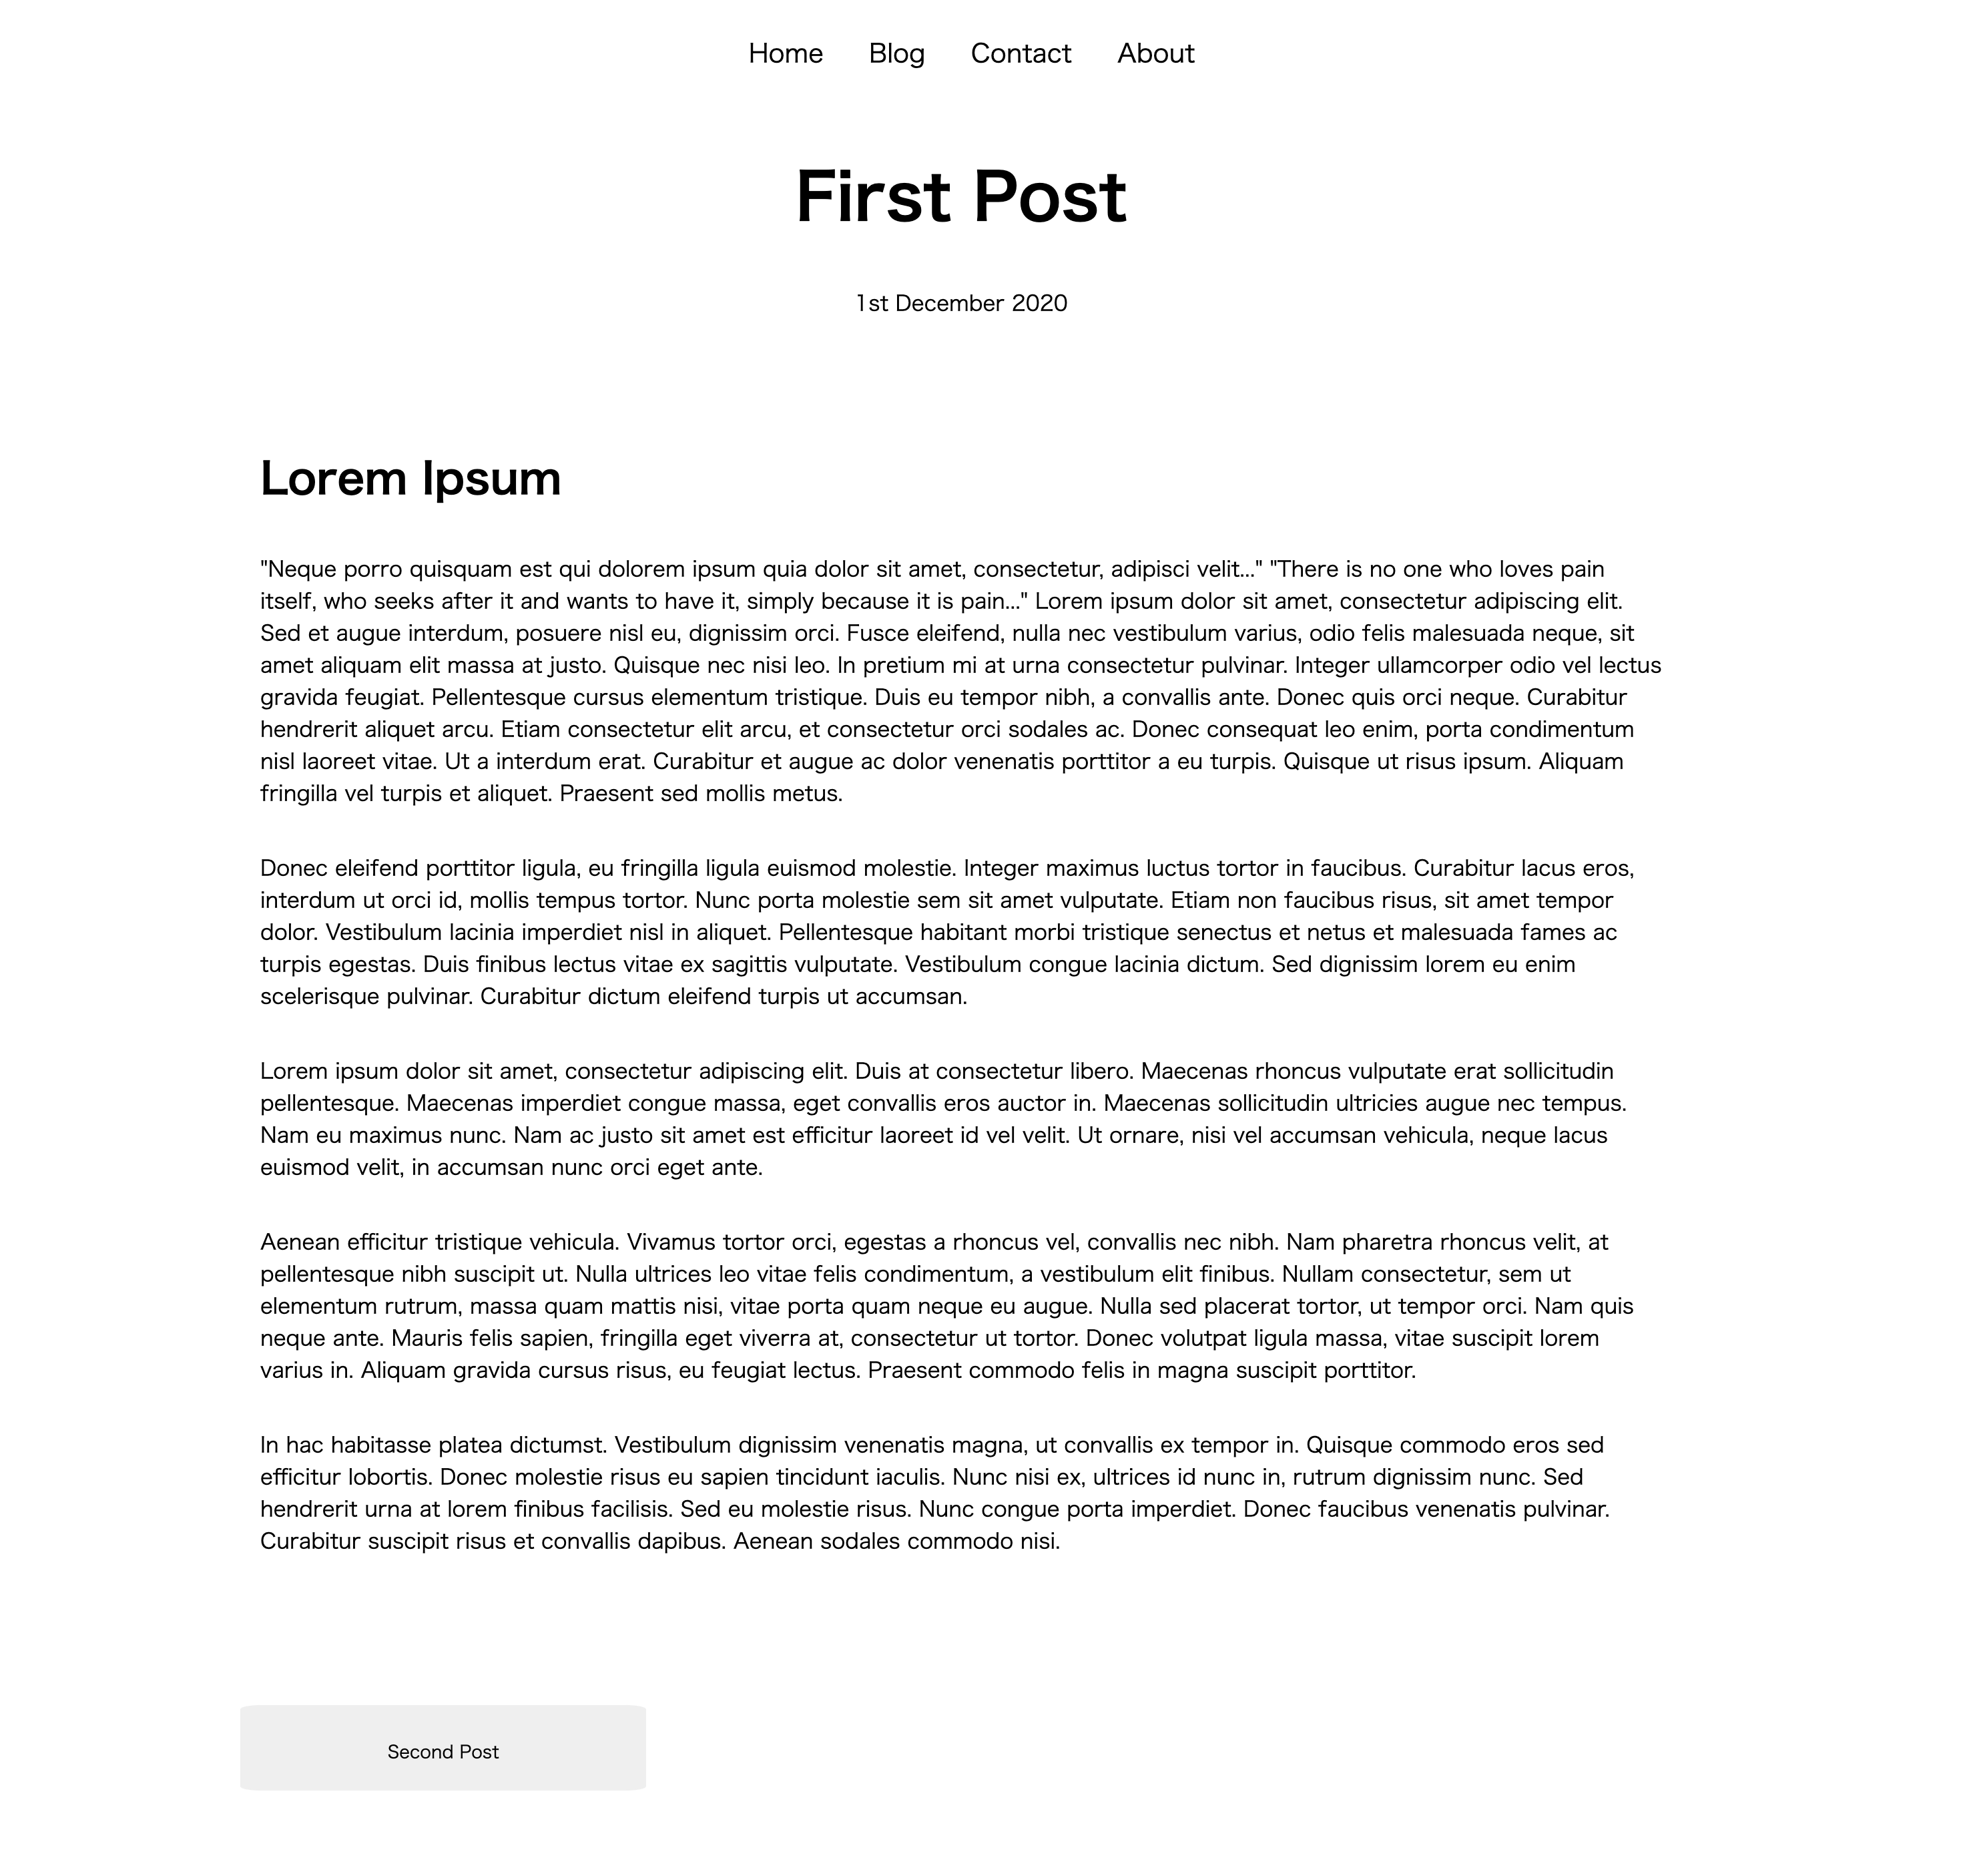
Blog Post(ブログ記事本文)
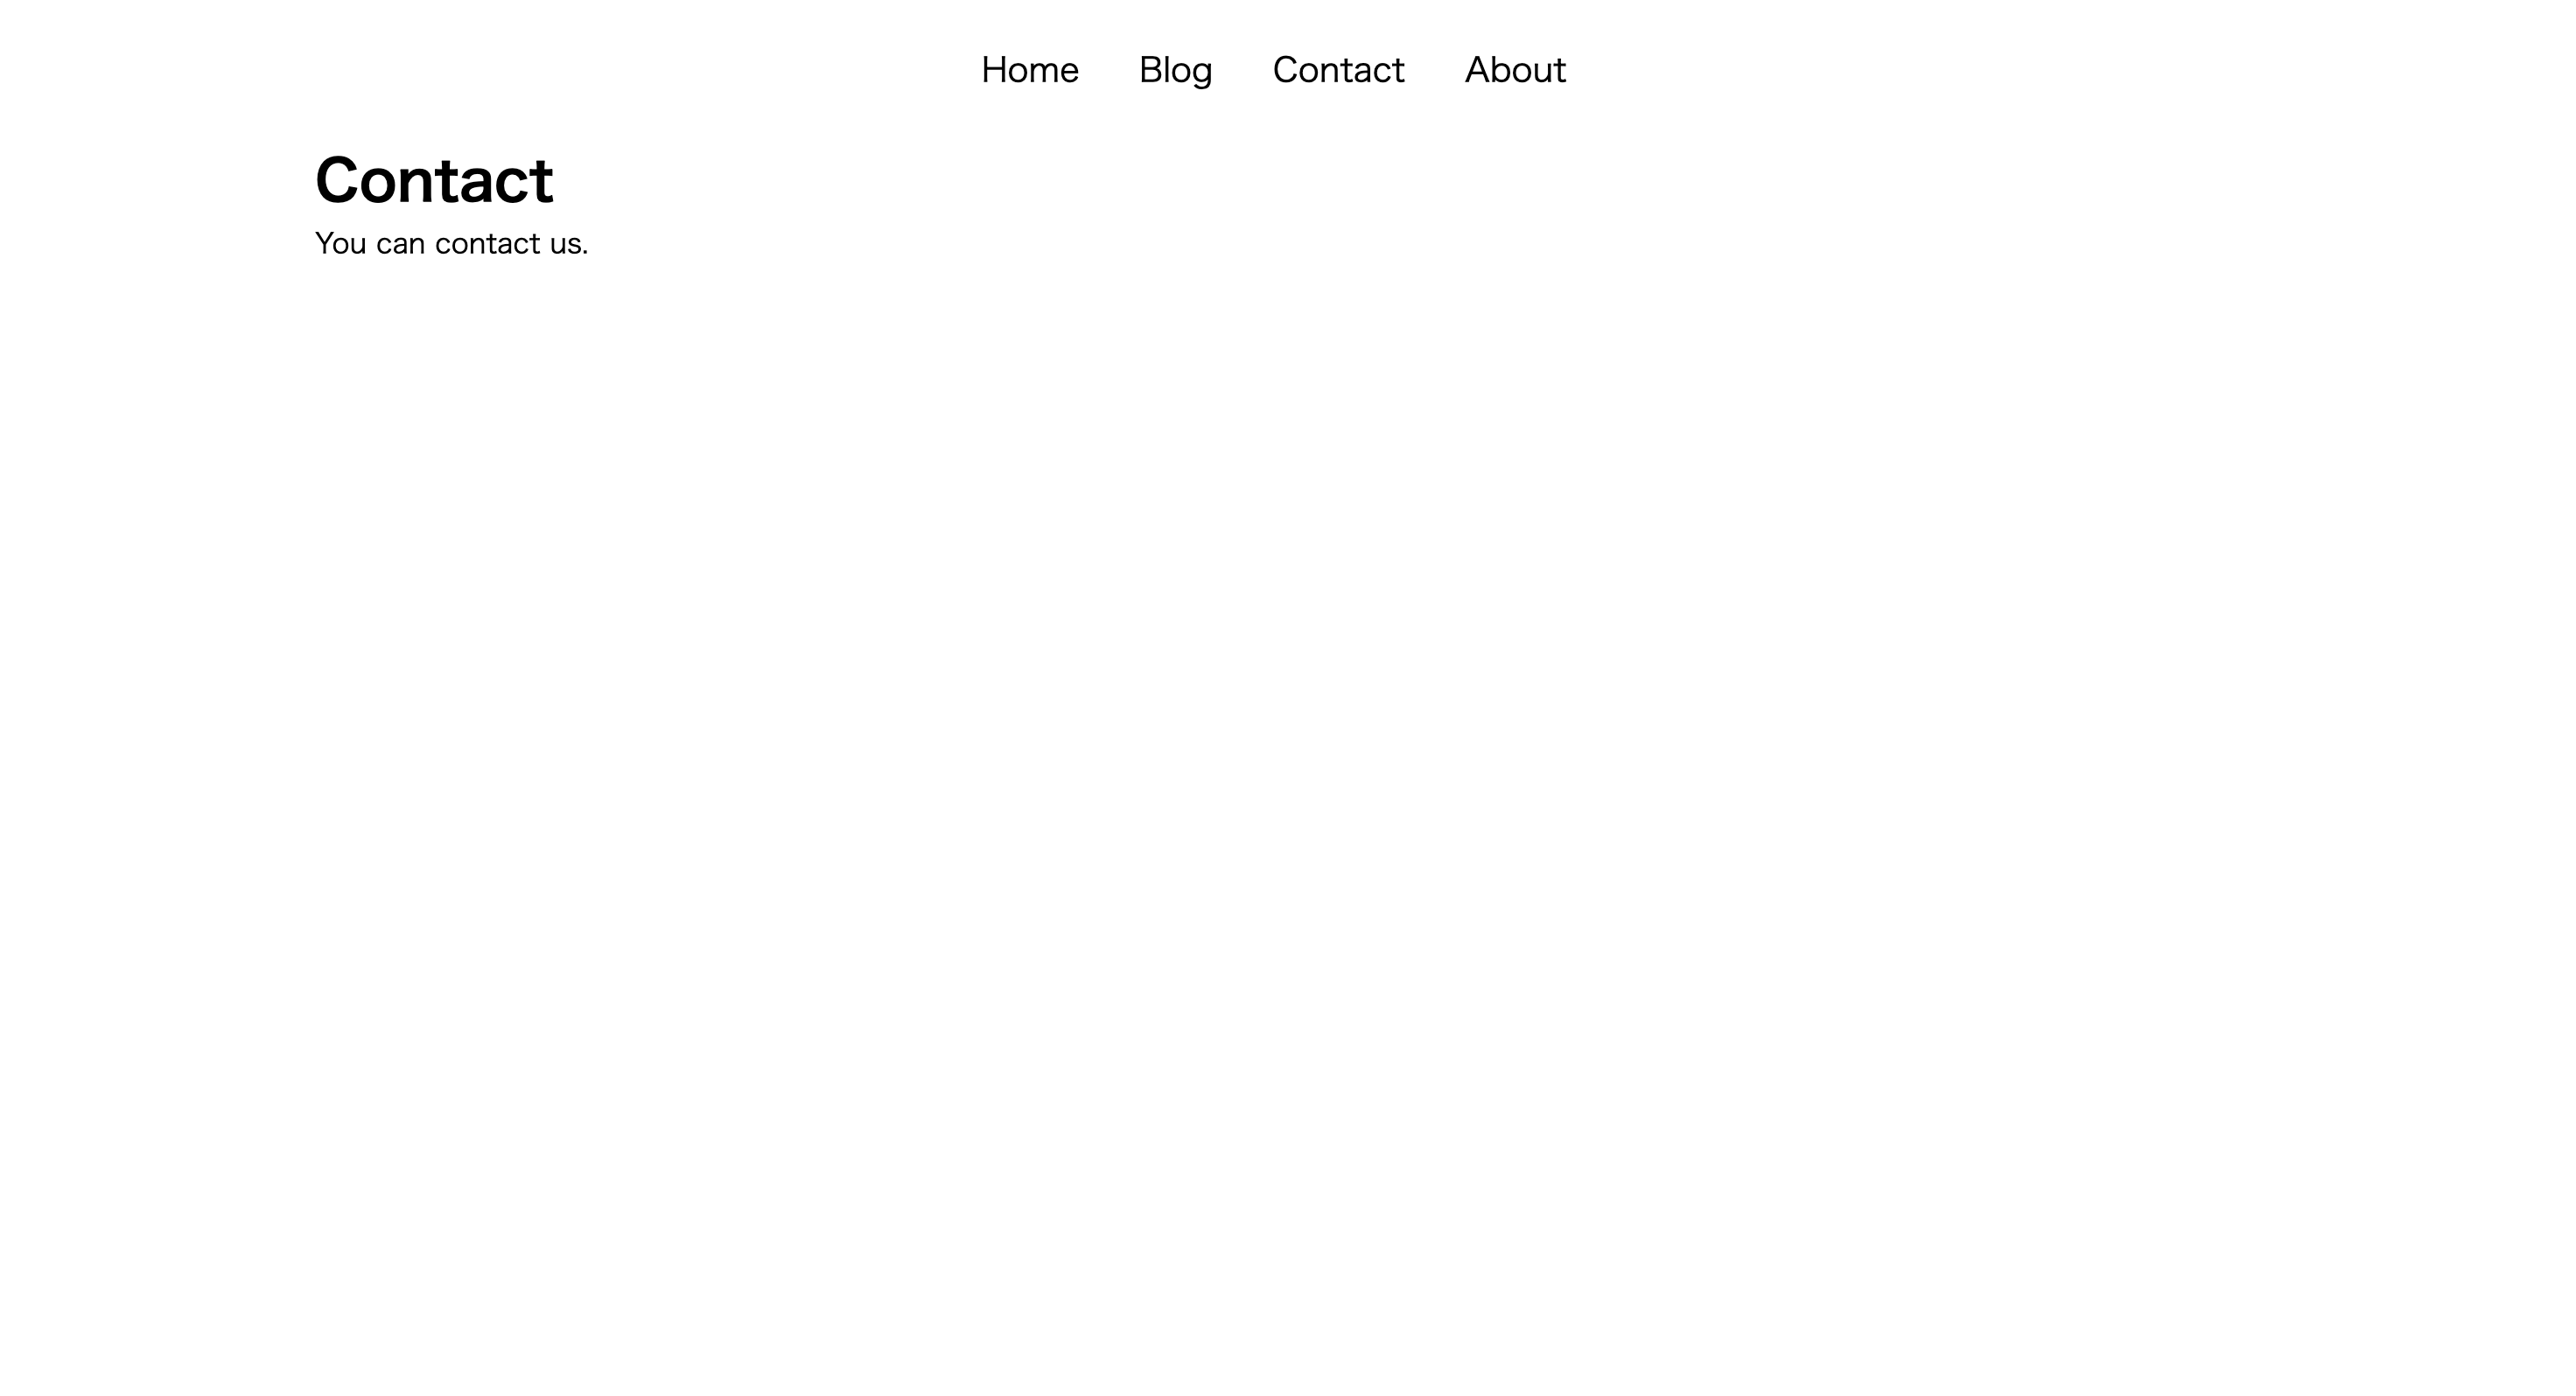
Contact(ページのみ)
About(ページのみ)
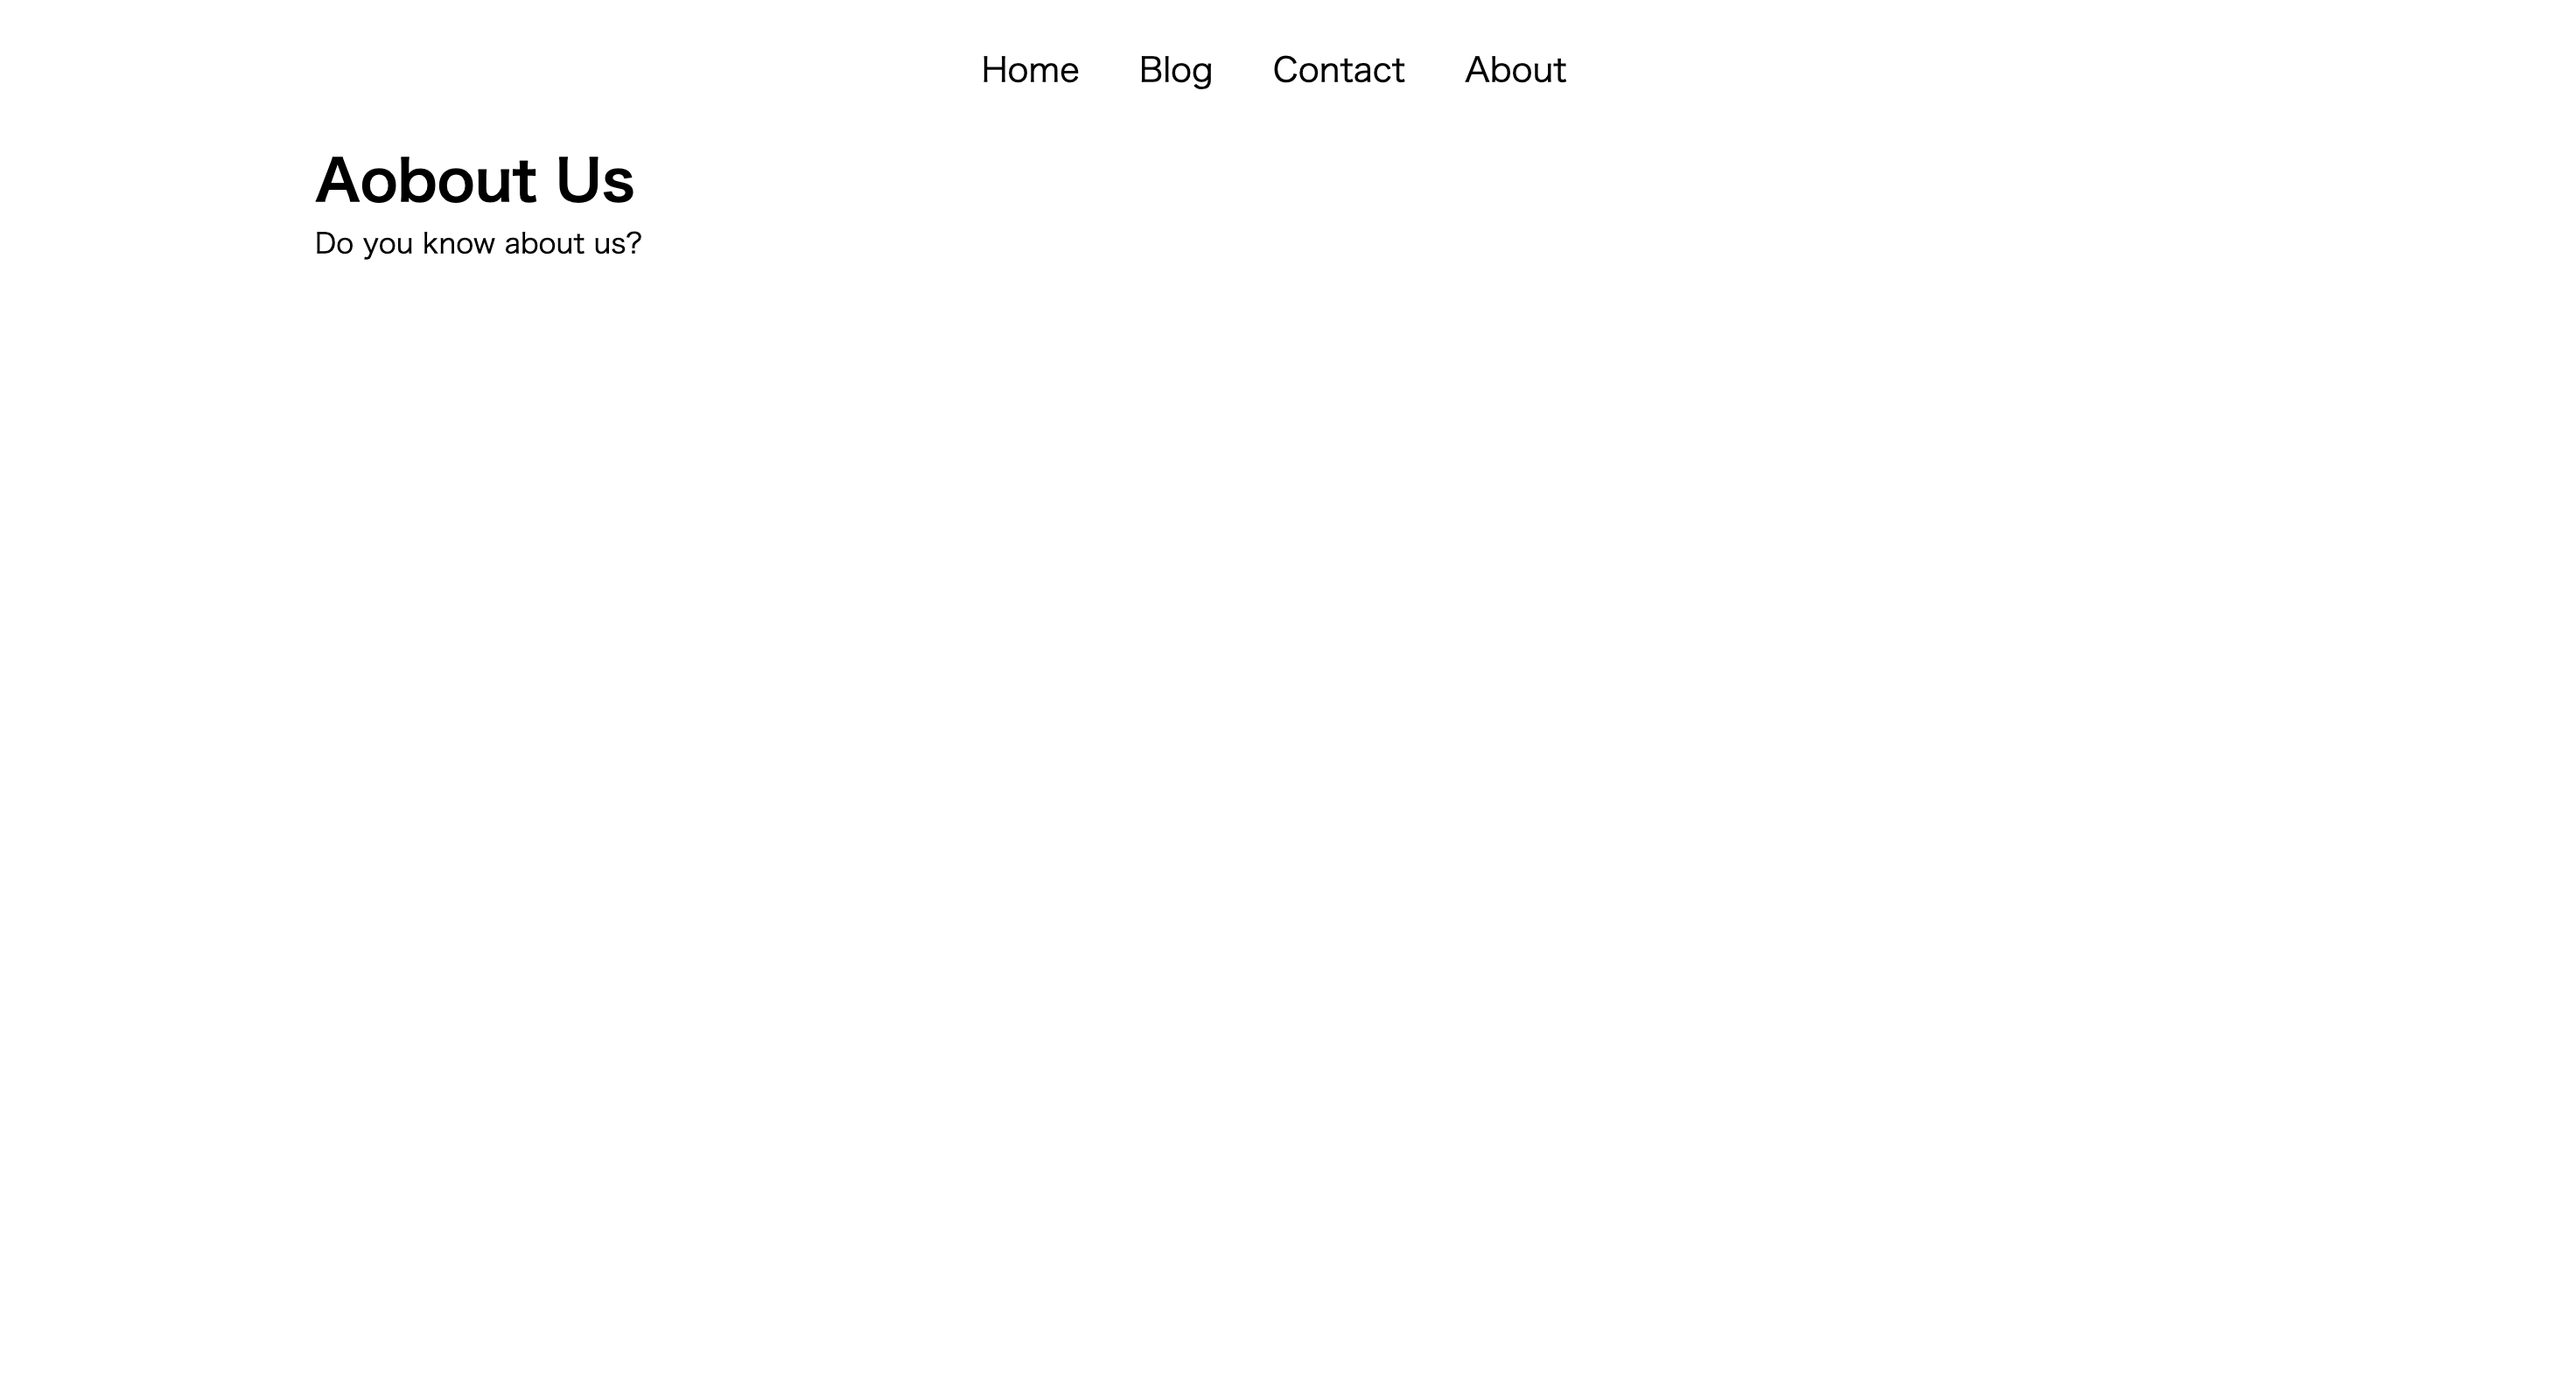
参考資料
まずはgatsbyのチュートリアルを順にこなすことが先決だと思います。
ざっくりと動かし方がわかったところで読んでもらえると理解が早いかと思います。
Gatsby v3ではTutrialでブログ作成までがまだ公開されていないので、まとめておきます。(参考になるかは知らない)
非常に参考になった動画
Gatsby Crash Course - Build yourself a blog.
その他、逐一調べながら進めました。私は初心者なのでプログラミング詳しくないです。めっちゃググります。この記事は自分が忘れないようにまとめてるだけなので、不親切な部分もあるかと思います。気になることはご質問ください。
フォルダ構成
完成時点でのフォルダ構成です。
初めはフォルダやファイルが全然ないですが、この構成に向けて順を追って解説していきます(予定)
publicフォルダ内はビルド時に自動的に生成されます。編集することはないので、解説しません。
.(ルートフォルダ)
├── blog(ブログ記事格納フォルダ)
│   └── 2020
│       ├── 2020-12-01-first-post
│       │   └── index.md
│       ├── 2020-12-02-second-post
│       │   └── index.md
│       ├── 2020-12-03-third-post
│       │   └── index.md
│       ├── 2020-12-04-4th-post
│       │   └── index.md
│       ├── 2020-12-05-5th-post
│       │   └── index.md
│       └── 2020-12-06-6th-post
│           └── index.md
├── gatsby-browser.js
├── gatsby-config.js
├── gatsby-node.js
├── node_modules
├── package.json
├── public
├── src
│   ├── components
│   │   ├── container.js
│   │   └── header.js
│   ├── css
│   │   └── style.css
│   ├── pages
│   │   ├── about.js
│   │   ├── blog.js
│   │   ├── contact.js
│   │   └── index.js
│   └── templates
├── yarn-error.log // エラー発生時に勝手に生成される
└── yarn.lock
gatsby導入方法
Homebrewのインストール
Homebrewページに移動し、記載されているインストールコマンドをterminalで実行します。
$ /bin/bash -c "$(curl -fsSL https://raw.githubusercontent.com/Homebrew/install/HEAD/install.sh)"
詳しくはこちら
Node.jsのインストール
Homebrew経由で、バージョン管理が簡単にできるnodebrewをインストールします。
nodebrew入手
// インストール
$ brew install nodebrew

// 確認(バージョンが表示されればOK)
$ nodebrew -v

// 環境変数を追加します。
echo "export PATH=$HOME/.nodebrew/current/bin:$PATH"

// bash_profileを更新して設定を反映させます。
$ source ~/.bash_profile

// セットアップを行います。これやらないとインストールできません。
$ nodebrew setup
nodebrewで目的のバージョンをインストール・反映
// インストール可能なバージョンを確認
$ nodebrew ls-remote

// nodeのインストール
$ nodebrew install-binary <インストールしたいバージョン>

// 例:v10.15.0をインストール
$ nodebrew install-binary v10.15.0

// インストールしたバージョンを確認
$ nodebrew ls

// 使いたいバージョンを指定
$ nodebrew use v10.15.0

// もう一度nodebrew lsを叩いて、currentが指定されてればOKです
// 最後に node -vでバージョンが表示されれば完了です
詳しくはこちら
Gitの導入(既に導入済みであれば不要です)
Gitのインストール
$ brew install git
名前とメールアドレスの設定
$ git config --global user.name "Taro Yamada"
$ git config --global user.email "taro@gmail.com"
Gatsbyの導入
CLIのインストール
GatsbyのコマンドをあつかうためのCLIツールをインストールします。
私はバージョン3で実行しています。
$ npm install -g gatsby-cli
// CLIをインストールしたことでgatsby --helpのようにgatsbyコマンドが使えるようになります。
// 今後gatsbyコマンドを使ってプロジェクトを作成したり、開発時のビルドなどを行っていきます。
ここから実際の制作過程に入ります(準備はいいですか)
作業ディレクトリの作成
任意の場所にサイトのルートディレクトリを作成します。
(任意のディレクトリ)$ mkdir gatsby-blog
(任意のディレクトリ)$ cd gatsby-blog
package.jsonの作成
npmコマンドかyarnコマンドによりpackage.jsonファイルを作成します
// npmだとこちら
$ npm init

// yarnだとこちら
$ yarn init

// 私の環境ではnpmだとバージョンエラーでバグり散らかしてるので、以降の解説ではyarnコマンドでの説明となります。
必要なパッケージのインストール
$ yarn add gatsby@3.7.2 react react-dom react-helmet

// 実行後のフォルダ構成は以下のとおり
// node_modulesがインストールされ、lockファイルが生成される
.
├── node_modules
├── package.json
└── yarn.lock
エラーについて
gatsbyのバージョンが3.7.2以上だと、ターミナルをctrl + Cで終了した時に以下のエラーが出る。気にしなければgatsbyのバージョンは最新版でいいかと。
気になるので、上のパッケージインストールではgatsbyのバージョンを3.7.2で固定している
 ERROR

UNHANDLED REJECTION write EPIPE

  Error: write EPIPE

  - child_process.js:807 ChildProcess.target._send
    internal/child_process.js:807:20

  - child_process.js:678 ChildProcess.send
    internal/child_process.js:678:19

  - develop.ts:133 ControllableScript.stop
    [tutorial]/[gatsby]/src/commands/develop.ts:133:22

  - develop.ts:540 shutdownServices
    [tutorial]/[gatsby]/src/commands/develop.ts:540:28

  - develop.ts:467 process.<anonymous>
    [tutorial]/[gatsby]/src/commands/develop.ts:467:11
編集用のフォルダとトップページ用のファイル、ブログページ用のファイルの作成
// ルートフォルダで以下のコマンドを実行します
$ mkdir src
$ cd src
$ mkdir pages
$ cd pages
$ touch index.js blog.js contact.js about.js // 4つのファイルを作成(各ページ)

// 現在のフォルダ構成は以下のとおり
.
├── package.json
├── src
│   └── pages
│       ├── about.js
│       ├── blog.js
│       ├── contact.js
│       └── index.js
└── yarn.lock
index.jsの編集
トップページとなるindex.jsを編集します(とりあえず表示させます)
import React from 'react';

const Home = () => {
  return(
    <div>
      <h1>Hello, World!</h1>
      <p>Welcome to my site!</p>
    </div>
  );
};

export default Home;
ブラウザで確認するためのコマンドをpackage.jsonへ追記する
yarn run devでローカルサーバーを起動できるようにします。
(これしなくても yarn run gatsby develop でローカルサーバー起動できます)
内容は環境によって違うと思うので、適宜読み替えてください。
{
  "name": "gatsby-blog",
  "version": "1.0.0",
  "main": "index.js",
  "license": "MIT",
  -- この3行を追記する --
  "scripts": {
    "dev": "gatsby develop" // yarn run dev でローカルサーバー起動
  },
  -- ここまでを追記 --
  "dependencies": {
    "gatsby": "^3.8.1",
    "react": "^17.0.2",
    "react-dom": "^17.0.2",
    "react-helmet": "^6.1.0"
  }
}
terminalからローカルサーバーを起動する
$ yarn run dev  もしくは  $ yarn run gatsby develop

gatsby-blog$ yarn run dev

---

You can now view gatsby-blog in the browser.
⠀
  http://localhost:8000/
⠀
View GraphiQL, an in-browser IDE, to explore your site's data and schema
⠀
  http://localhost:8000/___graphql
⠀
Note that the development build is not optimized.
To create a production build, use gatsby build
⠀
success Building development bundle - 8.807s
success Writing page-data.json files to public directory - 0.106s - 5/5 47.14/s
http://localhost:8000へアクセスし、表示されているかを確認しましょう。
表示例

ブログ一覧用のページを作成
pagesフォルダのblog.jsを以下のように編集します
import React from 'react';

const Blog = () => {
  return(
    <div>
      <h1>Blog</h1>
      <p>It's my blog posts!</p>
    </div>
  );
};

export default Blog;
http://localhost:8000/blogでアクセスできます

ブログ記事をMarkdownで書くためのパッケージをインストールする
Terminalから新たにパッケージのインストールを行います。
$ yarn add gatsby-plugin-mdx @mdx-js/mdx @mdx-js/react gatsby-source-filesystem
gatsby設定ファイルの作成
gatsbyのサイトにおける設定ファイルを作成します。主にサイトのメタデータなどを記載しておくファイルです。
gatsby-config.jsをルートフォルダ直下に作成しましょう。
$ touch gatsby-config.js
作成したgatsby-config.jsを編集します
サイトのメタデータを適当に書きましょう
module.exports = {
  sieMetadata: {
    title: `gatsby blog creation`,
    author: `yacci`,
    summary: `Yakitori Tabetai`,
    description: `A simple blog for gatsby`,
    siteUrl: `http://localhost:8000`,
    social: {
      twitter: `yacci`,
    },
  },
  Plugins: [
    {
      resolve: `gatsby-plugin-mdx`,
      options: {
        extensions: [`.md`, `.mdx`]
      },
    },
    {
      resolve: `gatsby-source-filesystem`,
      options: {
        path: `${__dirname}/blog`, // ブログ記事を配置するフォルダのパスへ任意に設定
        name: `blog`, // まだ理解できず。先のフォルダ名と揃えている
      }
    }
  ]
};
ブログ記事を用意する
実際に表示したいブログ記事を用意しましょう。
ホームディレクトリ直下に./blog/2020/2020-1-1-first-post/index.mdのブログ記事用のMarkdownファイルを用意します。
ターミナルからコマンドを利用して作成すると下記の通りとなります。(ルートディレクトリから実行)
$ mkdir blog
$ cd blog
$ mkdir 2020
$ cd 2020
$ mkdir 2020-01-01-first-post
$ cd 2020-01-01-first-post
$ touch index.md
./blog/2020/2020-01-01-first-post/index.mdを開いて下記の通り編集します。(本文は自由に書いてください)
---
title: "First Post"
date: "2020-01-01"
description: "Lorem Ipsum is simply dummy text of the printing and typesetting industry."
publised: true
---

## What is Lorem Ipsum?

Lorem Ipsum is simply dummy text of the printing and typesetting industry. Lorem Ipsum has been the industry's standard dummy text ever since the 1500s, when an unknown printer took a galley of type and scrambled it to make a type specimen book. It has survived not only five centuries, but also the leap into electronic typesetting, remaining essentially unchanged. It was popularised in the 1960s with the release of Letraset sheets containing Lorem Ipsum passages, and more recently with desktop publishing software like Aldus PageMaker including versions of Lorem Ipsum.
---で囲まれた部分はgatsbyのgraphqlから取得できます。動的にファイルパスなどに利用できます。
とりあえず上記の通り編集しておきます。(---で囲まれた部分は、ブログ記事ごとに同じ項目を記載する必要があります。無闇に増やさない方が吉)
同様に3つほど記事を作成しておきましょう
(サンプル)
---
title: "Second Post"
date: "2020-01-02"
description: "Contrary to popular belief, Lorem Ipsum is not simply random text."
publised: true
---

## Where does it come from?

Contrary to popular belief, Lorem Ipsum is not simply random text. It has roots in a piece of classical Latin literature from 45 BC, making it over 2000 years old. Richard McClintock, a Latin professor at Hampden-Sydney College in Virginia, looked up one of the more obscure Latin words, consectetur, from a Lorem Ipsum passage, and going through the cites of the word in classical literature, discovered the undoubtable source. Lorem Ipsum comes from sections 1.10.32 and 1.10.33 of "de Finibus Bonorum et Malorum" (The Extremes of Good and Evil) by Cicero, written in 45 BC. This book is a treatise on the theory of ethics, very popular during the Renaissance. The first line of Lorem Ipsum, "Lorem ipsum dolor sit amet..", comes from a line in section 1.10.32.

The standard chunk of Lorem Ipsum used since the 1500s is reproduced below for those interested. Sections 1.10.32 and 1.10.33 from "de Finibus Bonorum et Malorum" by Cicero are also reproduced in their exact original form, accompanied by English versions from the 1914 translation by H. Rackham.
---
title: "Third Post"
date: "2020-01-03"
desctiption: "It is a long established fact that a reader will be distracted by the readable content of a page when looking at its layout."
published: true
---

## Why do we use it?

It is a long established fact that a reader will be distracted by the readable content of a page when looking at its layout. The point of using Lorem Ipsum is that it has a more-or-less normal distribution of letters, as opposed to using 'Content here, content here', making it look like readable English. Many desktop publishing packages and web page editors now use Lorem Ipsum as their default model text, and a search for 'lorem ipsum' will uncover many web sites still in their infancy. Various versions have evolved over the years, sometimes by accident, sometimes on purpose (injected humour and the like).
---
title: "4th Post"
date: "2020-01-04"
description: "There are many variations of passages of Lorem Ipsum available, but the majority have suffered alteration in some form, by injected humour, or randomised words which don't look even slightly believable."
published: true
---

## Where can I get some?

There are many variations of passages of Lorem Ipsum available, but the majority have suffered alteration in some form, by injected humour, or randomised words which don't look even slightly believable. If you are going to use a passage of Lorem Ipsum, you need to be sure there isn't anything embarrassing hidden in the middle of text. All the Lorem Ipsum generators on the Internet tend to repeat predefined chunks as necessary, making this the first true generator on the Internet. It uses a dictionary of over 200 Latin words, combined with a handful of model sentence structures, to generate Lorem Ipsum which looks reasonable. The generated Lorem Ipsum is therefore always free from repetition, injected humour, or non-characteristic words etc.
Graphqlからサイト内の情報を調べる・受け取る
※ ローカルサーバーを再起動しておきましょう
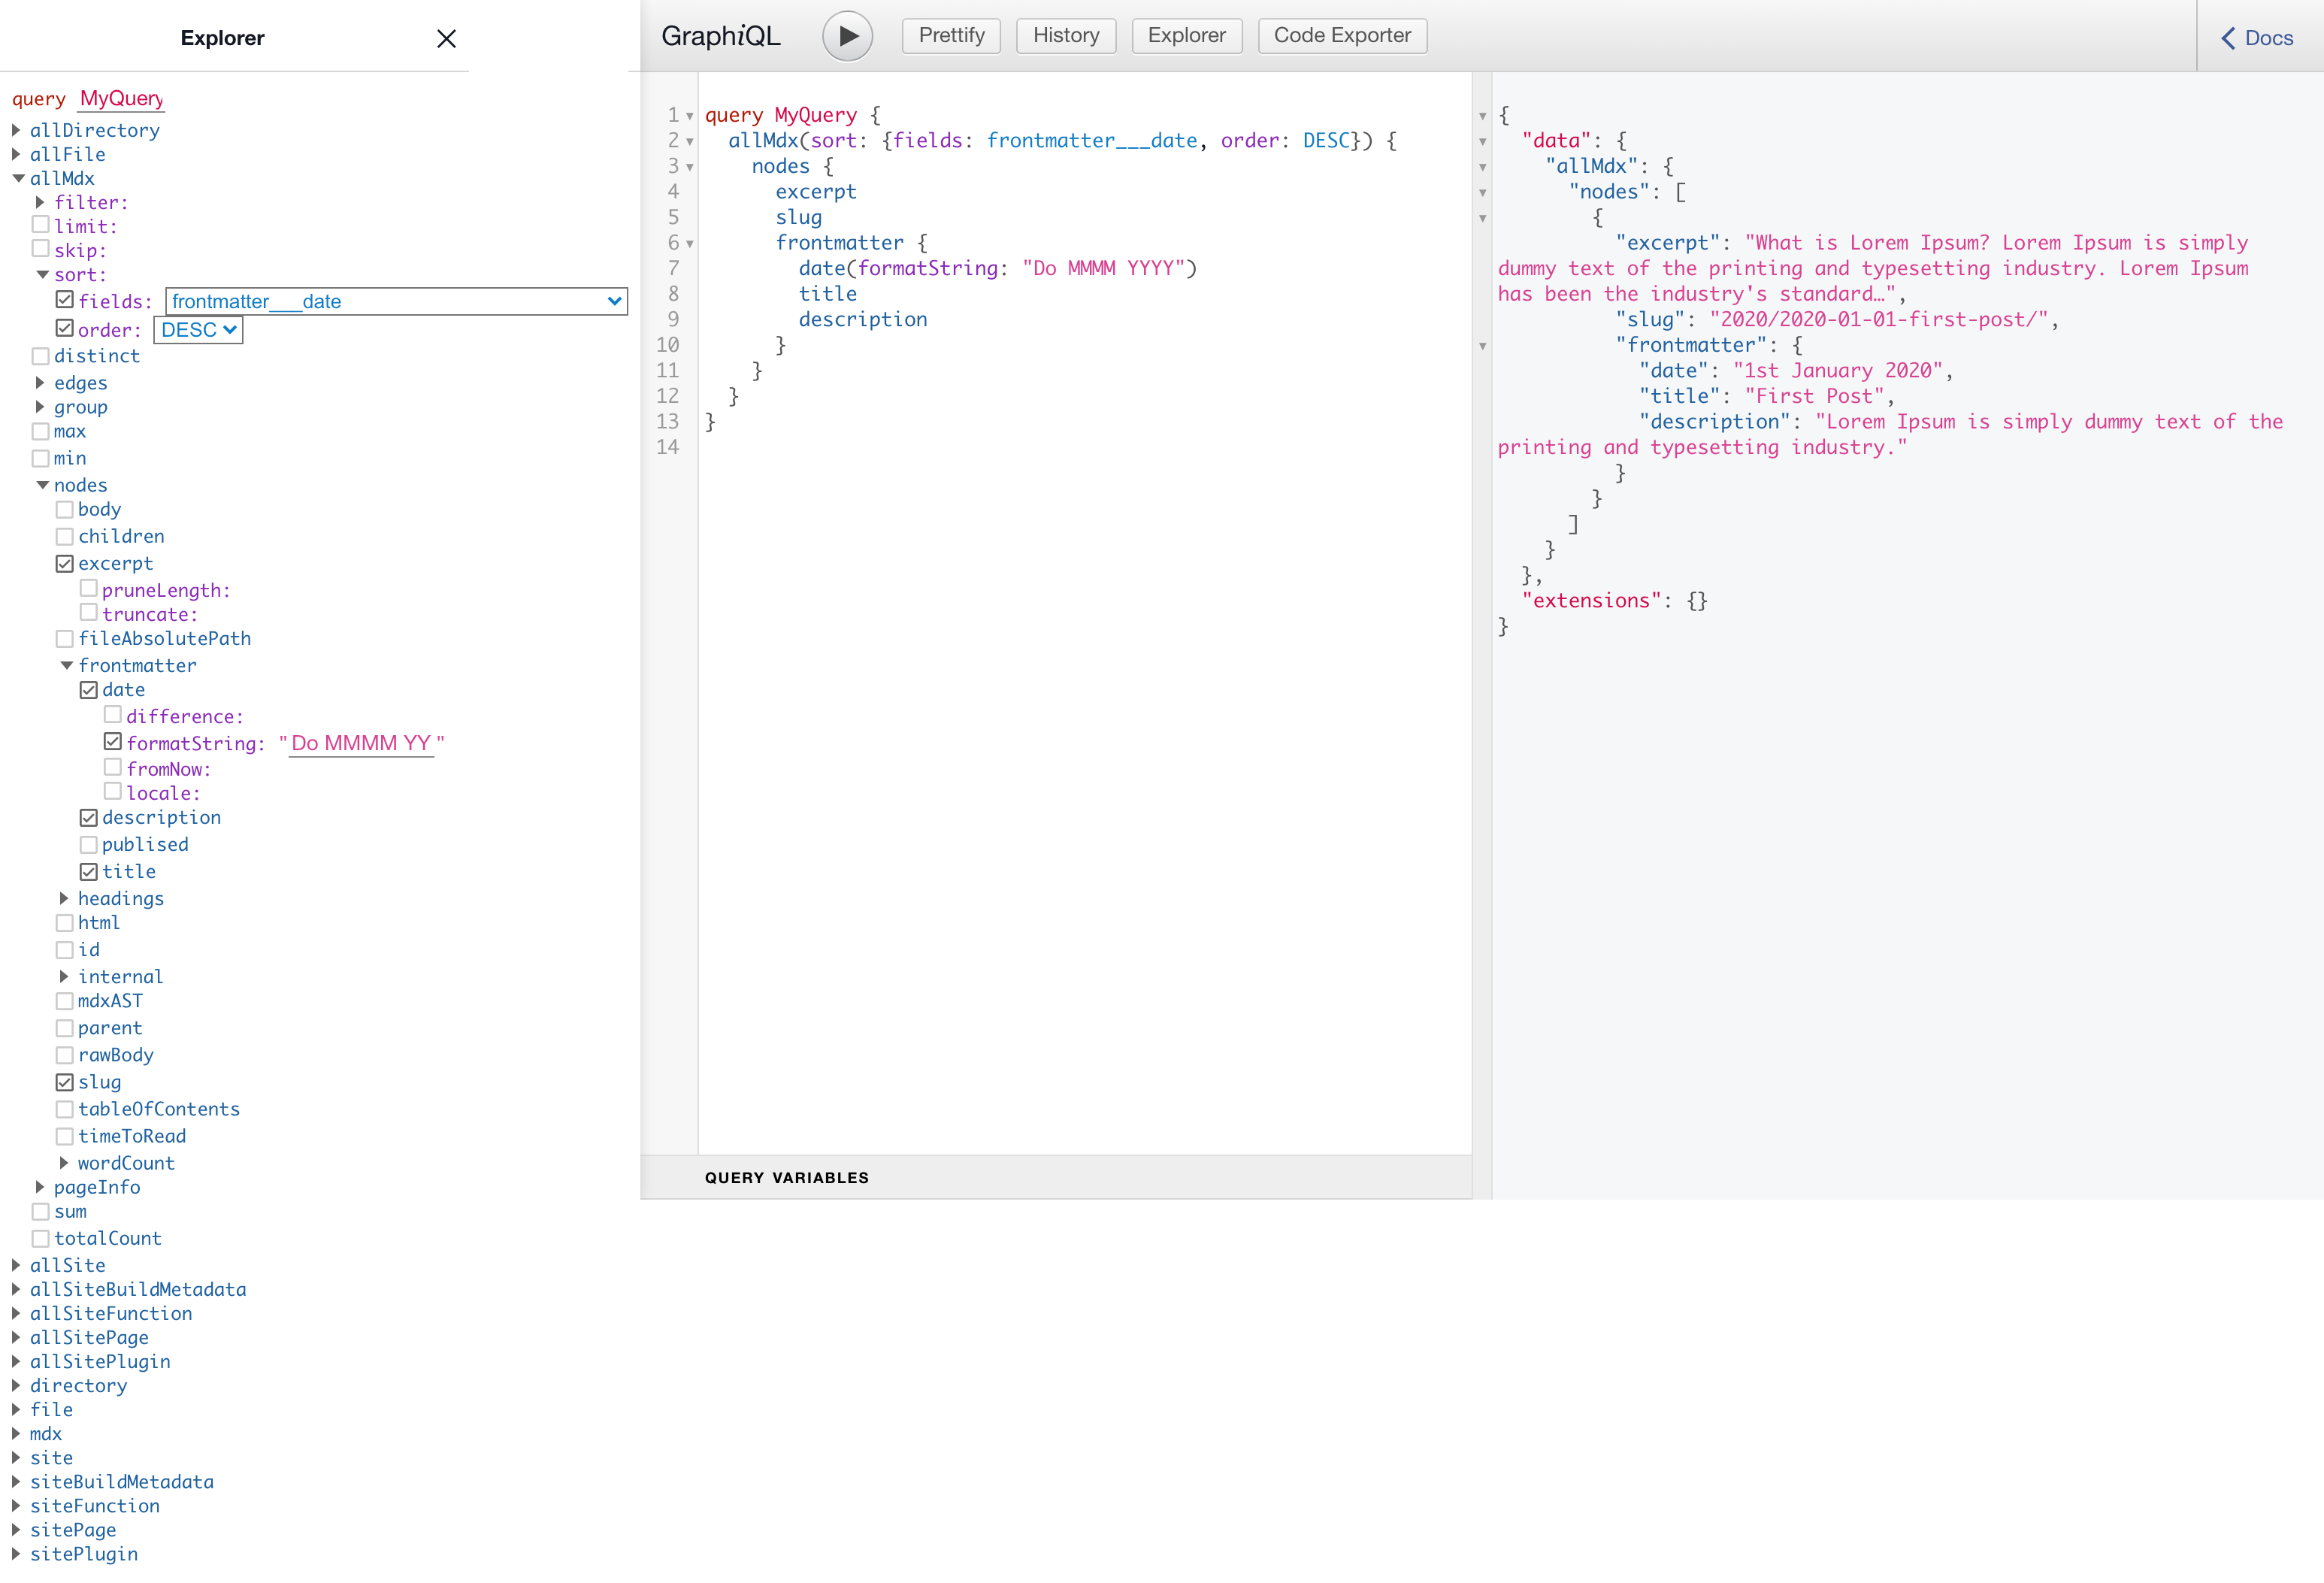
http://localhost:8000/___graphqlからgraphqlへアクセスできます。
ここでは、現在ローカルサーバーで起動しているサイトが持つ様々な情報を取得できます。
取得結果をコードに反映させることで、サイト内で動的にリンクやページ内の情報を得られます。
左のチェックボックスから調べたい情報をチェックすることで、自動的に情報取得のためのクエリが得られます。上部の再生ボタンを押すと、中央のクエリから得られる実際の情報が表示されます。
Blogページに記事一覧を表示する
Blogページに記事のタイトルやDescriptionなどを一覧で表示できるようにします。
Graphqlから情報を取得する
http://localhost:8000/___graphqlから次のようにクエリを取得します。
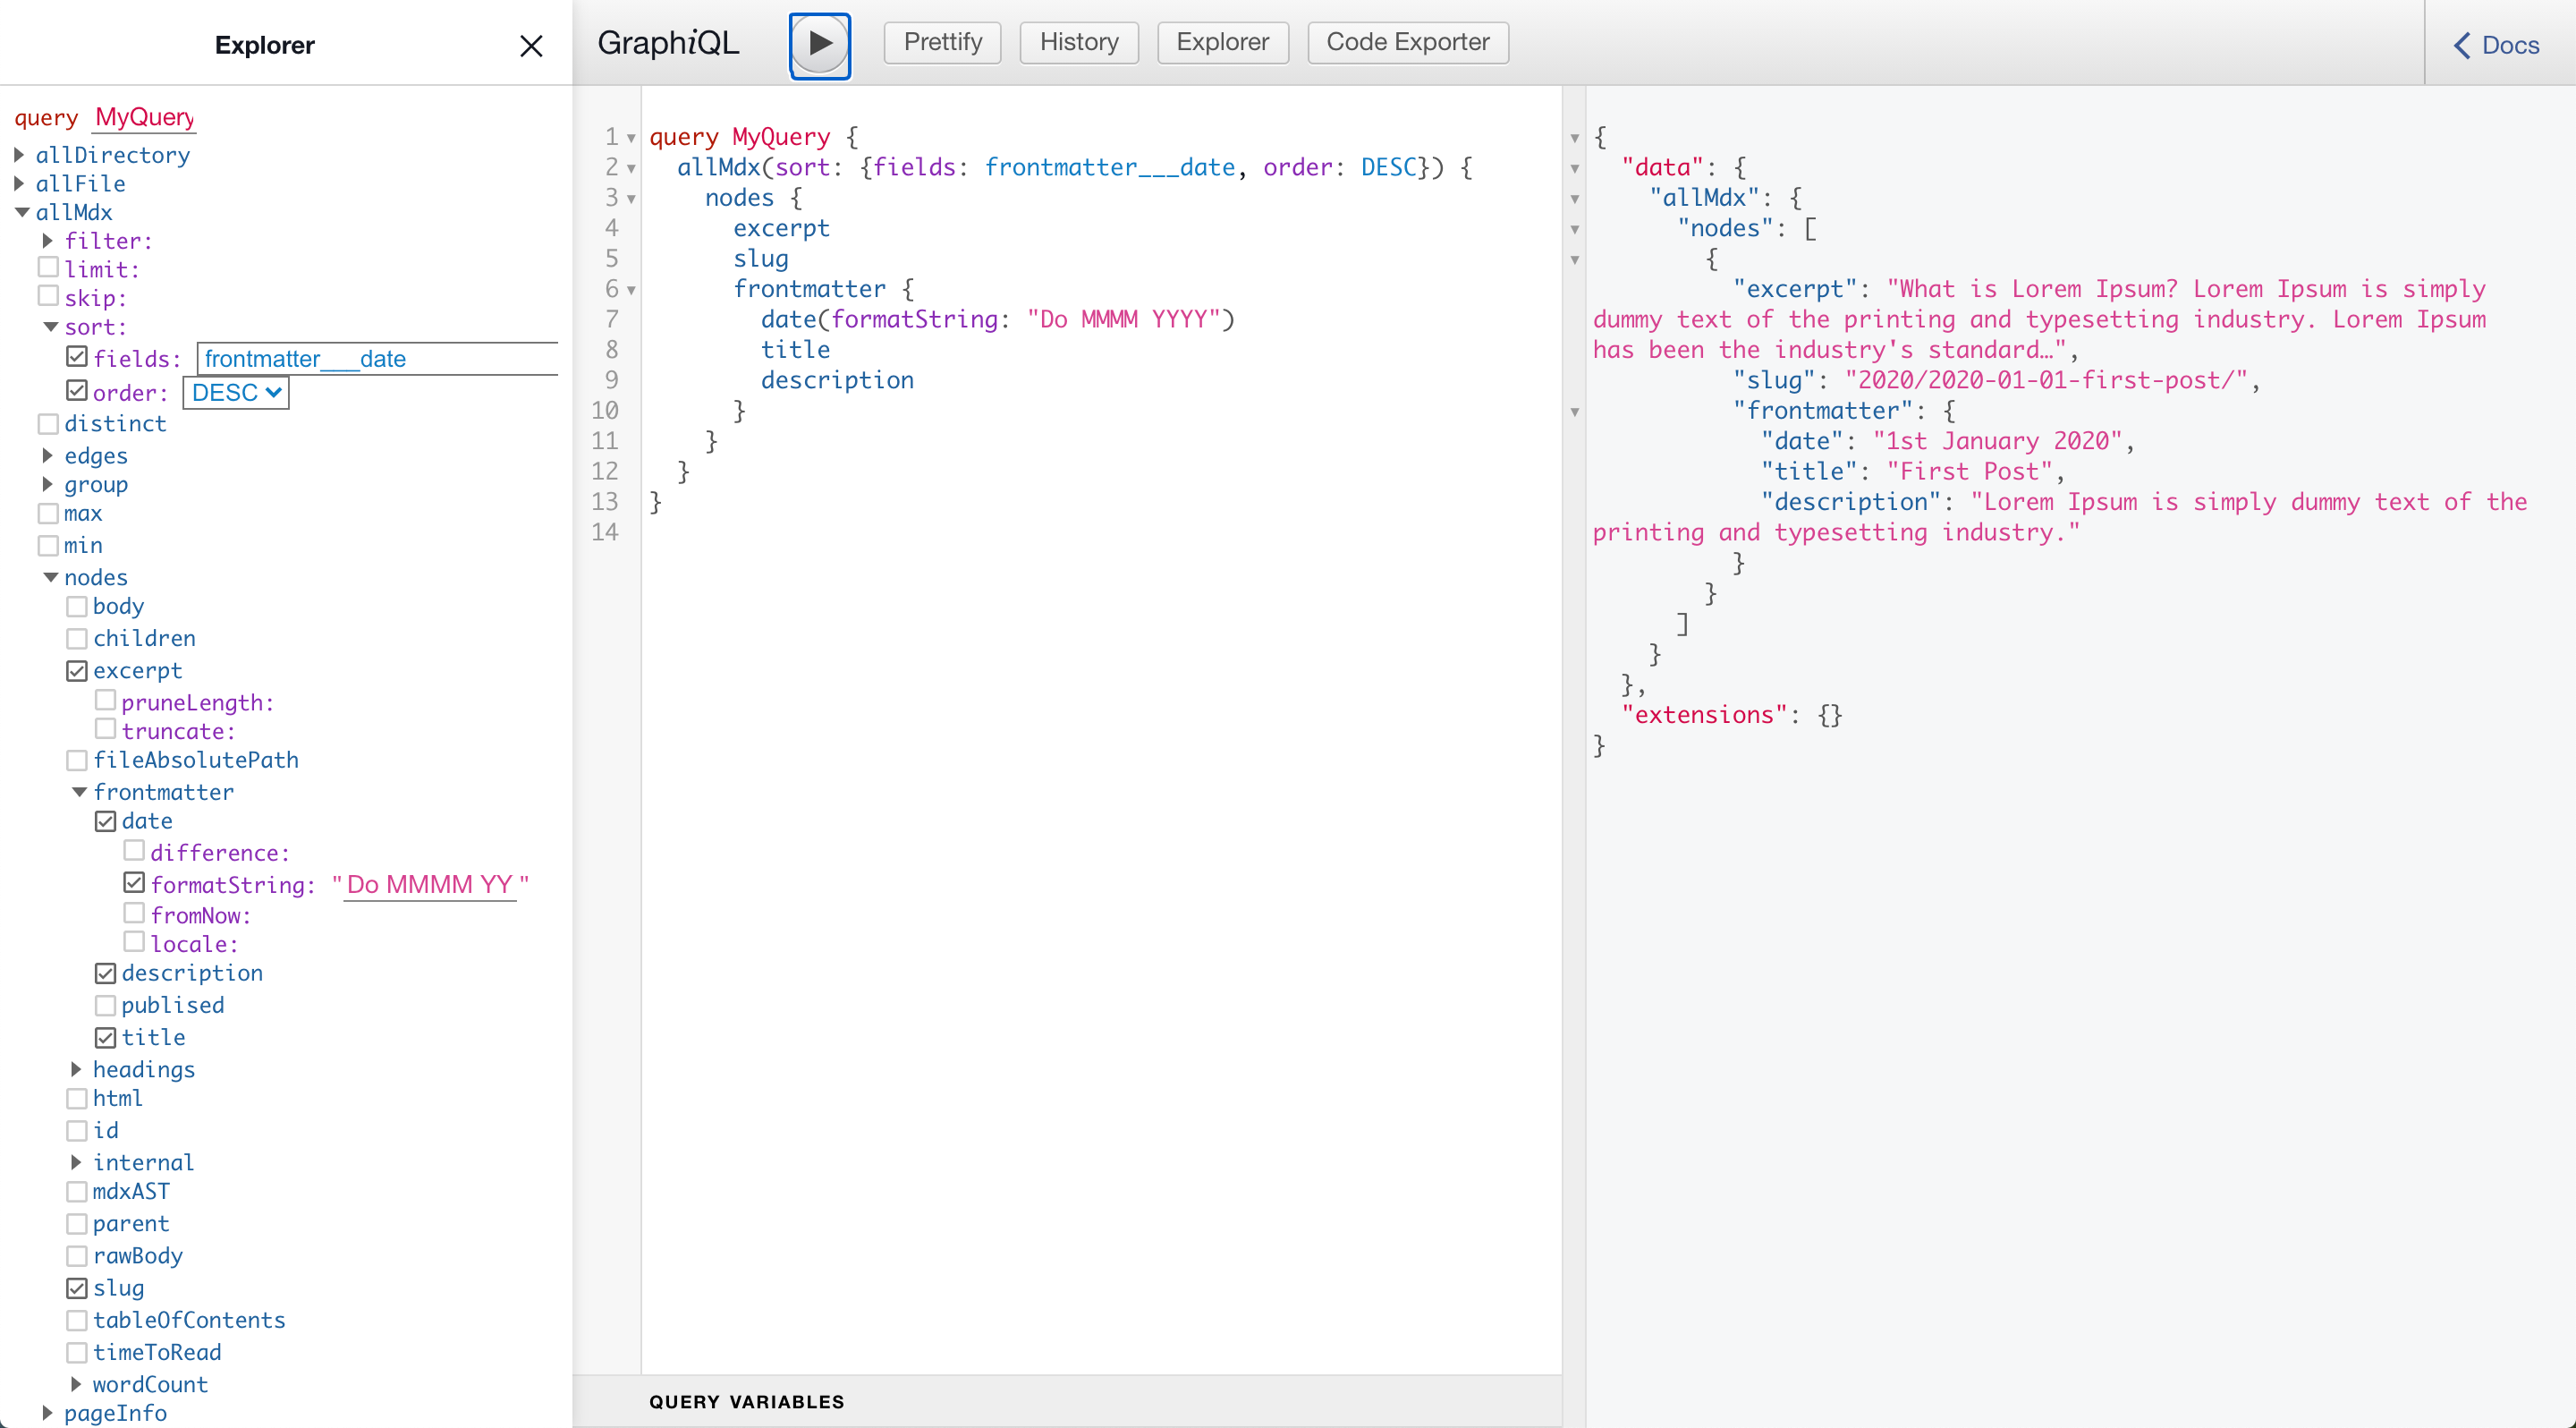
中央のクエリは次のようになります。
query MyQuery {
  allMdx(sort: {fields: frontmatter___date, order: DESC}) {
    nodes {
      excerpt
      slug
      frontmatter {
        date(formatString: "Do MMMM YYYY")
        title
        description
      }
    }
  }
}
Blogページを編集する
./src/pages/blog.jsを次のように編集しましょう。
import React from 'react';
import { graphql } from 'gatsby';

const Blog = ({data}) => { // 下でgraphqlから取得した情報を`data`でまとめて受け取る
  const posts = data.allMdx.nodes; // .(ドット)で辿りながら目的の情報を取得する、graphqlでの取得結果を参考にすると分かりやすい
  return(
    <div>
      <h1>Blog</h1>
      <p>It's my blog posts!</p>
      {posts.map((post) => { // 上で取得したpostsをmap関数で一つ一つ取り出す
        const title = post.frontmatter.title || post.slug;
        return(
          <div>
            <h1>{title}</h1>
            <p>{post.frontmatter.date}</p>
            <p>{post.frontmatter.description}</p>
          </div>
        );
      })};
    </div>
  );
};

export default Blog;

export const blogQuery = graphql`{ // graphqlから取得したい情報のクエリをhttp://localhost:8000/___graphqlから作成し、コピペすれば良い
  allMdx(sort: {fields: frontmatter___date, order: DESC}) { // 並べ替えたり、特定の物だけフィルタにかけたりもできる
    nodes {
      excerpt
      slug
      frontmatter {
        date(formatString: "Do MMMM YYYY") // 日時の表示を
        title
        description
      }
    }
  }
}`;
ローカルサーバーを再起動(yarn run dev)してhttp://localhost:8000/blogを確認すると、以下のように先ほど作成したMarkdown形式の記事のタイトルと日付、Descriptionが表示されます。

ヘッダーの作成
共通コンポーネントとして、ページ全体を内包するコンテナ、共通要素のヘッダーを作成していきます。
./srcフォルダ直下に共通コンポーネントを格納するためのcomponentsフォルダを作成、フォルダ内にcontainer.js、header.jsファイルを作成します。
コンテナ内にヘッダーを配置、記事は動的にコンテナ内に配置されるようにします。
ヘッダーを作成しましょう。
import React from "react";


const Header = () => {
  return(
    <div className="sticky-nav">
      <a href="/" className="sticky-nav-button">Home</a>
      <div className="sticky-nav-stack">
        <a href="/" className="sticky-nav-button">Blog</a>
        <a href="/" className="sticky-nav-button">Contact</a>
        <a href="/" className="sticky-nav-button">About</a>
      </div>
    </div>
  );
}

export default Header;
次にコンテナを作成します。
import React from "react";
import Header from "./header"; // 同フォルダ内からHeaderコンポーネントを呼び出す

const Container = ({children}) => {
  return(
    <div>
      <div className="container">
        <Header />
        <main className="main">{children}</main> {/* テンプレートとして呼び出した場合にchildren内に各ページ内容が入れ込まれる(後述) */}
      </div>
    </div>
  );
}

export default Container;
CSSの編集
./src直下にcssフォルダを作成し、sytle.cssファイルを作成する。
* {
  font-family: 'Open Sans', sans-serif;
  margin: 0;
  padding: 0;
  border: 0;
  box-sizing: border-box;
}

.card {
  padding: 2rem;
  list-style: none;
  display: grid;
  grid-template-columns: auto 1fr;
  grid-gap: 20px;
  margin-top: 2rem;
  text-decoration: none;
  transition: transform 350ms;
}

.card:hover {
  cursor: pointer;
  text-decoration: none;
  border-left: 2px solid #60a1e7;
  transform: translateX(-2px);
  border-bottom: 2px solid #60a1e7;
}

.card:first-of-type {
  margin-top: 4rem;
}

.card-title,
.card-title > a,
.card-link,
.card-link > a {
  margin: 0px;
  font-weight: 600;
  font-size: 2rem;
  text-decoration: none;
  color: black;
}

.card-date {
  margin: 1rem;
  font-size: 1rem;
}

.card-description {
  margin-top: 1rem;
  color: #707070;
  font-size: 1.2rem;
}

.container {
  display: flex;
  flex-direction: column;
  justify-content: center;
}

.main {
  justify-content: center;
  align-items: flex-start;
  margin: 0 auto 4rem auto;
  width: 100%;
  max-width: 1080px;
}

.sticky-nav {
  display: flex;
  flex-direction: row;
  justify-content: center;
  align-items: center;
  font-size: 1.2rem;
  width: 100%;
  padding: 1rem;
  position: sticky;
  z-index: 10px;
  top: 0;
  backdrop-filter: saturate(180%) blur(20px);
  transition: background-color 0.1 ease-in-out;
}

.sticky-nav-button {
  color: black;
  background-color: transparent;
  border: 1px solid transparent;
  padding: 0.5rem;
  margin-right: 1rem;
  text-align: center;
  display: inline-block;
  text-decoration: none;
}

.sticky-nav-button:hover,
.sticky-nav-button:active {
  color: black;
  background: #efefef;

}
各ブログ記事へのリンクの設置と各ページにコンテナを適用する
ブログページへのリンク設置と各ファイルにコンテナを適用しておきましょう。
./src/pages/index.jsを次のように編集します
import React from 'react';
import { Link,graphql } from 'gatsby';
import Container from '../components/container';

const Home = ({data}) => {

  const siteTitle = data.site.siteMetadata.title;
  const siteDescription = data.site.siteMetadata.description;
  const posts = data.allMdx.nodes;
  return(
    <Container>
      <h1>Blog Posts</h1>
      <p>{siteTitle}</p>
      <p>{siteDescription}</p>
      {posts.map((post) => {
        const title = post.frontmatter.title || post.fields.slug;
        return(
          <div className="card" key={post.slug}>
            <Link className="card-link" to={post.slug}>
            <h2 className="card-title">{title}</h2>
            <p className="card-date">{post.frontmatter.date}</p>
            <p className="card-description">{post.frontmatter.description}</p>
            <p>{post.frontmatter.course}</p>
            </Link>
          </div>
        )
      })}
    </Container>
  )
}

export default Home;

export const pageQuery = graphql`
{
  site {
    siteMetadata {
      description
      title
    }
  }
  allMdx(sort: {fields: slug, order: ASC}) {
    nodes {
      excerpt
      slug
      frontmatter {
        title
        description
        course
        date(formatString: "Do MMMM YYYY")
      }
    }
  }
}`;
しかし、リンクにアクセスしてもまだブログ記事は表示されない。
gatsby-node.jsの作成
markdown形式で作成した記事を表示するためgatsby-node.jsで、ページ生成用のプログラムを作成します。
ルートフォルダ直下にgtsby-node.jsファイルを作成します。
デプロイ
module.exports = {
  siteMetadata: {
    title: `Site Title`,
    author: {
      name: `Author Name`,
      summary: `summary`
    },
    description: `description`,
    siteUrl: `https://your-site-url.com`
  },
  pathPrefix: `/root`, // サブドメイン利用時などルートフォルダを任意に変更する
  plugins: [
    {
      resolve: `gatsby-plugin-mdx`,
      options: {
        extensions: [`.mdx`, `.md`],
        gatsbyRemarkPlugins: [
          {
            resolve: `gatsby-remark-highlight-code`,
            options: {
              lineNumbers: true,
              theme: 'one-light',
            },
          },
        ],
      },
    },
    {
      resolve: `gatsby-source-filesystem`,
      options: {
        path: `${__dirname}/src/blog`,
        name: `blog`,
      },
    },
  ],
}
お問い合わせページの作成
formspreeを利用する
パッケージをインストールする
$ yarn add @formspree/react
お問い合わせページを作成する
ValidationError を使うにはNew Projectの``Comannd Line Project`からAPIキーを作成しないといけないらしい
// Make sure to run npm install @formspree/react
// For more help visit https://formspr.ee/react-help

import React from 'react';
import { useForm, ValidationError } from '@formspree/react';
import { Link } from 'gatsby';

function ContactForm() {
  const [state, handleSubmit] = useForm("個別のトークン");
  if (state.succeeded) {
    window.location.href = '/thank-you'; // リダイレクト先指定、thank-you.jsを作成
  }
  return (
    <div className="container">
      <h1 className="heading">お問い合わせ</h1>

      <form onSubmit={handleSubmit}>
        <div className="form-group">
          <label htmlFor="email">メールアドレス</label>
          <input id="email" type="email" name="email" required/>
          {/* <ValidationError prefix="Email" field="email" errors={state.errors}/> */}
        </div>

        <div className="form-group">
          <label htmlFor="name">お名前</label>
          <input id="name" type="text" name="name" required/>
          {/* <ValidationError prefix="Name" field="name" errors={state.errors}/> */}
        </div>

        <div className="form-group">
          <label htmlFor="item-select">お問い合わせ内容</label>
          <select name="item-select" id="item-select" required>
            <option value="選択肢1">選択肢1</option>
            <option value="選択肢2">選択肢2</option>
          </select>
        </div>

        <div className="form-group">
          <label htmlFor="message">その他</label>
          <textarea id="message" name="message"/>
          {/* <ValidationError prefix="Message" field="message" errors={state.errors}/> */}
        </div>

      <button className="form-submit" type="submit" disabled={state.submitting}>送信する</button>
      <Link to="/">ホーム</Link>
    </form>
    </div>
  );
}

function Contact() {
  return (
    <ContactForm />
  );
}
export default Contact;