はじめに
以前の記事で、Docker + PHP Storm でステップ実行する方法を紹介しました。
https://qiita.com/yKanazawa/items/363ba93f8a376c5b9e75
今回は、そのVisual Studio Code版になります。
無償のエディタでPHPのステップ実行ができる環境が作れますので、会社でも積極的に導入できるかと思います。
個人的には、PHP Stormと比較しても遜色ない(長所もあれば短所もある)デバッグ環境だと思いました。
以下、Visual Studio Code + XDebug でデバッグ・ステップ実行する方法を解説します。
検証環境
- Windows 10 Professional
- Docker for Windows
- nginx
- PHP-FPM
- XDebug
- Visual Studio Code
PHP-FPMの設定
Dockerコンテナ内の/etc/php.d/xdebug.iniを以下のように設定します。
[xdebug]
zend_extension="/usr/lib64/php/modules/xdebug.so"
xdebug.remote_enable = On
xdebug.remote_port = 9000
xdebug.remote_autostart = On
xdebug.remote_host = host.docker.internal
xdebug.profiler_output_dir = "/tmp"
xdebug.max_nesting_level= 1000
Visual Studio Codeの設定
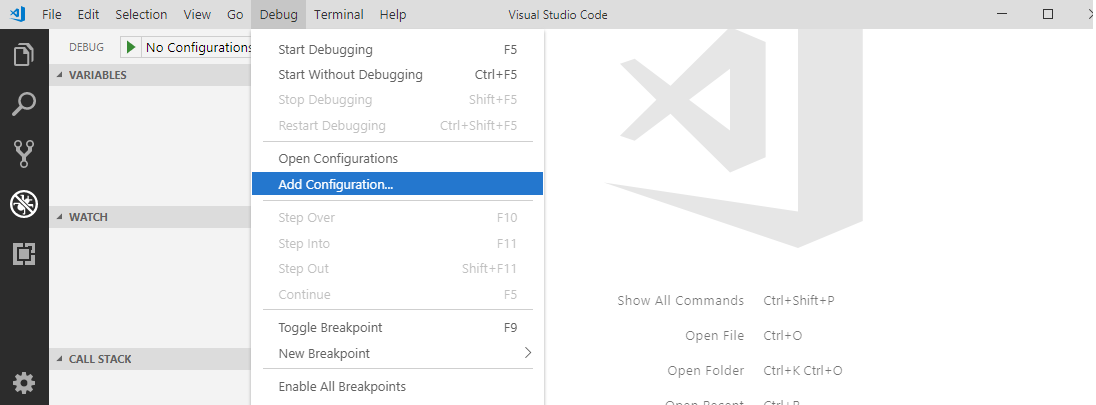
Debug → Add Configuration → PHP を選択します。

Listen for XDebug を以下のように設定します。
{
    "version": "0.2.0",
    "configurations": [
        {
            "name": "Listen for XDebug",
            "type": "php",
            "request": "launch",
            "port": 9000,
            "stopOnEntry": true,
            "pathMappings": {
                "/var/www/test": "${workspaceRoot}"
            }
        },
        {
            "name": "Launch currently open script",
            "type": "php",
            "request": "launch",
            "program": "${file}",
            "cwd": "${fileDirname}",
            "port": 9000
        }
    ]
}
※うまく動かないときは${workspaceRoot}をフルパスでベタ書きすると良いかも。
     "/var/www/test": "${workspaceRoot}"
↓
     "/var/www/test": "c:/Users/kanazawa/www/test"
ステップ実行の開始
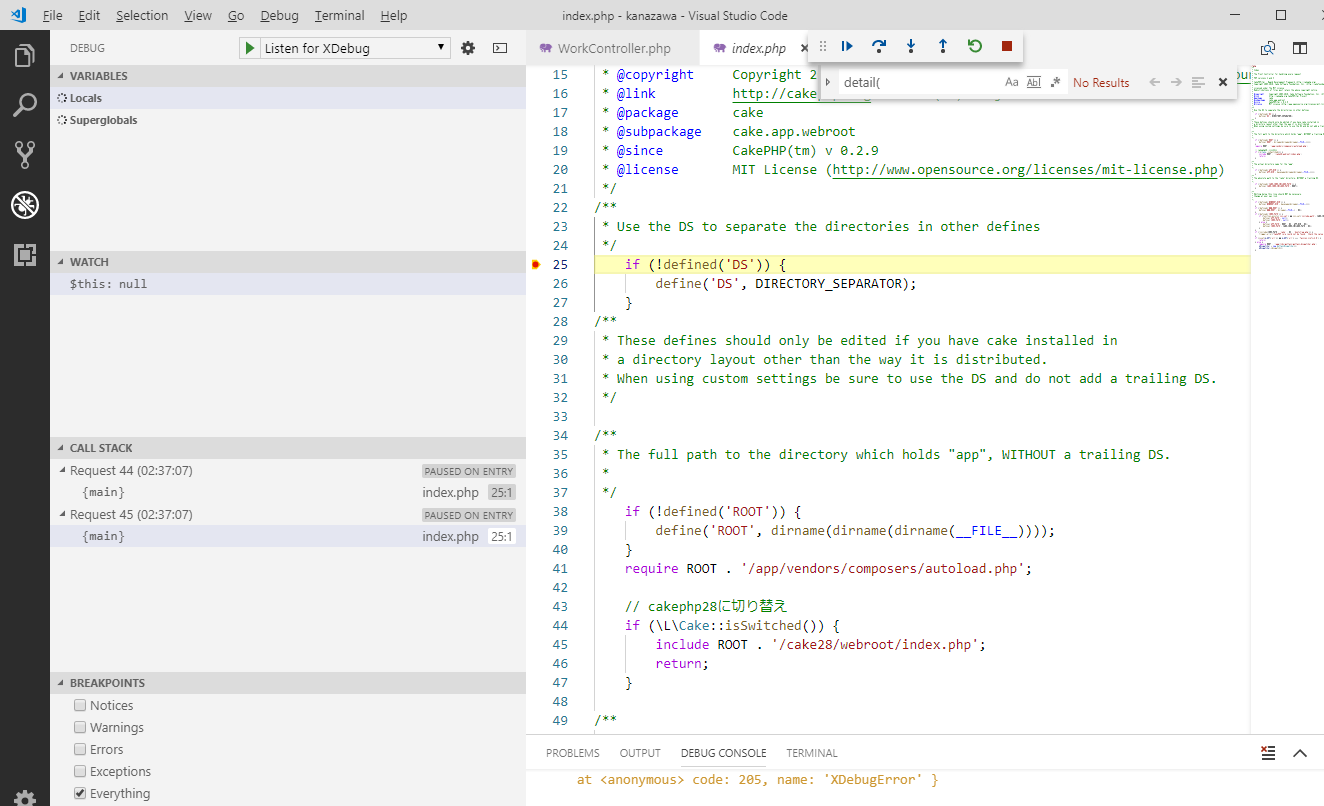
「Listen For XDebug」を選択した状態で、横の再生ボタンを押下します。

ブレークポイントを予め設定しておくと、その位置で停止します。
画面上部のツールバーアイコンから、ステップオーバーが可能です。

最後に
Visual Studio Codeは様々なプログラミング言語をサポートしているので、PHP以外でもステップ実行できる環境として使えそうです。
今後、他のプログラミング言語についても調べていきたいと思います。
