前提
今回はこちらの記事を参考にさせていただきました!
上記記事ではChatGPTを使用しているのですが、同じAPIを使うのではなく、画像生成APIを使って画像を生成してみます。
環境
- macOS: 12.6
- Android Studio Dolphin | 2021.3.1 Patch 1
- flutter: 3.6.0-0.1.pre
- Dart: 2.19.0
OpenAIの画像生成APIについて
リクエストの仕方によっていくつか使用方法があります。
今回は文字列を送信して、それを元に生成した画像のURLを返却してもらいます。
以下はリンク先のマニュアルに記載されている、curlでリクエストする方法です。
curl https://api.openai.com/v1/images/generations \
  -H 'Content-Type: application/json' \
  -H "Authorization: Bearer $OPENAI_API_KEY" \
  -d '{
    "prompt": "a white siamese cat",
    "n": 1,
    "size": "1024x1024"
  }'
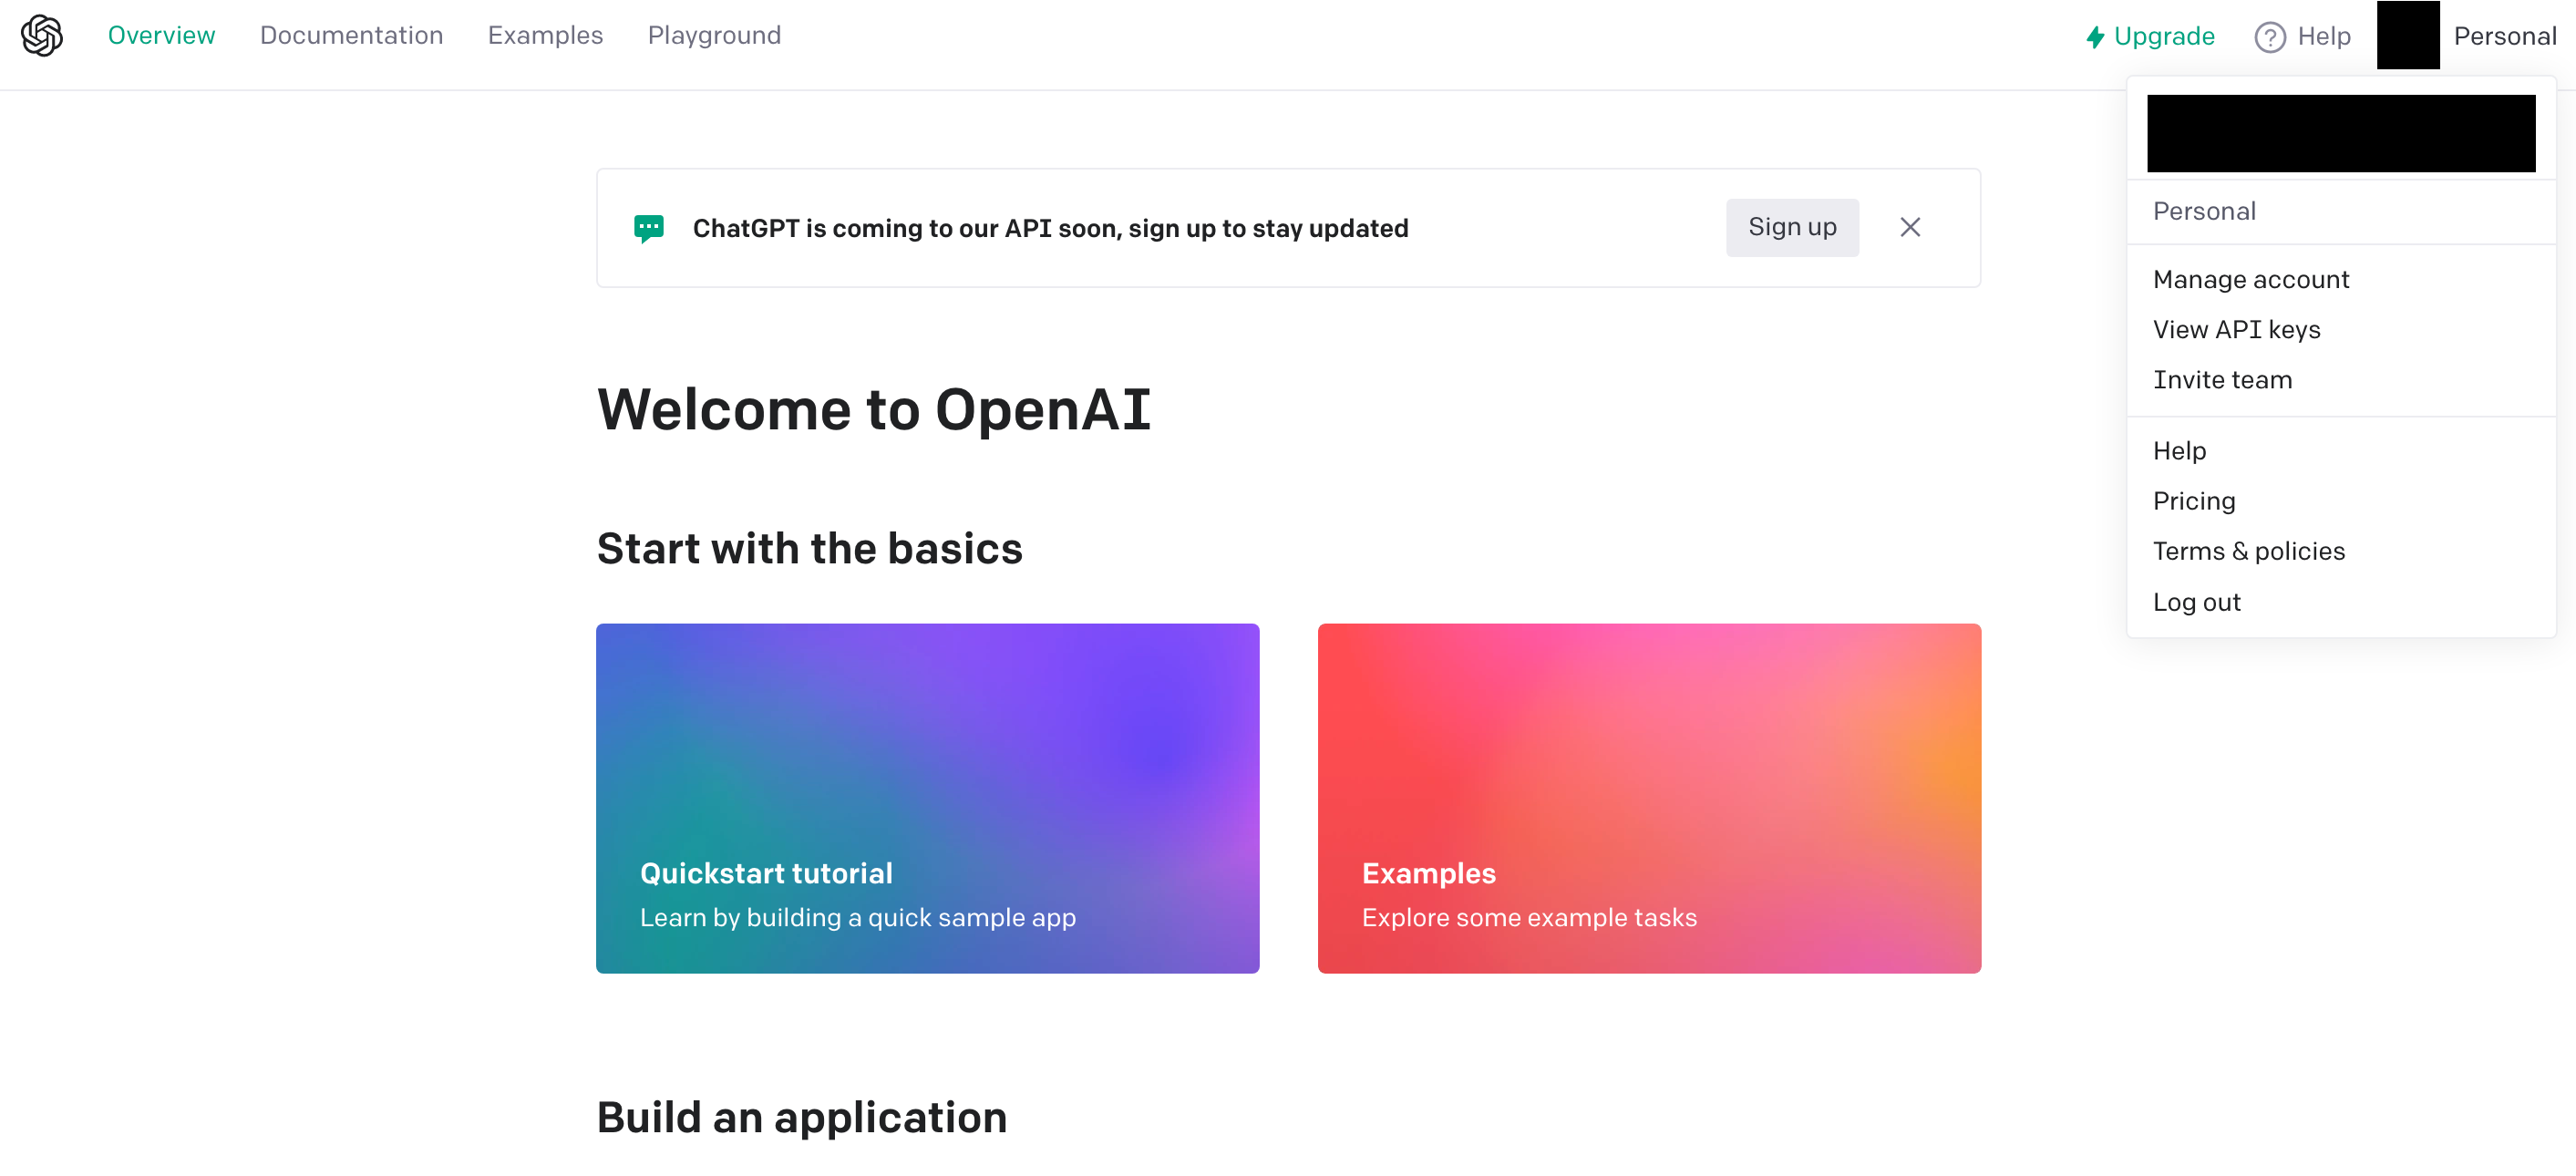
$OPENAI_API_KEYが必要となるため取得します。
-
まずこちらから会員登録してください。メールアドレスの他に、GoogleアカウントまたはMicrosoftアカウントが使用できます。

ちなみにUsageページを見ると無料でAPIを使用できる期間等を見ることができます。使いすぎないようにご注意ください。

手順
Flutterプロジェクトを作成
まずは適当にプロジェクトを作成してください。
pubspec.ymlにdependenciesを追加
今回はdioというパッケージを使用します。HTTP通信を行うために利用します。
dependencies:
  flutter:
    sdk: flutter


  # The following adds the Cupertino Icons font to your application.
  # Use with the CupertinoIcons class for iOS style icons.
  cupertino_icons: ^1.0.2
  dio: ^4.0.6 # この行を追加
IDEによっては自動でダウンロードしてくれますが、そうでない場合はプロジェクトのルートディレクトリ配下でコマンドを叩いてください。
flutter pub get
ファイルを作成
アプリのメインロジック。ただ画像生成ページを呼んでいるだけです。
import 'package:flutter/material.dart';
import 'package:open_api/open_api/image_generation_api_page.dart';

void main() {
  runApp(const MyApp());
}

class MyApp extends StatelessWidget {
  const MyApp({super.key});

  // This widget is the root of your application.
  @override
  Widget build(BuildContext context) {
    return MaterialApp(
      title: 'Flutter Demo',
      theme: ThemeData(
        primarySwatch: Colors.blue,
      ),
      home: const ImageGenerationAPIPage(),
    );
  }
}
画像生成ページです。
ボタンは送信ボタンのようなアイコンを使用してみました。
import 'package:dio/dio.dart';
import 'package:flutter/material.dart';

class ImageGenerationAPIPage extends StatefulWidget {
  const ImageGenerationAPIPage({Key? key}) : super(key: key);

  @override
  _ImageGenerationAPIPageState createState() => _ImageGenerationAPIPageState();
}

class _ImageGenerationAPIPageState extends State<ImageGenerationAPIPage> {
  var imageUrl = '';
  var textForGenerationImageController = TextEditingController();

  @override
  Widget build(BuildContext context) {
    return Scaffold(
      appBar: AppBar(
        title: const Text('Image Generation'),
      ),
      body: Column(
        children: <Widget>[
          Expanded(
            child: Image.network(imageUrl)),
          TextField(
            autofocus: true,
            style: const TextStyle(
              fontSize: 20.0,
              color: Colors.black,
            ),
            controller: textForGenerationImageController,
            decoration: const InputDecoration(
              border: InputBorder.none,
              hintText: 'Type text to generate image!',
            ),
          ),
          IconButton(onPressed: () async {
            String url = await generateImageFromText(textForGenerationImageController.text);
            setState(() {
              imageUrl = url;
            });
          }, icon: const Icon(Icons.send)),
        ],
      ),
    );
  }

  Future<String> generateImageFromText(String text) async {
    String apiKey = 'XXXXXXXXXXXXXXXXXXXX'; // ここをAPIキーに差し替え
    var dio = Dio();
    dio.options.headers = {'Content-Type': 'application/json', 'Authorization': 'Bearer $apiKey'};

    try {
      Response response = await dio.post(
        'https://api.openai.com/v1/images/generations',
        data: {
          'prompt': text,
          'n': 1,
          'size': '1024x1024',
        },
      );
      var generatedImageUrl = response.data['data'][0]['url'];
      print('generatedImageUrl:' + generatedImageUrl);
      return generatedImageUrl;
    } catch (e) {
      print(e);
      return e.toString();
    }
  }
}
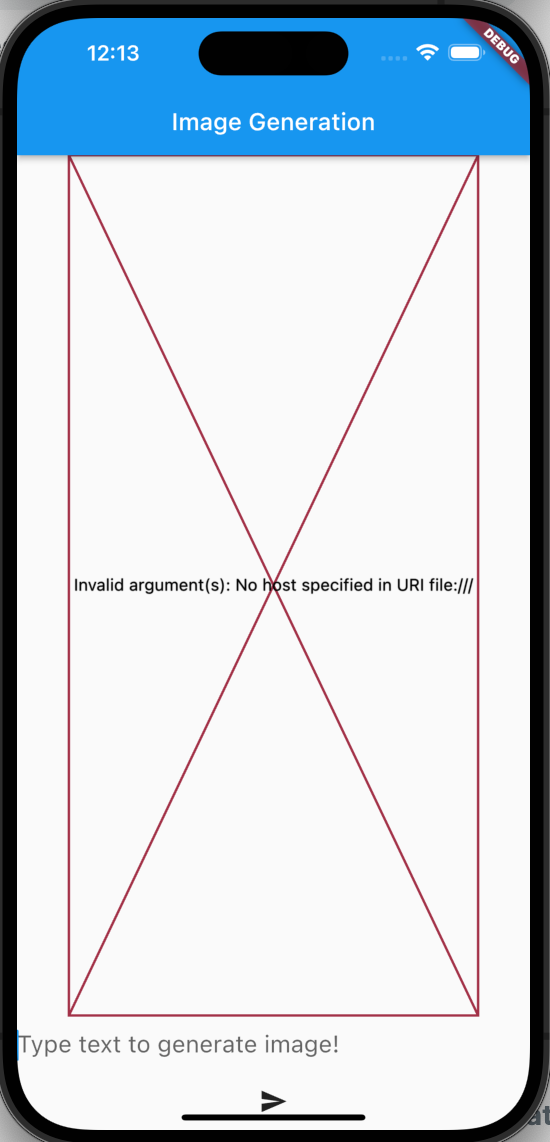
レスポンスではAPIが生成した画像へのURLが返却されます。それをsetStateメソッドでStateful Widgetのメンバ変数にセットすることで、画像を表示します。
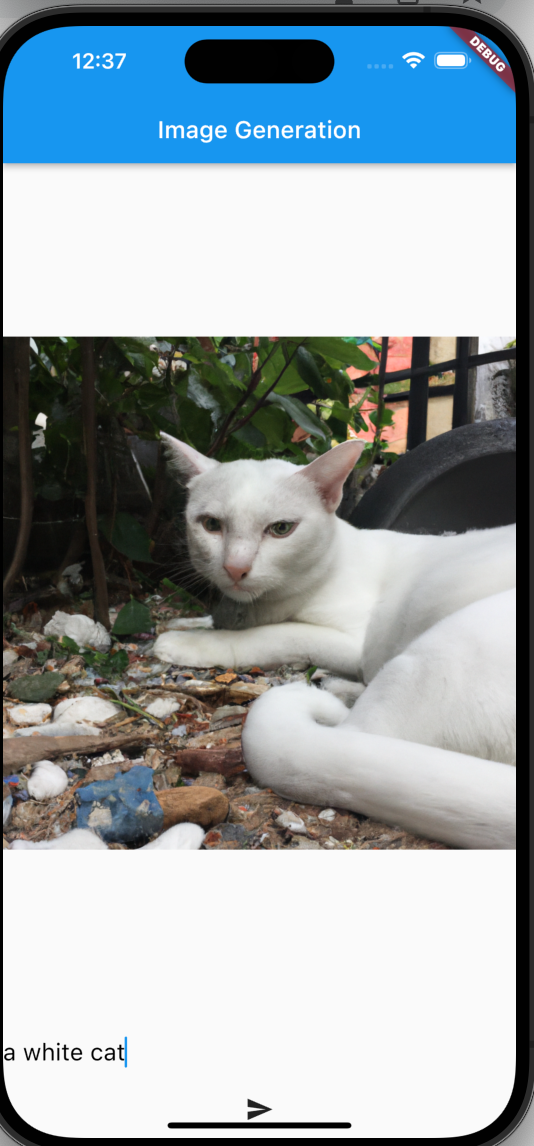
「a white cat」と入力して送信ボタンを押します。
しばらくすると画像が表示されます。

もう一回押すと違う猫ちゃんが…!!

さいごに
利用すること自体は他の一般的なAPIとあまり変わりはないようです。
ただ生成できるものがすごいので、色々なサービスに組み込んだり、アイディア出しにも使ったりできそうです。
例えばCMでお馴染みの(古い?)「蛍のいる渋谷」を見てみましょう。

人と蛍が共存している感じがありますね…!


