はじめに
Vue.js + Electron のプロジェクトを立ち上げる際に使用した Vue CLI と electron-vue ボイラープレート の組み合わせが非常に良かったので、記事を書きました。
主な項目は下記3点です
- Electron + Vue.js プロジェクトの立ち上げ
- アプリケーション起動時のルートコンポーネント変更
- Vue Router を利用したコンポーネント間の遷移
この記事通りに作成したプロジェクトを GitHub に公開しているので、参考にして下さい。
https://github.com/y4shiro/vue-electron-sample
環境
- OS: macOS Sierra 10.12.6
- Node.js: v10.13.0
- npm: 6.4.1
- yarn: 1.12.1
使用したライブラリ
Electron + Vue.js プロジェクトの立ち上げ
今回は Vue CLI 2.x を使用していますが、
Vue CLI 3.x がリリースされているので、興味のある方はは試してみて下さい。
Vue CLI をインストール
$ npm install -g vue-cli

# Vue CLI のバージョンを確認
$ vue --version
2.9.6
Vue CLI で electron-vue ボイラープレートを指定してプロジェクトを作成。
ウィザード形式でライブラリの導入を行います。
- Webpack
- Vuex
- VueRouter
- Eslint
- 各種テストツール
等の導入を簡単に行えます。
$ vue init simulatedgreg/electron-vue vue-electron-sample

? Application Name vue-electron-sample
? Application Id com.example.yourapp
? Application Version 0.0.1
? Project description An electron-vue project
? Use Sass / Scss? Yes
? Select which Vue plugins to install (Press <space> to select, <a> to toggle all, <i> to invert selection)axios, vue-electron, vue-router, vuex, vuex-electron
? Use linting with ESLint? Yes
? Which ESLint config would you like to use? Airbnb
? Set up unit testing with Karma + Mocha? No
? Set up end-to-end testing with Spectron + Mocha? No
? What build tool would you like to use? builder
? author y4shiro <y4shironao@gmail.com>

   vue-cli · Generated "vue-electron-sample".

---

All set. Welcome to your new electron-vue project!

Make sure to check out the documentation for this boilerplate at
https://simulatedgreg.gitbooks.io/electron-vue/content/.

Next Steps:

  $ cd vue-electron-sample
  $ yarn (or `npm install`)
  $ yarn run dev (or `npm run dev`)
依存関係をインストールし、アプリケーションを実行
プロジェクトの作成が完了したら、下記コマンドを実行して dev server 実行を確認します。
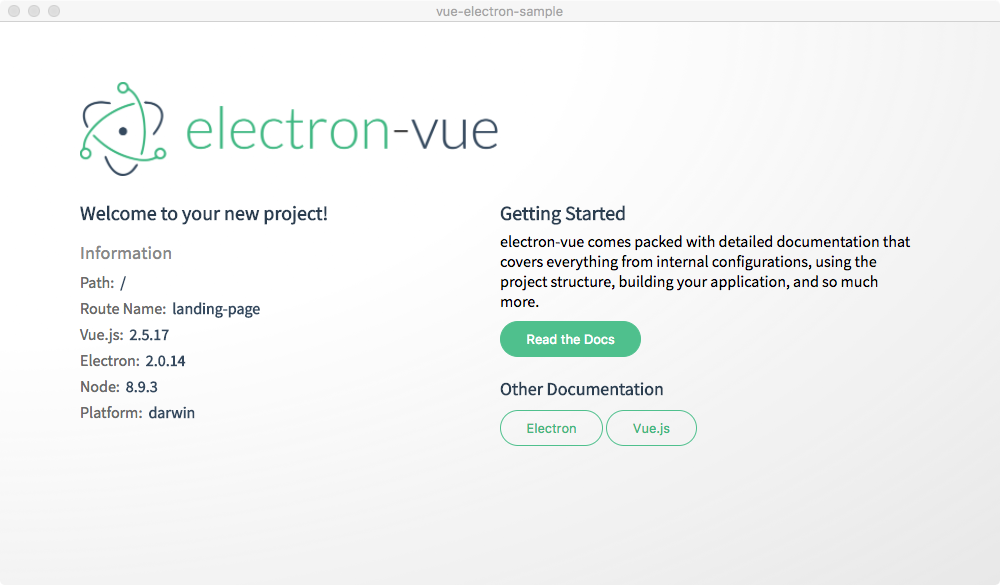
$ yarn run dev を実行すると、アプリケーションが立ち上がり下記ウィンドウが表示されます。
$ cd vue-electron-sample
$ yarn # 10分近くかかることもあるので、気長に待つ
$ yarn run dev
開発時に作業するディレクトリ
Electron では、アプリケーション起動時に main process と renderer process の2種類のプロセスが走ります。
それにならってディレクトリも分けられており、
src/main/ ではアプリケーションの管理、
src/renderer/ ではウィンドウ(UI)の描画などを担当します。
src/
├── index.ejs
├── main
│   ├── index.dev.js
│   └── index.js
└── renderer
    ├── App.vue
    ├── assets
    │   ├── .gitkeep
    │   └── logo.png
    ├── components
    │   ├── LandingPage
    │   └── LandingPage.vue
    ├── main.js
    ├── router
    │   └── index.js
    └── store
        ├── index.js
        └── modules
アプリケーション起動時のルートコンポーネント変更
electron-vue ボイラープレート でプロジェクトを作成した場合、
起動時に src/renderer/App.vueが表示されます。
App.vue を開いていみると、<router-view>が読み込まれていることが確認できます。
<template>
  <div id="app">
    <router-view></router-view>
  </div>
</template>

<script>
  export default {
    name: 'vue-electron-sample',
  };
</script>

<style>
  /* CSS */
</style>
Vue.js の公式ルータである Vue Router がデフォルトで組み込まれており、
src/renderer/components/LandingPage.Vue がルートコンポーネントとして指定されています。
import Vue from 'vue';
import Router from 'vue-router';

Vue.use(Router);

export default new Router({
  routes: [
    {
      path: '/',
      name: 'landing-page',
      component: require('@/components/LandingPage').default,
    },
    {
      path: '*',
      redirect: '/',
    },
  ],
});
今回は試しに
-
src/renderer/components/MainPage.vueの追加 -
src/renderer/router/index.jsの編集
を行い、ルートコンポーネントを変更してみましょう。
<template>
  <div>
    <h1>MainPage です</h1>
  </div>
</template>

<script>
  export default {
    name: 'main-page',
  };
</script>

<style>
</style>
export default new Router({
  routes: [
     {
       path: '/',
-      name: 'landing-page',
-      component: require('@/components/LandingPage').default,
+      name: 'main-page',
+      component: require('@/components/MainPage').default,
     },
  ],
});
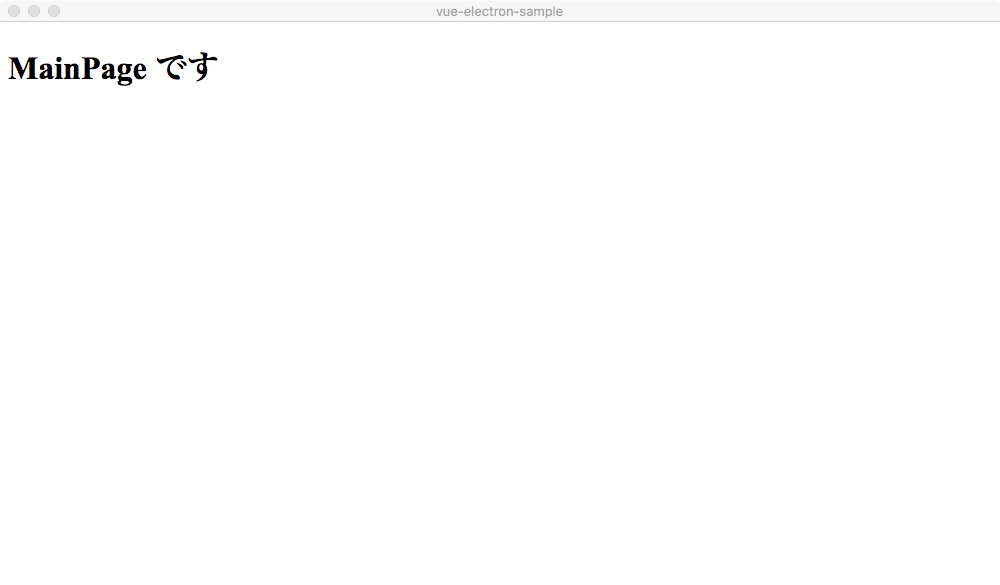
アプリケーションを起動すると、変更したルートコンポーネントが表示されます。

Vue Router を利用したコンポーネント間の遷移
前項で追加した MainPage.vue に加え、
-
MainPage.vueに<router-link>タグを追加 -
AboutPage.vueの追加、 -
src/renderer/router/index.jsの編集
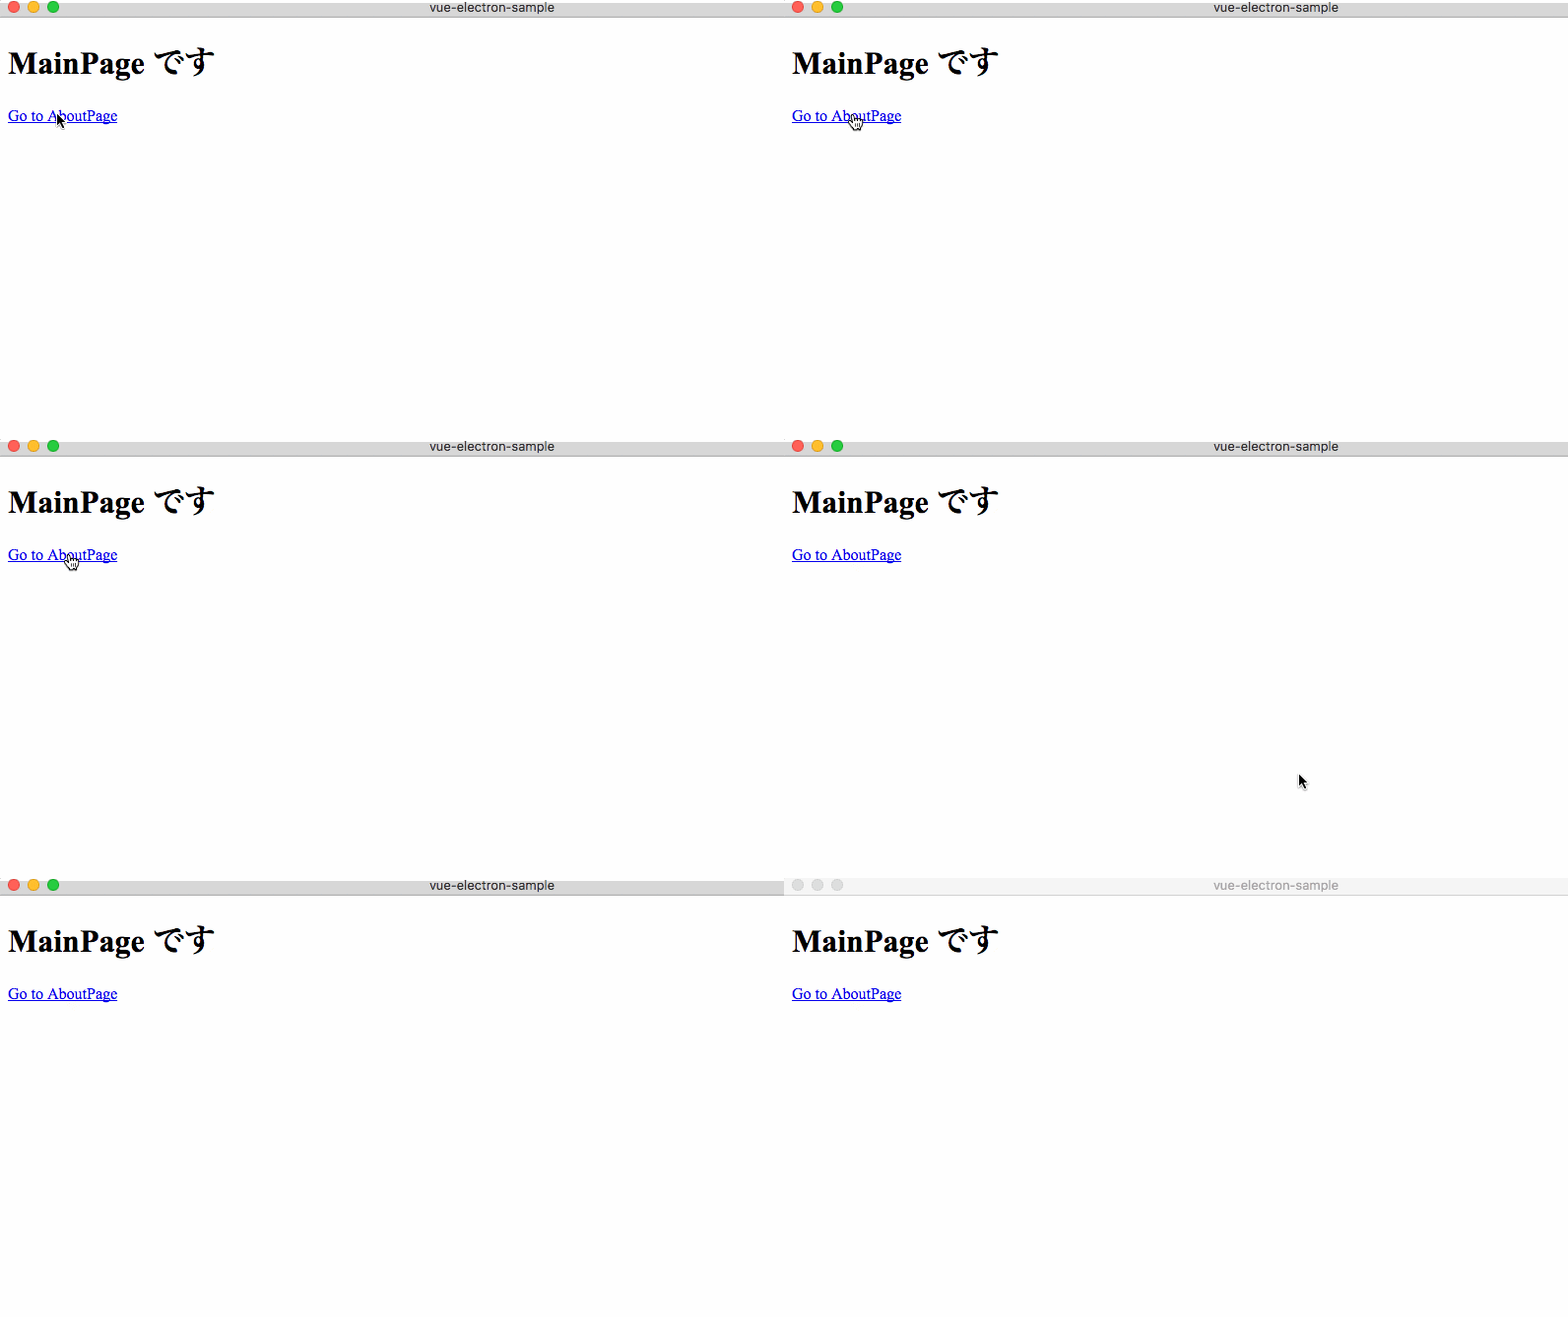
を行い、コンポーネント間の遷移を実装します。
<template>
  <div>
    <h1>MainPage です</h1>
+   <router-link to="/About">Go to AboutPage</router-link>
  </div>
</template>
<template>
  <div>
    <h1>AboutPage です</h1>
    <router-link to="/">Go to MainPage</router-link>
  </div>
</template>

<script>
  export default {
    name: 'about-page',
  };
</script>

<style>
</style>
export default new Router({
  routes: [
     {
       path: '/',
       name: 'main-page',
       component: require('@/components/MainPage').default,
     },
+    {
+      path: '/about',
+      name: 'about-page',
+      component: require('@/components/AboutPage').default,
     },
  ],
});
まとめ
Vue CLI のおかげで Vue.js プロジェクトの立ち上げが物凄く楽になるので、
Electron 以外のプロジェクトでも是非利用してみて下さい。
当初は下記項目も記述する予定でしたが、
記事が冗長になるので開発時の知見も含めて別記事を上げる予定です。
- Electron のビルド周り
- 使用したライブラリ

