先日、たまたま PLATEAU を知り、その流れで Cesium を知り、Cesium で自作の3Dモデルを表示してみたくなったので、後で読み返せるように、その時のことをまとめておこうと思います。
まずは Cesium を動かす
Cesium の Github リポジトリで、Webpack で Cesium を使用するアプリケーションの(最小の)雛形が公開されているので、これを利用します。
作業用ディレクトリで以下のコマンドを実行します。
Webpack4 と Webpack5 用の雛形が用意されているようで、今回は Webpack5 用を使用します。
git clone https://github.com/CesiumGS/cesium-webpack-example.git
cd cesium-webpack-example
cd webpack-5
npm install
npm start
http://localhost:8080/ にアクセスすると、次のように表示されました。とても簡単ですね。
3Dモデルを準備する
今回は Blender を使って glTF 形式の3Dモデルを作成し、そのモデルを Cesium で表示してみます。
Blender を起動すると、デフォルトで Cube というキューブ型のモデルが作られているのですが、それだけだと寂しかったので、円錐型のモデルを追加して次のようなモデルを作成しました。
あとは、glTF 形式でエクスポートすれば3Dモデルの準備は完了です。
今回は test_cube.glb という名称でエクスポートしました。
Cesium で自作3Dモデルを表示する
Cesium で glTF 形式の3Dモデルを表示する方法はいくつかあるようなのですが、今回は viewer.entities.add()を使って表示します。
const entity = viewer.entities.add({
  name: "cube",
  position: Cesium.Cartesian3.fromDegrees(130.741667, 32.789828, 100.0),
  model: {
    uri: "http://localhost:8003/model/test_cube.glb",
  }
});
uri で3Dモデルを指定します。
今回は3Dモデルを配信するためのローカルサーバを立てたので、その URL を書いています。
position でモデルの位置(緯度経度、高さ)を指定します。
今回は熊本県庁の緯度経度を書いています。
余談ですが、fromDegrees()の引数の順序は「経度->緯度」の順になります。
筆者だけかも知れませんが、「緯度->経度」の順に馴染みがあるので、いつも、引数の順序を間違えそうになります。
name で3Dモデルの名称を指定します。
上記以外に指定できるプロパティは公式ドキュメントにまとまっています。
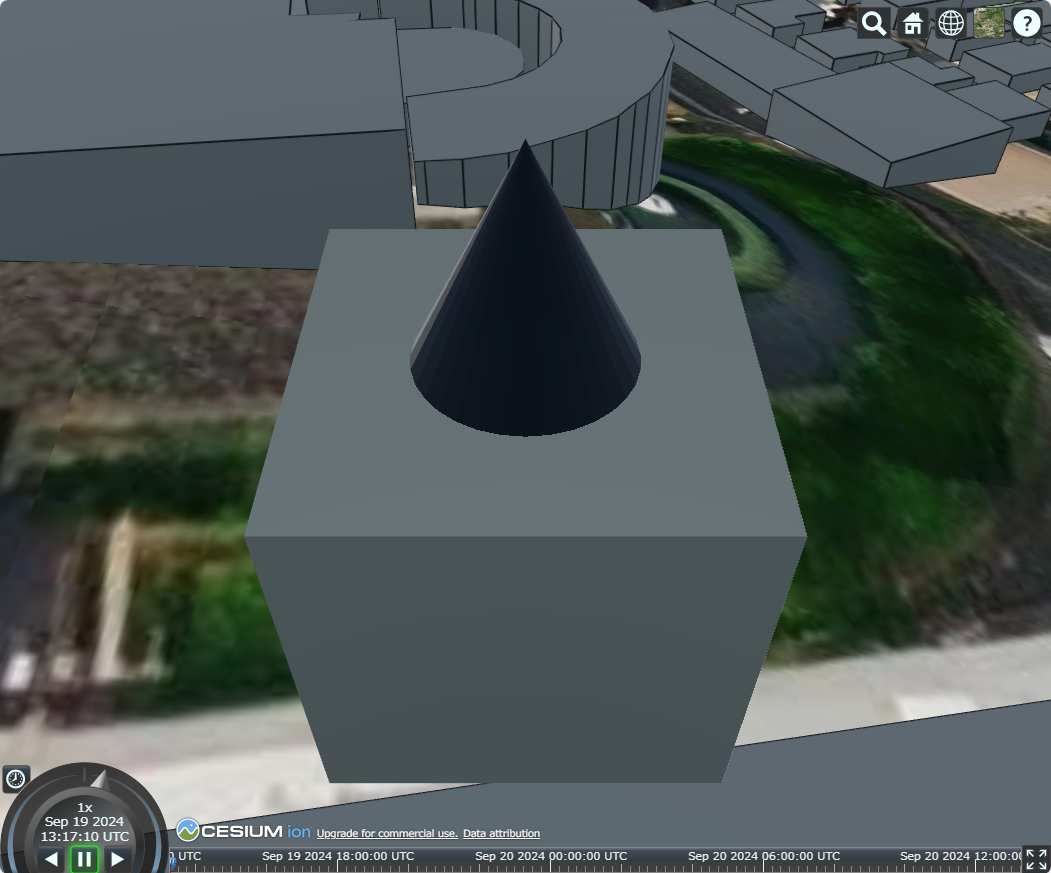
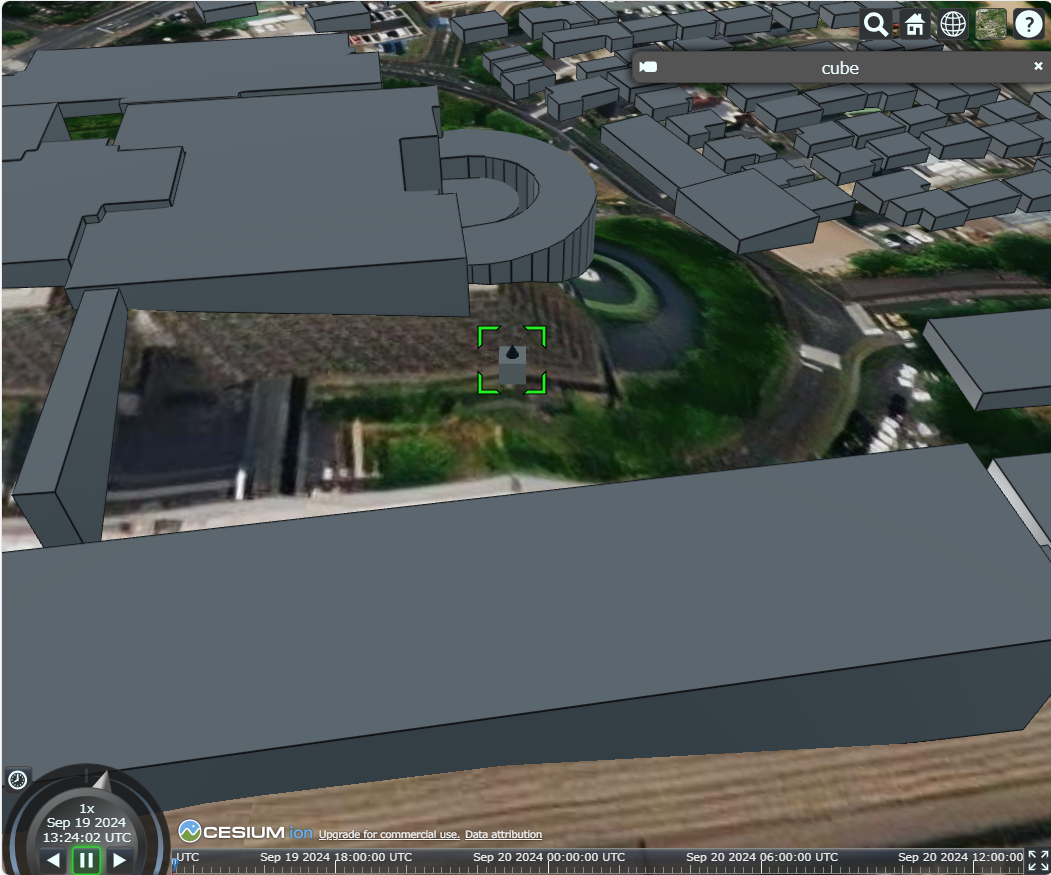
アプリケーションを起動すると次のようになります。
カメラが3Dモデルにズームし過ぎているので分かりづらいですが、熊本県庁付近に表示されています。
Cesium 内に時間の概念があり、Cesium 時間としては夜中なので、3Dモデル(特に円錐部分)が暗く見えています。
3Dモデルをマウスクリックすると(選択中であることを示す)緑色の枠が表示されます。
その際に、先ほど name で指定した名称が画面右上に表示されます。
最終的なソースコードは次のようになります。
import * as Cesium from "cesium";
import "cesium/Build/Cesium/Widgets/widgets.css";
import "./css/main.css";

// CesiumJS has a default access token built in but it's not meant for active use.
// please set your own access token can be found at: https://cesium.com/ion/tokens.
Cesium.Ion.defaultAccessToken = "eyJh....";

// Initialize the Cesium Viewer in the HTML element with the `cesiumContainer` ID.
const viewer = new Cesium.Viewer("cesiumContainer", {
  terrain: Cesium.Terrain.fromWorldTerrain(),
});

// Add Cesium OSM Buildings, a global 3D buildings layer.
const osmBuildingsTileset = await Cesium.createOsmBuildingsAsync();
viewer.scene.primitives.add(osmBuildingsTileset);

const entity = viewer.entities.add({
  name: "cube",
  position: Cesium.Cartesian3.fromDegrees(130.741667, 32.789828, 100.0),
  model: {
    uri: "http://localhost:8003/model/test_cube.glb",
  }
});
viewer.flyTo(entity);
おまけ
今回は viewer.entities.add() を使用しましたが、これ以外には次の2つがあります。
※あくまで、筆者が知っているもののみです。他にもあるかも知れません。
Cesium.Model.fromGltfAsync()Cesium.CzmlDataSource.load()
前者は、公式ドキュメントにサンプルコードが掲載されています。
後者は、Cesium Sandcastle で、CZML で glTF 形式の3Dモデルをロードするサンプルコードが公開されています。
恐らく「この方法で表示した場合は〇〇ができる、この方法だと〇〇ができない」みたいなことがありそうですが、まだ把握できていません。今後、調べていこうと思います。


